15 Tips to Enhance Your Midjourney Prompts | (+Free Prompt Guide)

Midjourney is one of the best AI image generators available today. In this article, I will give you 15 tips for creating cinematic results with your Midjourney prompts.
I’m going to share my favorite prompting tips that will help you get the most out of Midjourney. Download our free PDF guide that breaks down a handful of cinematography terms to use in your prompts. 👇
Enjoy! Feel free to let me know if you have any questions.
Alrighty, let’s get to it. :)
HOW TO ENHANCE YOUR MIDJOURNEY PROMPTS | 15 STEPS
Let’s take your Midjourney prompting skills to the next level!
1. Use Midjourney’s Web Version
If you still use Discord to prompt your Midjourney images, I highly recommend checking out Midjourney’s web version. It is much easier to use, generates images more quickly, and the explore page is a spectacular addition as well.
2. Get Inspired
The Midjourney Explore page is a great place to get inspiration and learn exactly how other users prompted their images. You can search specific styles or words, and you can even click on a photo and see the whole prompt that was used to create it. This allows you to learn from other users and refine your own ideas.

3. Start Simple
If you’re still brainstorming, start with simple prompts.
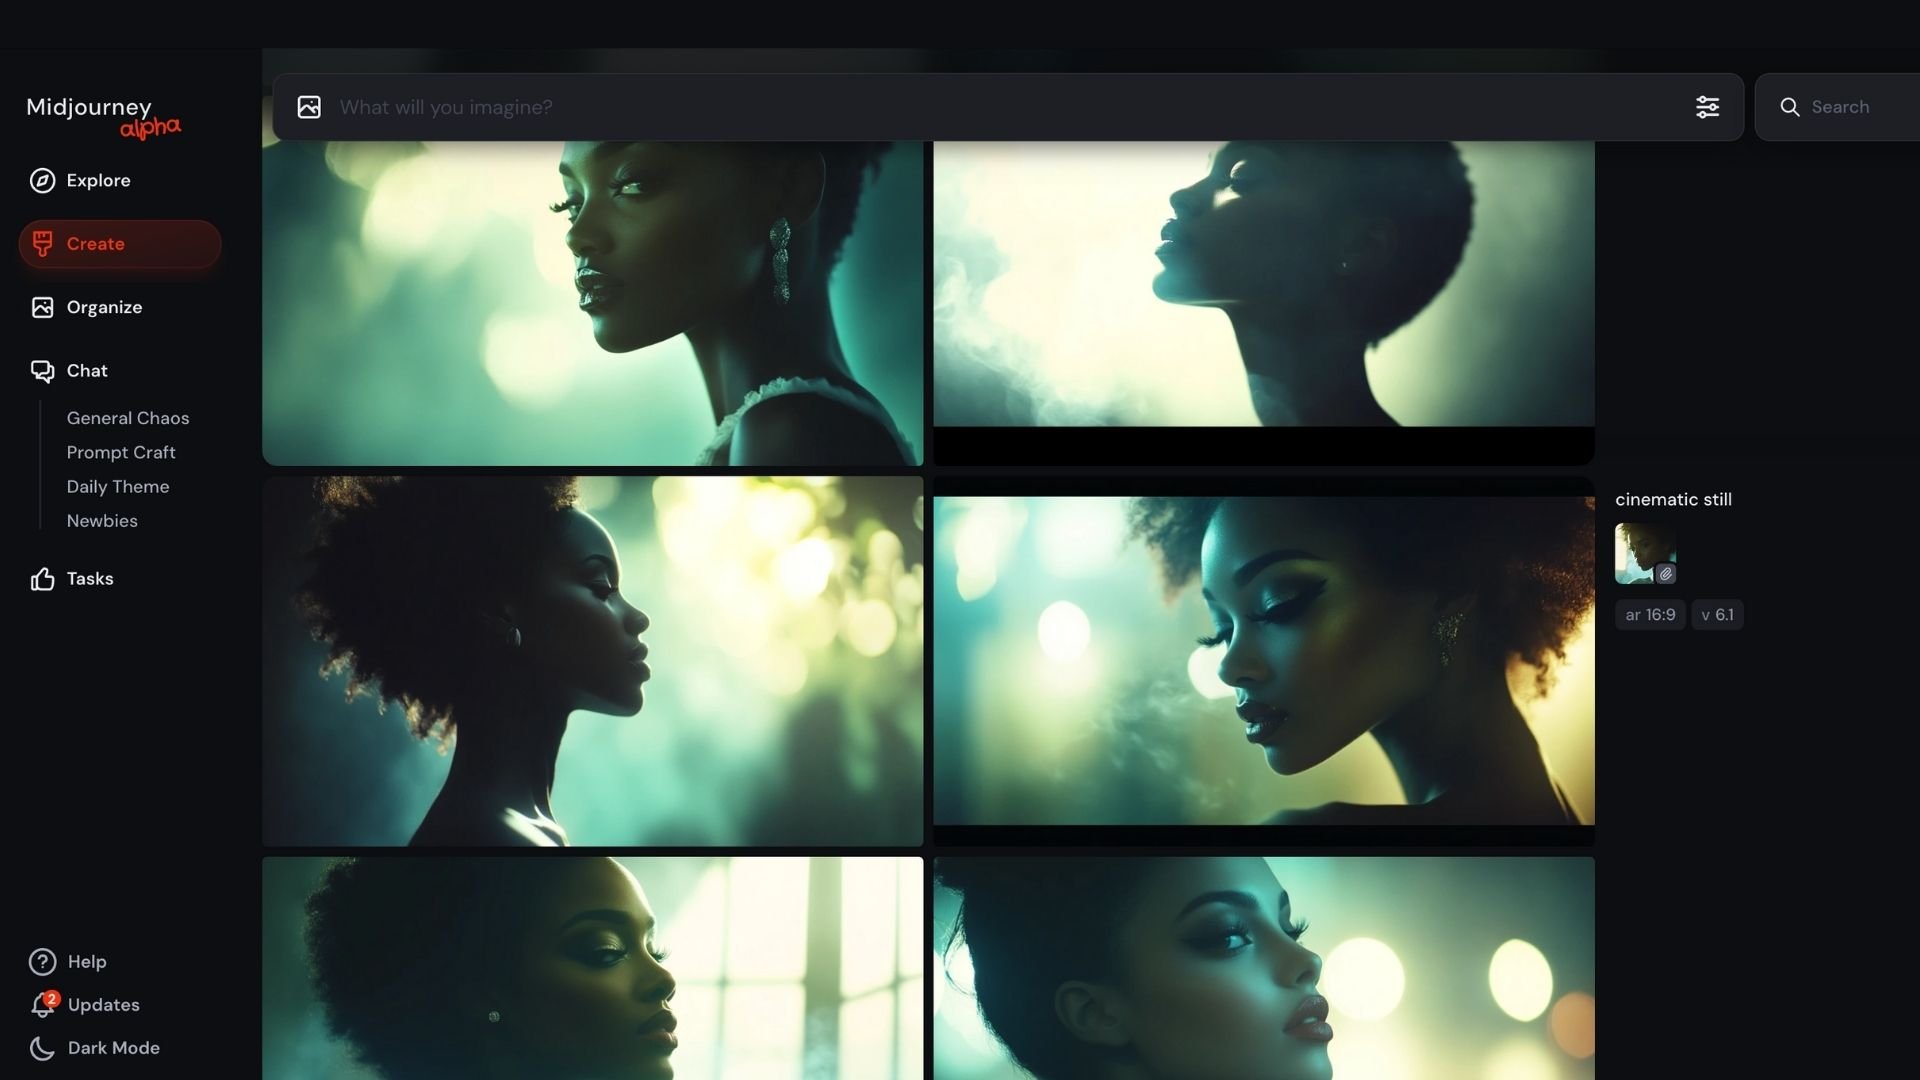
I like to start by generating 20 images with the prompt, ‘a cinematic still,’ to see what Midjourney comes up with. It feels like my own mini “explore” page, and I love using this technique to build ideas. The results might surprise you!
4. Use Turbo Mode
Want to make sure you’re generating as fast as possible? Switch on Turbo mode. Making sure I’m using Turbo mode has helped me streamline my process significantly.

5. Utilize Cinematography Terms
Knowing how to use cinematography terms can totally transform your results. Help set Midjourney up for success by clearly defining what kind of shot you’re looking for.
Here are some helpful cinematography terms to know:
Shot Type (ex: Wide-Shot, Close Up, Bird’s Eye View, Low Angle Shot)
Style Guide (ex: In the Style of Wes Anderson)
Camera Types (ex: Shot on an Arri Alexa)
Camera Lens Focal Length (ex: 50mm, 8mm)
Depth of Field (ex: f/2.0)
Camera Stock (ex: Kodak Vision2 500T)
Lighting (ex: Dramatic Lighting)
Color Grading (ex: Teal and Orange Color Grading, Film Grain)
Download the free PDF for more cinematography terms!

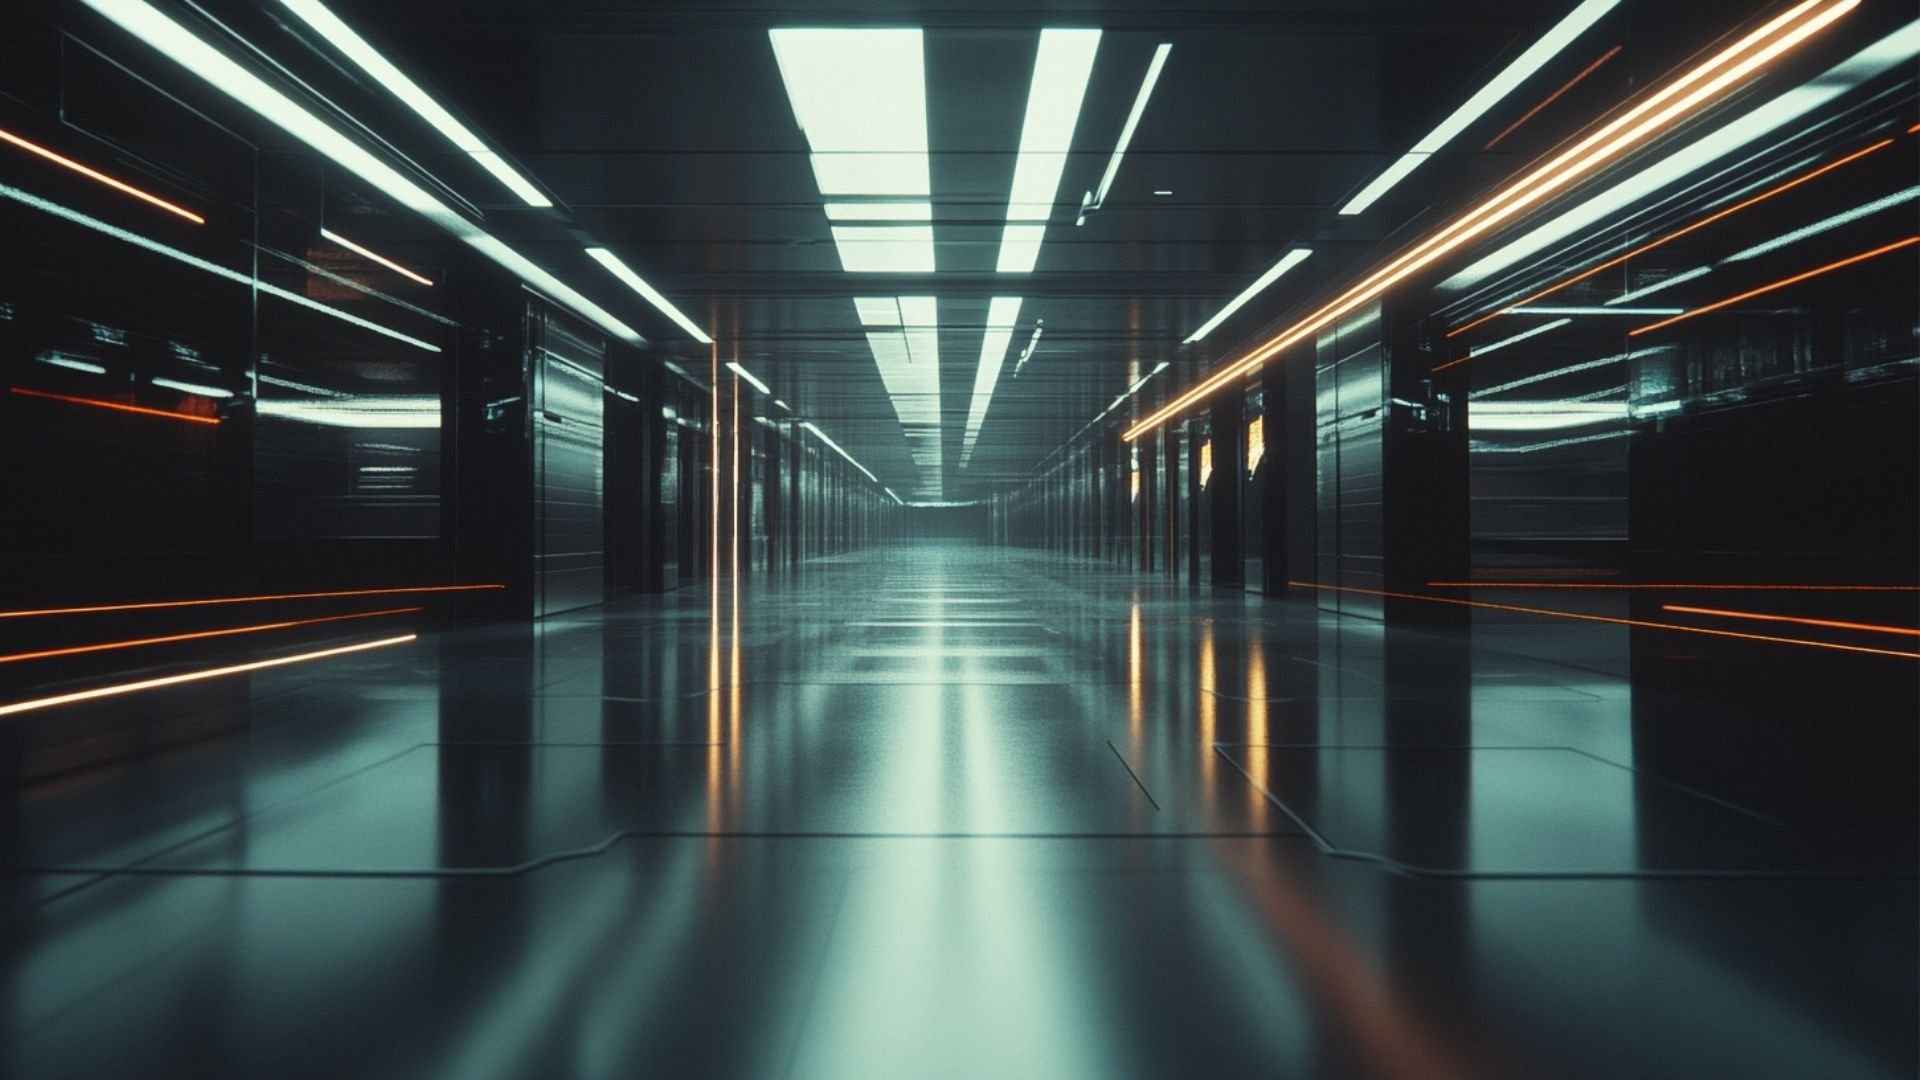
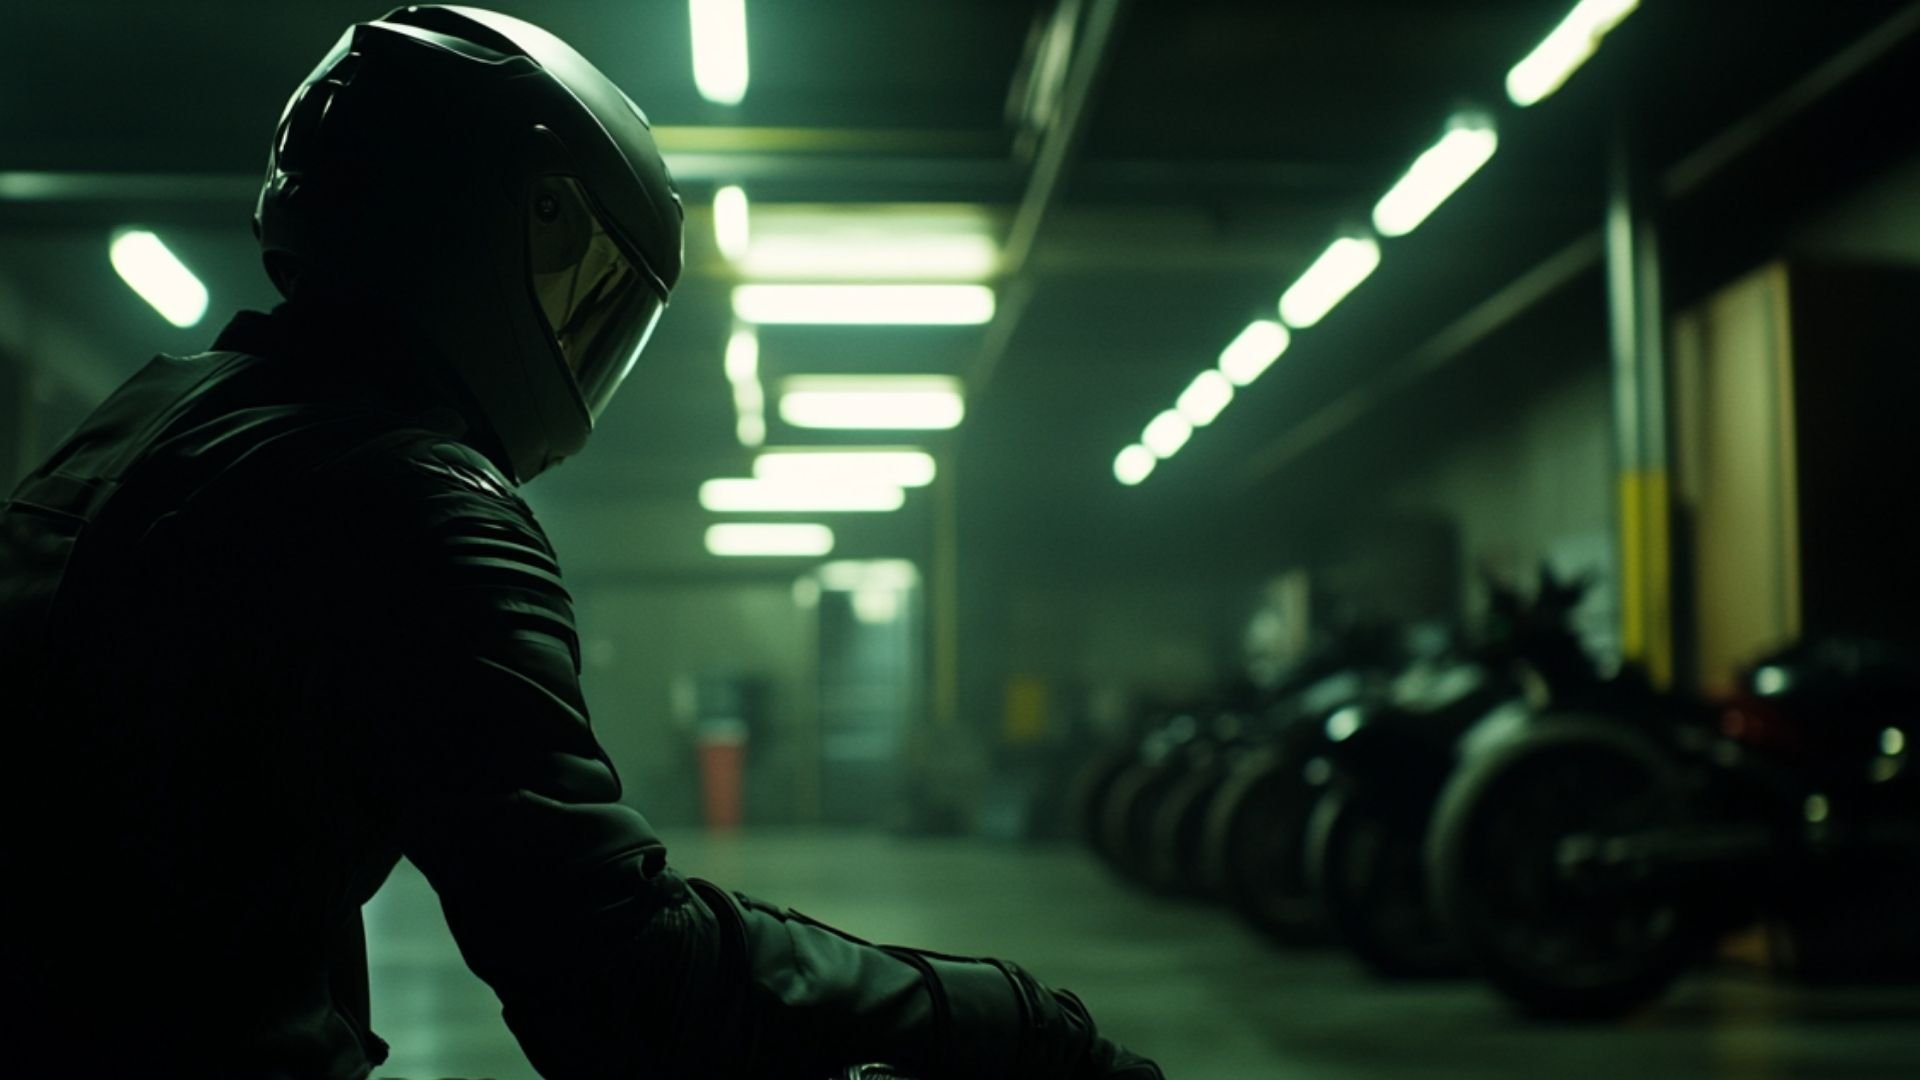
Prompt: A cinematic still from a futuristic scifi movie. Dramatic Lighting. Neutral Color Grading. Film Grain. Arri Alexa.
6. Always Use the Repeat Prompt Code
I always, always recommend using the repeat code. If you’re new to this idea, the repeat code is something you type after your prompt to instruct Midjourney on how many generations you want (1 generation automatically produces 4 images).
The image below shows what the code looks like in a prompt. 👇
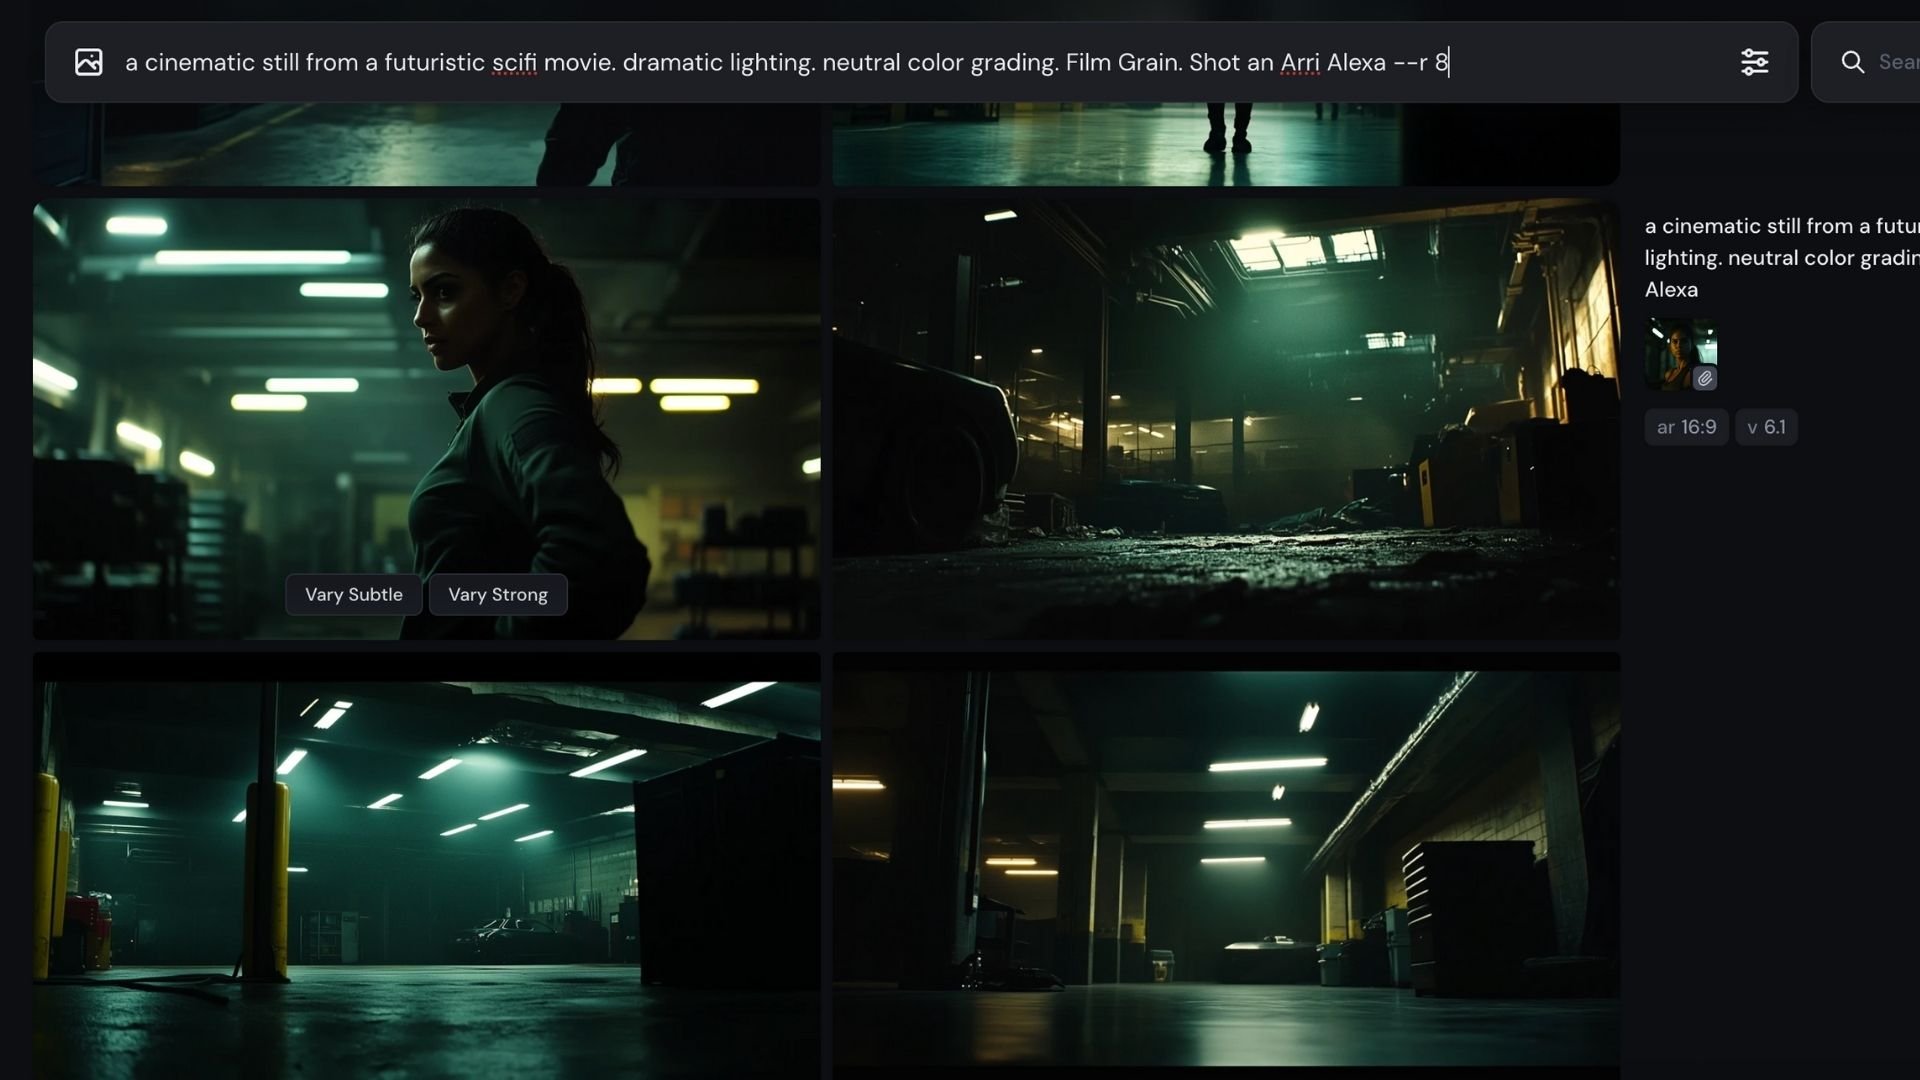
How many generations you want may be determined by your Midjourney plan. If you are not wanting to use a lot of hours, then you will want to generate less.
7. Use the Super Secret Quality Enhancement Code
I recommend including the quality enhance code at the end of your Midjourney prompts. It sounds similar, but this is different from the upscale tool in Midjourney. Midjourney automatically uses --q 1 when prompting. You have the ability to take it up to --q 2, which doubles the quality and detailing of the output image.
--q 1

--q 2
8. Edit & Refine Your Prompt
It’s common to keep adding details until your Midjourney prompt starts looking like a college essay. Does this sound familiar?
If you find yourself with a massive paragraph of text in your prompt (and you’re still not satisfied with the results) try trimming the prompt back down. Keep the most important elements like shot type and aspect ratio, and strip back the unnecessary details.
9. Know When to Use Inpainting vs Generative Fill
Inpainting is such a helpful feature inside of Midjourney, but if you have a lot of experience with it, you know it’s not perfect. Knowing which inpainting tool to use can make a huge difference.
If you’re not happy with Midjourney’s inpainting skills, Photoshop’s generative fill is fantastic.

Inainting Prompt: ‘Add an Antique Video Game to the Background’

Generative Fill Prompt: ‘Add an Antique Video Game to the Background’
Over time you will learn the limitations of inpainting and when to use it, when to use generative fill, and when to just re-prompt!
10. Use Style Reference (For Consistency!)
Style reference (--sref) is a great way to achieve cohesive aesthetics across multiple scenes.
The style reference will pull from the colors, tones and other visual elements of the prompt. This typically reduces the amount of text you’ll have to use in a prompt. It's great for getting multiple angles of the same shot.
11. Use Character Reference
Character reference (--cref) is an incredible tool for prompting consistent characters inside of Midjourney. Keep in mind that Midjourney typically does better with both style and character references when you’re using an image generated inside of Midjourney, instead of one you upload yourself.
But if you want to create a character with an image that was not generated in Midjourney (like a selfie or an existing photo on your computer), check out these tips.
1. Put the Celebrity Look-Alike in the Prompt
Celebrity lookalike tools can actually be pretty useful. Our favorite is Star By Face. This tool uses AI to analyze your face and match a celebrity with a similar facial structure.

Character Reference with No Celebrity Lookalike in the Prompt

Character Reference with a Celebrity Lookalike in the Prompt
Then, when you’re prompting in Midjourney, you can put the celebrity name in the prompt along with the character reference image.
2. Use a Face-Swapping App Afterwards
Using a faceswapping app after generating your image can fix imperfections and give you more accurate results. Once you generate an image that feels close enough, use an external app to face swap. Our favorite is Akool. We highly recommend checking them out.
Just look at the difference below.

No Face Swapping App

Using AKOOL’s Face Swapping App
12. Always Upscale In Midjourney Before Downloading
The quality of the visuals can make or break an AI film. Sometimes, it’s difficult to get high-quality content when using generations straight out of Midjourney. That’s why I recommend upscaling multiple times.
For every image you use from Midjourney, I recommend using the “upscale” feature before downloading it.
13. Use An External Image Upcaler
So once you’re happy with an image generation, first upscale it inside Midjourney, and then download it. And then… use an external app to upscale your image one last time.
You may be thinking, ‘wow that sounds like upscaling, then upscaling, then upscaling.’ And hey, you’re totally right. But there’s a good reason for this!
Adding motion to your image with Runway, Luma Labs or other models is going to compress the quality of the image. Upscaling again with an external image upscaler can help reduce the “smoothed over” aesthetic that a lot of AI content suffers from. Upscaling can give you a crisp, hyper realistic image.
Our favorite is Magnific, but there are plenty of other solid options.
Before Upscaling in Magnific

After Upscaling x2 in Magnific
14. Practice, Practice, Practice
Just like developing any skill, practice is one of the only things that will help you improve.
Using AI tools can feel like pulling a slot machine. You rarely get exactly what you’re looking for on your first attempt. Just know that prompting is a process, and even super experienced Midjourney users have to generate multiple results.
If you get frustrated and feel tempted to sacrifice the quality of your shot, remind yourself that it takes time. Keep refining the prompt, follow what works and continue building off of that.
You will get there! Practice, be specific, and stay patient.
15. Learn How to Prompt for Your AI Films
Using precise techniques and best practices in Midjourney and countless other AI tools can transform your AI Filmmaking workflow. We love helping people learn to use new tools and keeping our students up to date on all the new features.
We do this through our courses, AI Filmmaking, AI Advertising, and AI Documentary.
We have over 10 lessons dedicated to Midjourney alone!
It would be our pleasure to help you navigate your AI Filmmaking journey. Reach out to us if you have any questions. But as always, no pressure. :)