The Ultimate Guide to Creating Consistent AI Characters | Step-by-Step Workflow
In this article and video tutorial, I will show you how to create consistent AI characters using a combination of my favorite AI tools.
There are so many spectacular AI tools on the market right now, and a lot of them offer some sort of consistent character feature. If we are being honest, most of them aren’t as easy (or good) at helping you actually create consistent AI characters.
In this article and video tutorial, we will take a look at our favorite professional workflow for creating consistent AI characters that are accurate in their depiction of your ideal character, as well as realistic.
We are pumped to share this workflow with you! Let’s get started. :)
Create Consistent AI Characters | Professional Workflow
Below is a video tutorial showing the full, step-by-step breakdown of how we create consistent AI characters.
Create Consistent AI Characters | Step-by-Step
Below is an in-depth guide showing exactly how to create consistent AI characters for your film.
1. Use Midjourney Omni-Reference
Head over to Midjourney and upload an image of yourself (or the character you want to replicate) to the omni-reference section in the prompt bar.
Omni-Reference Scale
You can control the strength of the character; higher values will try to keep the clothing the same, while lower values will allow more variation in the character’s clothing.

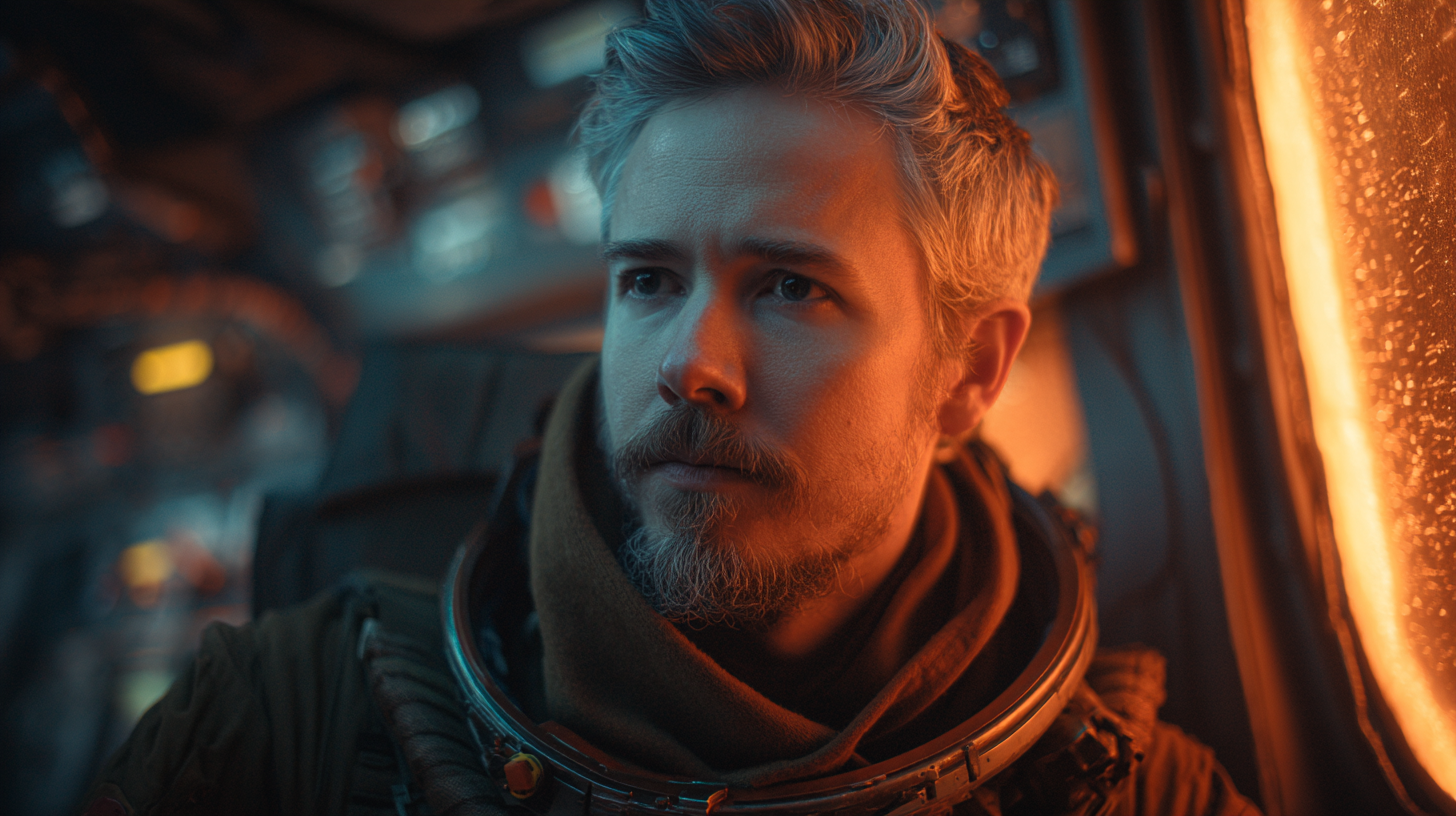
Reference Character

Midjourney Output #2

Midjourney Output #1
Midjourney Output #3
As you can see in the image above, they don’t really look too similar to my starting character (they are way more handsome).
Don’t worry, we are not done. I have a few more steps to help refine the output.
2. Use Ideogram’s Character Reference
Ideogram launched its character reference tool a few months ago, and we were pretty impressed with its abilities.
Ideogram Interface
Face Swapped Using Ideogram
On the ideogram website, you can go to Canvas and add your Midjourney image. After that, drag in your image and select the ‘magic fill’ feature. This will allow you to draw a lasso around just the face and use their character reference tool to generate a more accurate face to the original character.
3. Update the Wardrobe Using Seedream
There are plenty of tools where you can update clothing on a person, but the best, in our opinion, is Seedream. I typically use Seedream inside of Freepik.
Head on over to Freepik and choose ‘Generate Image', then make sure you have selected the Seedream model.
Original Character

Clothing From Midjourney
Clothing Changed Using Seedream
There, you can upload and assign the clothing and original image as references and specify in your prompt which you want Seedream to change.
4. Composite Using Photoshop’s ‘Harmonize’
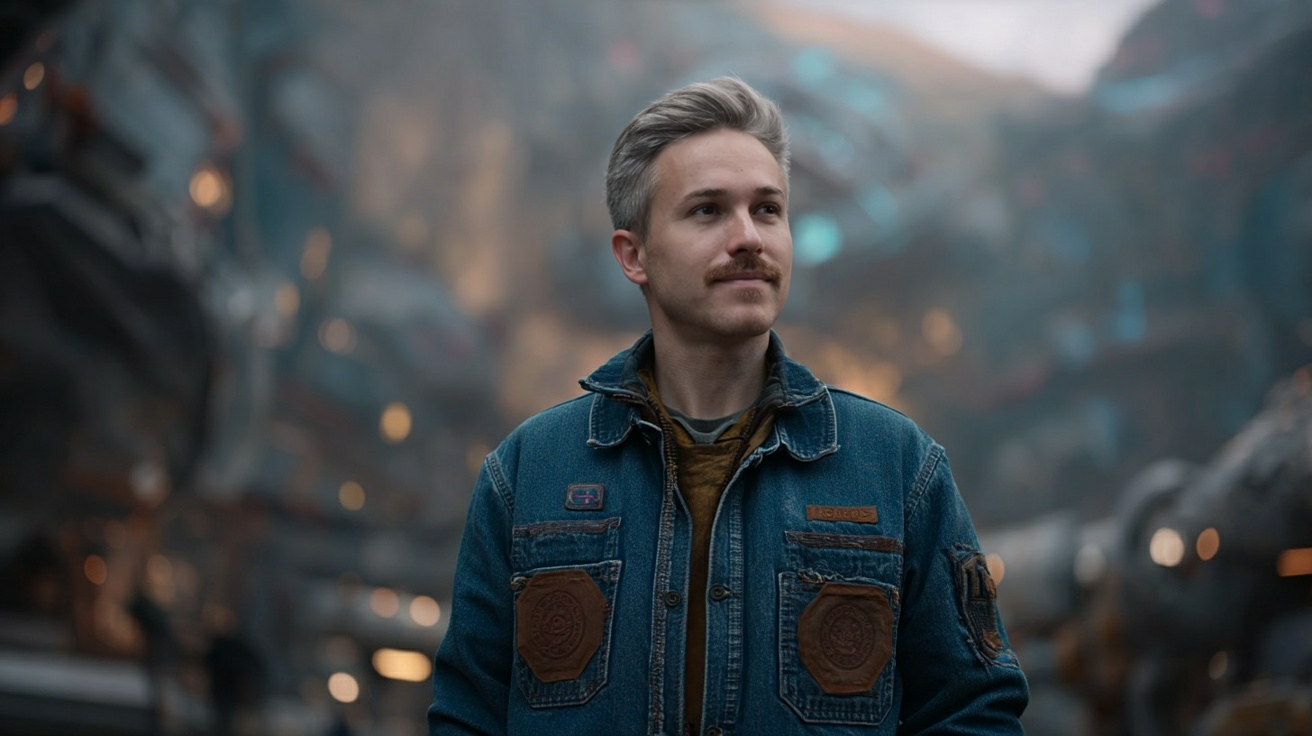
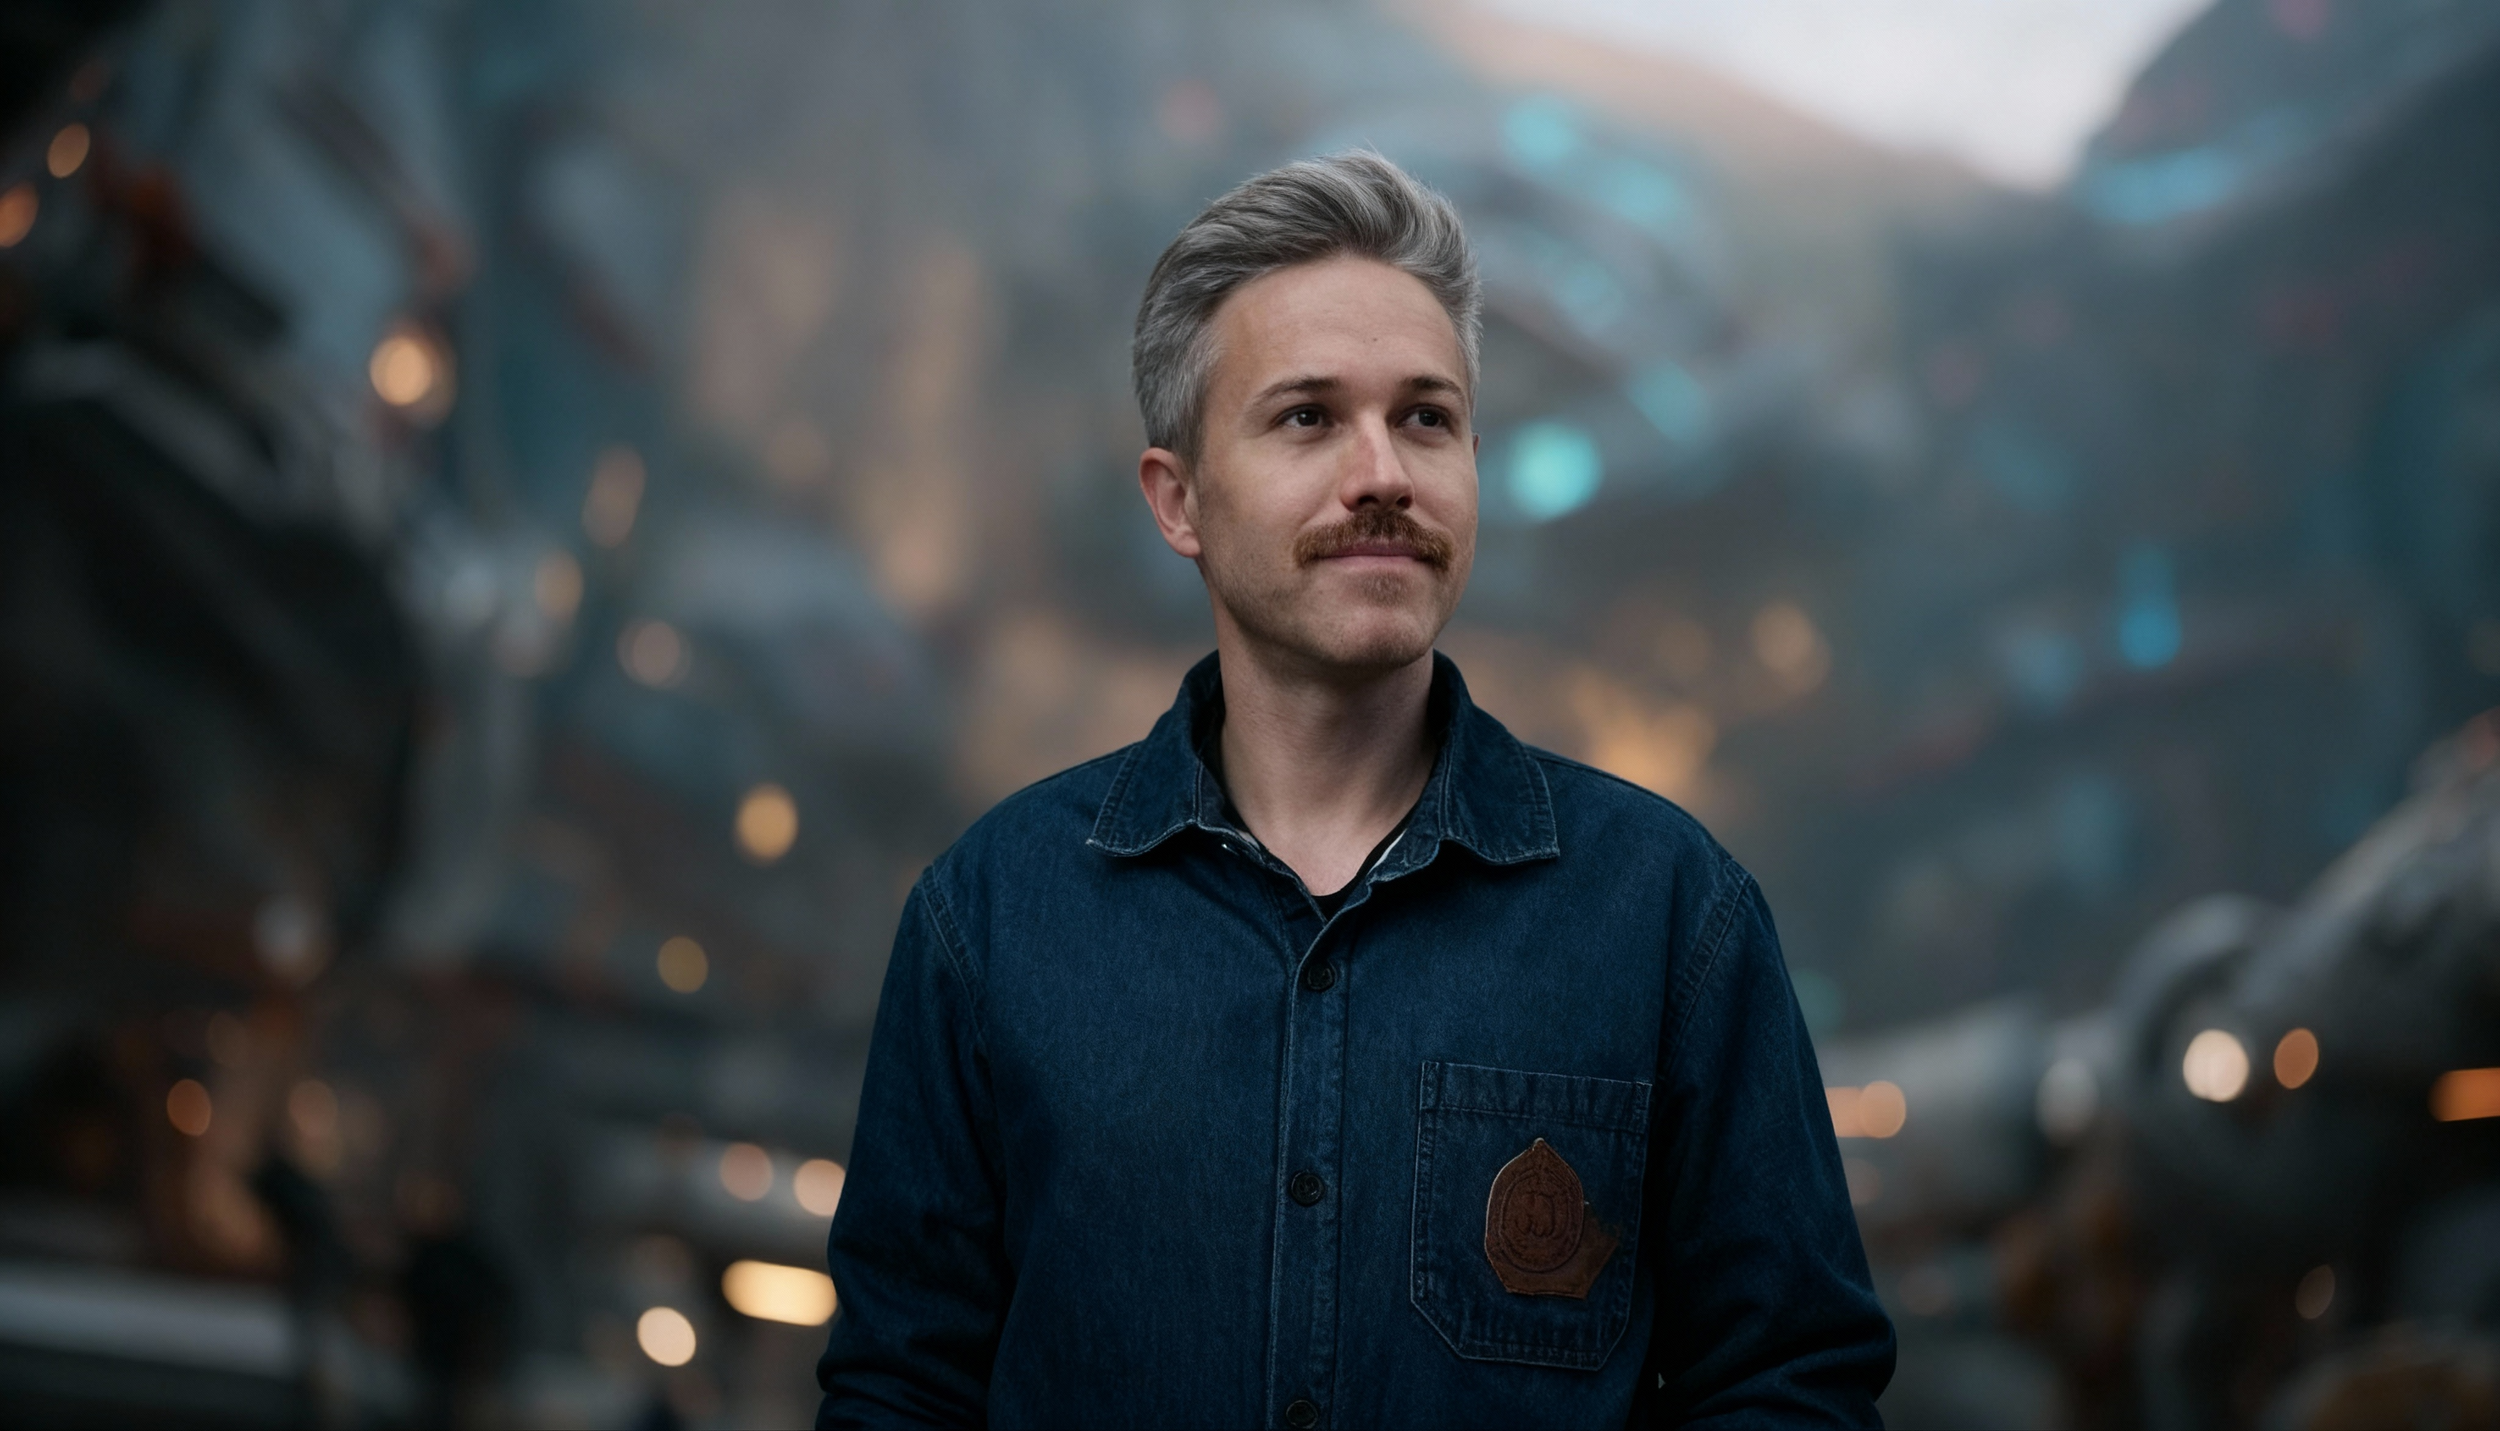
You might not always run into this, but in our generation, you can tell the lighting of the character is a tad off from the background. This can be easily solved in Photoshop Beta.

Background
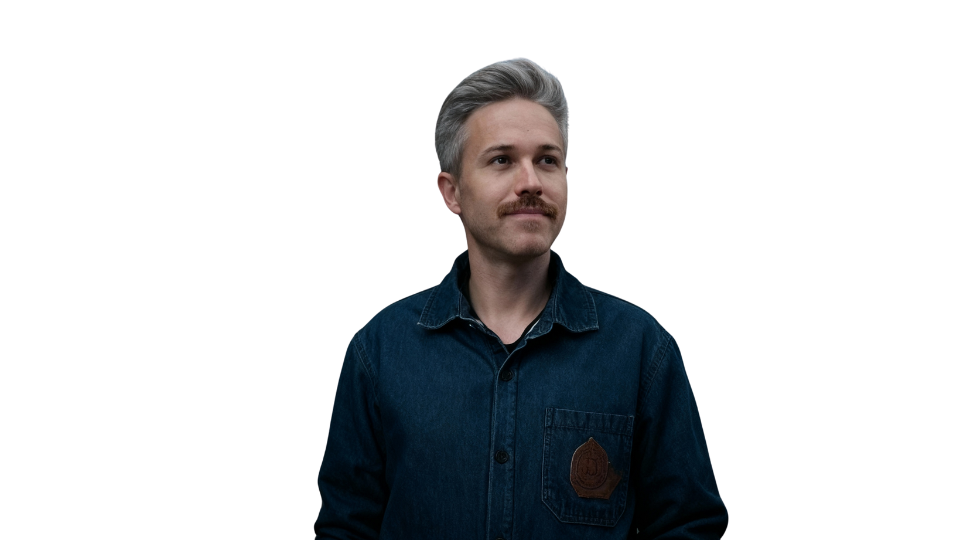
Subject
Create a layer of the background and a layer of the character isolated (shown above).

Final Result
Once you’ve done that, find the ‘Harmonize’ button, and there you go!
5. Animate Your Image
The last step is to head on over to your favorite AI video generator and animate your image. This was generated in Seedance Pro 1.0!
Just like anything in AI filmmaking, it will typically take some back and forth, but this is the best workflow we have found for generating high quality, consistent AI characters.
Learn AI Filmmaking Techniques
We teach professional workflows just like this one in our AI Filmmaking course. We have helped thousands of students on their creative journey in over 170 countries. That is probably the thing we are most passionate about: helping artists on their creative journeys.
If you are interested in learning more workflows just like this one, we would love for you to join the waitlist by filling out the form above. This is how you willl be notified whenever enrollment goes on sale.
Reach out if you have any questions at all, and we would love to help. :)