How to Create Professional AI Videos | 5 Easy Steps
In this article and video tutorial, I’ll share one of my favorite workflows for creating professional AI Videos.
AI video tools are evolving at a breakneck pace. New models, new features, and new “best practices” seem to drop every single week. That can make it hard to know what actually matters, and what’s just noise.
In this guide, we’ll break down a simple, repeatable workflow for getting maximum cinematic quality from AI-generated video, without obsessing over every slider and checkbox. This is the same general process we use when evaluating tools and producing high-end AI footage for real projects.
The goal is not perfection; it’s consistently hitting a 9/10 cinematic look that holds up in professional environments.
If you are interested, check out our ratings of the best AI tools available. Click here to see how your favorites hold up against the others!
How to Make Professional AI Videos | Video Tutorial
Below is the video tutorial we created showing my favorite process for creating professional AI Videos.
How to Make Professional AI Videos | 5 Easy Steps
Check out the step by step process for creating professional AI Videos.
1. Generate Strong Base Shots
Everything starts with your base generation. No amount of upscaling or cleanup will save a weak shot. Think of this as your "digital negative."
There are two AI video tools that matter most right now, depending on your needs:
Kling – Best for overall cinematic image quality.
Google Veo – Better for dialogue, faces, and lip sync.
If your goal is pure visual fidelity, Kling should usually be your starting point. If your project involves performance or speech, Google Veo may be the better option.
2. Start with a Reference Frame
Instead of generating from text alone, upload a starting image. This gives you far more control over composition, lighting, and tone, and dramatically increases consistency.
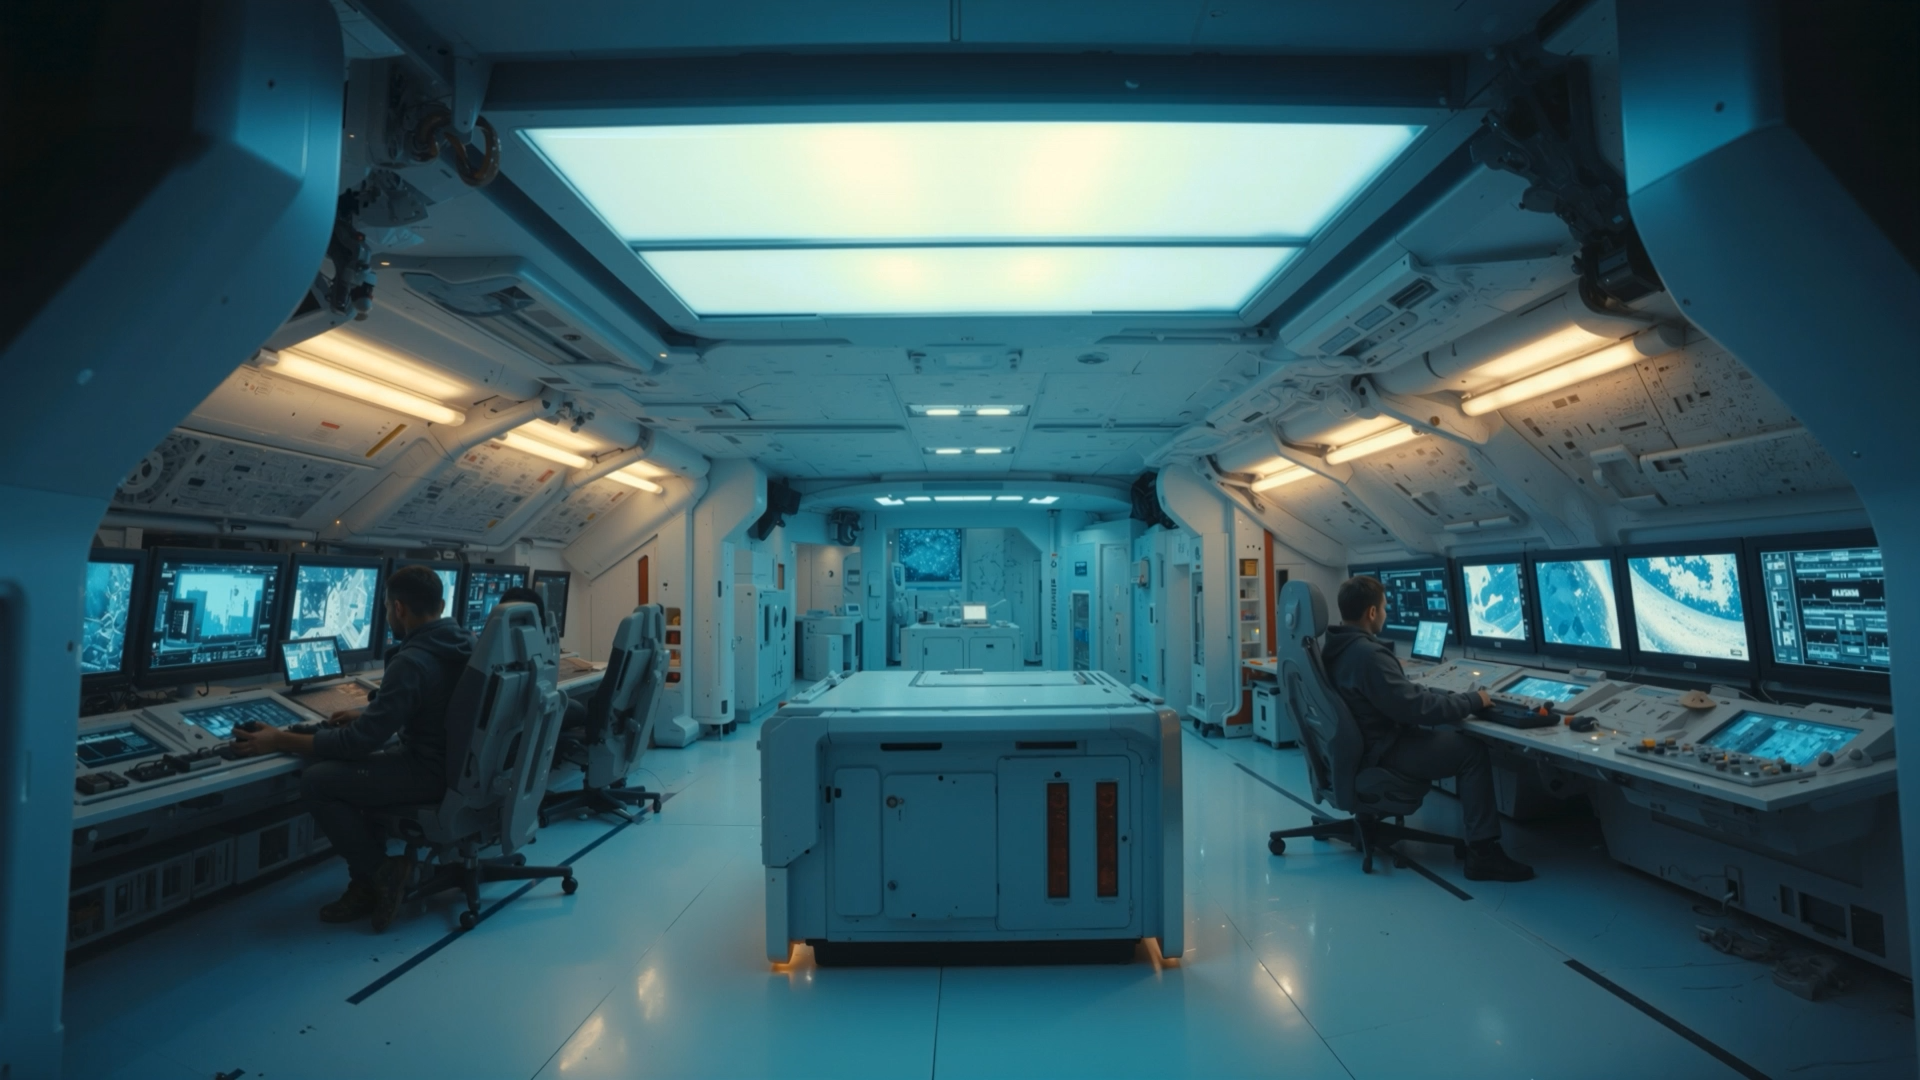
Starting Image
In Kling:
Use the latest video model for the best temporal consistency.
Upload a strong start frame to set the visual anchor.
Describe movement, not just the scene. For example: “a slow tracking shot forward inside a sci-fi spaceship.”
Generate at the highest available quality setting. Don't cut corners here.
At this stage, your shot should already feel cinematic—but it will still have two major limitations:
The resolution is capped (typically around 1080p).
You’ll see artifacts, distortion, or synthetic “noise.”
That’s expected. We fix this next.
3. Upscale for Real Cinematic Resolution
Once you have a solid base clip, the next step is true 4K upscaling. Instead of relying on built-in upscalers, we move the footage into Topaz Labs Astra, using the Starlight Precise model.
This step does three important things:
Increases resolution to true 4K.
Improves perceived sharpness without over-sharpening the image.
Reduces obvious AI artifacts that scream "this was made by an algorithm."
After this pass, the footage already feels significantly more “real.” Details hold together better, textures feel grounded, and the image starts to resemble something you’d expect from a professional pipeline.
4. Final Polish and Cleanup (The Secret Sauce)
To push the footage from “very good” to “cinematic,” we add one final cleanup pass using Topaz Video AI. This step is about subtle correction, not heavy processing:
Clean up compression artifacts.
Smooth choppy motion for that high-frame-rate feel.
Add a light film-style grain to unify the image.
A touch of grain is especially important—it helps hide minor AI imperfections and gives the footage a more organic, filmic texture. At this point, the clip is typically production-ready.
5. An Alternative Workflow: Google Veo
Some studios are more comfortable with Google’s ecosystem, and Veo has improved significantly—especially with its native 4K upscaling.
The workflow here is similar:
Generate from a starting frame inside Google Veo.
Select the highest-quality Veo model.
Export using Google’s 4K upscaler (not the 1080p option).
Finish the clip in Topaz Video AI for cleanup and grain.
Google’s 4K upscaler often preserves more detail, while third-party upscalers may look slightly cleaner but softer. The final Topaz pass helps balance both approaches.
The Big Takeaway
Cinematic AI video isn’t about one magical tool—it’s about stacking the right steps in the right order:
Generate strong base shots.
Use reference frames.
Upscale intelligently.
Apply light, intentional cleanup.
Follow this workflow, and you’ll consistently produce AI footage that looks polished, realistic, and cinematic—without drowning in technical complexity.
If you want to go deeper, this exact process (and many variations of it) is taught in detail through the training at Curious Refuge, where we test and rank AI video tools as they evolve.
Free Kling AI Video Guide
Fill out the form below to download a free guide that is geared toward helping you get the best prompts possible for using Kling 2.6.
We hope you enjoy the guide and the tutorial! Let us know of any other tutorials you might like to see down below! :)