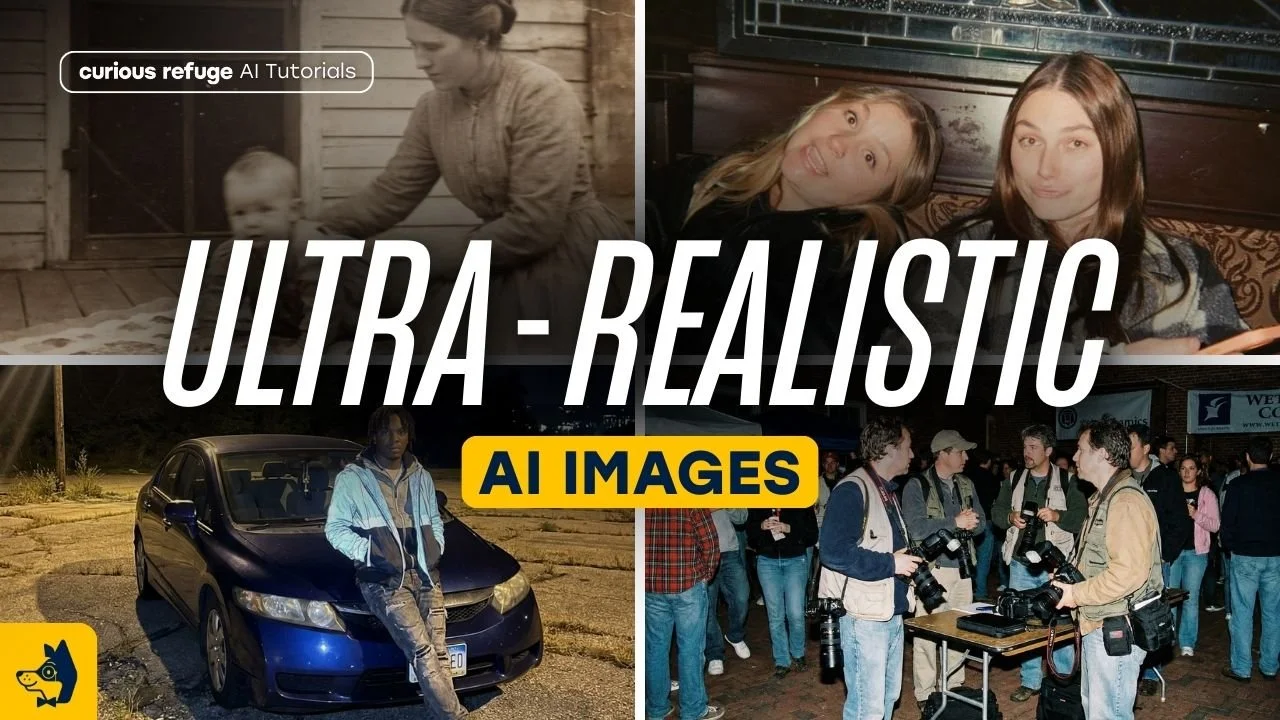
How to Generate the Most Realistic AI Images Possible | Step-by-Step
In this article and video tutorial, I’ll show you my favorite workflow for getting the most realistic AI images possible.
AI Images are becoming indistinguishable from reality, but it’s not nearly as easy to create them as most people think. It’s honestly much harder.
The good news is, our team has developed a new workflow to show you exactly how to get realistic AI images that you cannot tell are AI! Literally, even AI doesn’t know it’s AI.
We actually built a quiz where you can test whether you can identify real vs AI images. Google Gemini scored 2 out of 9. If you beat that score, we’re offering a $50 gift card to Curious Refuge courses.
Click the button to try the quiz and scroll down to see the exact prompt structure we recommend (and get a free guide).
Let’s get to it!
How to Generate Realistic AI Images | Video Tutorial
Below is a video breakdown showing our favorite workflow for generating the most realistic AI Images Possible.
How to Generate Realistic AI Images
Here is a breakdown of my favorite tips for generating the most realistic AI images possible.
Realistic AI Image Tip #1: Use Nano Banana Pro
For this tutorial, we used Google Nano Banana Pro inside Freepik. It gives an ideal balance between realism and control.
You can also:
Use it directly in Gemini.
Use an aggregator that supports multiple models.
The reason we prefer aggregators? Iteration. Inside an aggregator, you can generate 4–12 images at once. Realism is a refinement process, and you are almost never going to nail it on the first generation.

Nano Banana Pro
Midjourney
There are other image generator options like Midjourney, Flux, and even more, but the prompt adherence that comes from Nano Banan Pro is unmatched.
In the images above, you cann that Midjourney’s image is not bad at all, but it’s almost too perfect. The skin texture, lighting, and overall aesthetic of the photo make it hard to pass as realistic.
Whenever you structure that with specific, intentional, and structured prompting skills, it really helps the tool outperform it’s competitors.
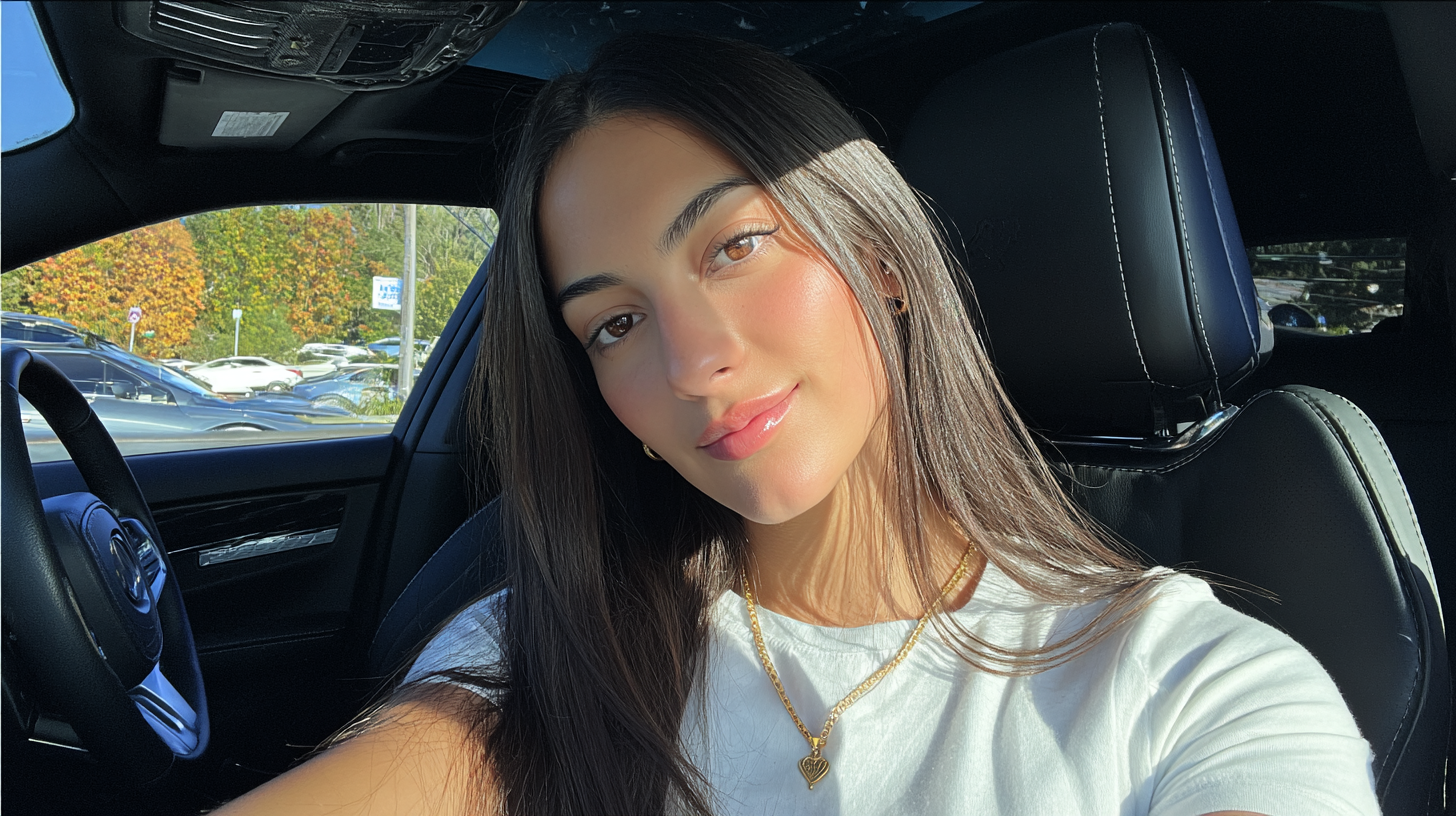
Realistic AI Image Tip #2: Structured Prompting
AI models now respond better to clear contextual hierarchies. You’re not just describing what the scene looks like you’re describing how it was captured.
Structure your prompt like this:
CAMERA DETAILS: Shot on iPhone 16 Pro, 1x, f/2, RAW.
LIGHTING: Natural window light, soft shadows, realistic highlights.
SUBJECT: Detailed physical description
OUTFIT: Be specific about what your character is wearing.
POSE: Be specific habout how they’re standing and how their arms and legs are positioned.
LOCATION: Talk about the Background and location. Be Specific
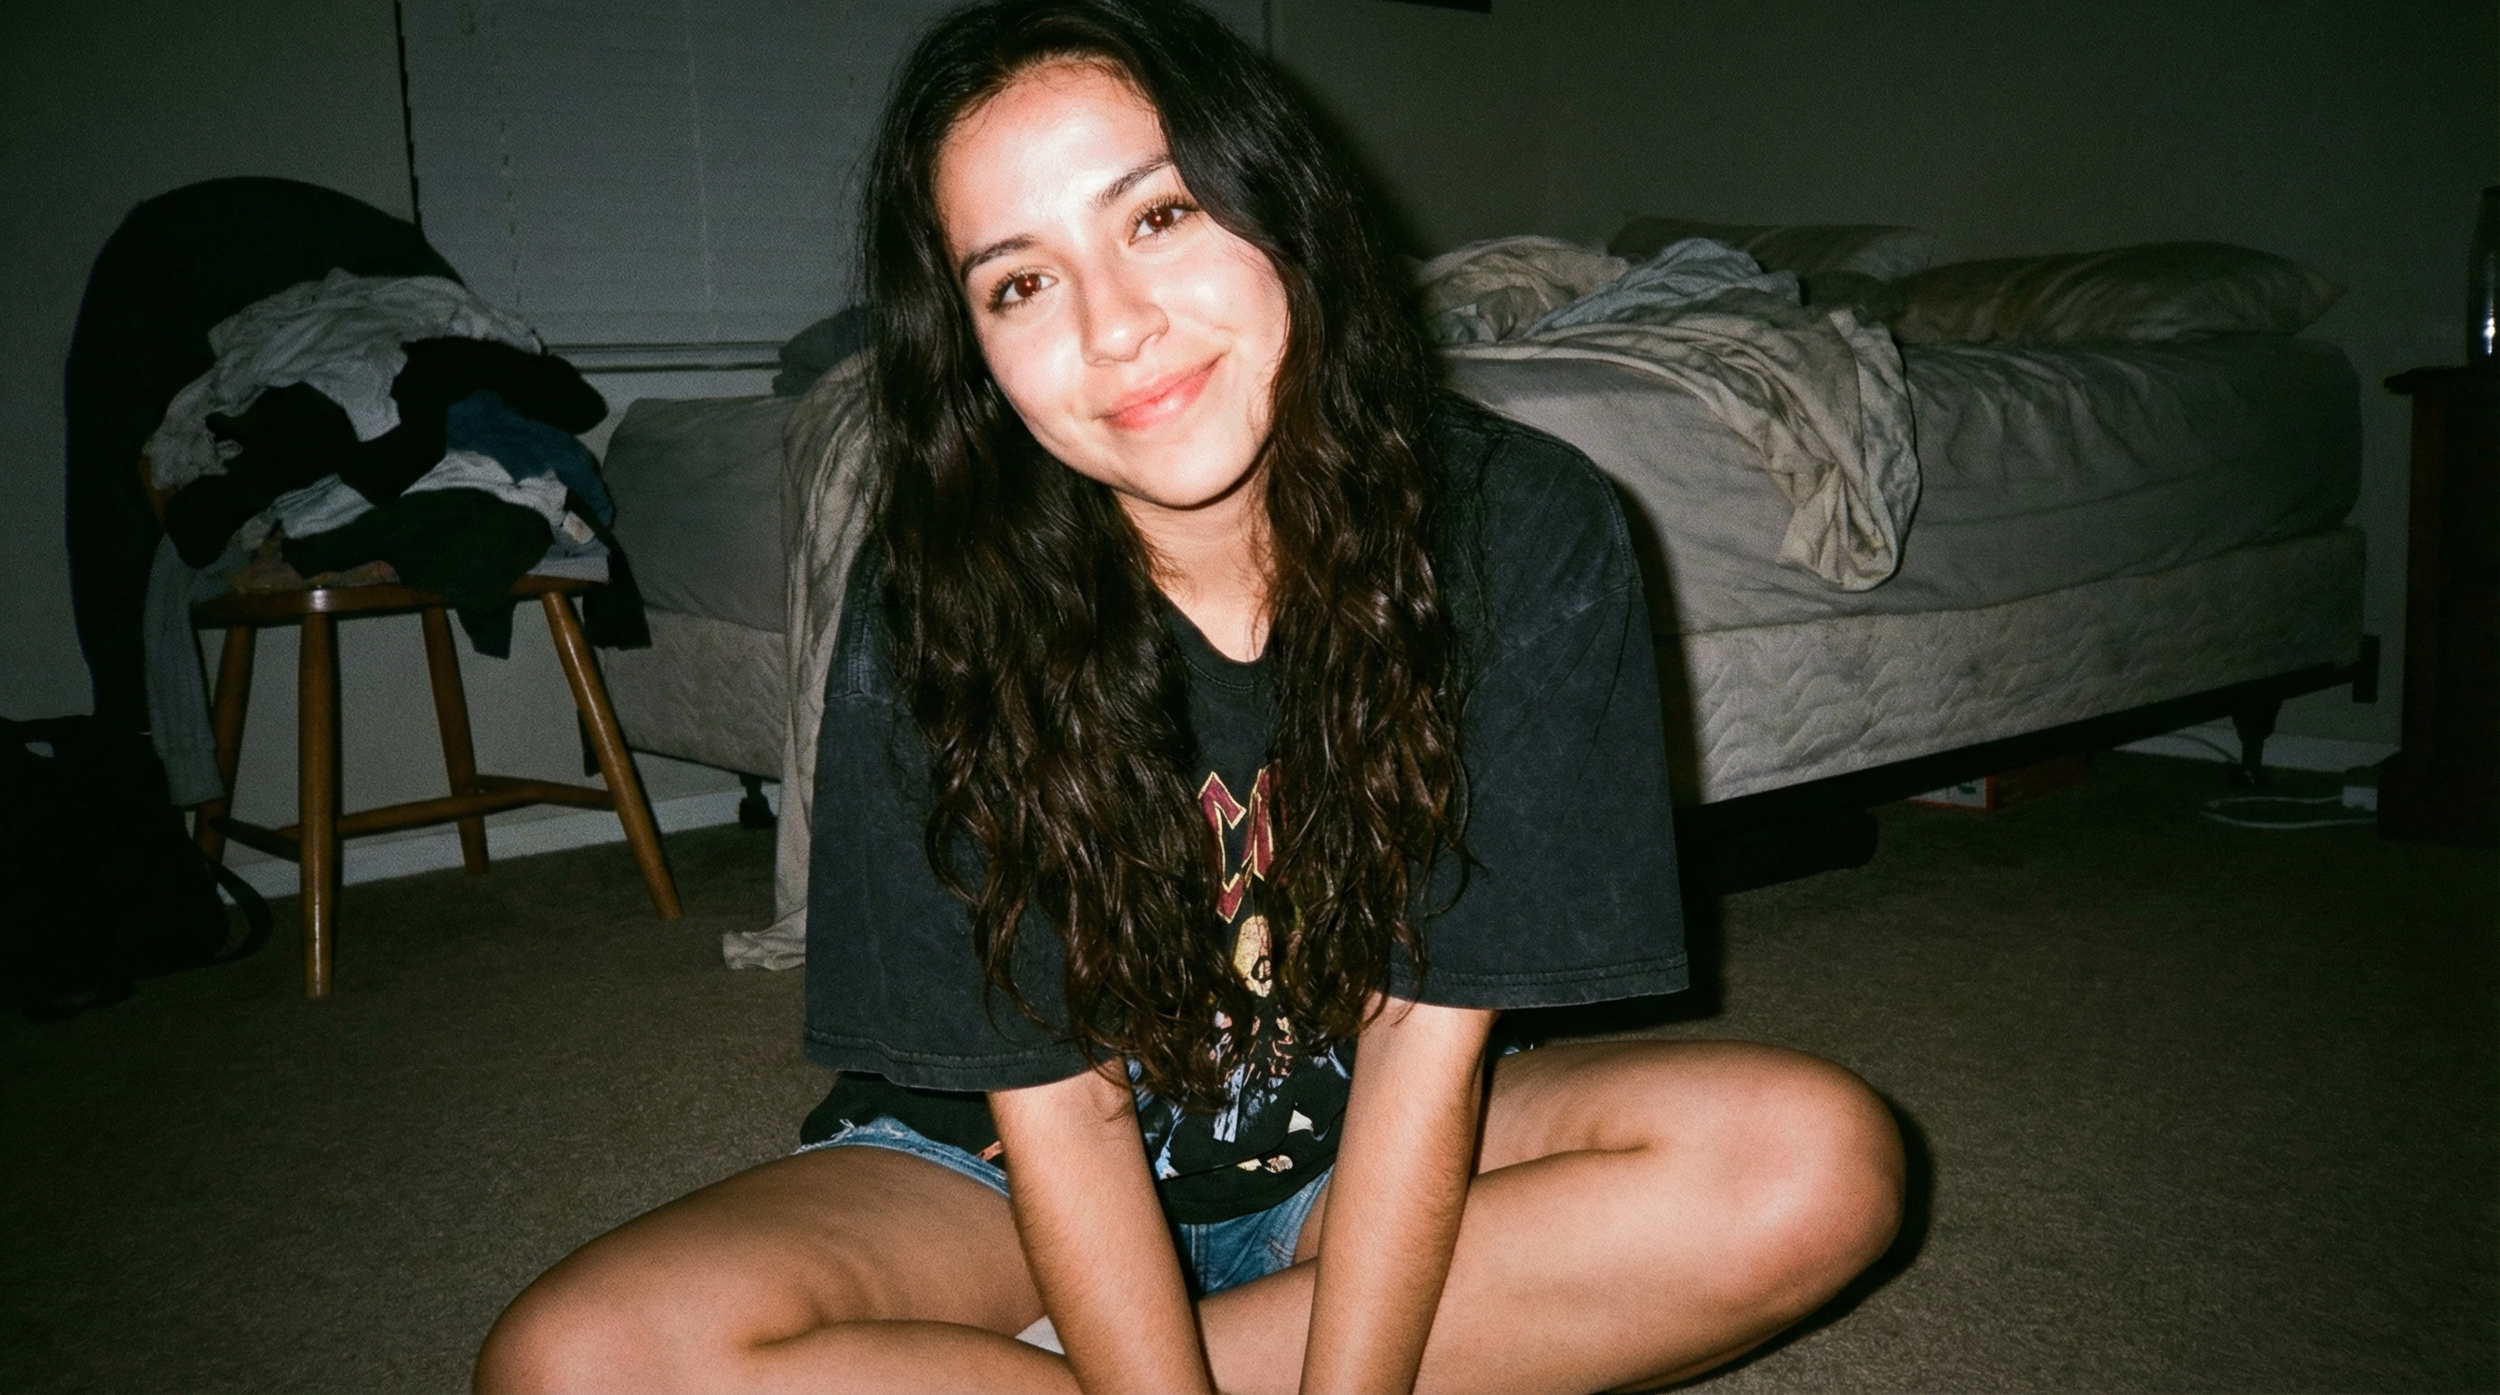
Here’s an example prompt we used to get the image above…
CAMERA / PHONE DETAILS: Shot on disposable camera, direct flash, On-camera flash harsh lighting, Visible grain, Slight red-eye effect, Overexposed highlights SUBJECT: 22 year old Latina woman, Long wavy dark hair, Minimal makeup, Relaxed expression OUTFIT: Oversized band t-shirt, Shorts, Barefoot POSE: Sitting cross-legged on bedroom floor, Looking directly at camera, Leaning slightly forward LOCATION: Bedroom at night, Messy bed in background, Clothes on chair, Flash illuminating subject sharply against darker room
Fill out the form below to download a free guide that gives you the exact prompt structure you need to get realistic AI images, along with a ton of terms to help you know specifically want you want when geereating AI Images.
Realistic AI ImageTip #3: Be Specific
If your prompt is generic, your image will look generic. That plastic, waxy, slightly-off AI look? It usually starts with vague prompting. If you want realism, you need to prompt like a photographer, not like a concept artist.
Instead of typing something like “A photo of photographers in the early 2000s,” you need to get technical.
Try including these specifics:
Lens Type: (e.g., 35mm, 50mm)
F-stop: (The lower the number, the creamier the background)
ISO: (Control that digital grain)
Lighting Direction: (Is it natural window light or a harsh strobe?)
When we used specific lens info and f-stops, the results immediately felt more candid and "documentary."
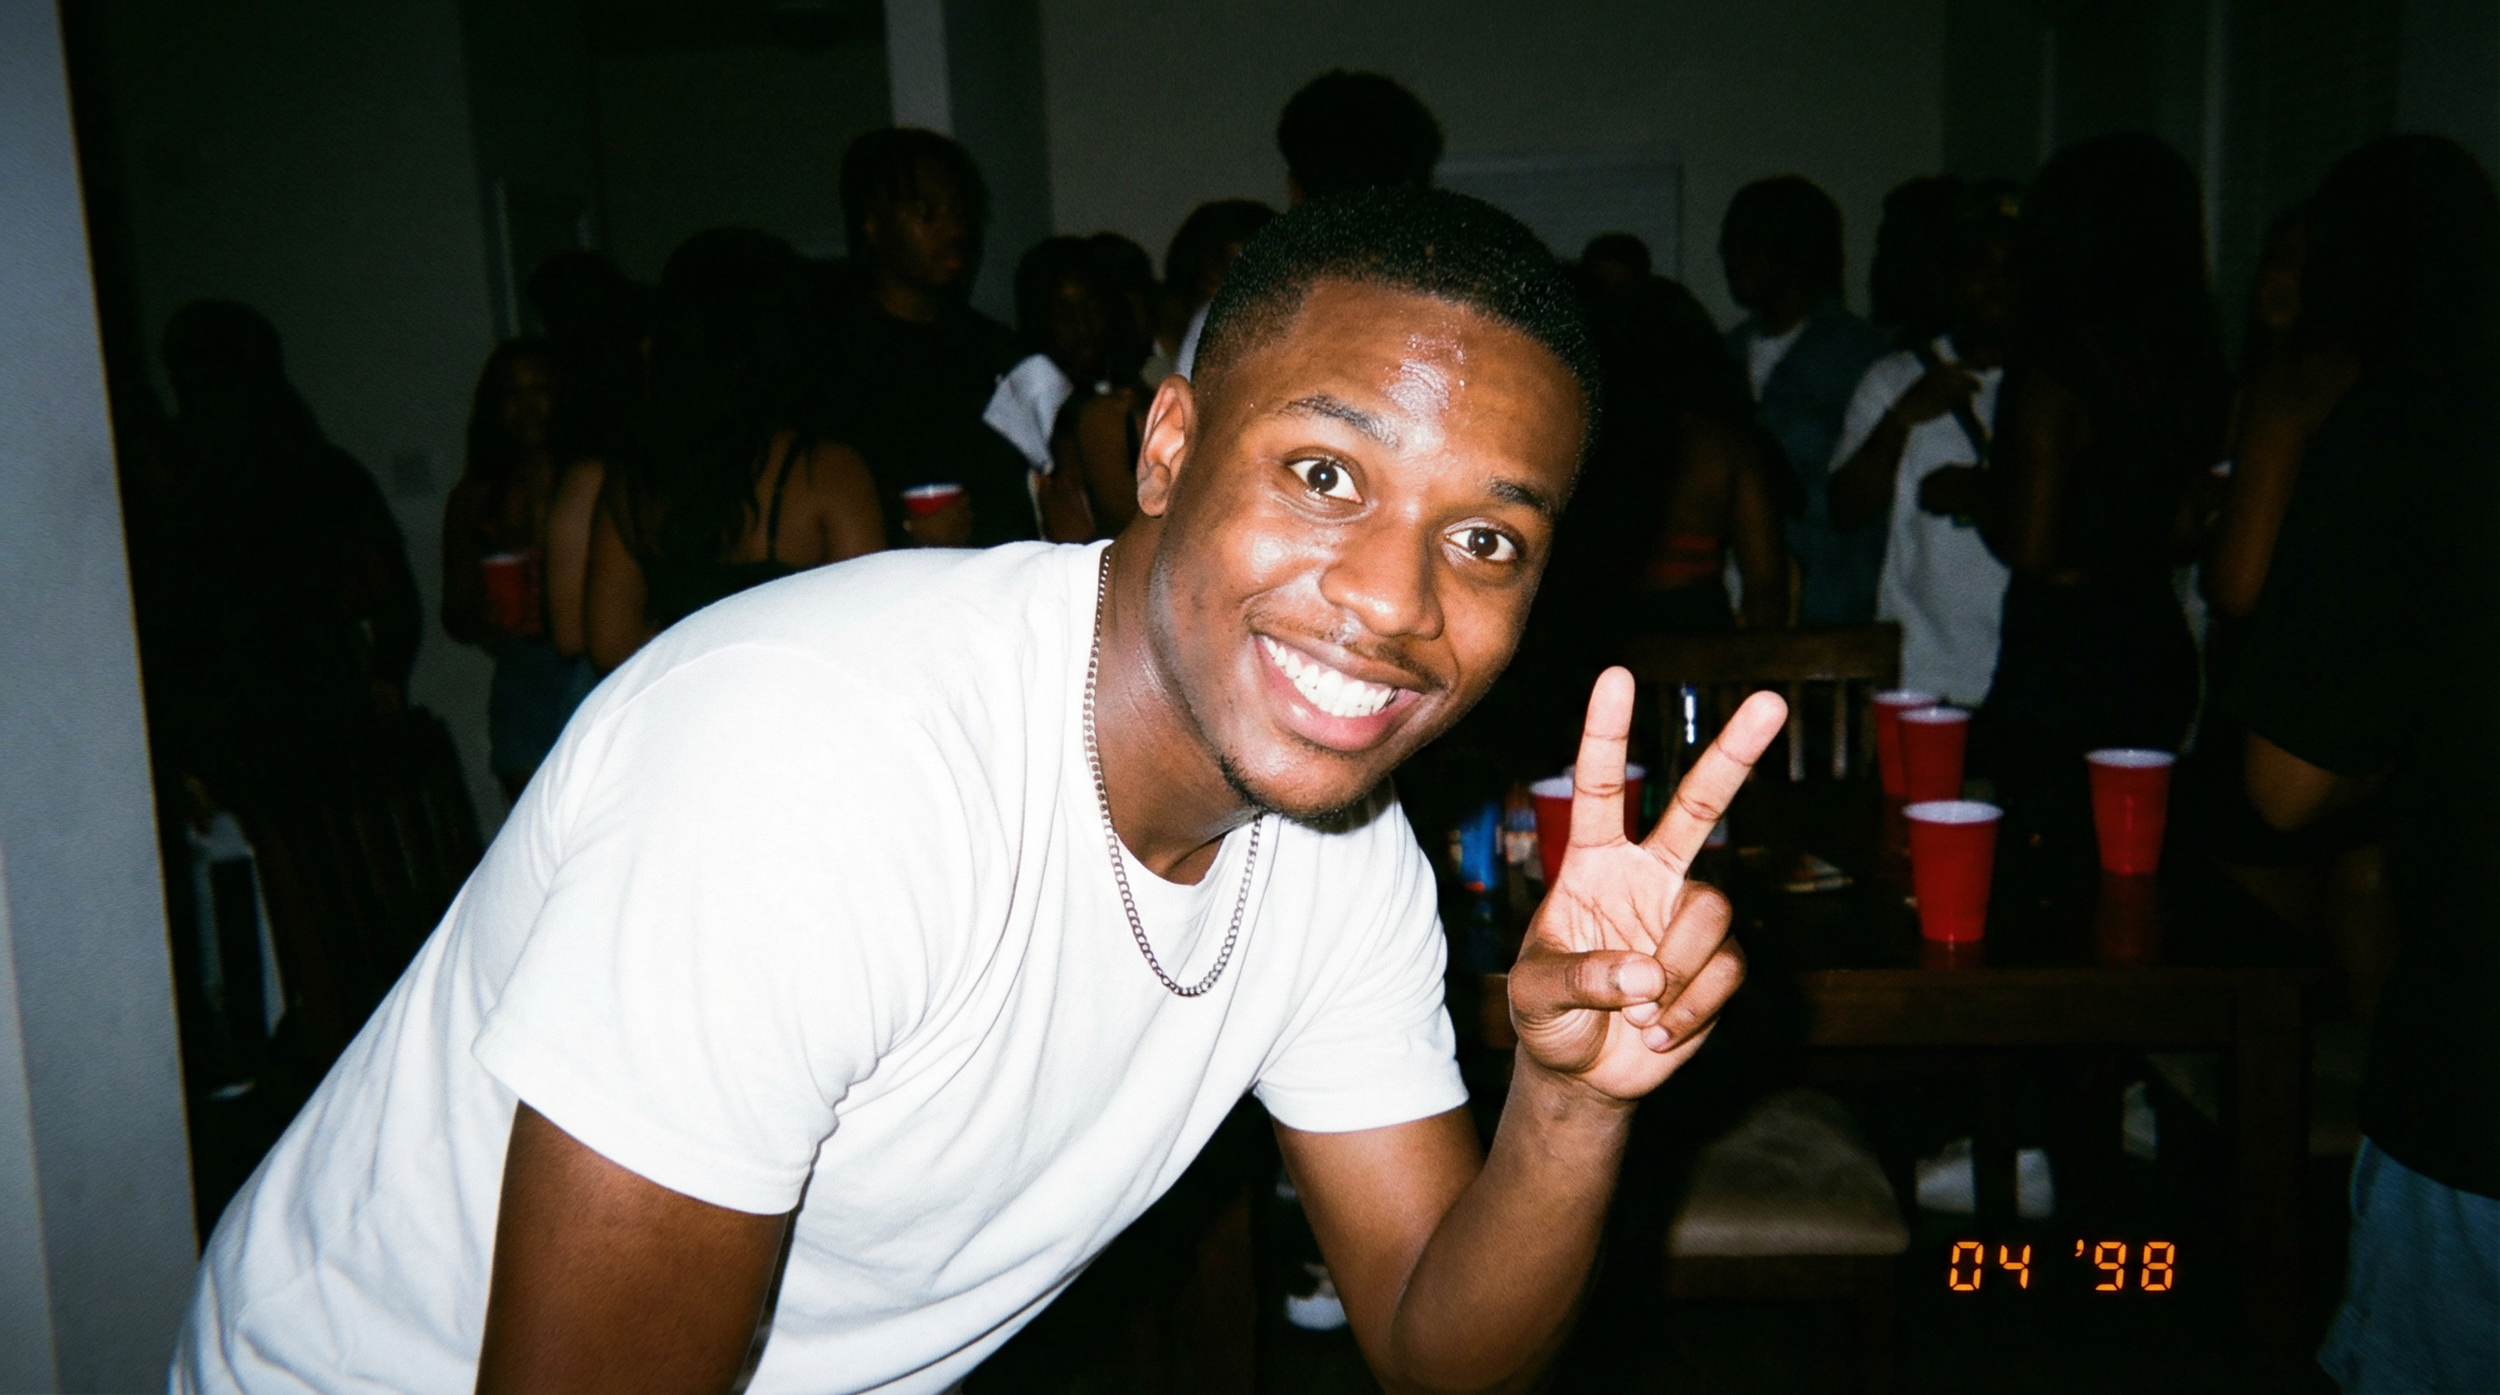
Here’s the prompt for the image above, and honestly there is a lot more room for being even more specific than the prompt shown below…
CAMERA: Shot on Fujifilm disposable camera, Direct on-camera flash, Harsh shadows, High grain, Overexposed foreground, Dark background falloff SUBJECT: 24 year old Black man, Short haircut, Big smile, Slight sweat shine on face OUTFIT: Plain white tee, Chain necklace POSE: Leaning toward camera, Peace sign with one hand, Eyes slightly wide from flash LOCATION: House party, Dim room, Blurred people behind him, Red solo cups visible
It’s those small, technical details that move your image from “AI-ish” to "industry standard".
Realistic AI ImageTip #4: Use Reference Images
Instead of guessing how to prompt realism, take a real photograph and upload it to Gemini. Ask it to write a prompt that would recreate that exact image.
Now you’re starting from a realism blueprint grounded in reality. This dramatically increases your "realism ceiling".
Realistic AI Image Tip #5: Edit in Imperfections
Here’s the part that feels backwards: AI images are often too perfect. Real photos contain "noise".
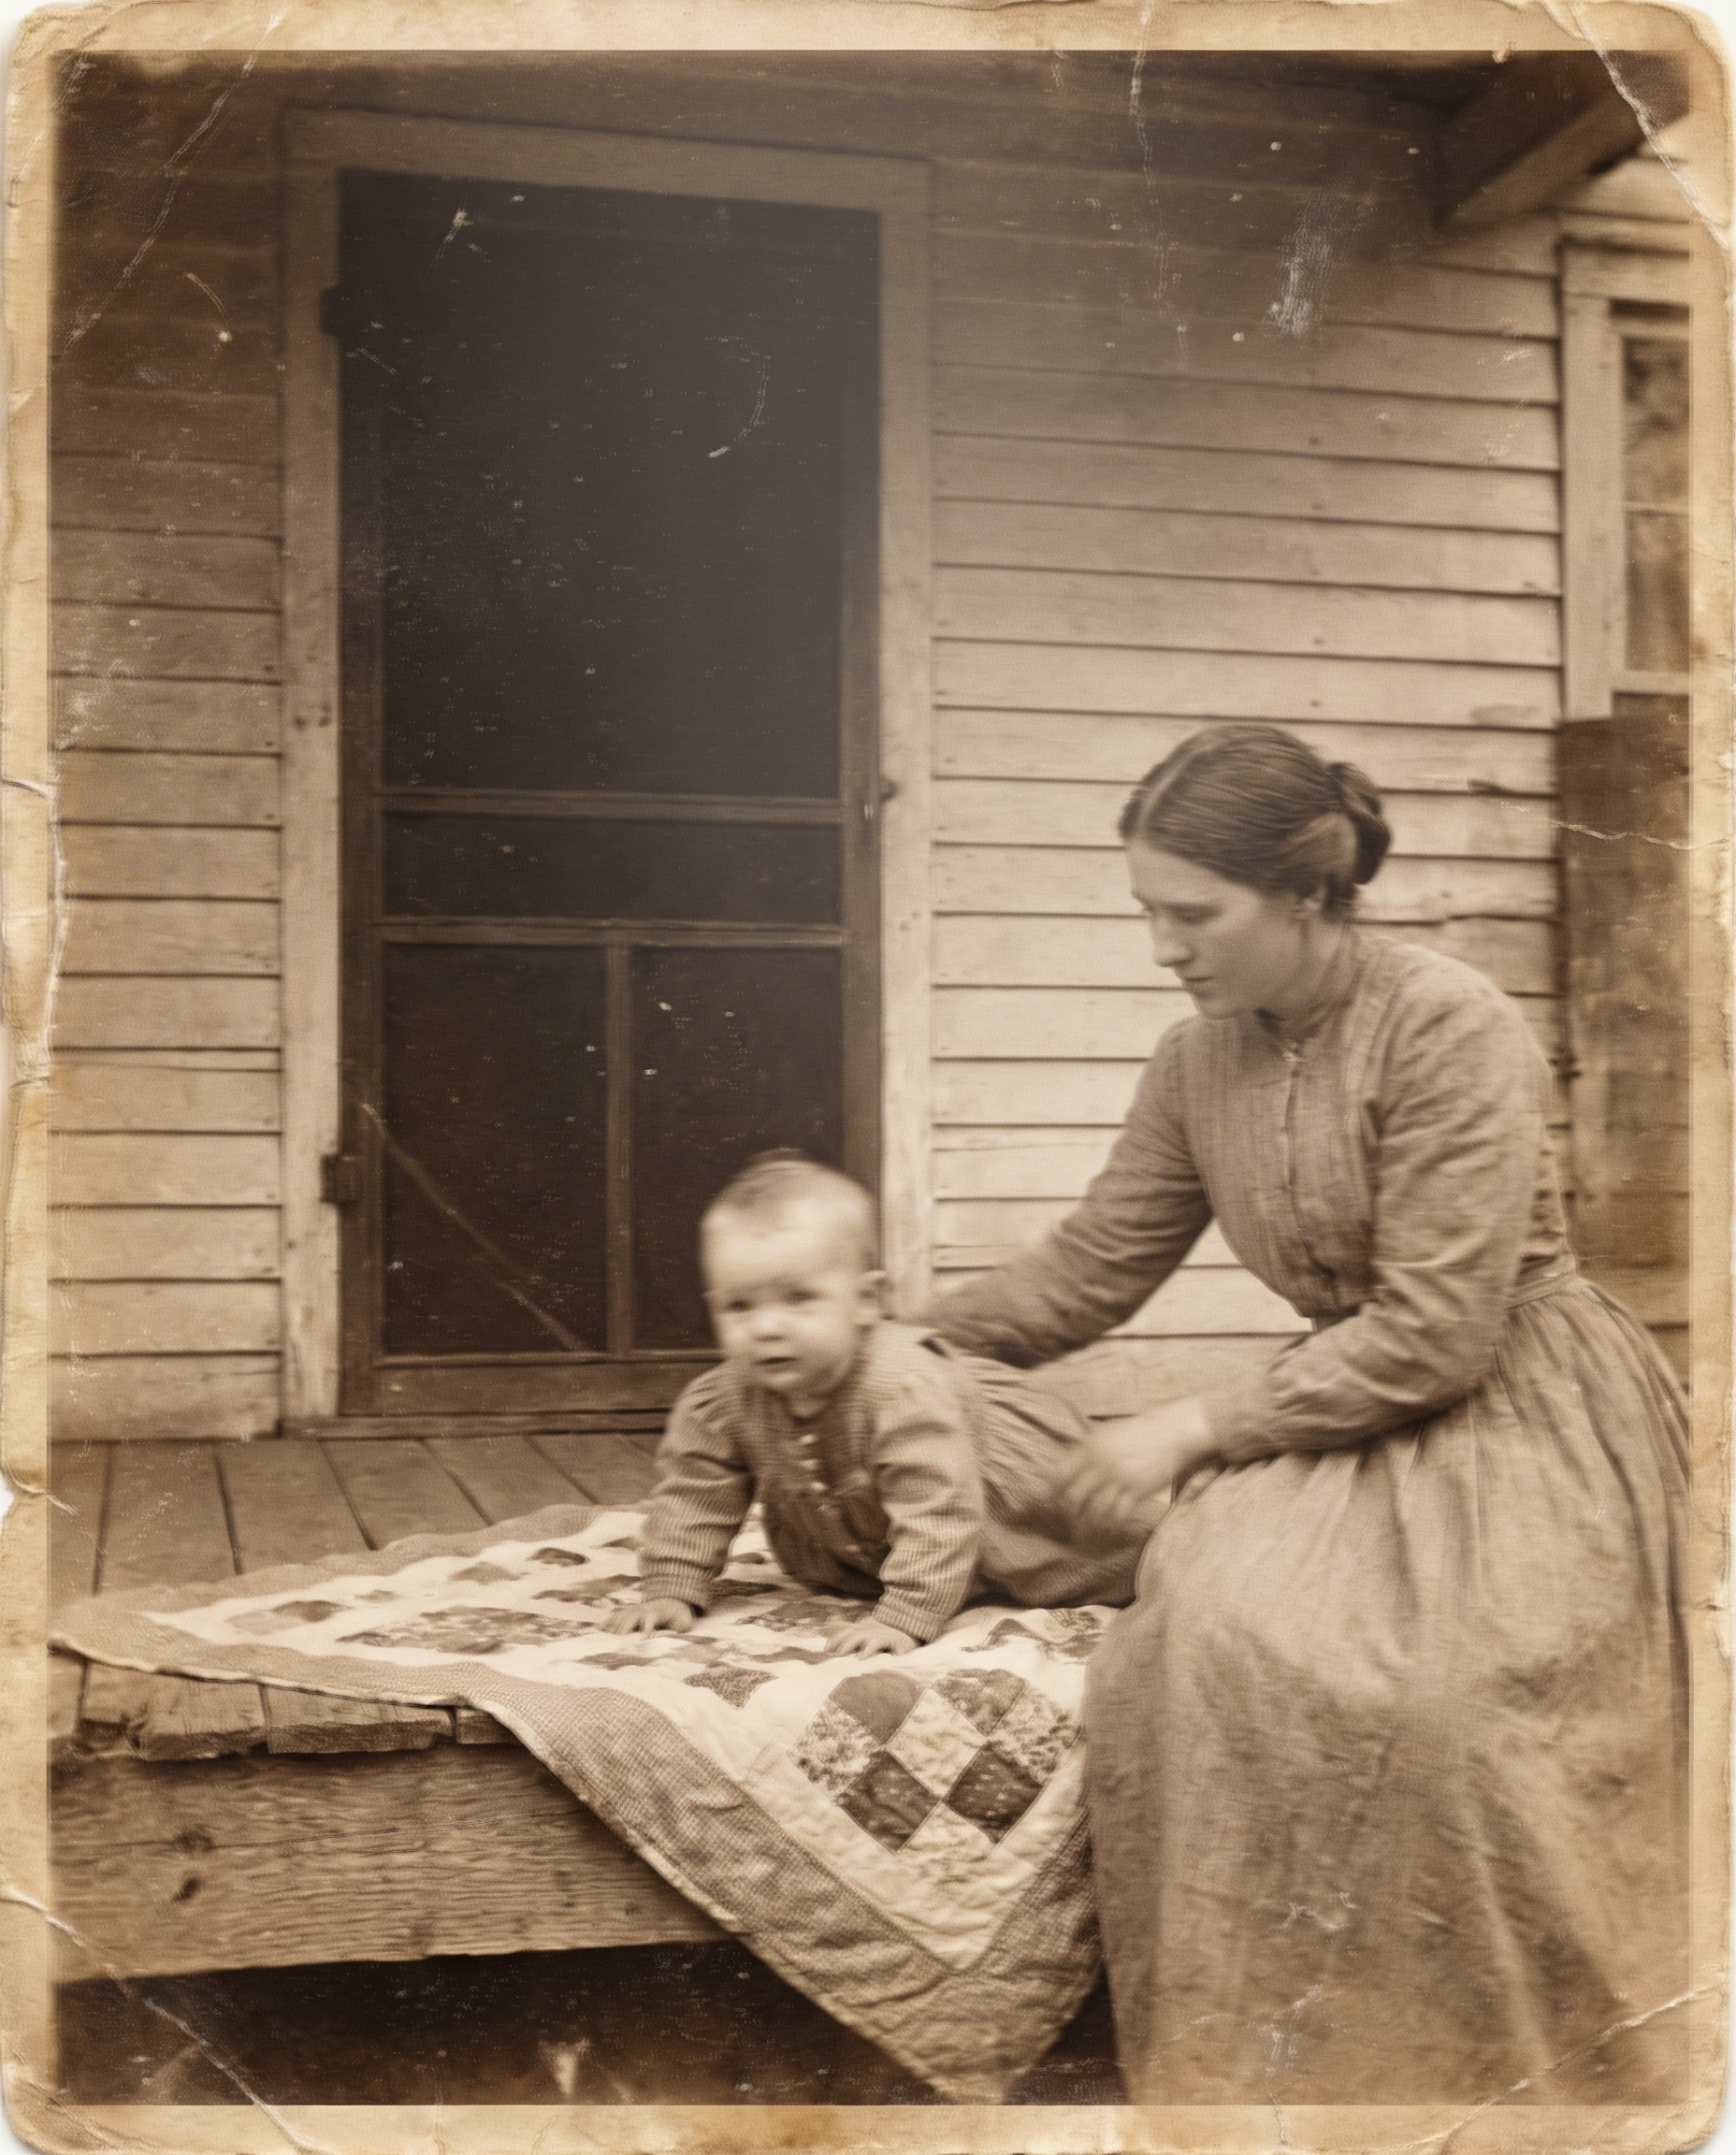
Before Adding Imperfections
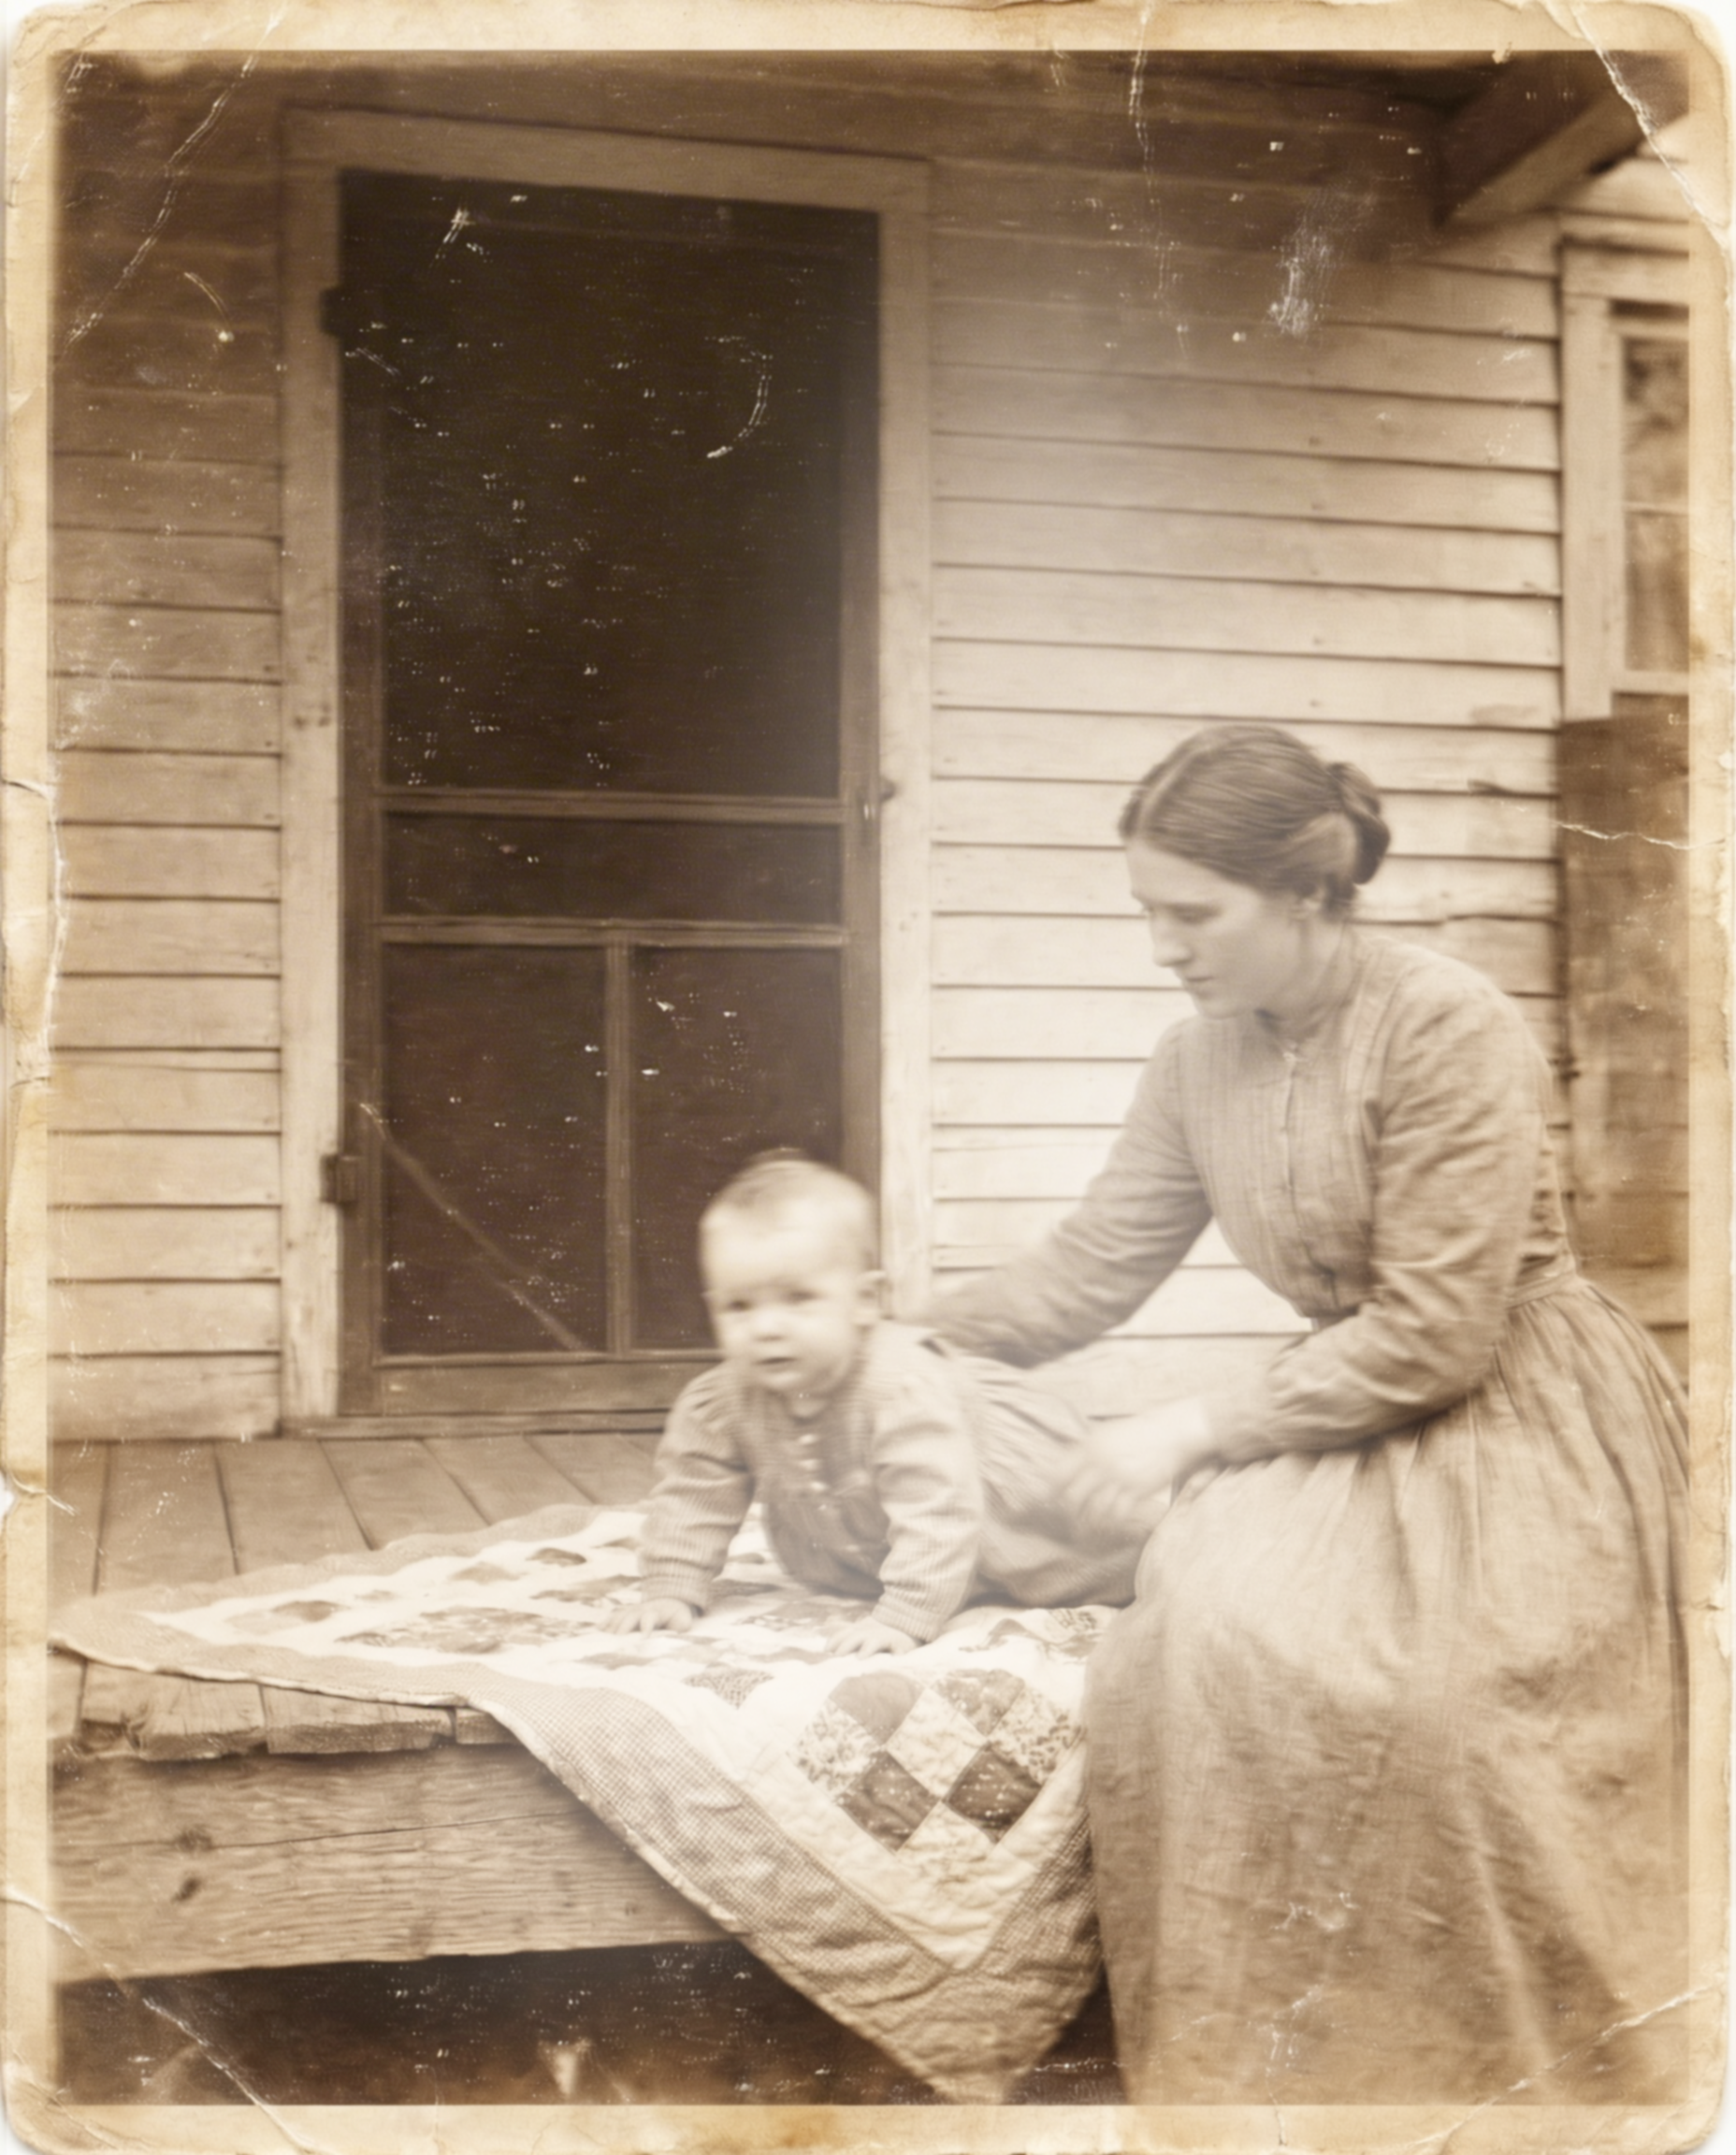
After Adding Imperfections
This will come in handy, especially if you are working on a vintage-style image. An area where AI lacks is generating those natural imperfections. You can make up for it by adding things like grain or film burns in post.
You can see in the example above, we added a decent amount of edits on the final output that really helped to make it appear eve more realistic.
Realistic AI Image Tip #6: Multi-Asset Editing
If you generate a 1990s breakfast scene but notice a modern cereal box, don't throw the whole image away. Upload a vintage reference and prompt the model to swap that specific asset.
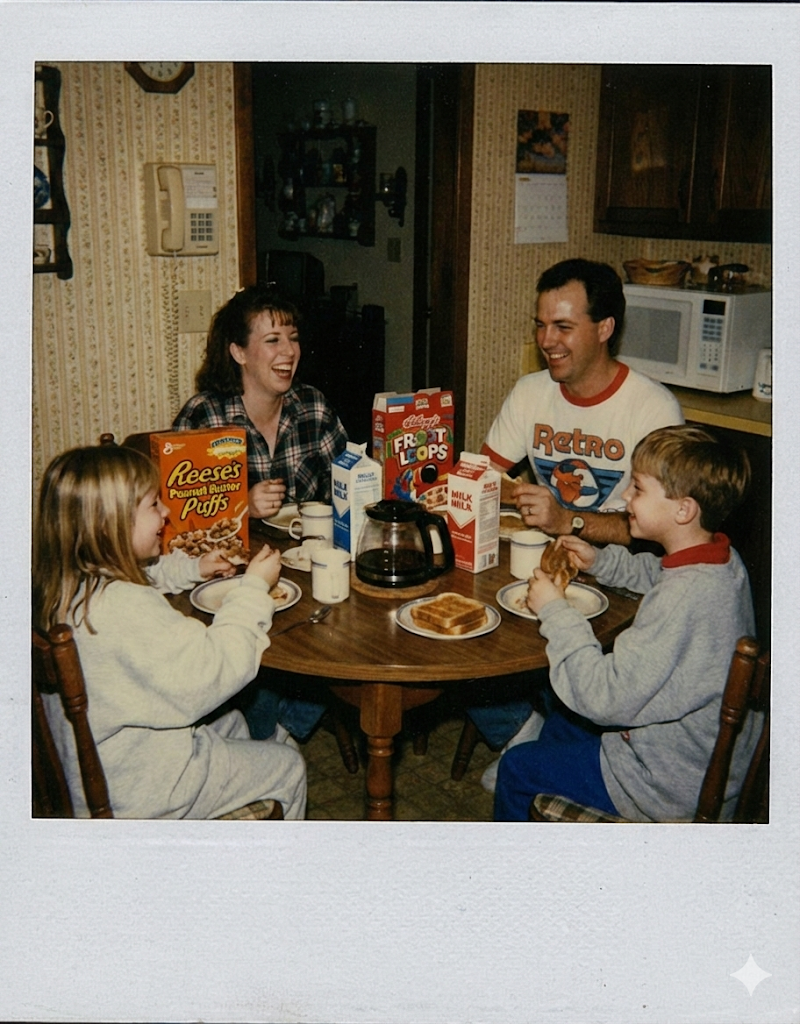
Before

After
Then, move to Photoshop to add masked blur or film overlays. This back-and-forth workflow is where the magic happens.
In the example above, you can see I made some minro adjusts to the coloring and added some film grain.
What you may not have noticed is that we went in and prompted Nano Banana Pro to switch out the cereal boxes with more accurate branding for the time that we wanted this image to take place.
This is another massive win for Nano Banana Pro. If there are any sort of weird clothes, wonky text, or other issues, you can prompt for Nano Banana Pro to replace specific parts of the image.
Bonus Tip: Use Leonardo Blueprints
One tool that doesn’t get talked about enough is Leonardo Blueprints. These are essentially pre-built realism templates that apply film grain, reflection physics, and environmental integration automatically. It's the ultimate "shortcut" for high-end results.
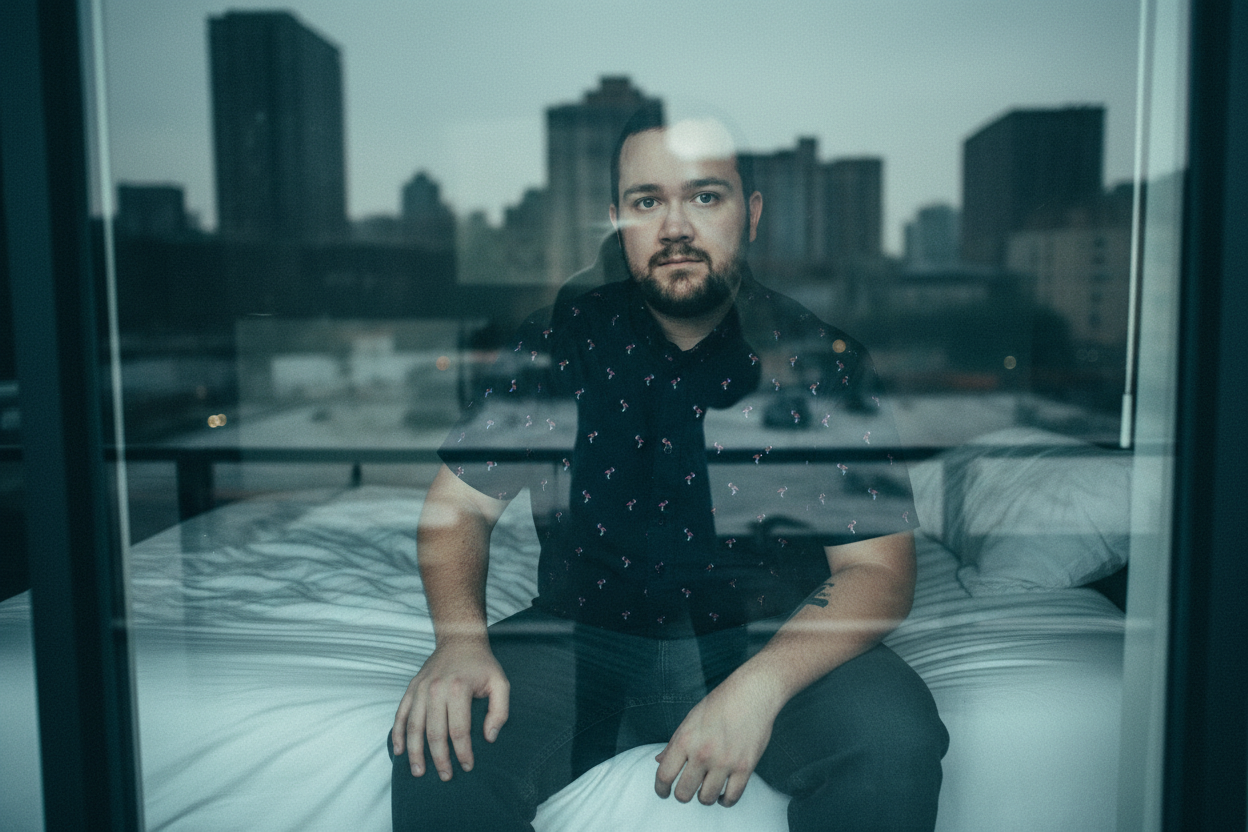
‘Urban Glare’
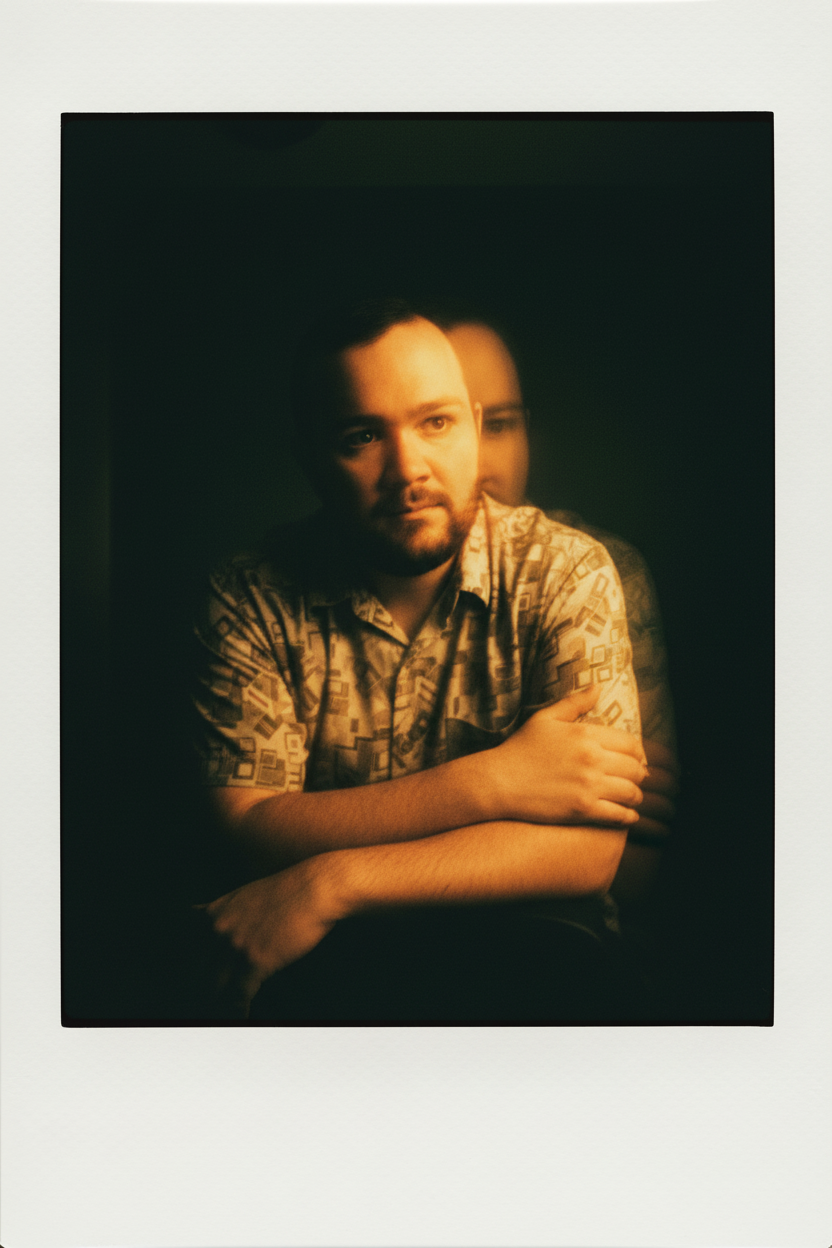
‘Dreamy Polaroid’
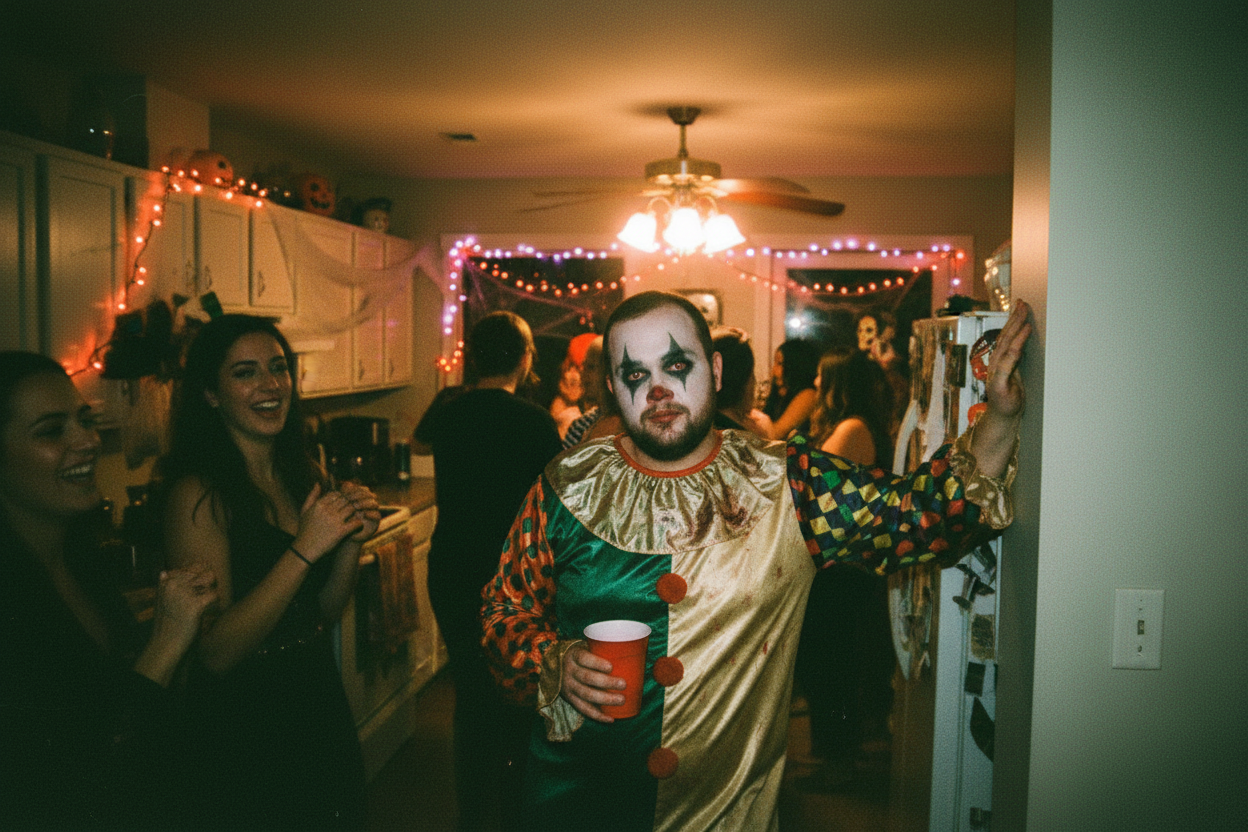
lHalloween Party’
They’re a pretty solid option and worth utilizing if you are looking for specific photography styles.
The Final Test: Can You Beat Google?
We actually built a quiz where you can test whether you can identify real vs AI images. Google Gemini scored 2 out of 9. If you beat that score, we’re offering a $50 gift card to Curious Refuge courses.
Ultra-realism isn’t about one trick. It’s about stacking small cues until the illusion holds.
Check out our AI Courses
If you really want to go deep into generating realistic AI images and videos and learn professional workflows utilizing the latest AI tools, then we highly recommend checking out our AI courses.
We would love to help you on your creative journey. Check out the courses and let us know if you have any questions!