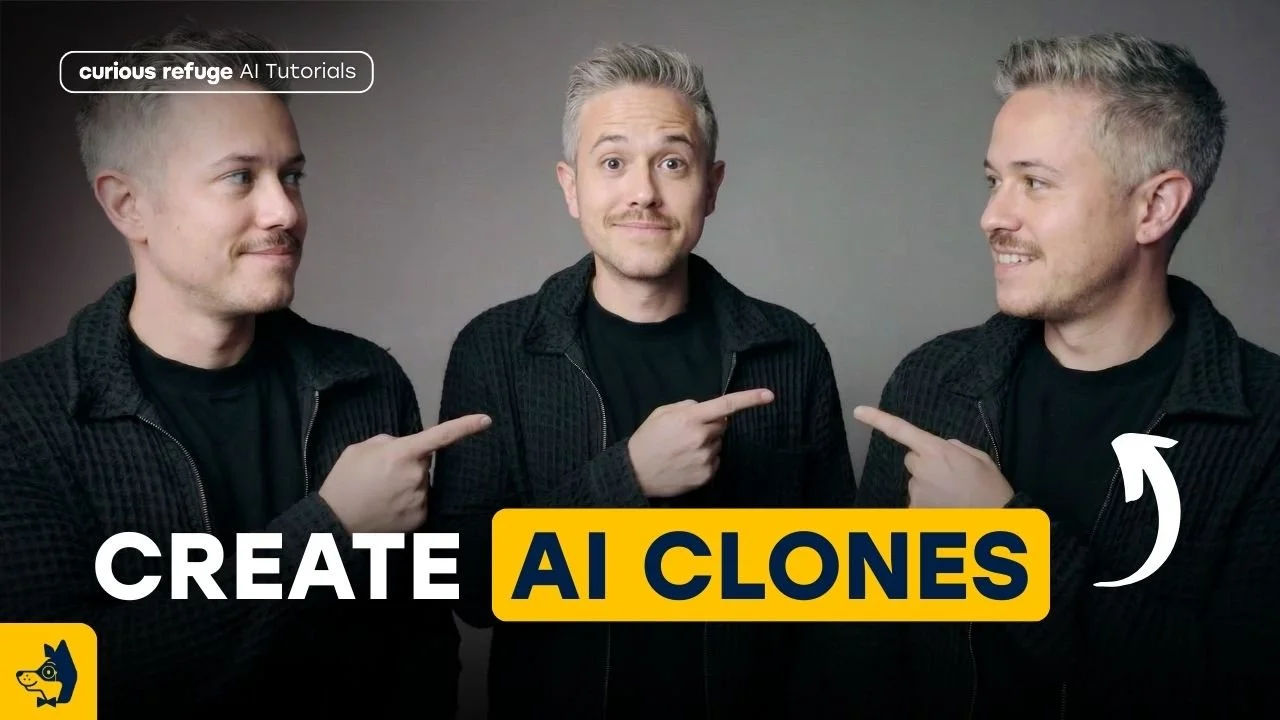
How to Clone Yourself Using AI | Step-by-Step
In this article and video tutorial, I’m going to show you how to clone yourself using AI.
When it comes to cloning characters, AI technology has improved dramatically over the last few months.
In this guide, I’m going to walk you step-by-step through how to create a realistic AI clone using the latest tools and share a few practical tips to make your results feel even more believable.
We’ll be using what we believe to be the current best lip sync and cloning tool, HeyGen.
Let’s hop in.
How to Clone Yourself Using AI | Video Tutorial
Below is a video tutorial where I show you exactly how to clone yourself using AI.
How to Clone Yourself Using AI | Step-by-Step
Below, we break down the steps showing you how to clone yourself using AI.
Step 1: Shoot the Right Training Footage
Before you ever upload anything, your results depend heavily on how you shoot your source footage.
When you are shooting your training footage, make sure to keep it simple.
Make sure your subject is not:
Looking directly at the camera
In stable lighting
With minimal camera movement
You don’t need a professional studio setup. Natural window lighting works great. Think “influencer YouTube setup;” clean, controlled, natural.
Training Footage
All you need to do is make sure your subject is speaking naturally, leaving space between words, and avoiding rushing.
The more natural the delivery, the better the clone performs later.
Step 2: Create the Avatar in HeyGen
Inside HeyGen, the process is straightforward:
Click “Clone a Real Person.”
Upload your training footage.
Name your avatar.
Select 4K resolution (for maximum quality) and decide on background removal or noise reduction.
Pro Tip: Turning off aggressive noise removal can actually make the voice sound more natural. Over-cleaned audio can typically feel too synthetic.
Just as a heads up, HeyGen has been incredibly proactive about protecting priacy in the modern AI age, so if you are cloning a person other than yourself, you will need video approval before HeyGen allows you to create the Avatar.
Step 3: Upload Audio (Don’t Rely on Text-to-Speech)
Here’s where most people go wrong. Yes, you can type a script and generate voice, but it often feels robotic.
Test-To-Speech
Uploaded Audio
If you want realism, upload real recorded audio. When you upload your own voice performance:
Inflection stays intact
Energy feels authentic
Personality carries through
Text-to-video is convenient—but uploaded audio wins every time.
Step 4: Customize Backgrounds and Scenes
Once your avatar is created, you can add custom backgrounds, remove them entirely, or create a clean color backdrop.
This gives you flexibility for:
YouTube commentary
Social content
Commercial projects
This feature gives you a ton of ability to customize and have different use cases!
Step 5: Watch is Back and Reprompt as Needed
Is it perfect? No. It’s probably an 8/10 right now. You may notice slight facial inconsistencies or minor lip sync quirks.
But here’s the trick: You can re-render multiple times. Each render gives you a slightly different performance. You can then:
Cut between the best takes
Choose the most natural moments
Edit around imperfections
Advanced Tip: Ironically, imperfection sells realism. Sometimes a slight echo or subtle noise actually makes it feel more human. Perfection isn’t always the goal—believability is.
The Bigger Picture
AI character cloning has moved from novelty to a practical tool. The gap between live action and AI clone is closing fast. We’re not quite at indistinguishable, but we’re close enough that most viewers won’t notice unless they’re looking for it.
If you’re interested in learning more cutting-edge workflows just like this one, I’d recommend checking out our free, intro to AI storytelling course. Fill out the form above to get started! This course gives you some solid information for getting started with your AI creative processes.
Thank you so much for joining us for this AI journey. Best of luck on all your creative projects!