How to Generate AI Videos Using Luma AI | Step-by-Step Tutorial

In this article, I'll show you how to generate AI Videos using Luma AI.
Luma AI has been making some noise lately, and honestly, the hype is pretty justified. I'll walk you through my go-to steps for getting a video out of it on Luma AI's platform, so you're not left poking around trying to figure it out yourself.
In this article, we will just be looking at how to generate AI videos using Luma AI. If you want to take a look at our review of Luma 3.14, their most current model at the writing of this article, you can check it out here.
Alrighty, let's get to it.
How to Generate AI Videos using Luma AI
Here's a step-by-step breakdown showing you how to generate AI Videos using Luma AI.
1. Go to Luma AI’s Website.
Head over to Luma Labs' website. You can sometimes find Luma’s AI Video Generators in other aggregators, but in this tutorial we will be using it specifically inside of Luma AI’s platform.
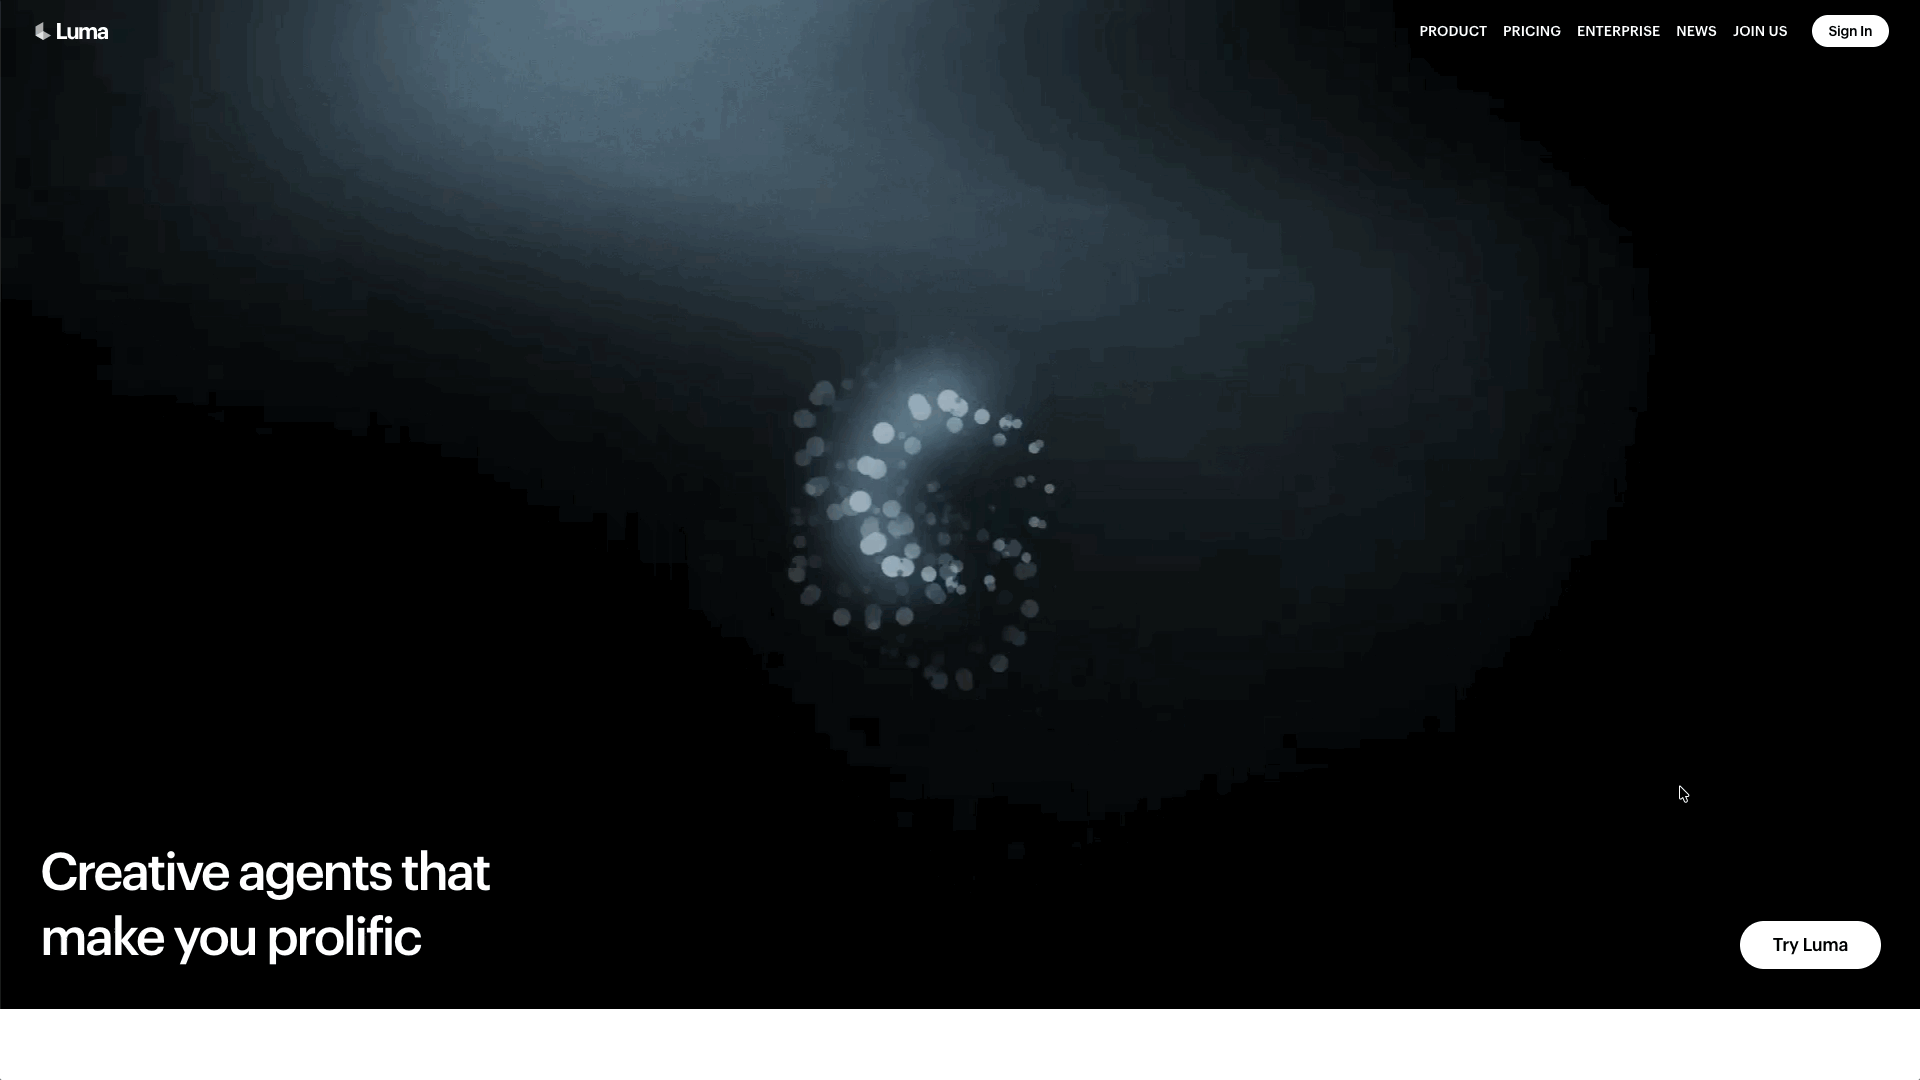
Once you're there, hit the 'Try Luma' button on the bottom right of the screen to get things going.
2. Sign In or Create an Account
Before the fun starts, Luma needs you to log in. Pick Google or Apple, whichever you trust more with your digital life.
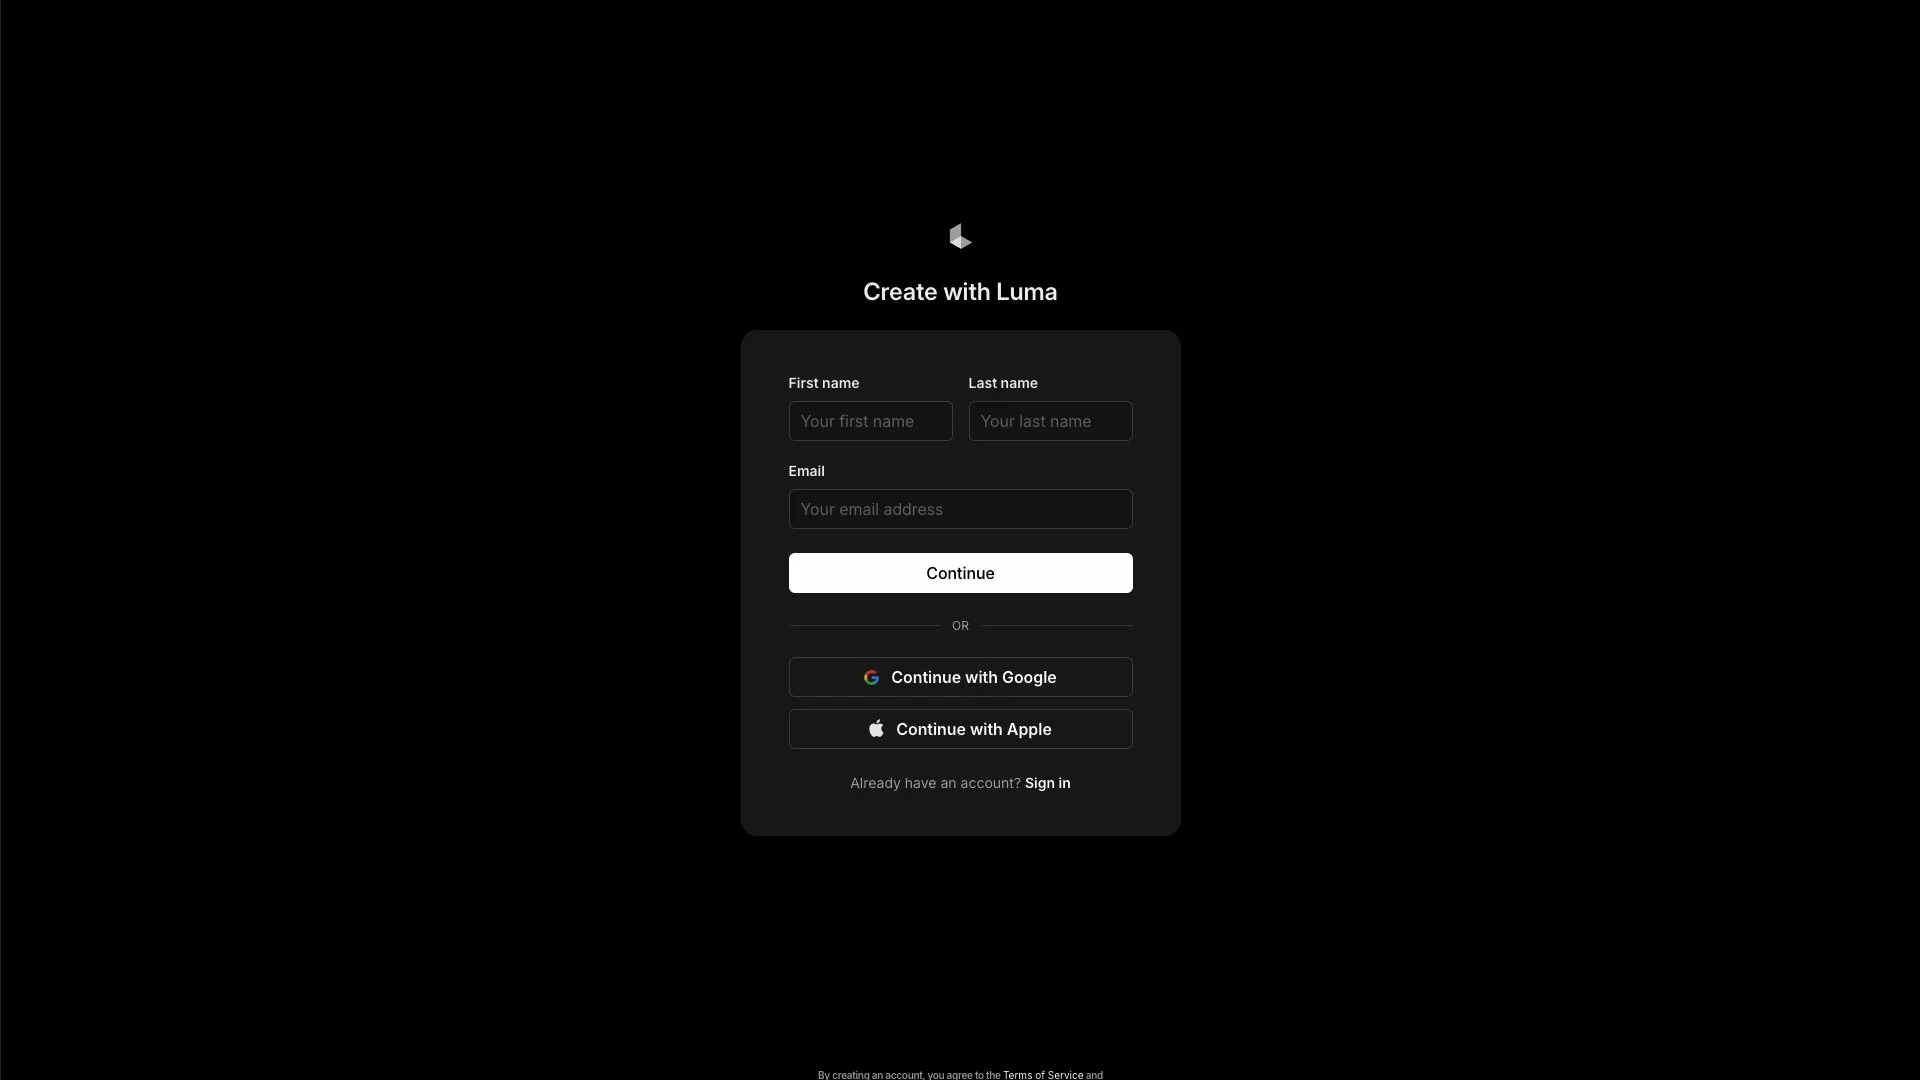
If you're brand new here, don't sweat it, the same buttons will get your account created on the spot.
3. Click the '+' Button to Create a new board
Welcome in! You'll land on your boards page, and to get started, just hit that white '+' button sitting at the bottom of the page.
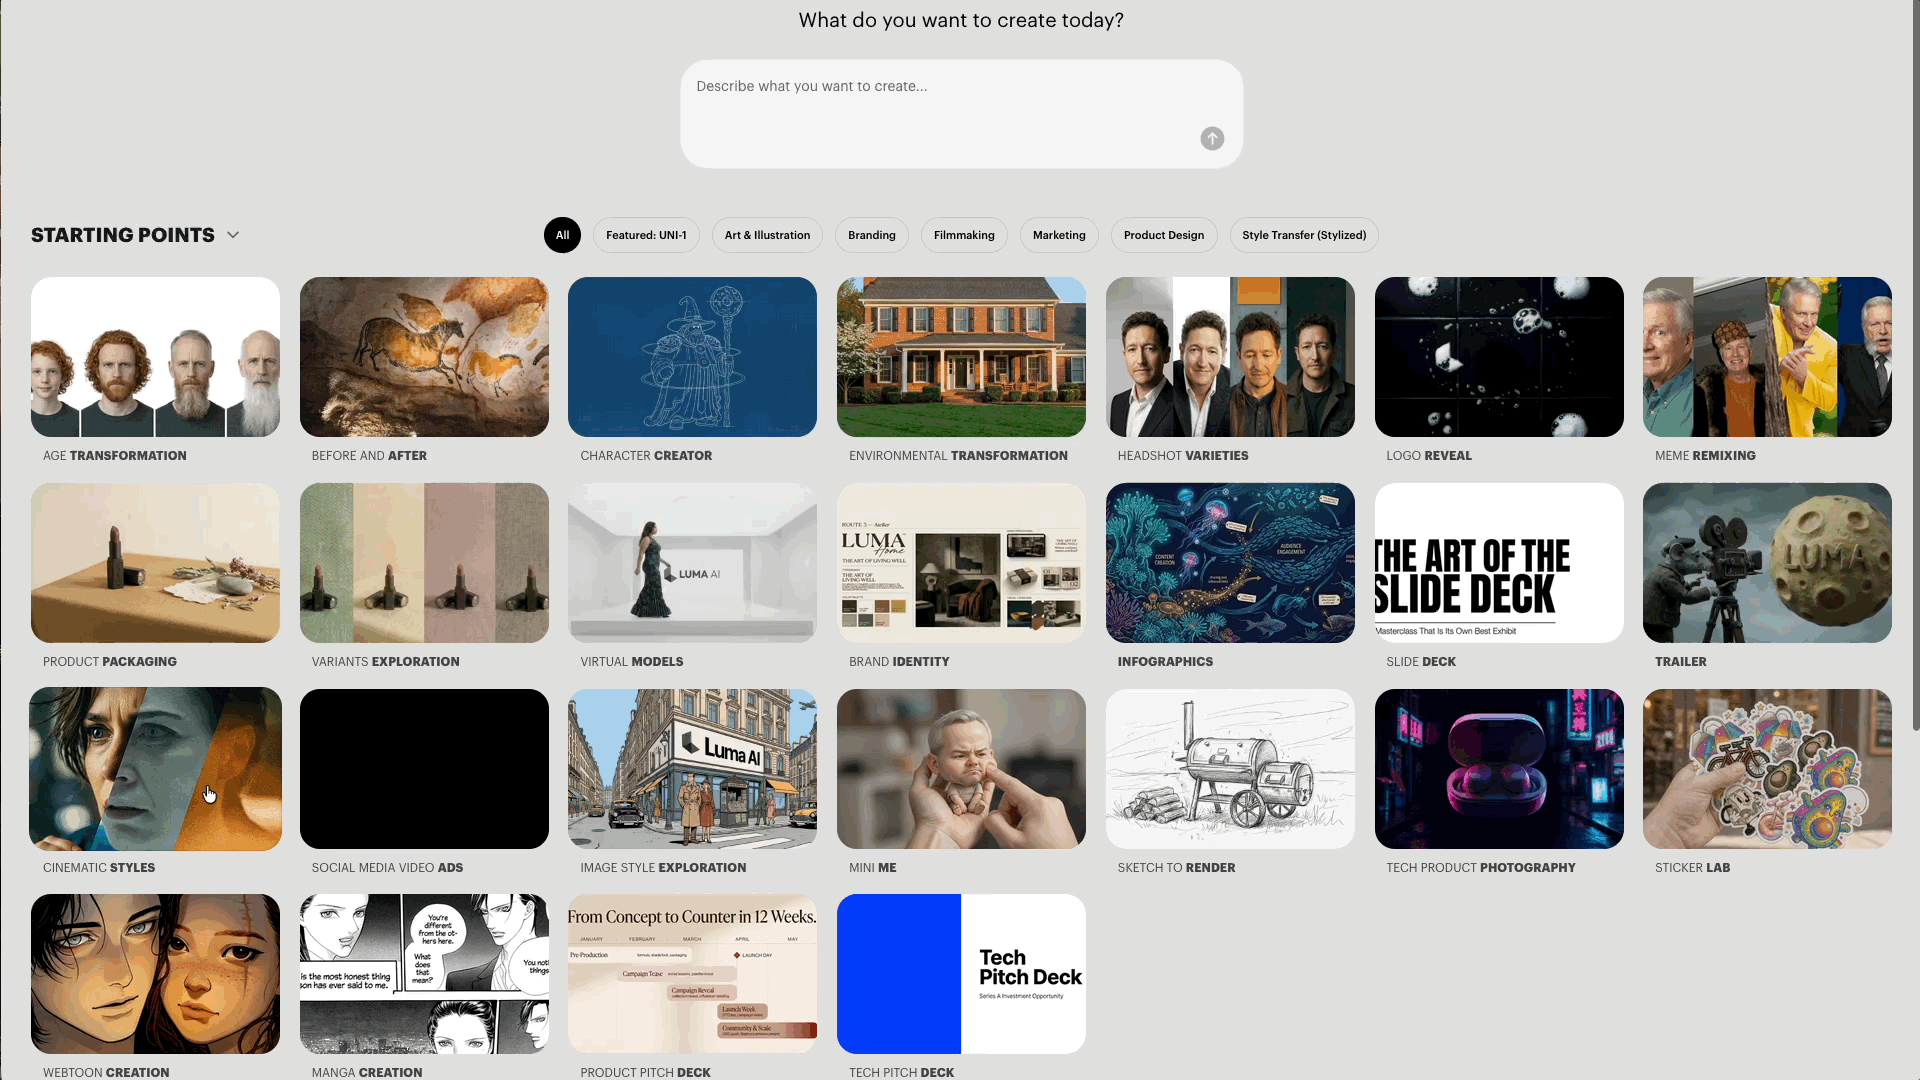
Luma AI’s has one of our favorite interfaces in the AI video space, clean, simple, and easy on the eyes.
4. Hello, Infinite Canvas, lets 'Generate Videos'
This is your board, a clean, open workspace that's basically a blank slate waiting for your ideas. To kick things off, find the 'Generate Video' button in the toolbar at the
bottom of the screen and click it.
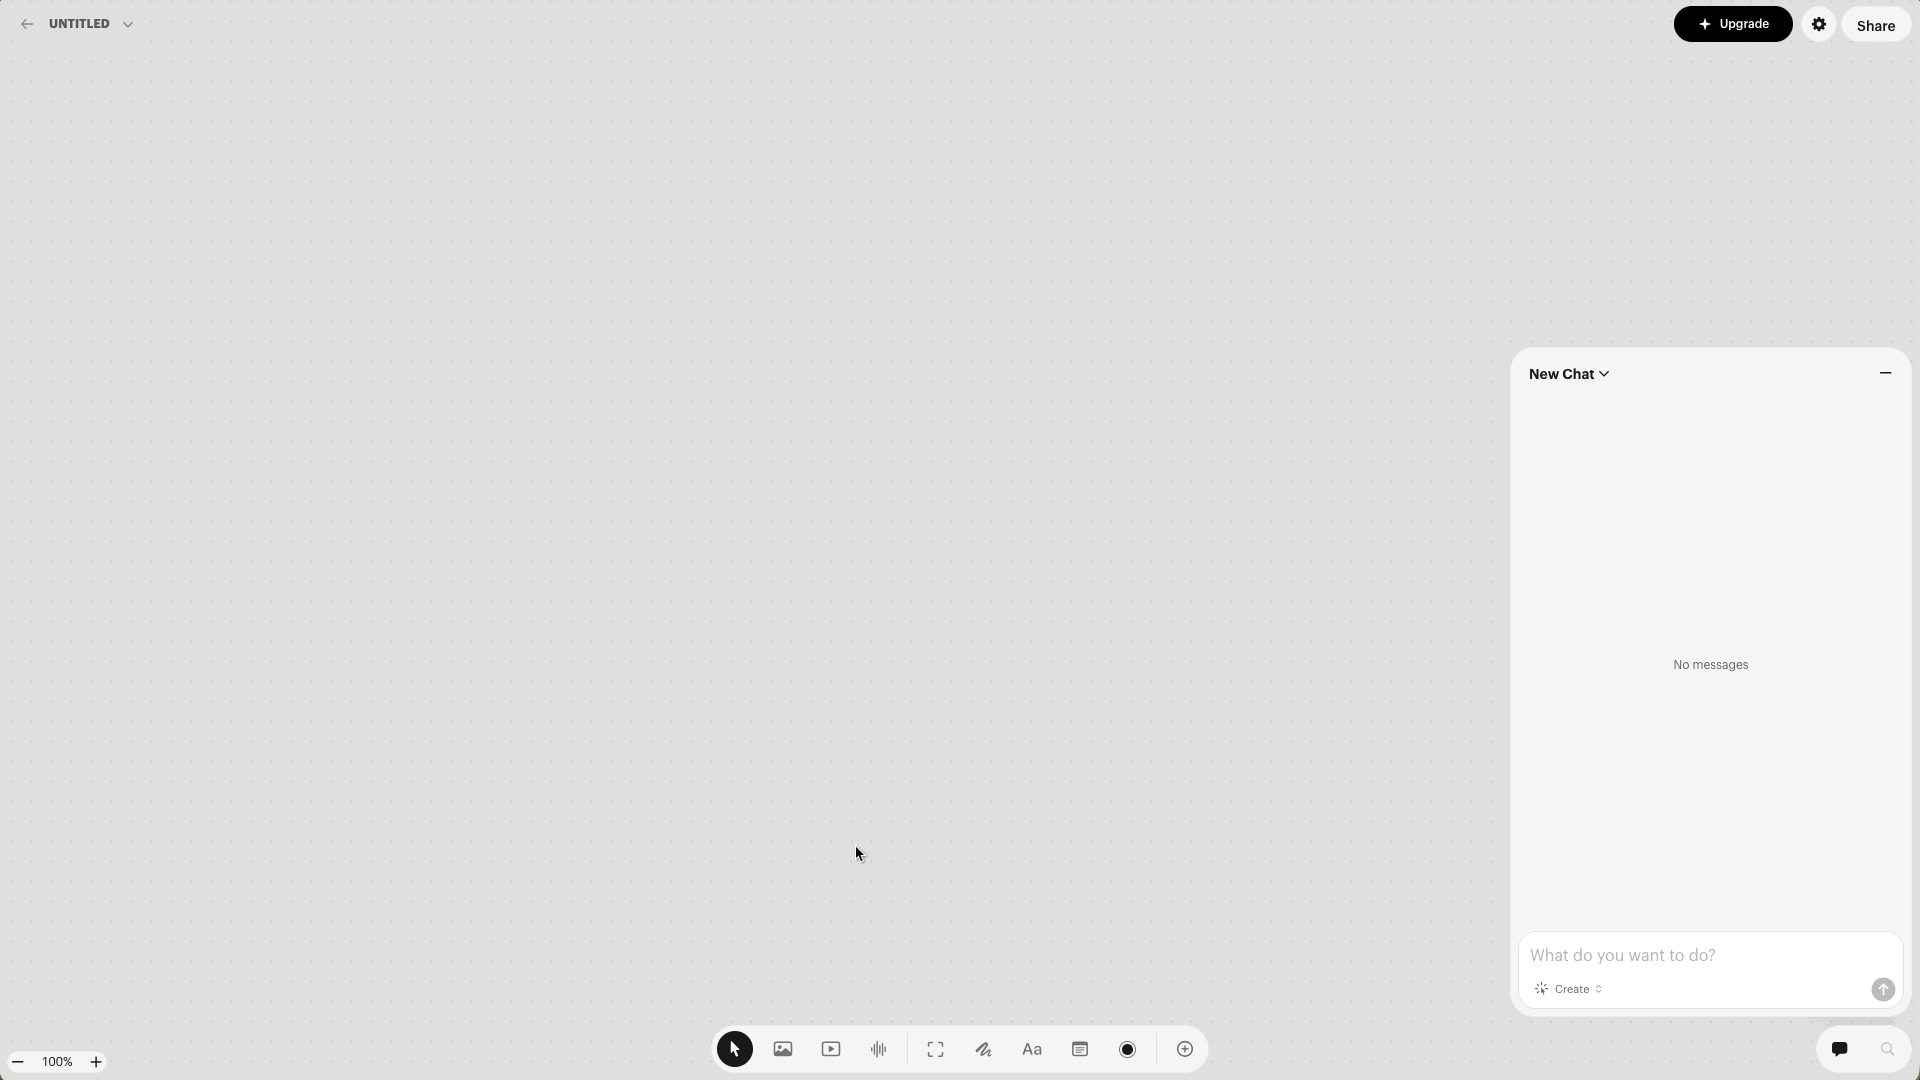
A menu will pop up, and that's where you'll want to select Ray 3.14.
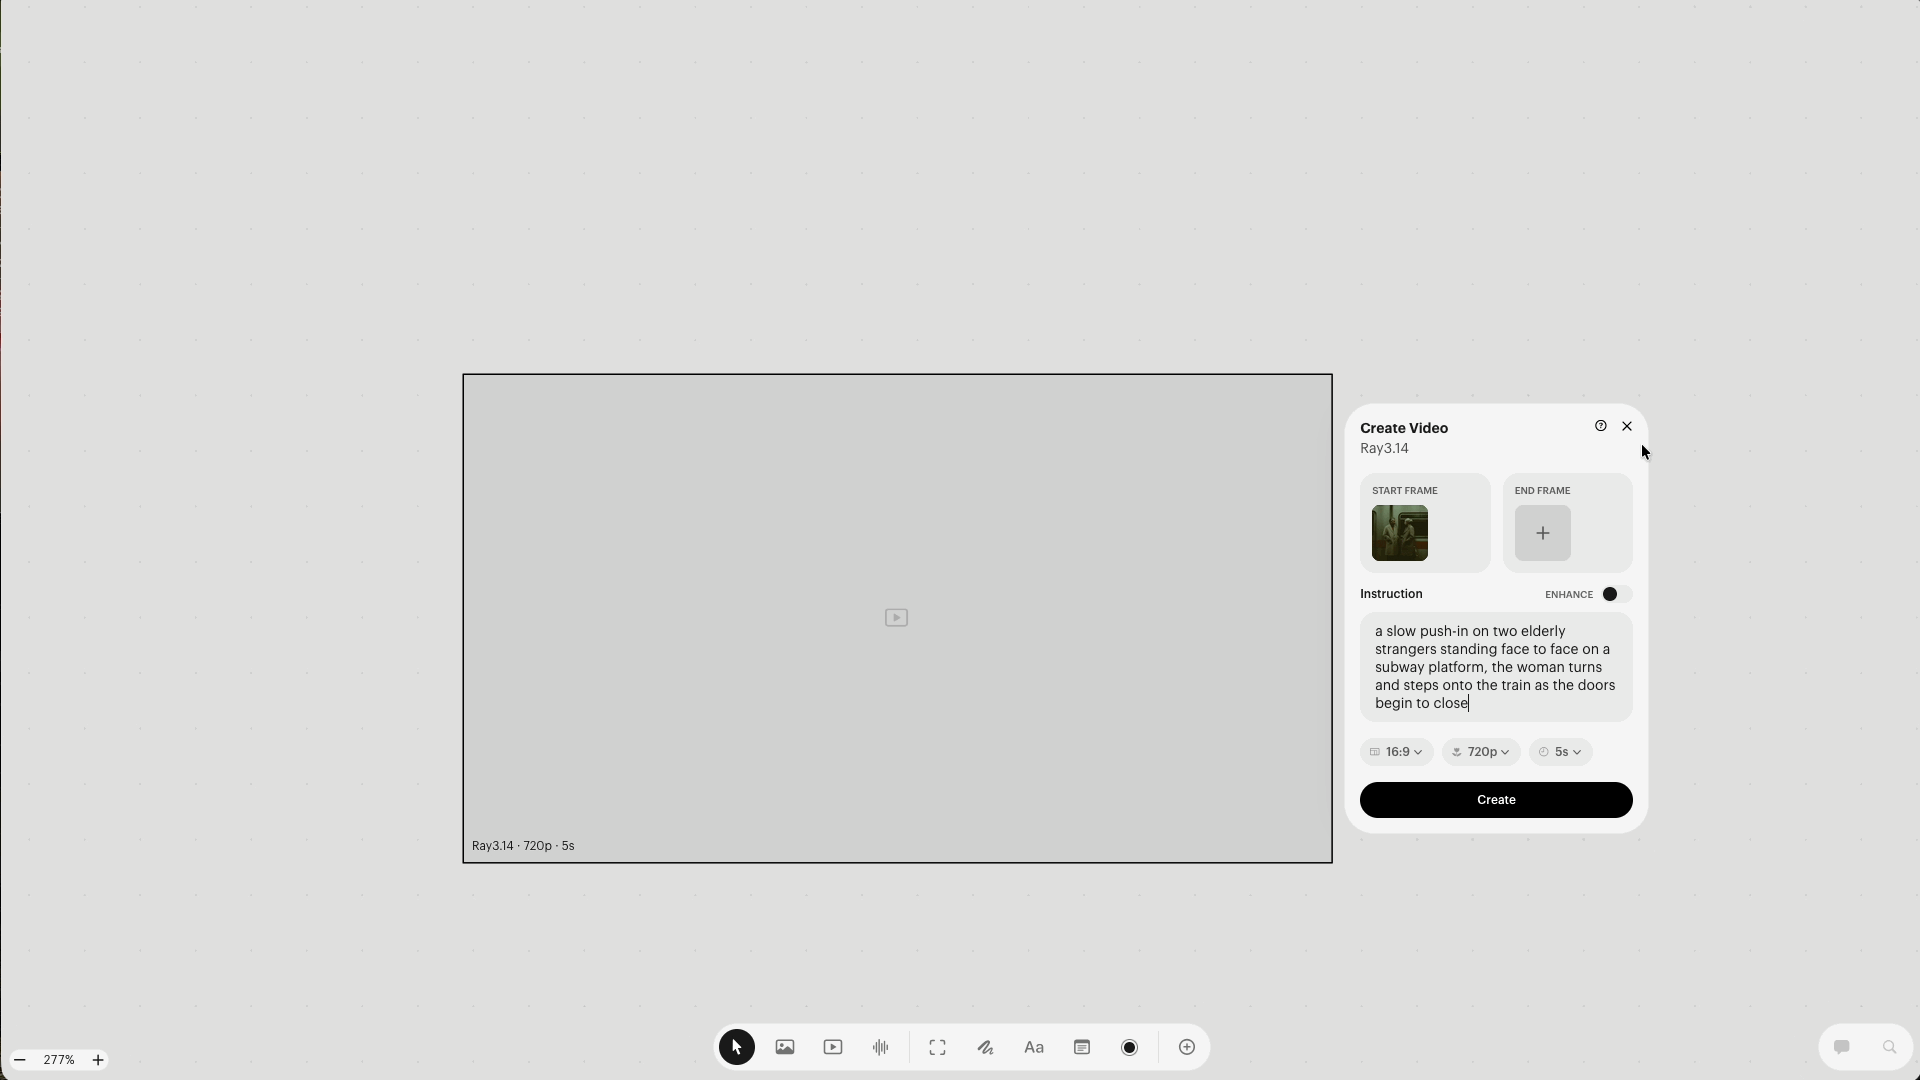
5. Drop Your Image into Start Frame
A 'Create Video' panel will show up right on your canvas, and it's pretty straightforward. You'll see two slots: Start Frame and End Frame. Go ahead and drop your image
in the first one, that's where the magic kicks off.

6. Write Your Prompt
When it comes to prompting for AI video, our go-to structure is the CCR method: Camera, Character, Reaction.
Start by describing what the camera is doing, then who or what is in the shot, then what's actually happening. It sounds simple because it is, and it works.
Here's a quick example: a wide tracking shot following a lone wolf through a snowy forest at dusk.
The video above is the example prompt we ran through Luma AI’s AI Video Generator.
7. A Few Settings Worth Knowing About
There are a handful of options in that panel worth a quick look before you hit generate:
Aspect Ratio: Pick whatever fits your project best. 9:16 for vertical content, 16:9 for cinematic. The rest are there if you need them.
Resolution: Higher is better, but it'll cost you more credits and take longer to generate.
Enhance: That little toggle sitting right above the prompt box is worth turning on most of the times. It uses AI to rewrite your prompt so the model understands it better. And
honestly, who better to edit a Luma prompt than Luma itself?
8. Hit the ‘Create’ Button
Prompt written, settings dialed in? Perfect. Hit that black 'Create' button sitting at the bottom of the panel and let Luma take the wheel. Your video is on its way.
9. Review Your Output and Adjust
Take a good look at what Luma came up with. If it nailed it, amazing, you're done. If not, don't stress, just tweak the prompt a little and send it again.
Getting the perfect shot often takes a couple of rounds, and that's completely normal.
Bonus Tip: Avoid Negative Prompting
Unlike some other AI video models, Luma 3.14 doesn't respond well to negative prompting. It's a positive-only model, so instead of writing "no shaky camera" or "no
cuts," just describe the shot you actually want. More specificity on the positive side is always the better move here.
Free Intro AI Storytelling Course
If you are interested in taking your AI knowledge and skills to the next level, we would love for you to be a part of our free intro to AI storytelling course.
You can fill out the form below to gain instant access!
In the course, we show some of the basics for creating films using the latest AI tools. We also share some industry insights to give you a look into what the future of creative has in store with all of the new AI tools and workflows.
Along with the course, you also get access to the exclusive chat channel where you can network with industry professionals.
Best of luck on your creative journey. Let us know if we can help in any way!