How to Generate AI Videos Using Veo 3.1 | 10 Easy Steps
In this article, I'll show you how to generate AI videos using Veo 3.1.
Veo 3.1 is Google's latest AI video model, and honestly, it's a serious contender for the top spot in the AI video space right now.
It generates high-quality footage with native audio baked right in, which is something most other models still can't say. In this article, we'll walk you through the exact steps showing you how to generate AI videos using Veo 3.1, from setup to your first output.
Here's how it works.
Generate AI Videos Using Veo 3.1 | Video Breakdown
Below is an episode of our AI Film News YouTube series. The video highlights multiple pieces of news, but inside, you also learn how to generate AI Videos using Veo 3.1.
How to Generate AI Videos with Veo 3.1
Here's everything you need to know to get your first video out of Veo 3.1 inside Google Flow, X steps, no fluff.
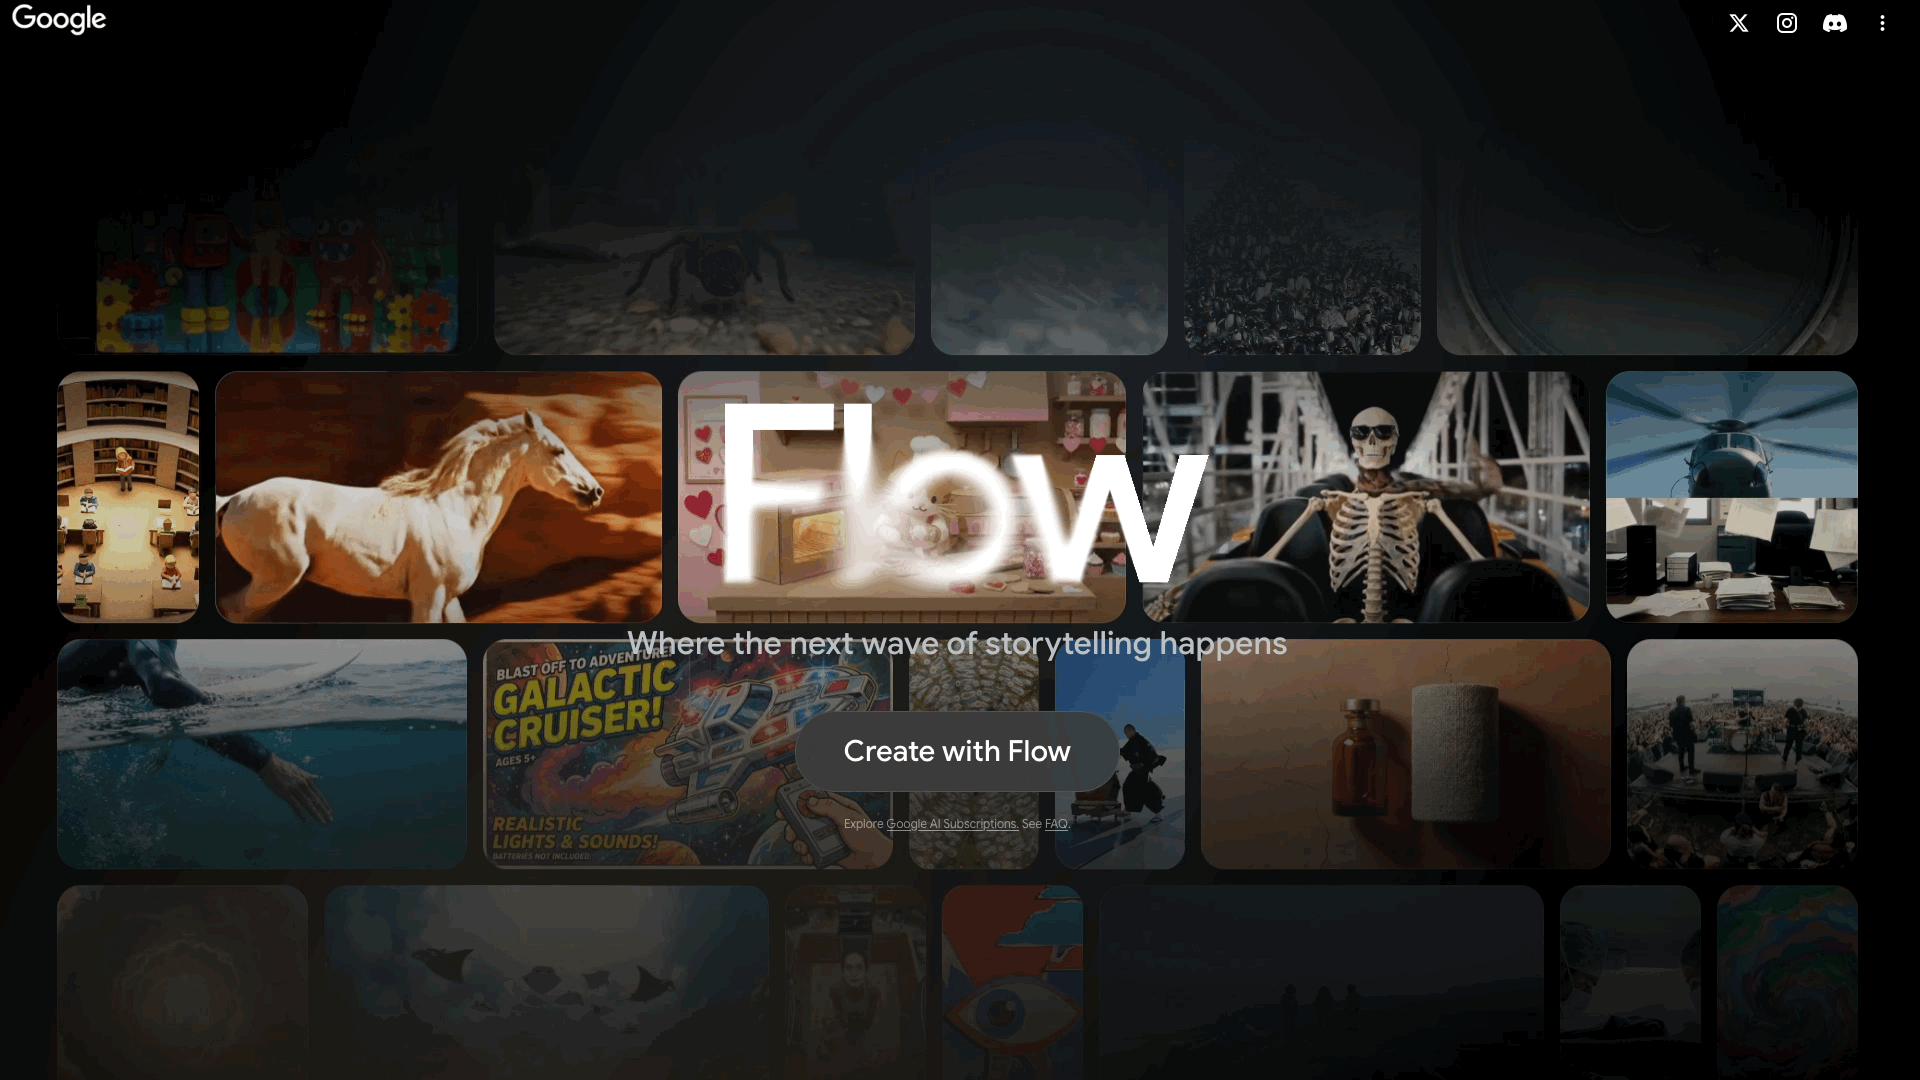
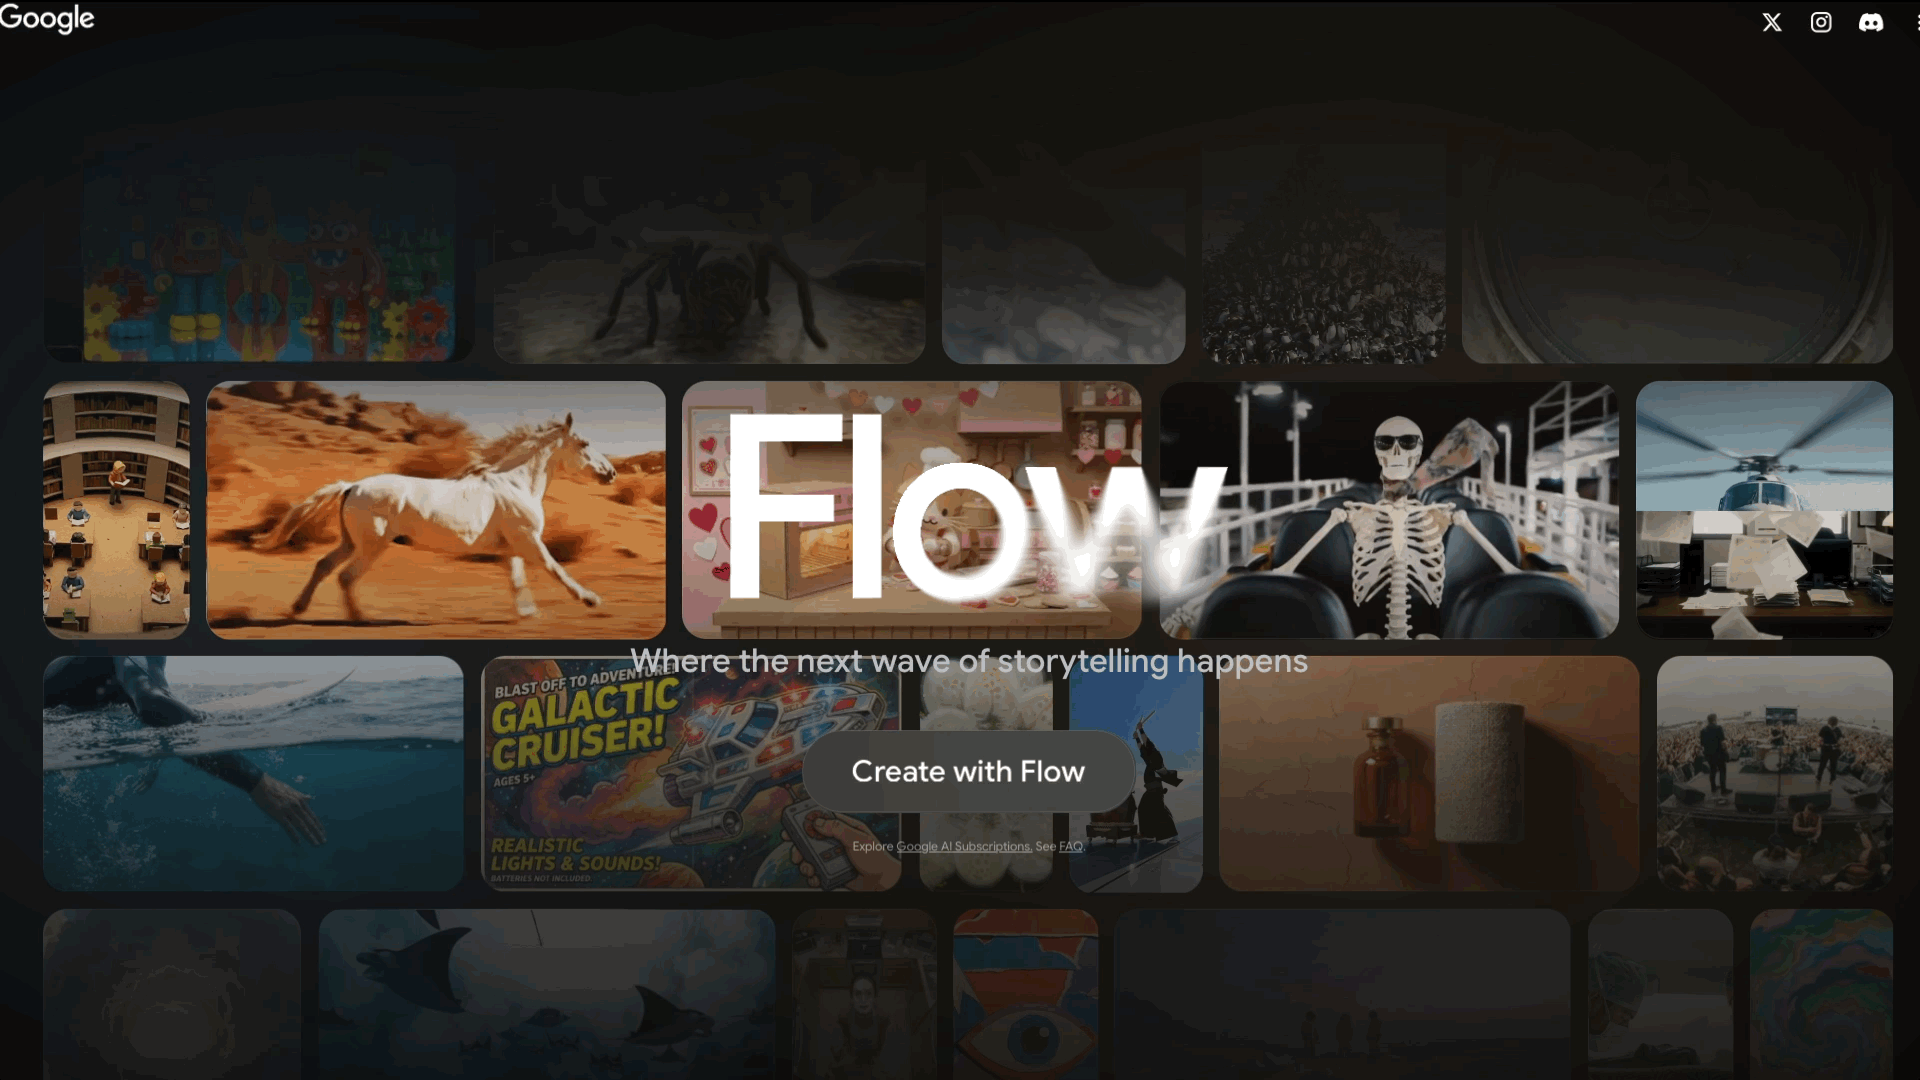
1. Go to Google Flow’s Website
Start by navigating to Google Flow. This is where you'll be accessing Veo 3.1 for your video generations.
Veo 3.1 is accessible through a couple of different platforms (like Freepik), but for this article, we're going with Google Flow, which is where the model feels most at home.
2. Click the 'Create with Flow' Button
Right in the middle of the screen, click the 'Create with Flow' button.
From there, you'll need to be signed into your Google account, but we trust you've got that part figured out.
3. Click 'New Project.'
Before you get there, Flow will probably throw a few announcements your way, new model drops, feature updates, that kind of thing. Close those out and scroll down to hit the 'New Project' button.
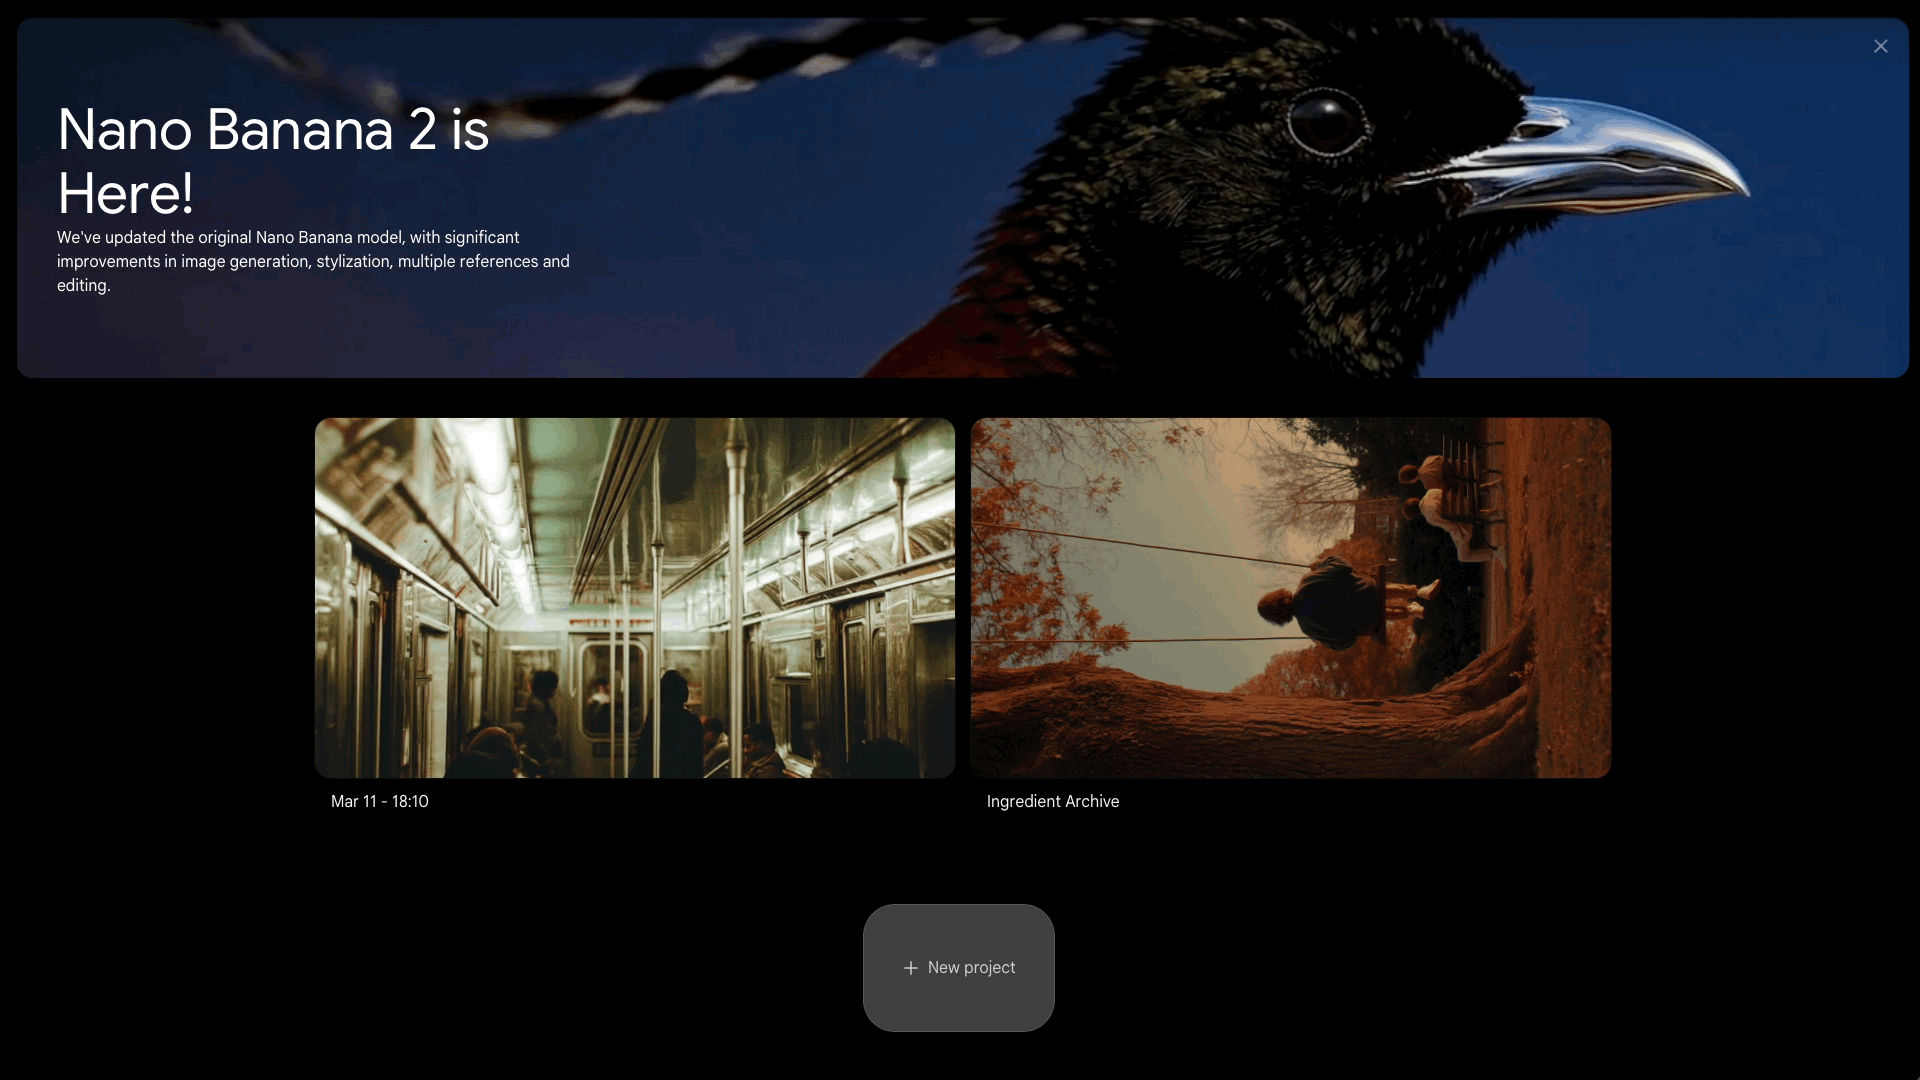
The platform is pretty clean and straightforward, so finding your way around shouldn't give you any trouble.
4. Drag Your Image into the Prompt Box
Drag your image straight into the prompt box once it lands. Flow will label it "Add Ingredients," which is just their way of saying your image is in and ready to work with.
You're not generating anything just yet, just getting your asset in place.
If you are wanting to learn how to generate an AI image, check out our tutorial below where we show you how to generate super realistic images using AI tools.
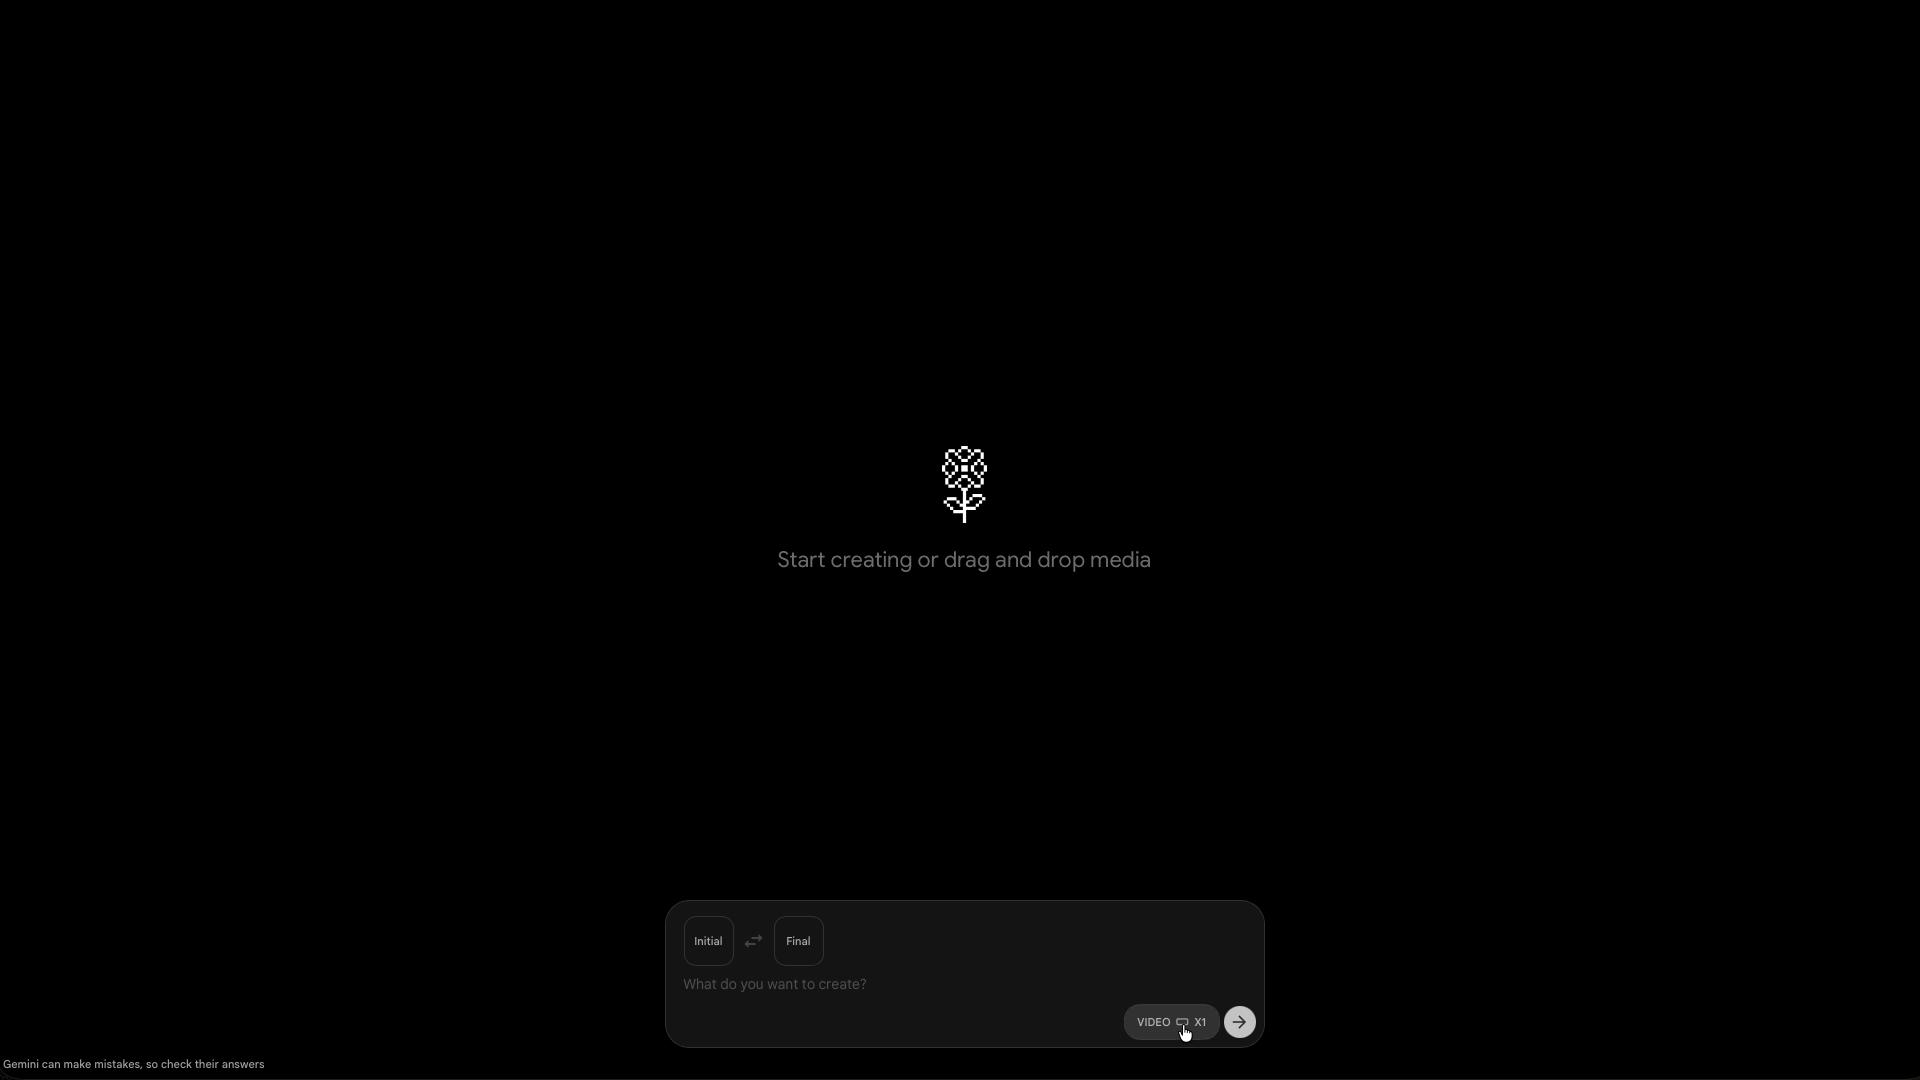
5. Set It to Video and Frames
Bottom right of the prompt box, you'll find a button to choose your output type, make sure you select Video and Frames.
The "Frames" option is key here: it tells Flow to use your image as the actual first frame of the video, as opposed to just a loose reference or ingredient.
That distinction matters if you want your output to start exactly where your image left off. Also, make sure you've got Veo 3.1 - Quality selected.
There's a faster option available: Veo 3.1 Fast, but it'll cost you on the output quality side.
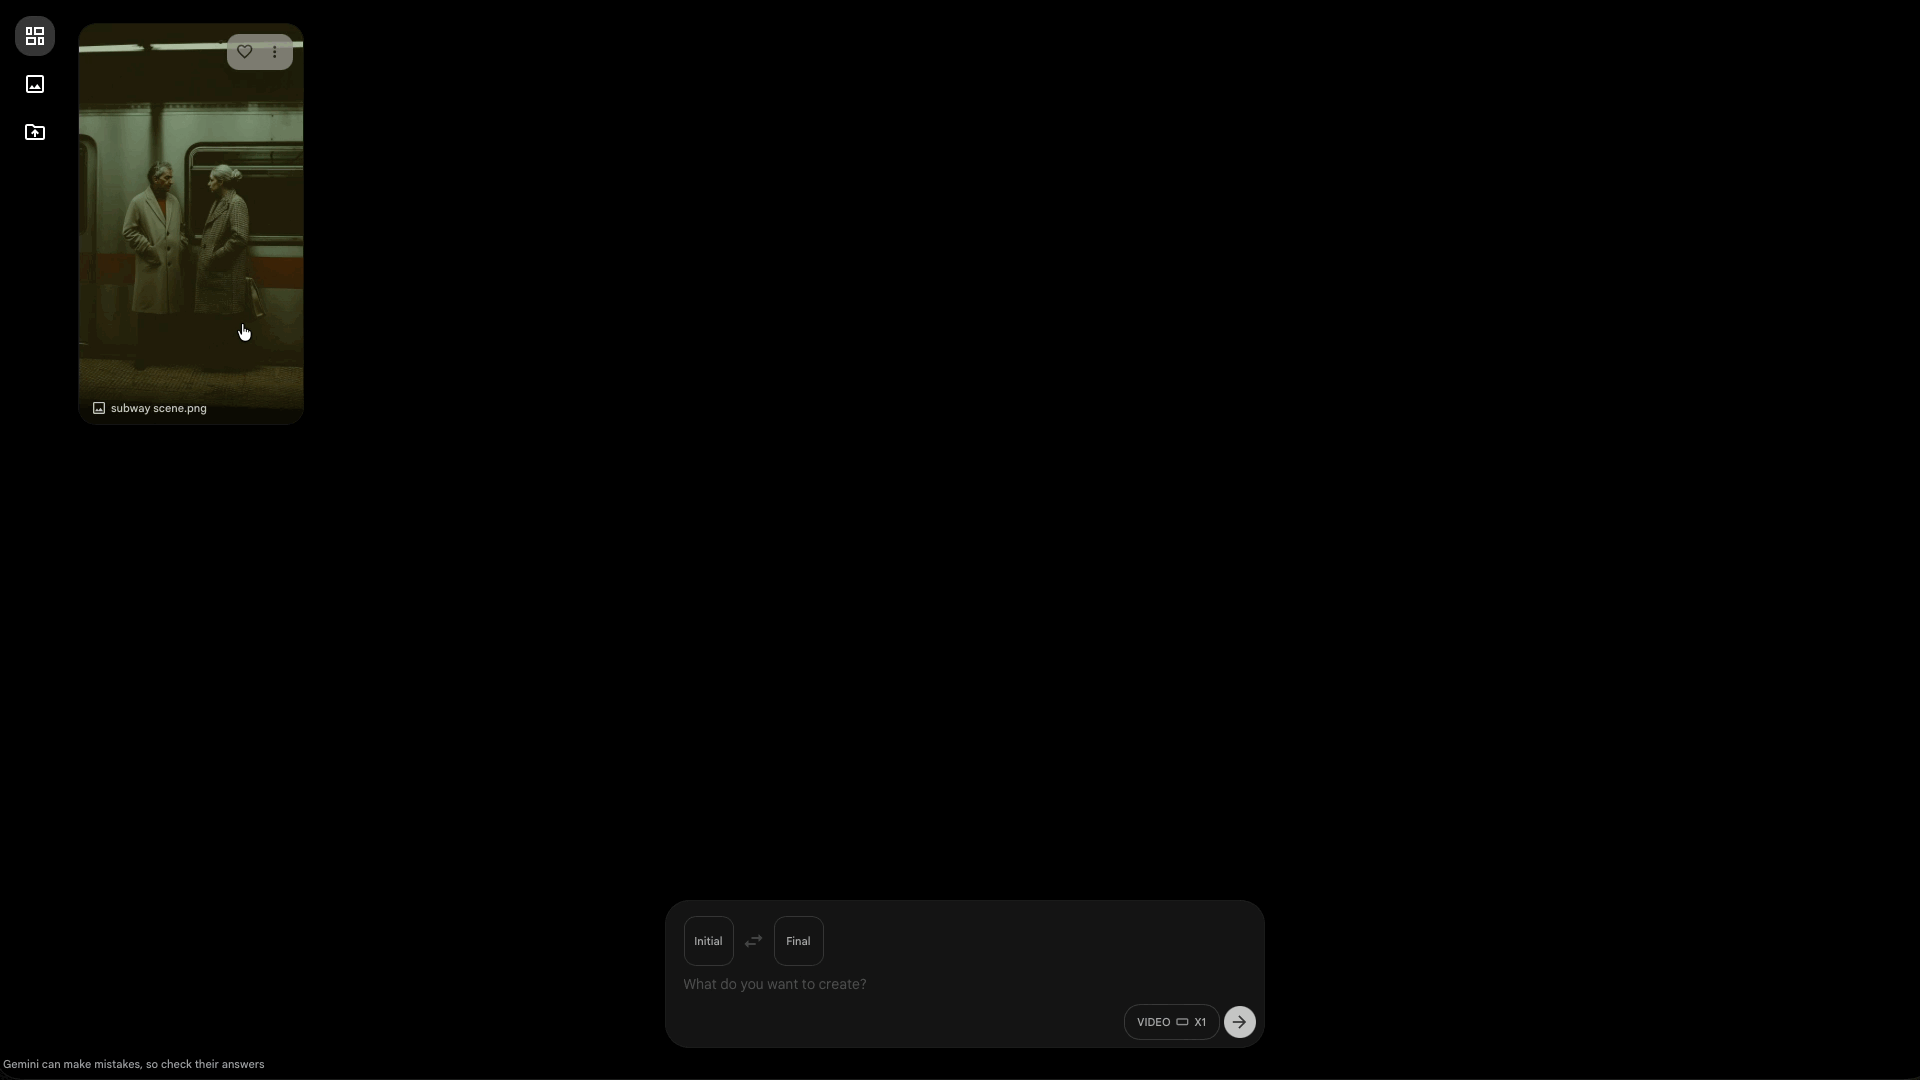
6. Drag Your Image into the Prompt Space
Your image should now be sitting in the left panel; drag it into the prompt space. As you hover it over, the space will split into two slots: Initial Frame and Final Frame. Place it into the Initial Frame, and you're set.
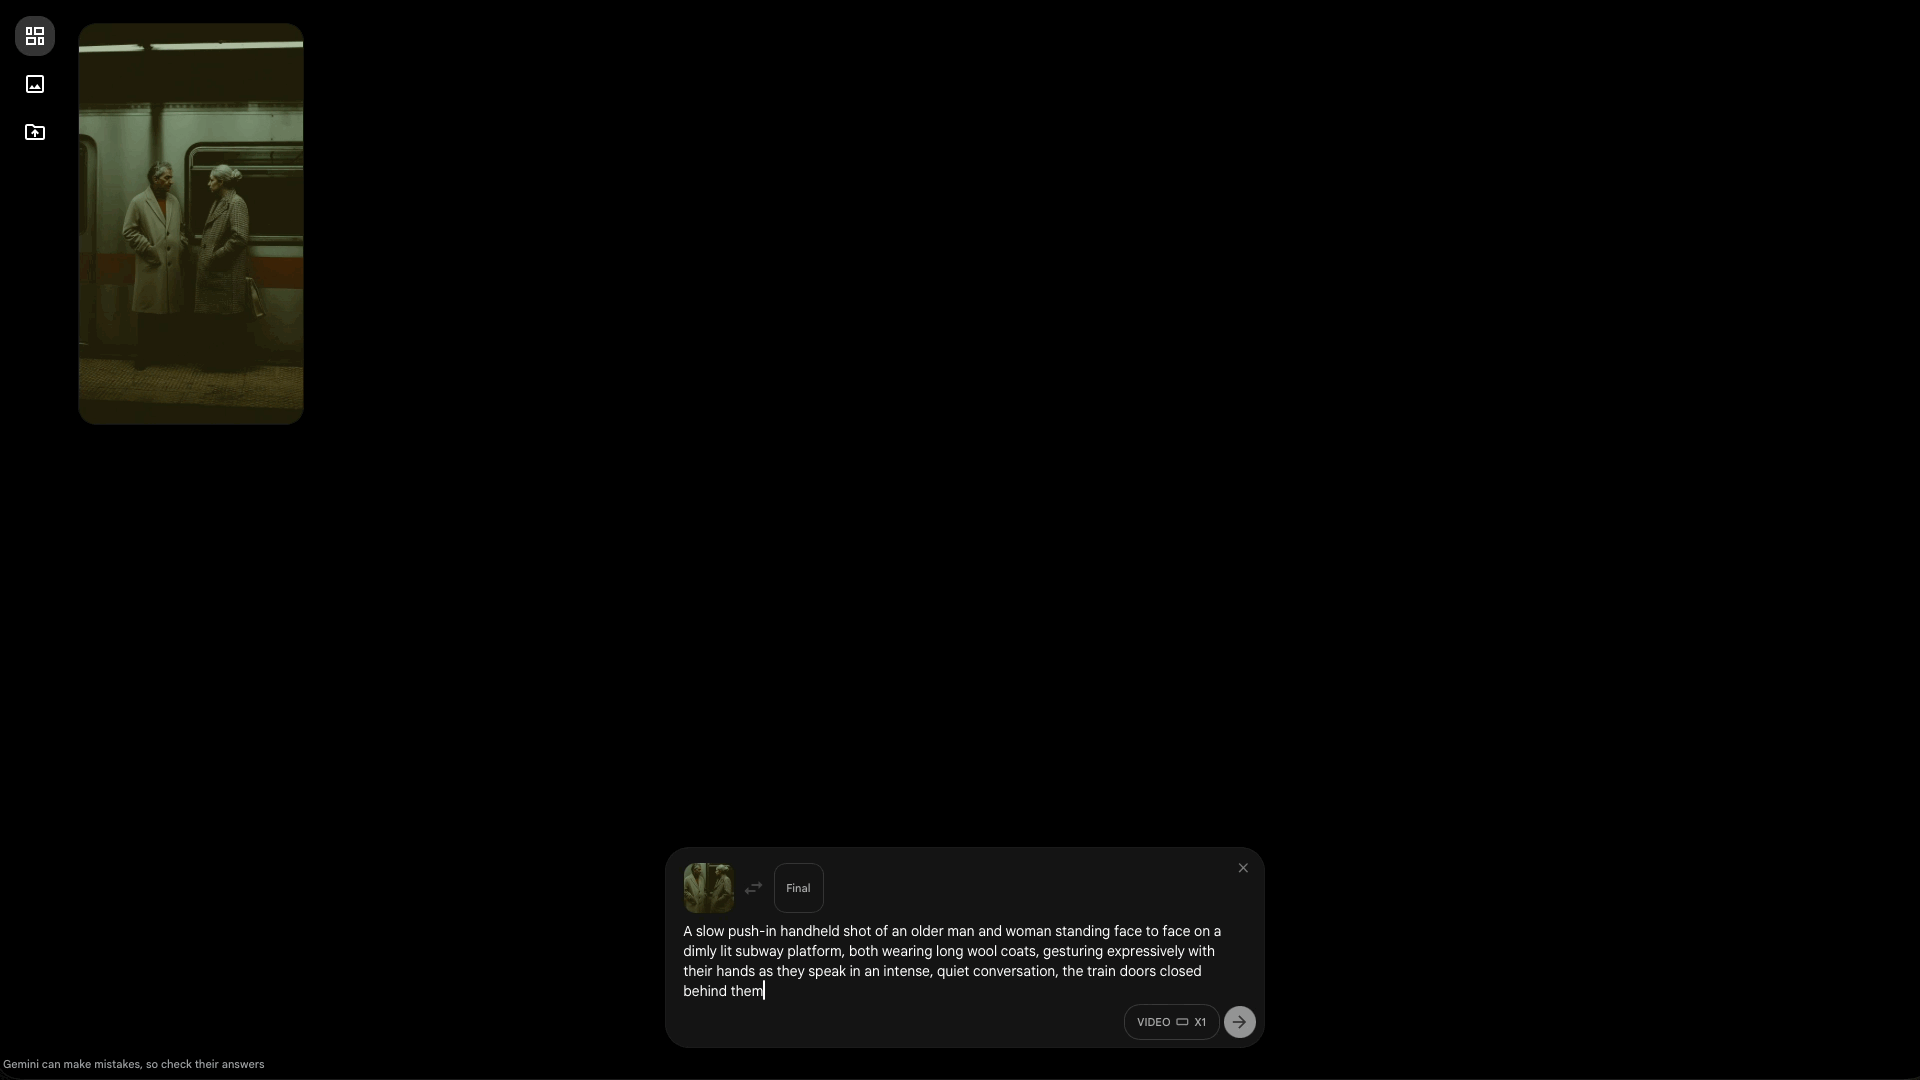
7. Write Your Prompt
Now it's time to actually tell Flow what you want to see.
A solid structure to follow is Camera → Subject → Action.
Start with what the camera is doing, then describe what's in the shot, then what's happening in the scene. Keep it clear and specific; vague prompts tend to get vague results.
Here's a quick example: a slow push-in on a lone astronaut standing at the edge of a canyon on Mars, looking out into the distance.
8. Understand the Advanced Settings
Horizontal vs. Vertical: Pick the aspect ratio that fits your project — landscape or portrait.
X1 to X4: This controls how many variations Flow generates at once. More outputs means more options to pick from, but it'll cost more credits.
Model selector: This is where you switch between Veo 3.1 - Fast and Veo 3.1 - Quality. Fast is quicker, Quality is worth the wait
9. Press Submit (The Arrow Button)
Once you're happy with your prompt and settings, hit the grey arrow button on the right side of the prompt space.
That's your generate trigger. Flow will queue your video and get to work.
10. Review and Iterate
Depending on the output, you might need to re-generate your AI video. If you aren’t getting what you want, then you can adjust the prompt slightly and see if that makes a difference.
Bonus Tip: Use Ingredients Mode
Don't sleep on the Ingredients mode.
If you're working on a project with multiple shots and need things to stay visually consistent (i.e., the same character, same location, same vibe), then Ingredients lets you feed in multiple reference images at once, and Flow will weave them into a cohesive scene.
Think of it less as "animate this image" and more as "here's my cast and set, now direct the scene."
For multi-shot storytelling, it's a genuinely powerful tool.
Free AI Storytelling Course
If you really want to dive into the world of AI video tools, we highly recommend taking advantage of our free intro to AI storytelling course.
In the course, we show some of the basics for creating films using the latest AI tools, as well as, share some insights into the future of the creative industry.
Along with the course, you also get access to the exclusive chat channel where you can netywork with industry professionals.
We would love to see you in the course.