How to Use Midjourney V8.1 | Step-by-Step
In this article, I'll break down how to use Midjourney V8.1.
Midjourney has been a go-to for AI image generation for a while, and V8.1 is their most recent release. By their own account, it comes with faster generation speeds, improved image quality, and some community favorite features making a comeback.
In this article, we’ll show you exactly how to use Midjourney v8.1.
Check it out below,
How to Use Midjourney v8.1
Here's a step-by-step breakdown of everything you need to know to get started.
1. Go to Midjourney's Website
Kick things off by navigating to Midjourney's website. Everything you need for this tutorial lives right there. Once you're there, hit the yellow "Log In" button at the bottom of the screen.
No account yet? Hit "Sign Up" and get one set up using your Google or Discord credentials. Takes about a minute.
2. Make Sure v8.1 is selected
Before anything else, head to the settings icon in the top right corner of the home screen. That opens a side panel with a "Model" section.
Under "Version," confirm V8.1 is selected. If not, click the dropdown and switch it over.
3. Write your Prompt
Time start building your idea by writing a prompt. A structure that works really well with Midjourney V8.1 is:
Artistic medium: The style or format. Ex: "cinematic still" or "3D animated character"
Composition: Who or what, and where. Ex: "of an old cowboy sitting by a campfire in the Patagonian steppe"
Character details: What they look like. Ex: "wearing a weathered leather jacket"
Extra details: Mood, lighting, environment. Ex: "deep blue night sky, mountains in the distance"
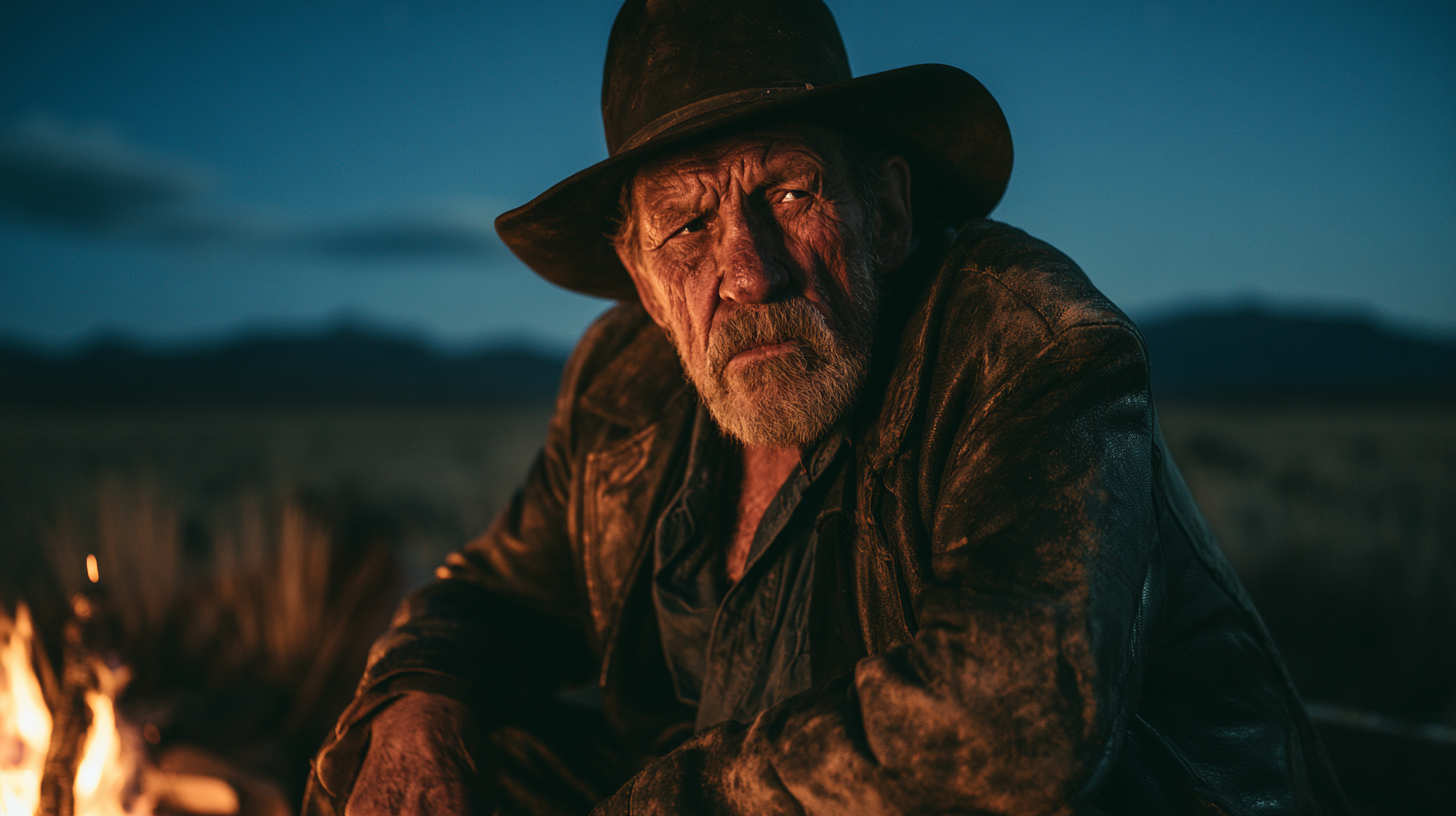
Here's the full prompt from the image above: "cinematic still of an old cowboy sitting by a campfire in the Patagonian steppe, wearing a weathered leather jacket, deep blue night sky, mountains in the distance".
4. Know the Advanced Settings
Before you hit generate, it's worth a quick glance at the settings panel. Here's what matters most:
Aspect Ratio: Choose between Portrait, Square, or Landscape depending on how you want your image framed.
HD vs Standard: This is about resolution. HD generates sharper, more detailed images and is now the default in V8.1. Standard is great for exploring ideas quickly, and you can always hit "Run as HD" to upgrade any Standard result.
Raw: Standard mode adds a touch of Midjourney's own aesthetic. Raw mode sticks closer to your exact prompt with no extra flair added.
Speed: Relax won't use your Fast hours. Fast is the default. Turbo is the quickest but burns through twice as many Fast hours.
5. Submit your Prompt
Once your prompt and settings are locked in, click the paper plane icon to the right of the prompt bar. That's all it takes. Midjourney V8.1 handles the rest from there.
6. Give your Image a Look and Iterate
When your image is ready, take a close look at what V8.1 put together. If something feels off, adjust your prompt slightly and give it another shot.
Even small tweaks can make a noticeable difference. And since Standard mode is so fast in V8.1, don't be afraid to run multiple variations before committing to one direction.
Bonus Tip: Take Advantage of HD Mode
One of the biggest upgrades in V8.1 is what happened to HD mode. It's now three times faster and three times cheaper than it used to be, which is why Midjourney made it the default.
That means you can generate high-resolution, detailed images without burning through your credits anywhere near as fast.
Free Intro to AI Storytelling Course
Check out our free Intro to AI storytelling course. In the course, we look at some of our favorite tips for turning your AI skills into a career.
Fill out the form above to gain access for free.
Along with the course, you also get access to the exclusive chat channel where you can network with industry professionals.
We would love to see you in the community.