
How to Edit Videos with Aleph 2.0 (Step-by-Step)
Written by Pedro Guerrero and Edited by Tyler Smith
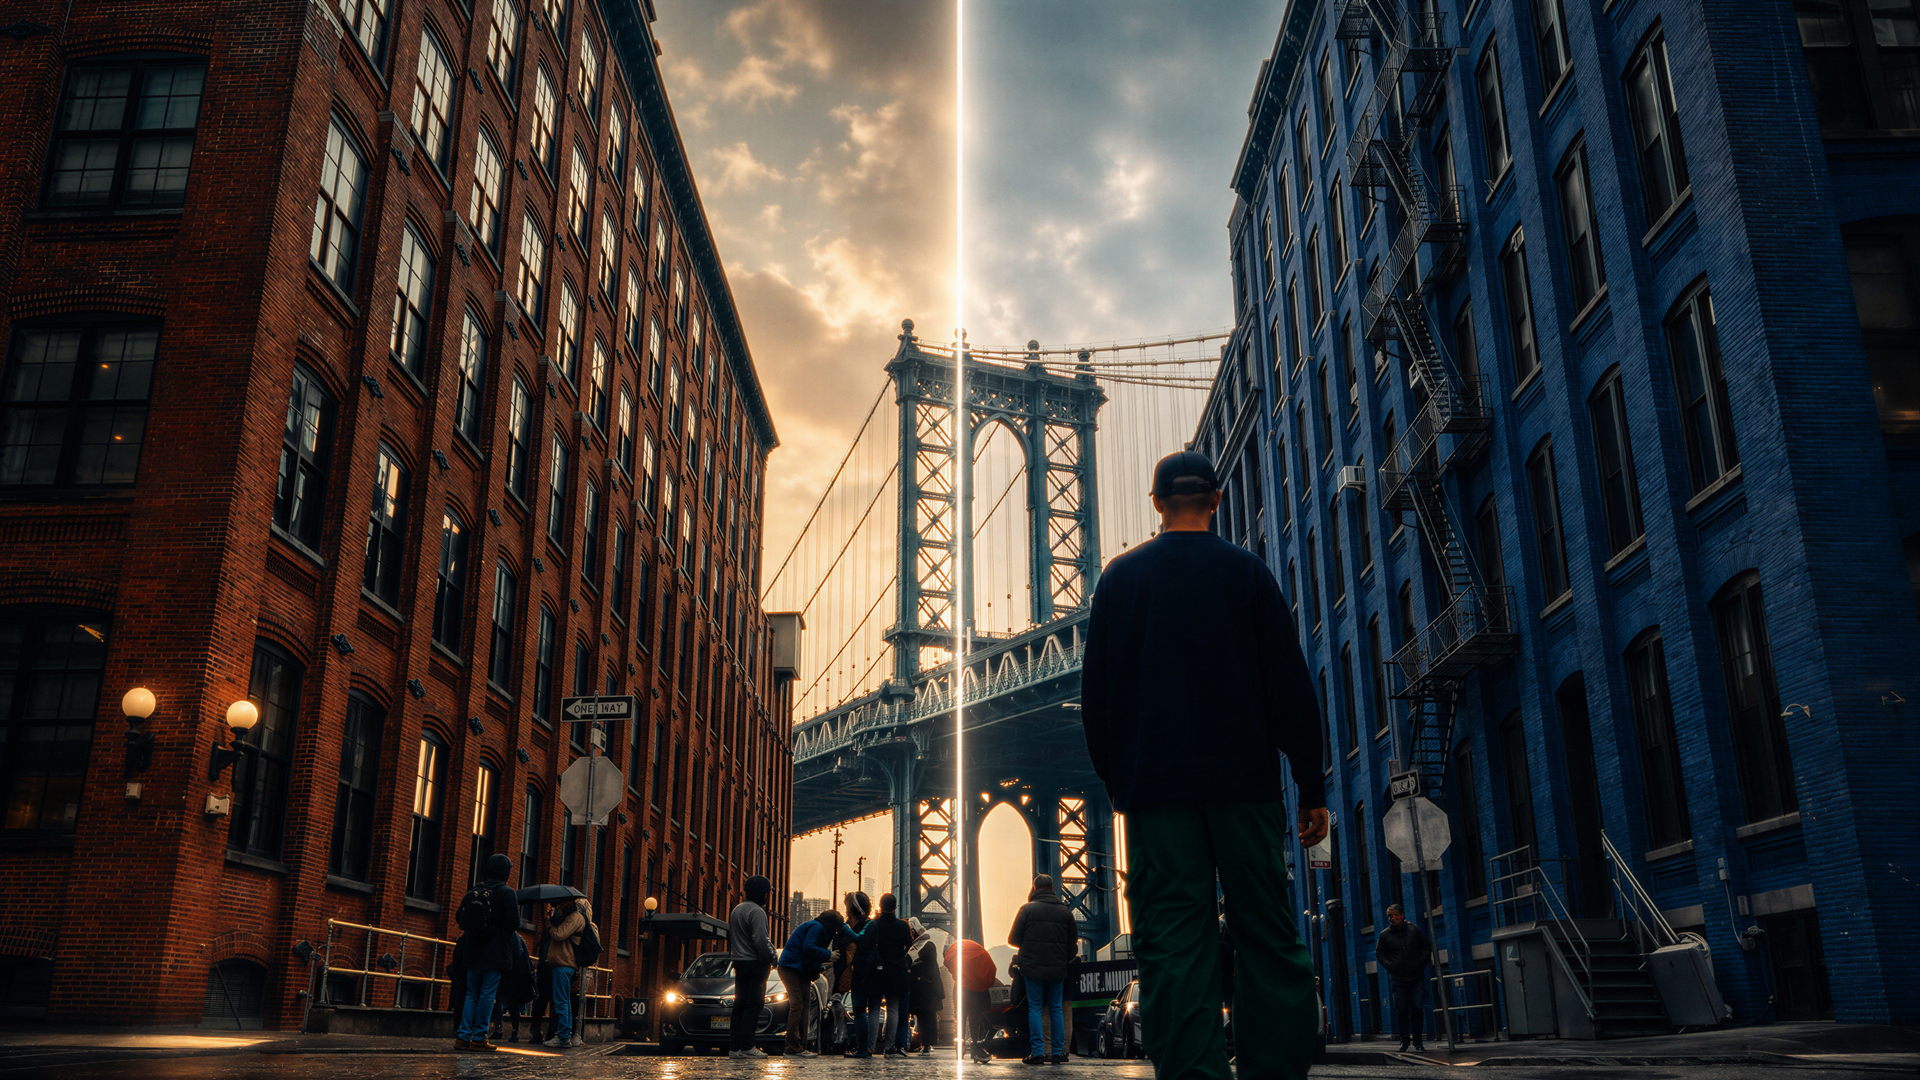
In this article, I’ll show you how to edit videos using Aleph 2.0.
Aleph 2.0 is Runway's in-context video editing model, and it works differently from anything else in the space right now.
Aleph 2.0 is not an omni model, so it functionally performs differently. Instead of editing the video itself, you edit the starting image and then prompt from there.
More similar to the way we would edit AI videos before we had omni video models.
In this article, I'll cover everything you need to start editing videos with AI using Aleph 2.0.
Here's how it works.
Runway Aleph 2.0 vs Seedance Omni | Video Breakdown
Below is a video where we put Runway Aleph 2.0 head-to-head against Seedance Omni, run both through a series of real editing tests, and give you our honest take on which one holds up better for filmmakers.
How to Edit Videos with Aleph 2.0
Here's a step-by-step breakdown of everything you need to start editing videos with AI using Aleph 2.0.
1. Go to Runway's Website
Your first stop is Aleph 2.0's dedicated page on Runway's website.
Runway’s landing pages are beautiful, so chances are you may lose some time being mesmerized.
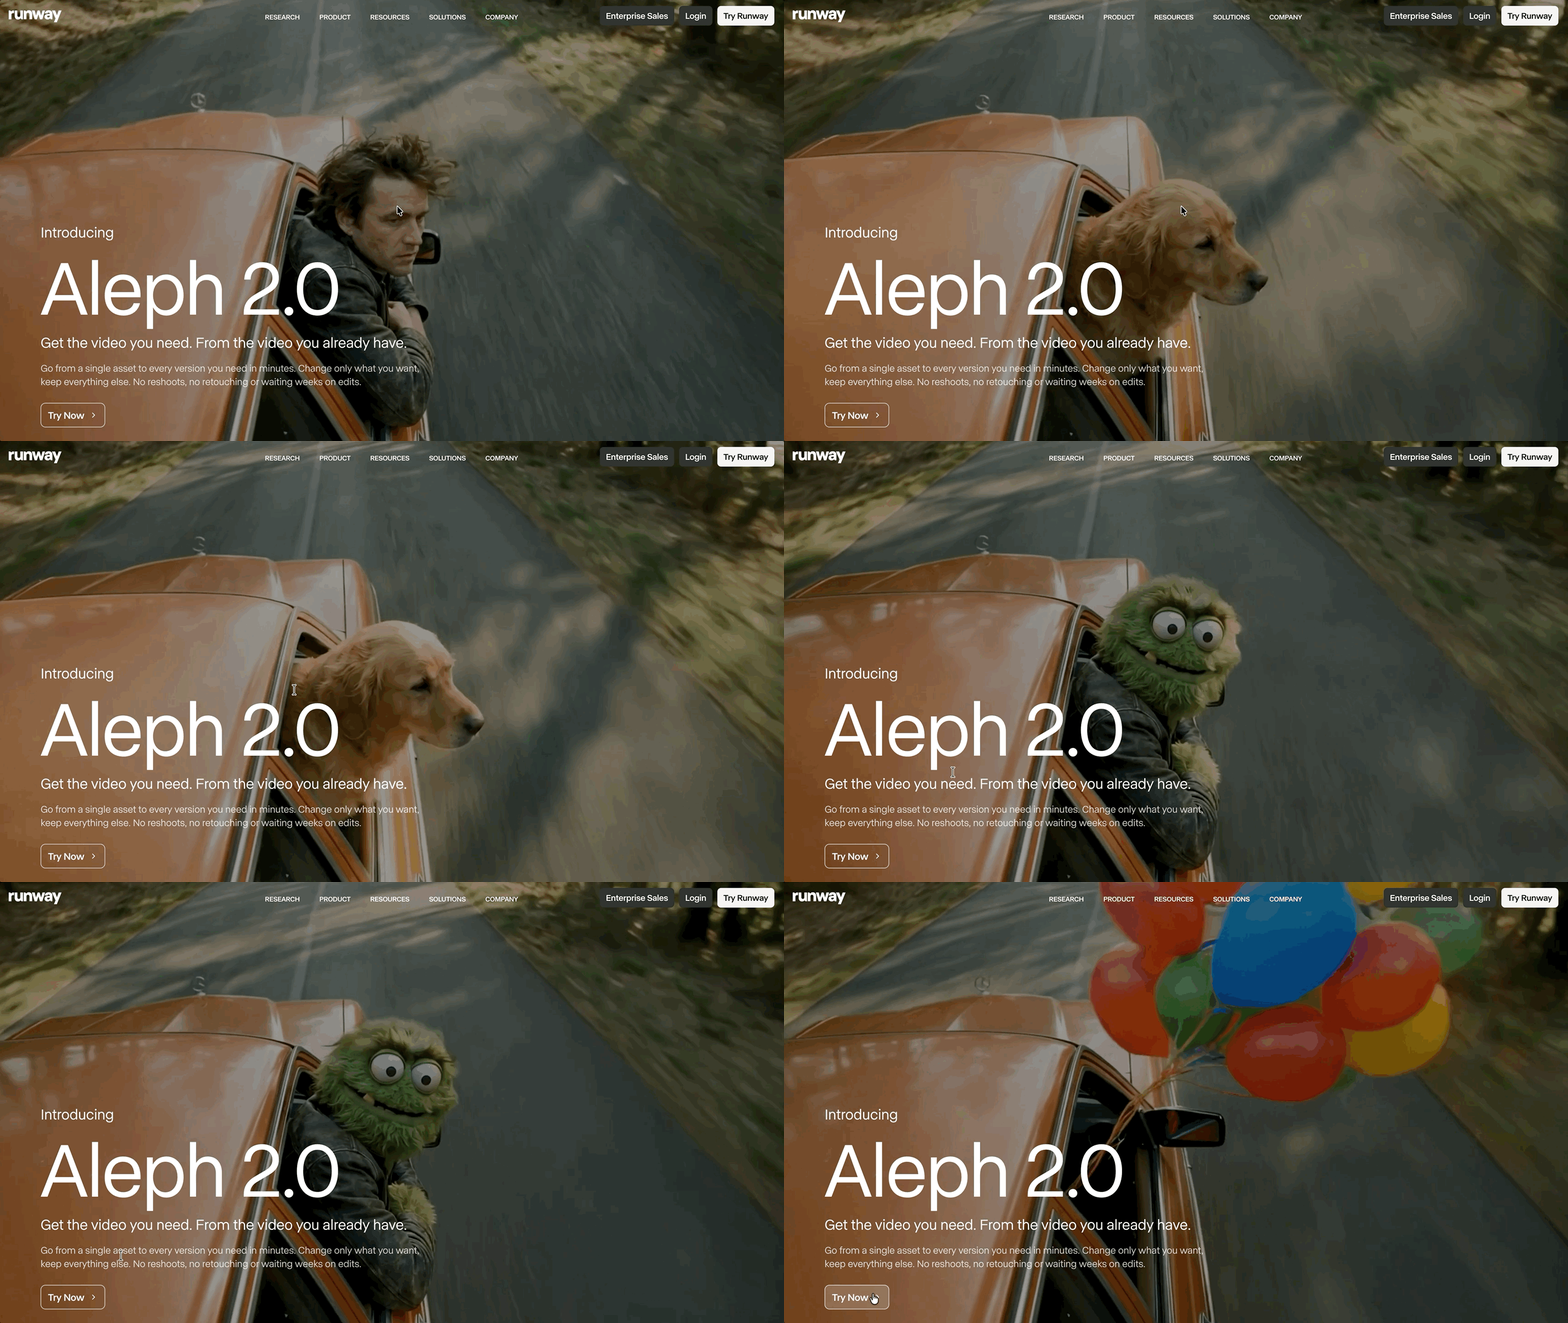
When you're ready, click the 'Try Now' button to get into Edit Studio.
If you don't have a Runway account yet, you can create one with Google or a standard email address.
2. Click 'Edit Studio'
Once you're in, you'll land on Runway's main dashboard, full of starter kits and project options.
Click on the button in the top-left card under 'Film or shorts,' the one labeled 'Edit Studio'.
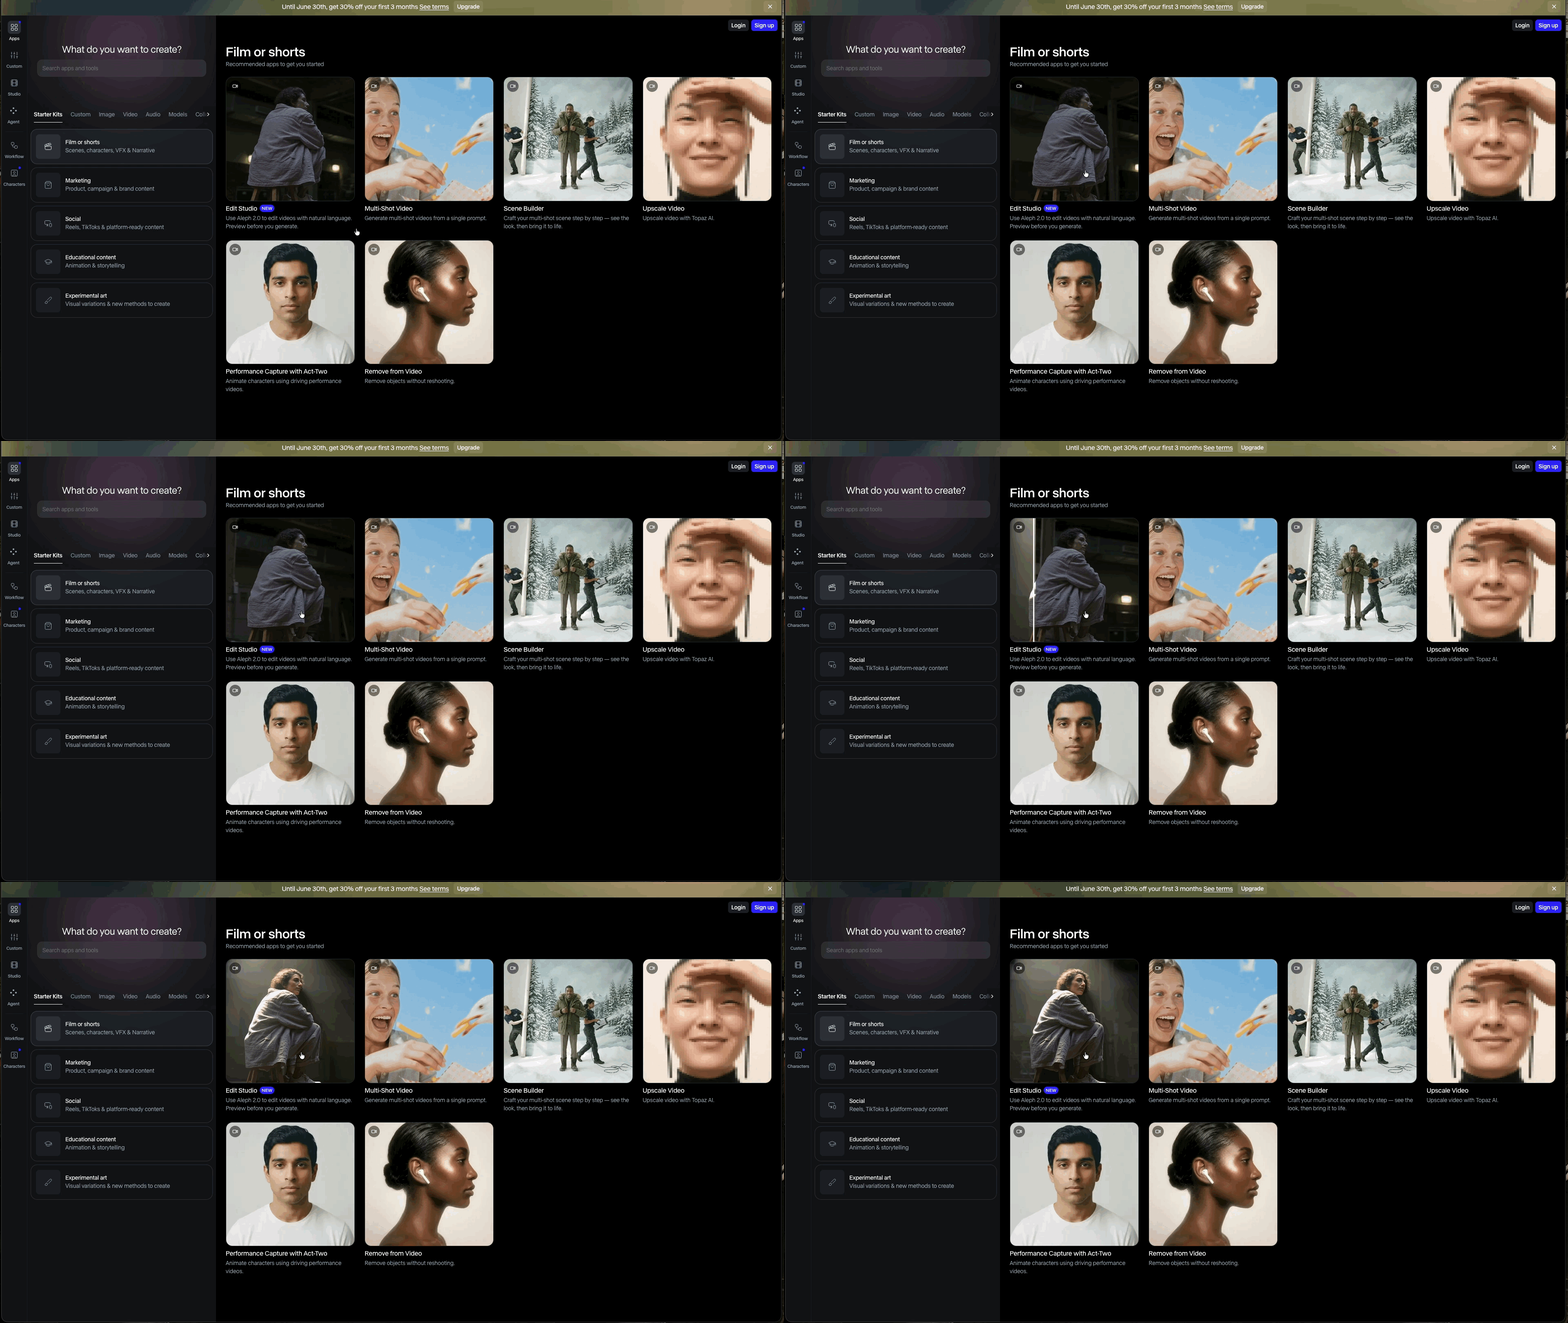
If you're not logged in yet, Runway will ask you to sign in or create an account using Google or a regular email address before dropping you into the Aleph 2.0 workspace.
3. Drop Your Video into Edit Studio
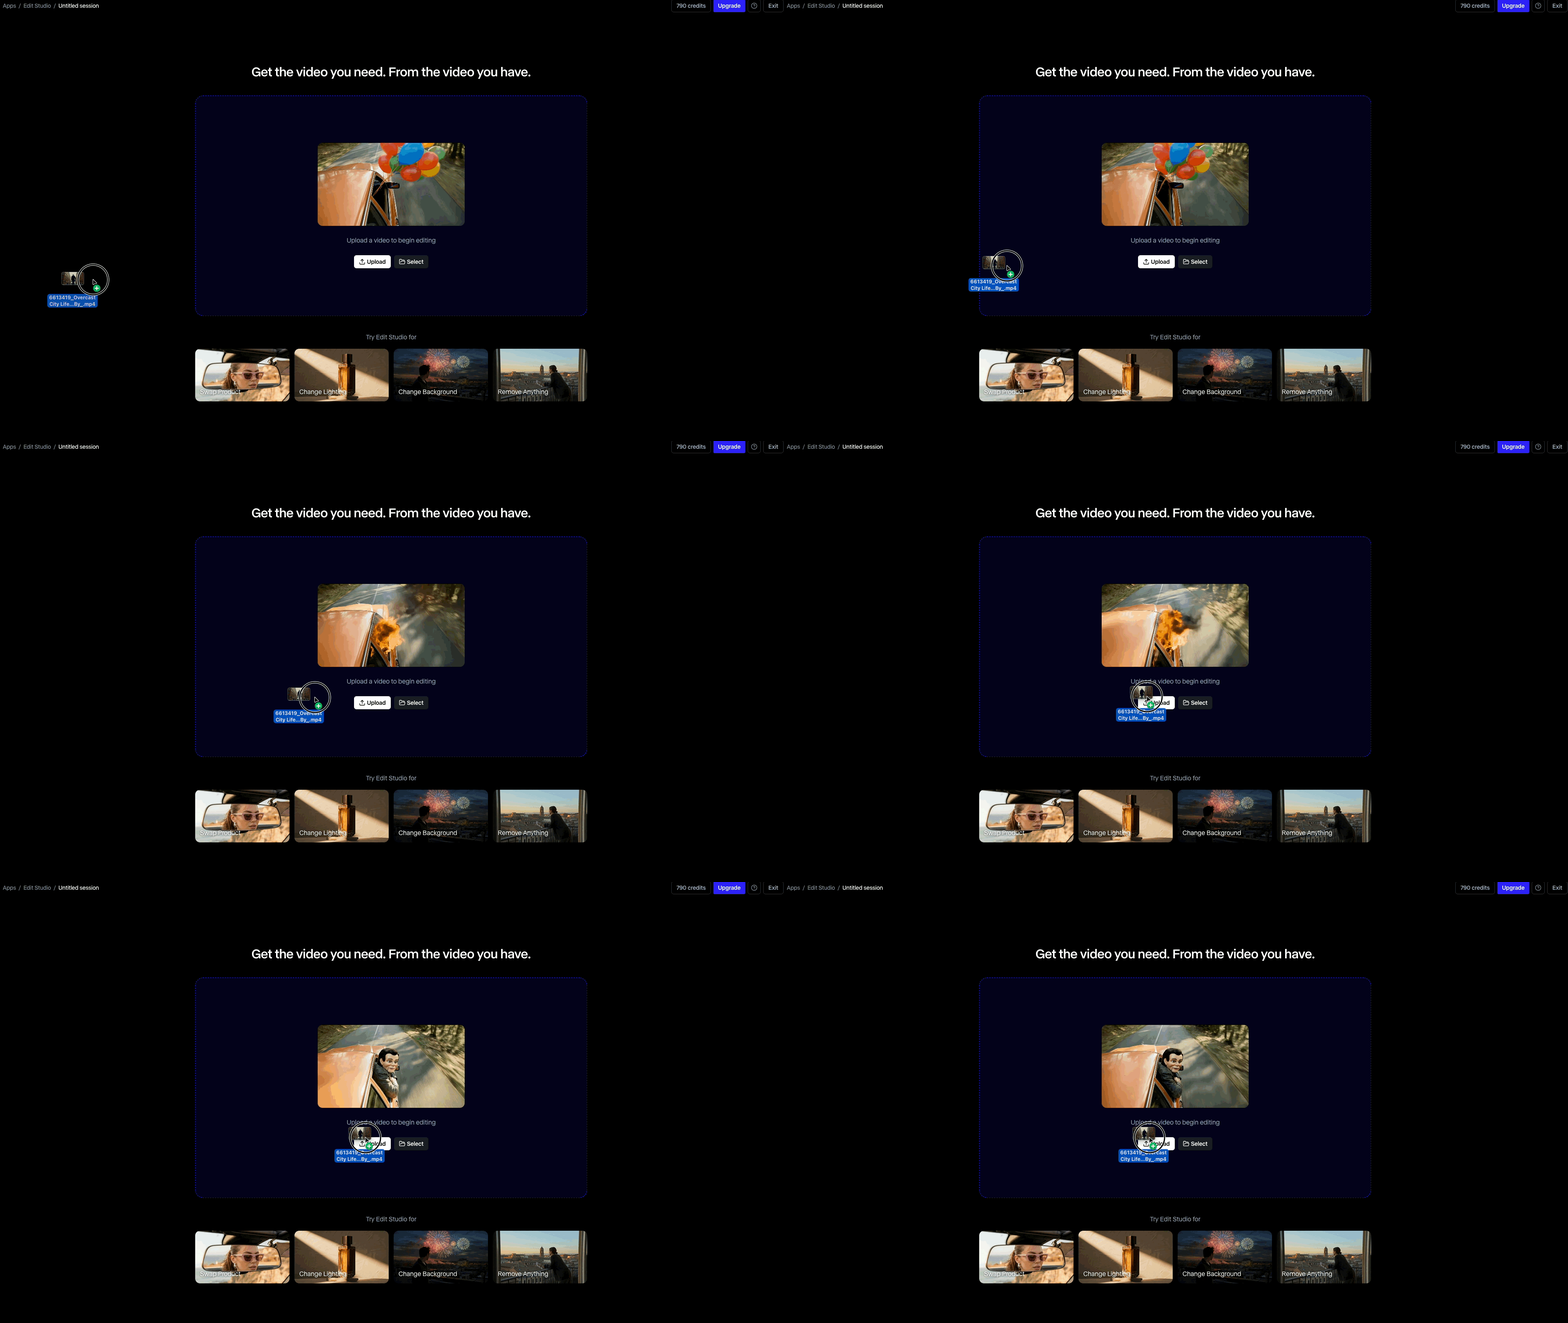
Once you're inside Edit Studio, you'll land on a clean workspace with a single drop zone front and center.
Drag your video straight into that dashed box, or use the 'Upload' button if you'd rather browse for the file.
4. Select Your Frame
Once your video loads, you'll see a slider running underneath it. Drag it to scrub through your clip and find the exact frame you want to edit.
This is the frame Aleph 2.0 will use as the reference point for the entire change.
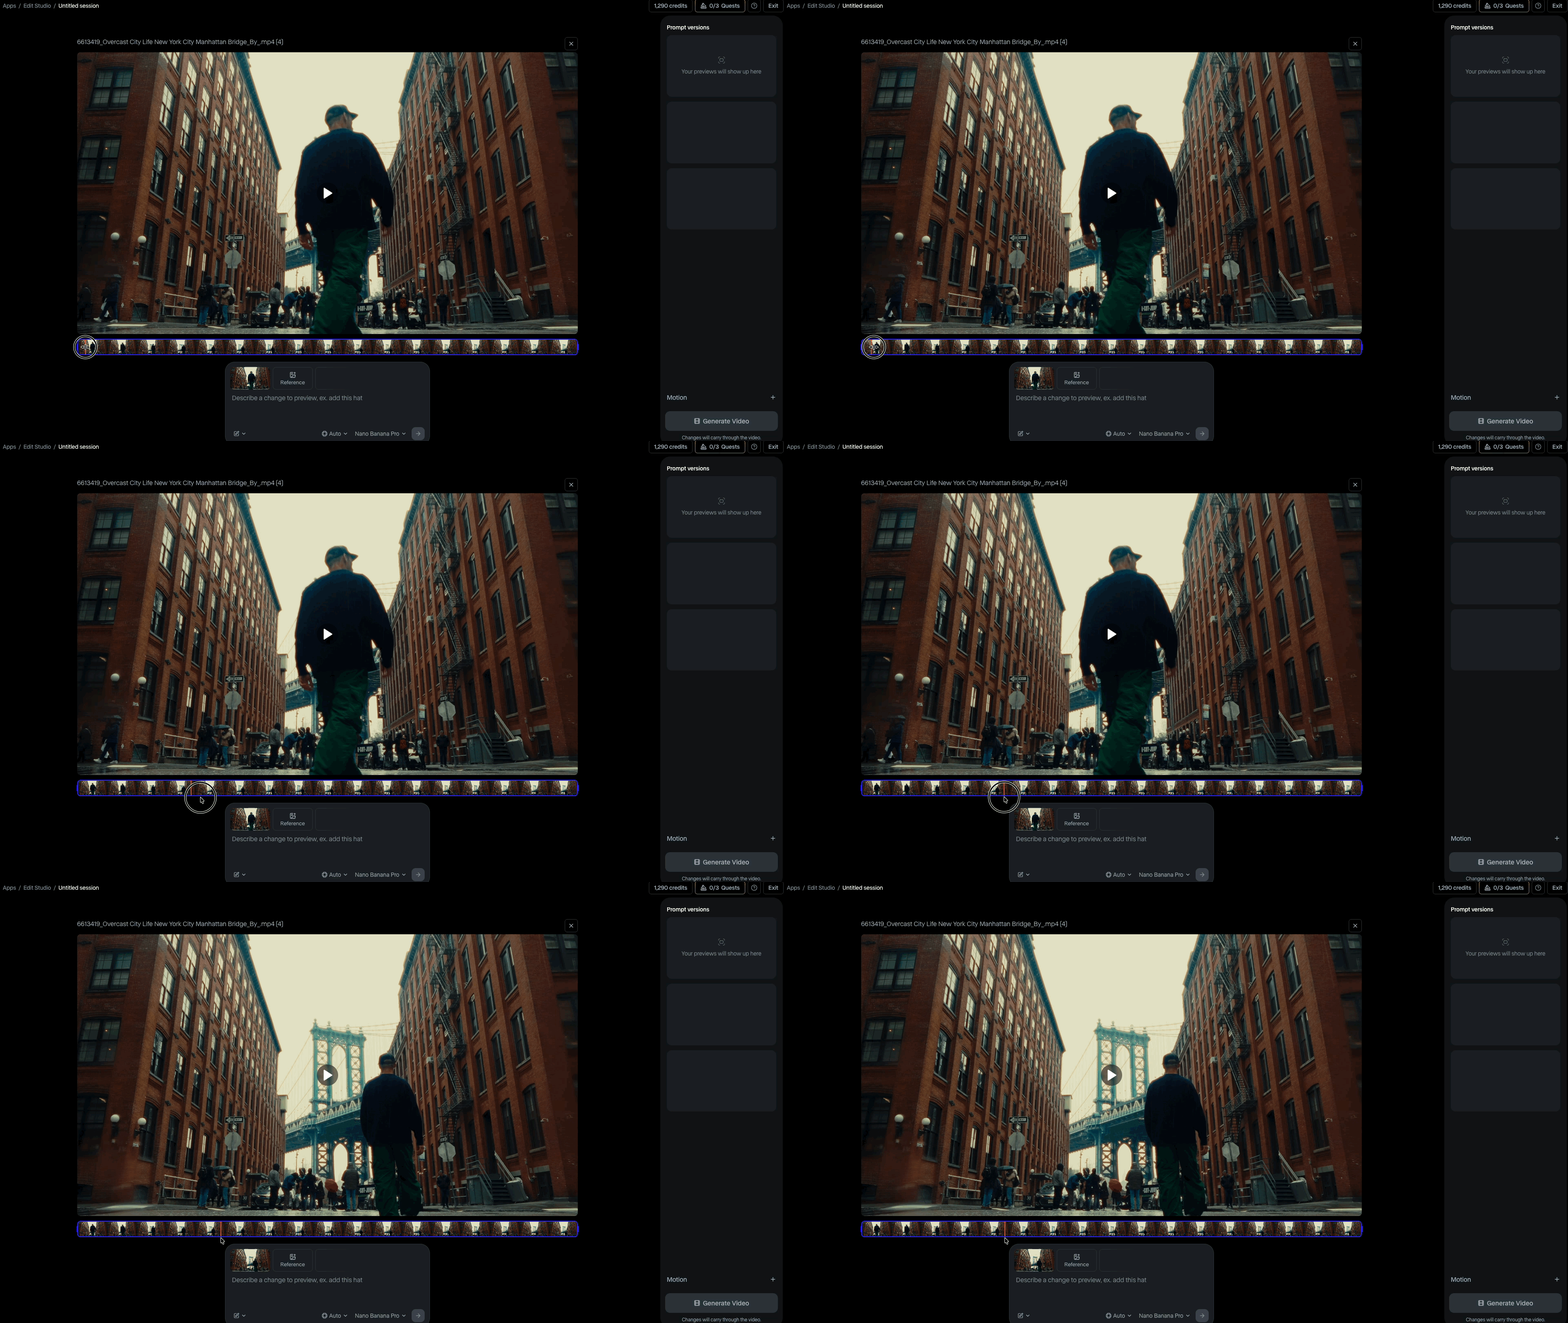
For our example, we landed on a frame about a third of the way into the clip, right where the buildings, the bridge, and the man walking are all clearly and separately visible.
Picking a frame where every element is distinct makes a real difference in how accurately the edit carries through the rest of the video.
5. Write Your Prompt
Head to the prompt box and start typing out your edit. With Aleph 2.0, specificity is important! You want to be explicit about what changes and even more explicit about what doesn't.
Here's the structure that works well:
Scene consistency: "Same scene, same pose, same lighting."
The edit: "Change the buildings on both sides of the street to blue."
Lighting match: "The new blue buildings match the same overcast daylight in the scene."
Preserve everything else: "The bridge, the people, and the man walking stay exactly the same."
Style: "Photorealistic."
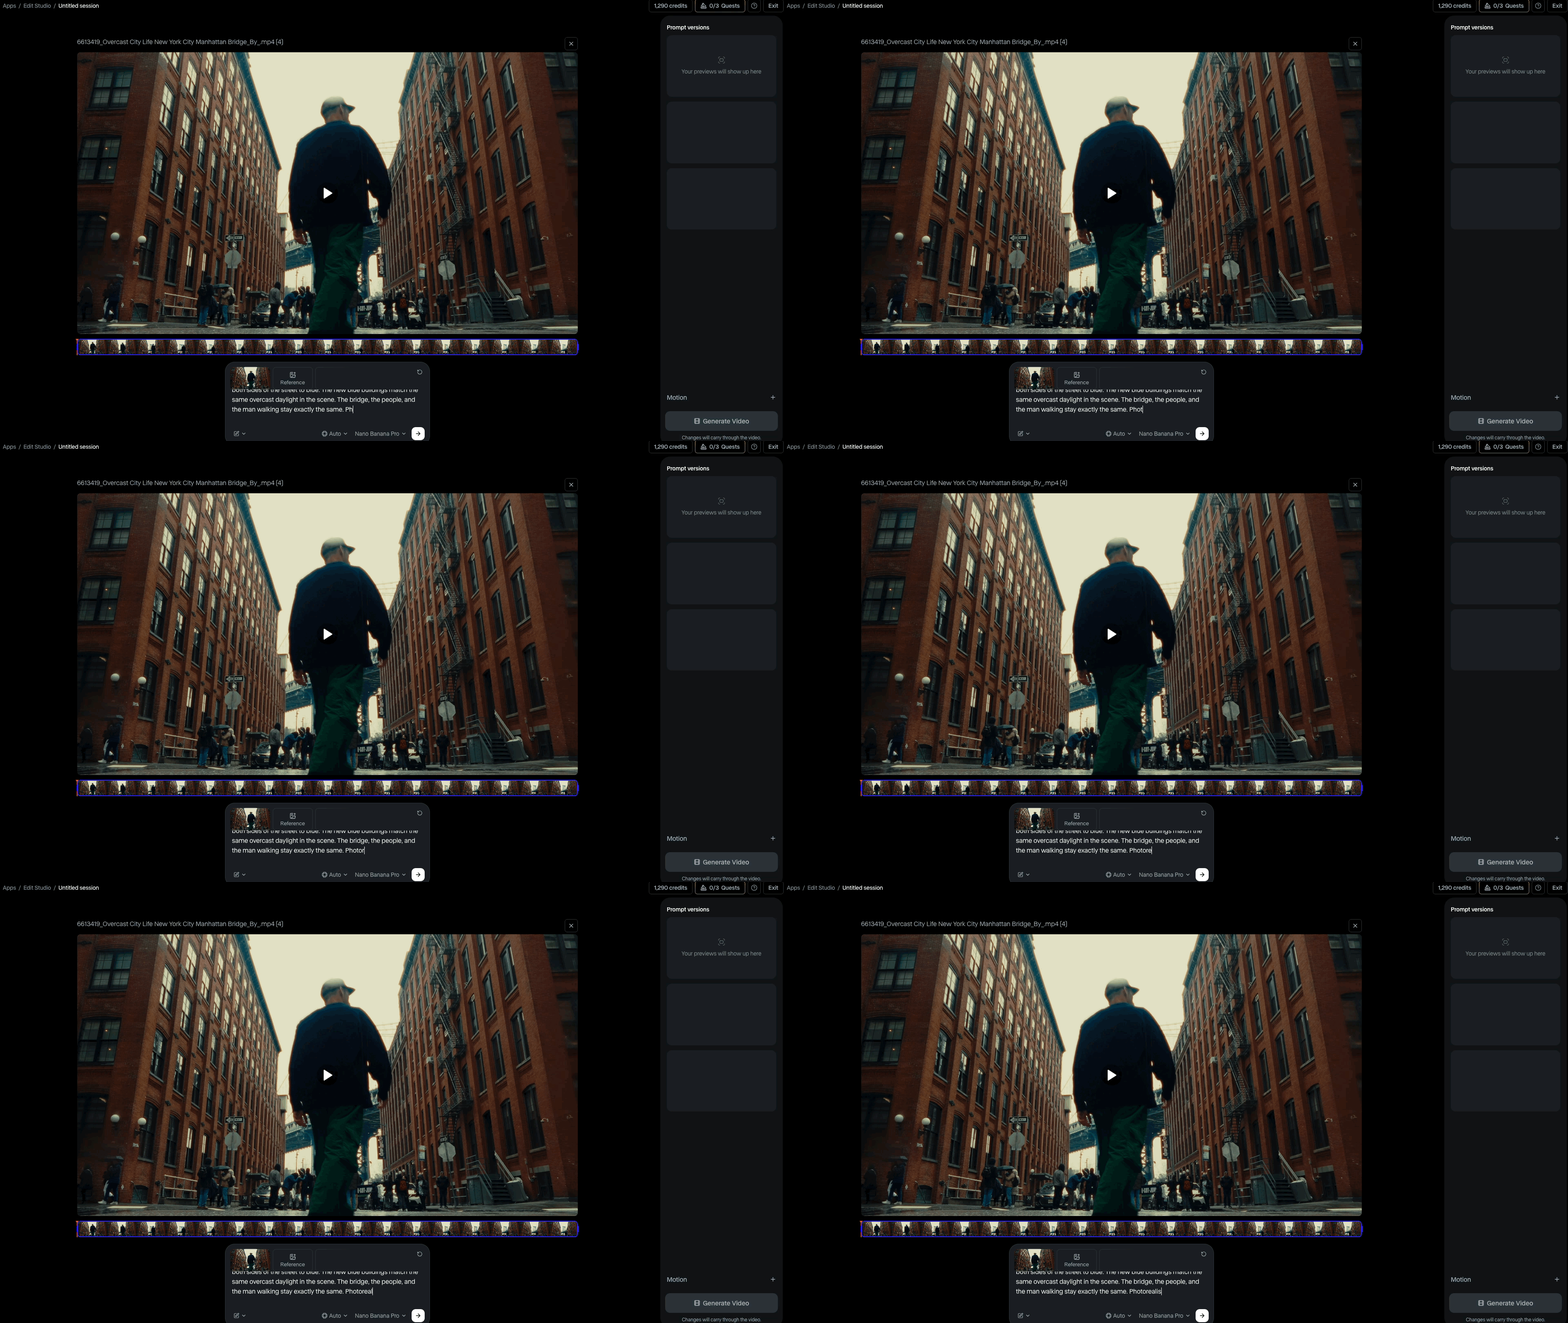
Putting it all together: Same scene, same pose, same lighting. Change the buildings on both sides of the street to blue. The new blue buildings match the same overcast daylight in the scene. The bridge, the people, and the man walking stay exactly the same. Photorealistic.
6. Choose Your Aspect Ratio and Editing Model
Right above the prompt box, you'll find two dropdowns: one for aspect ratio and one for the image model that handles the frame edit.
Leave the aspect ratio on 'Auto' unless your project calls for something specific.
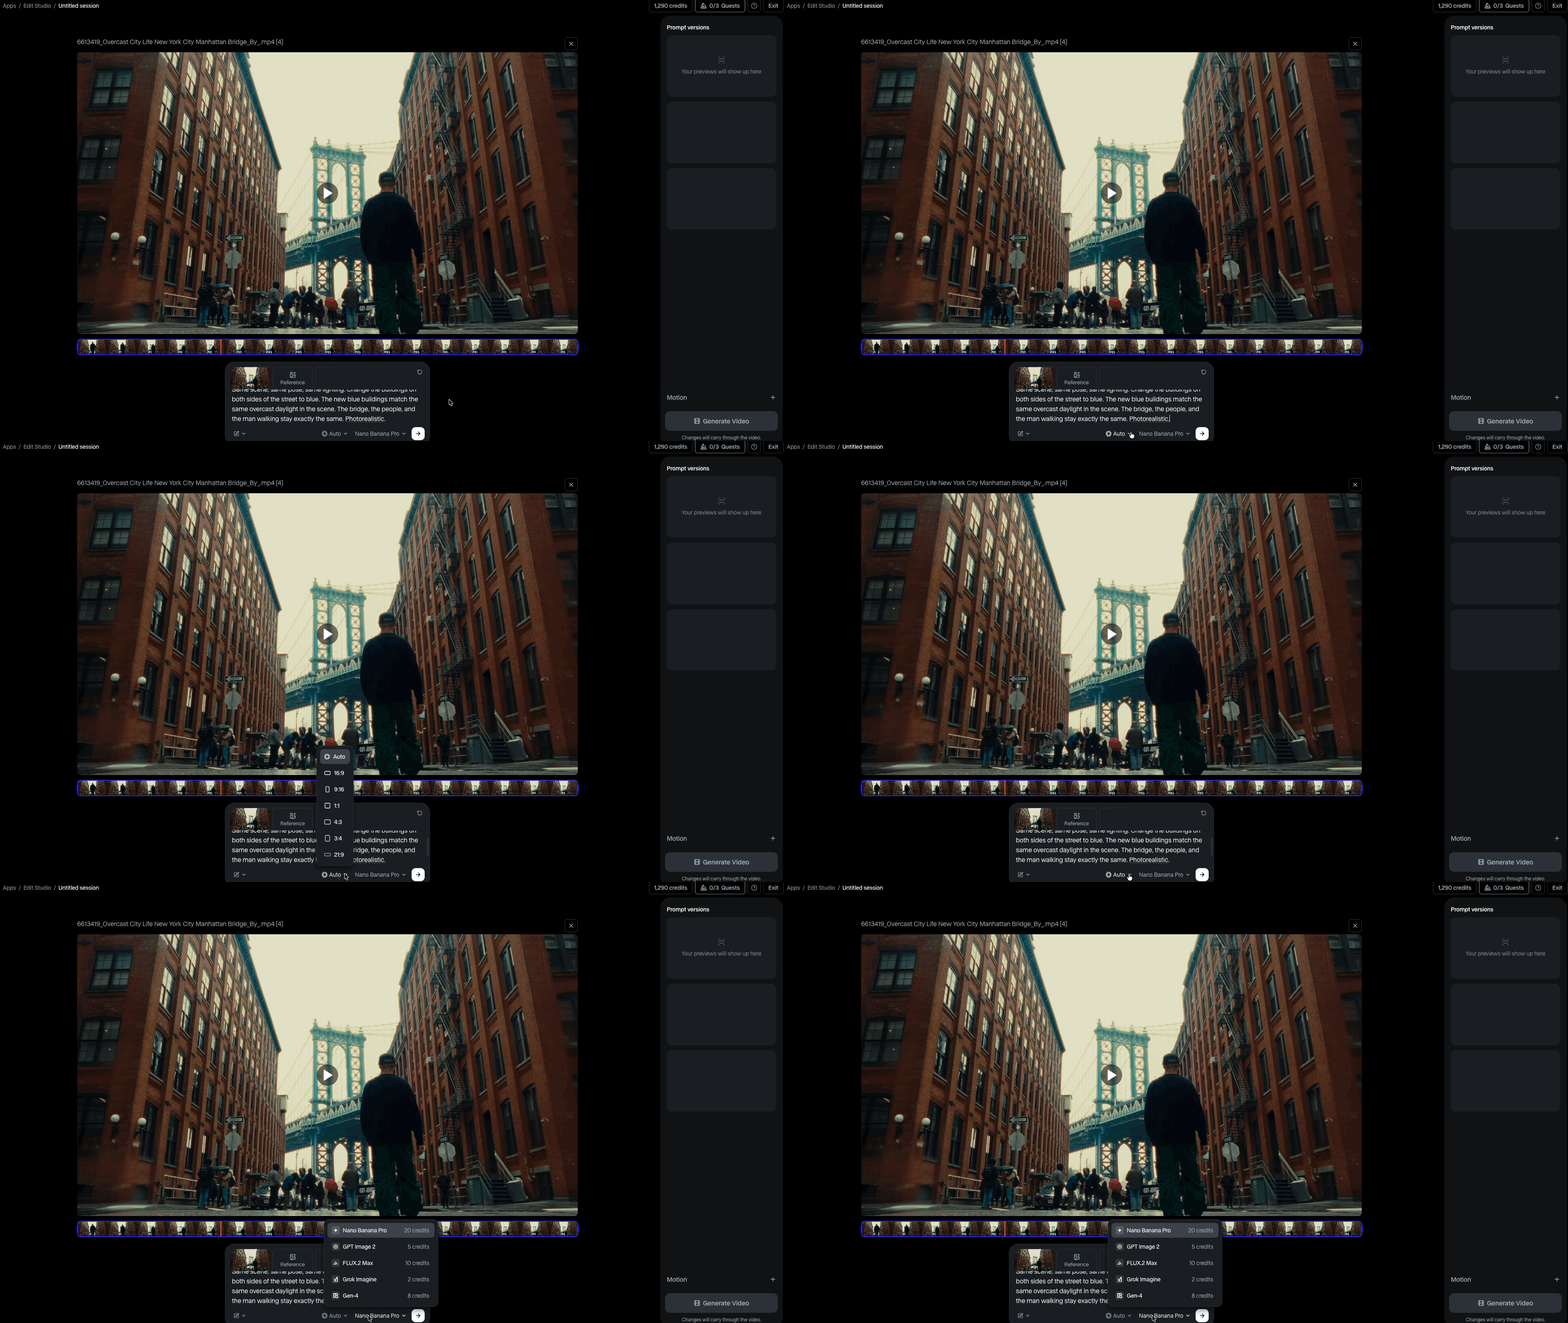
For the editing model, we recommend going with Nano Banana Pro or GPT Image 2.
Both do a great job translating your prompt into a clean, accurate edit on that single frame before Aleph 2.0 carries it through the rest of the video.
7. Click 'Generate Frame'
Once your prompt is locked in, look for the white square button with an arrow and click 'Generate Frame.'
This generates just the edited version of the frame you selected, not the whole video yet.
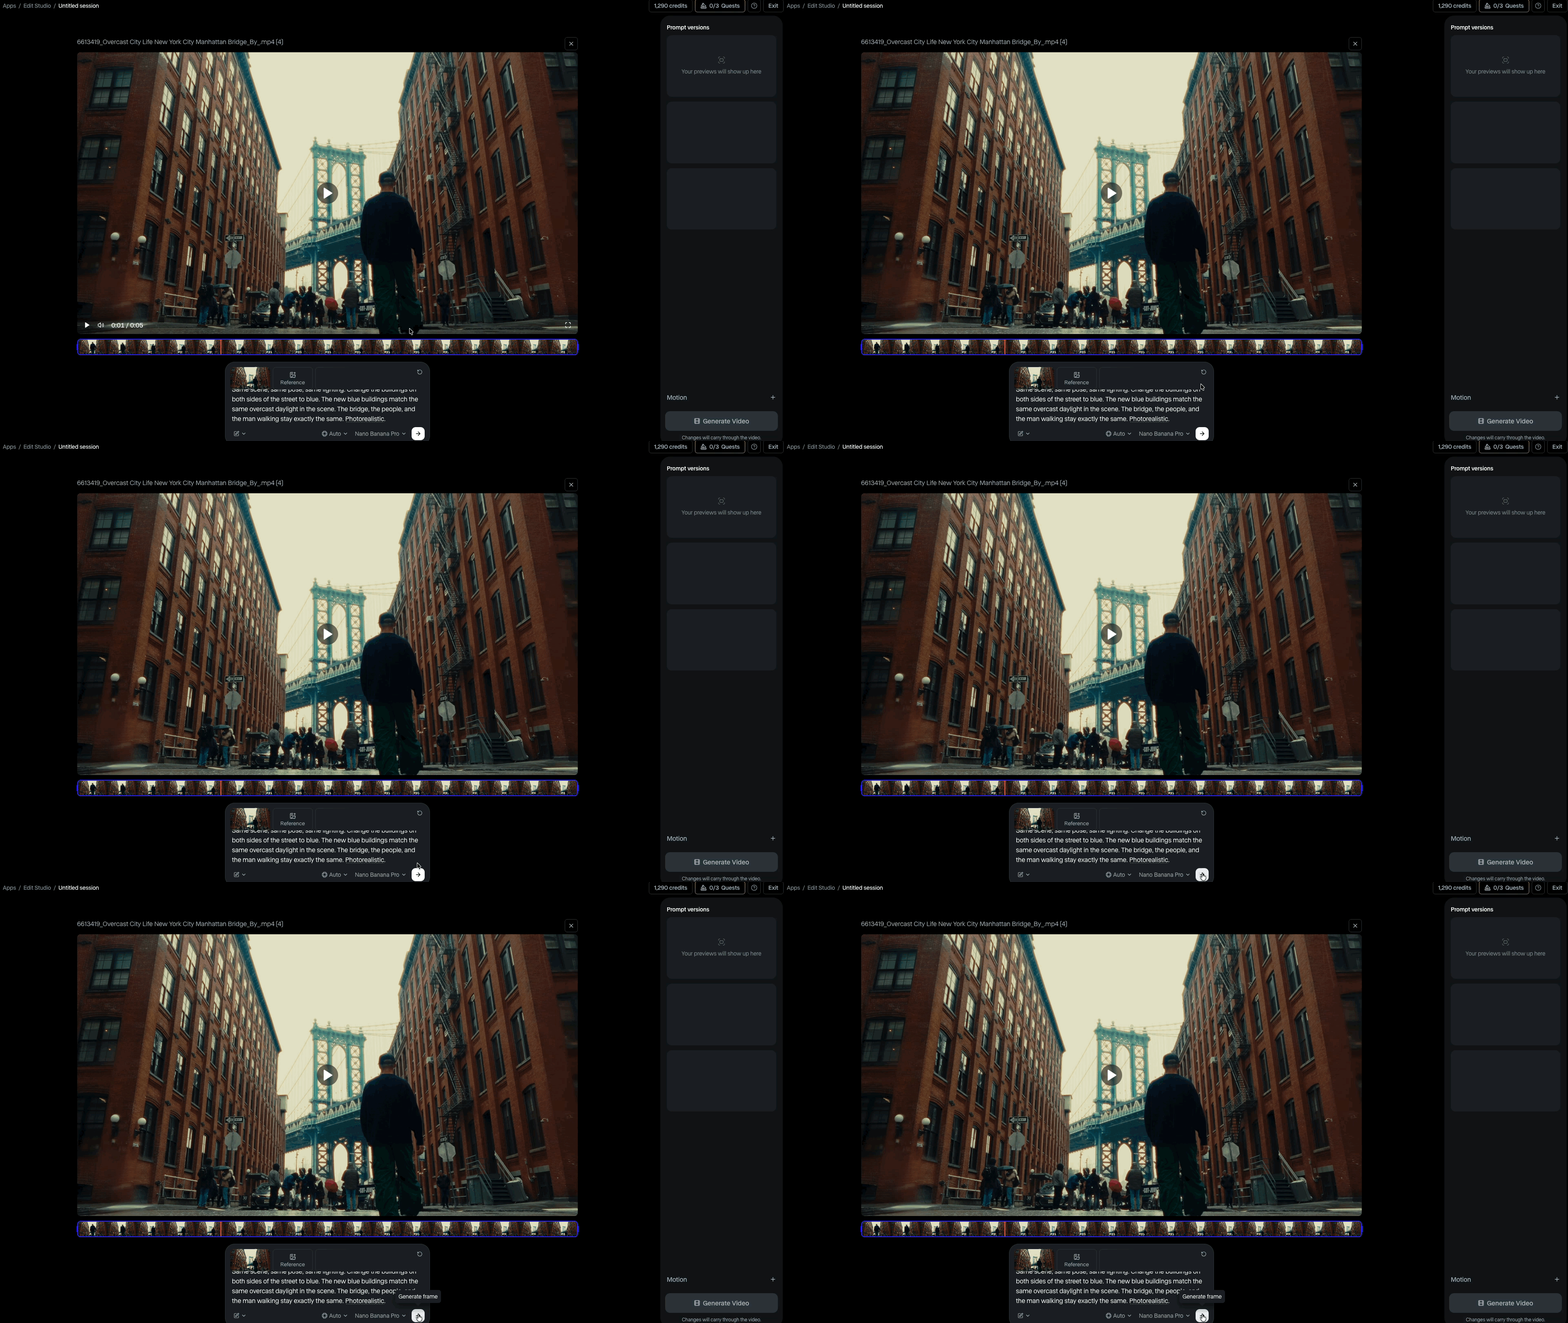
Think of it as a preview. You get to see exactly what the change will look like before committing to a full generation, which saves you both time and credits if something needs tweaking.
8. Check Your Generated Frame
After 'Generate Frame' runs, a thumbnail pops up under 'Prompt versions' on the right. Click it to see a bigger preview of how Aleph 2.0 interpreted your edit.
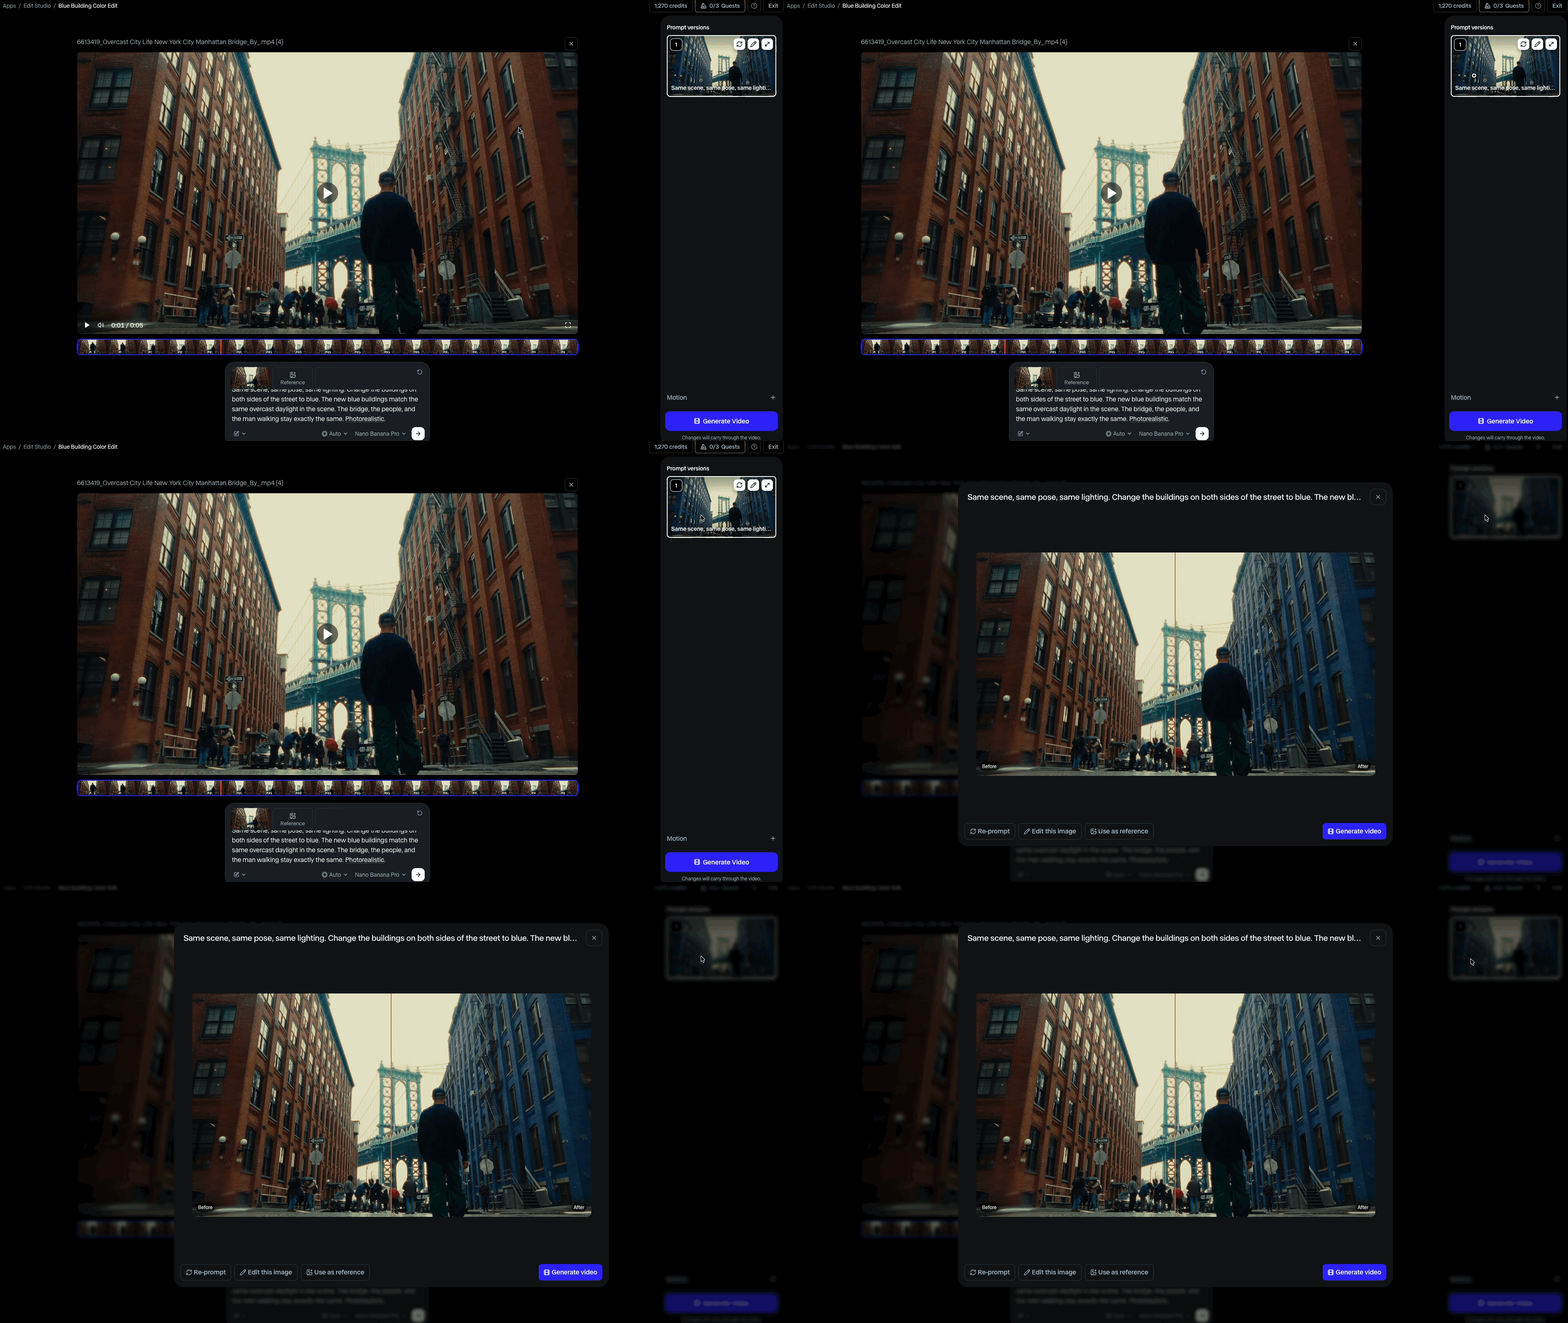
If you didn’t get quite what you wanted, adjust your prompt and run it again.
This preview step is what makes the whole workflow so much faster than generating blind.
9. Hit 'Generate Video'
Once your frame preview looks exactly how you want it, go ahead and click the large blue 'Generate Video' button at the bottom right of the panel.
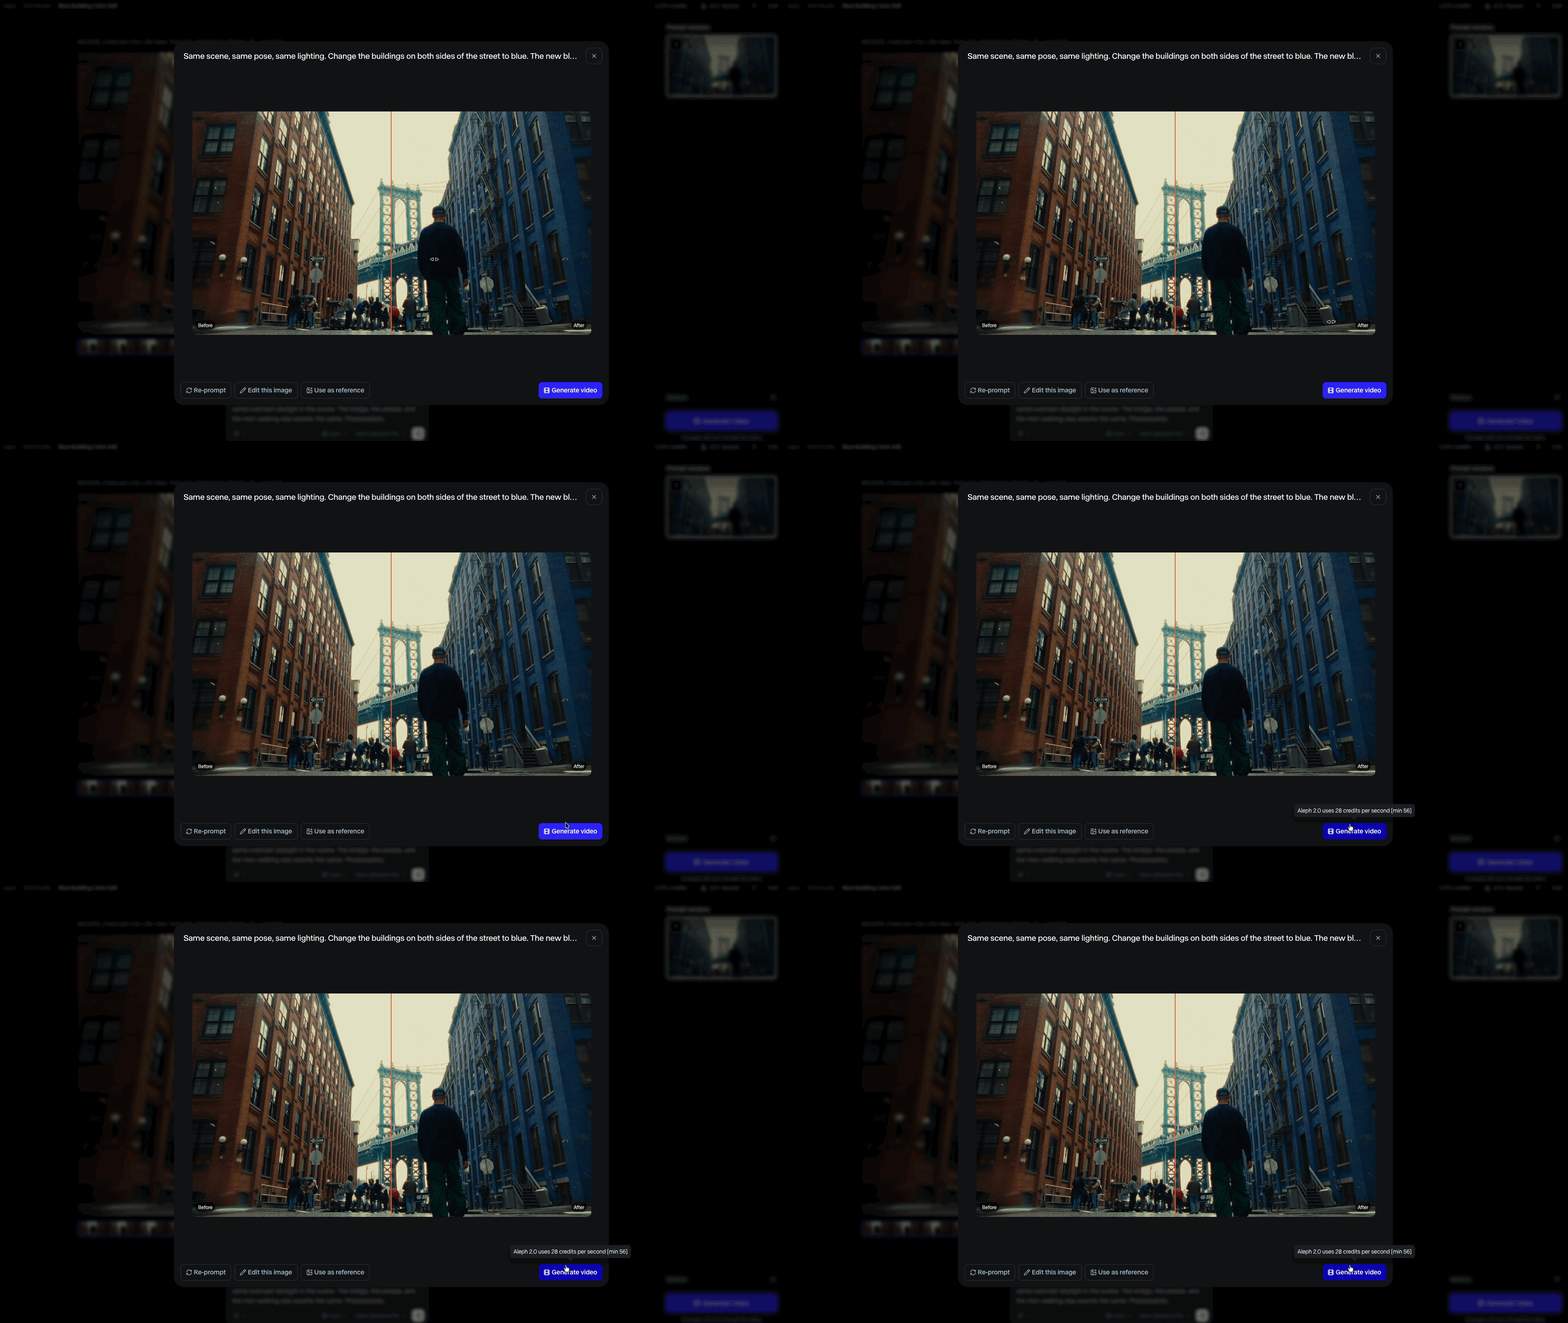
From here, Aleph 2.0 uses your edited frame as the blueprint and carries that change through the entire video. This is the moment everything we set up comes together.
10. Review Your Final Output
Once Aleph 2.0 finishes rendering, give the full video a proper watch. If the edit holds up consistently from start to finish, great, you're done.
If it's not quite there, head back to your prompt and adjust it. Iteration is part of the process, and Aleph 2.0 makes it cheap enough to try again without burning through your whole budget.
Free Intro to AI Storytelling Training
Keep in mind that video generation takes more time and credits than working with images, so make your feedback count.
The more specific you are about what needs to change, the less back and forth you'll need.
If you are interested in learning more about how to use AI in workflows just like this one, we would love to help you.
Fill out the form below and get access to our free Intro to AI storytelling course.
We would also love to see you inside our community (you get access whenever you join the free course).
We cannot wait to see you there!
