
How to Edit Videos with Seedance 2.0 Omni
Written by Pedro Guerrero and Edited by Tyler Smith
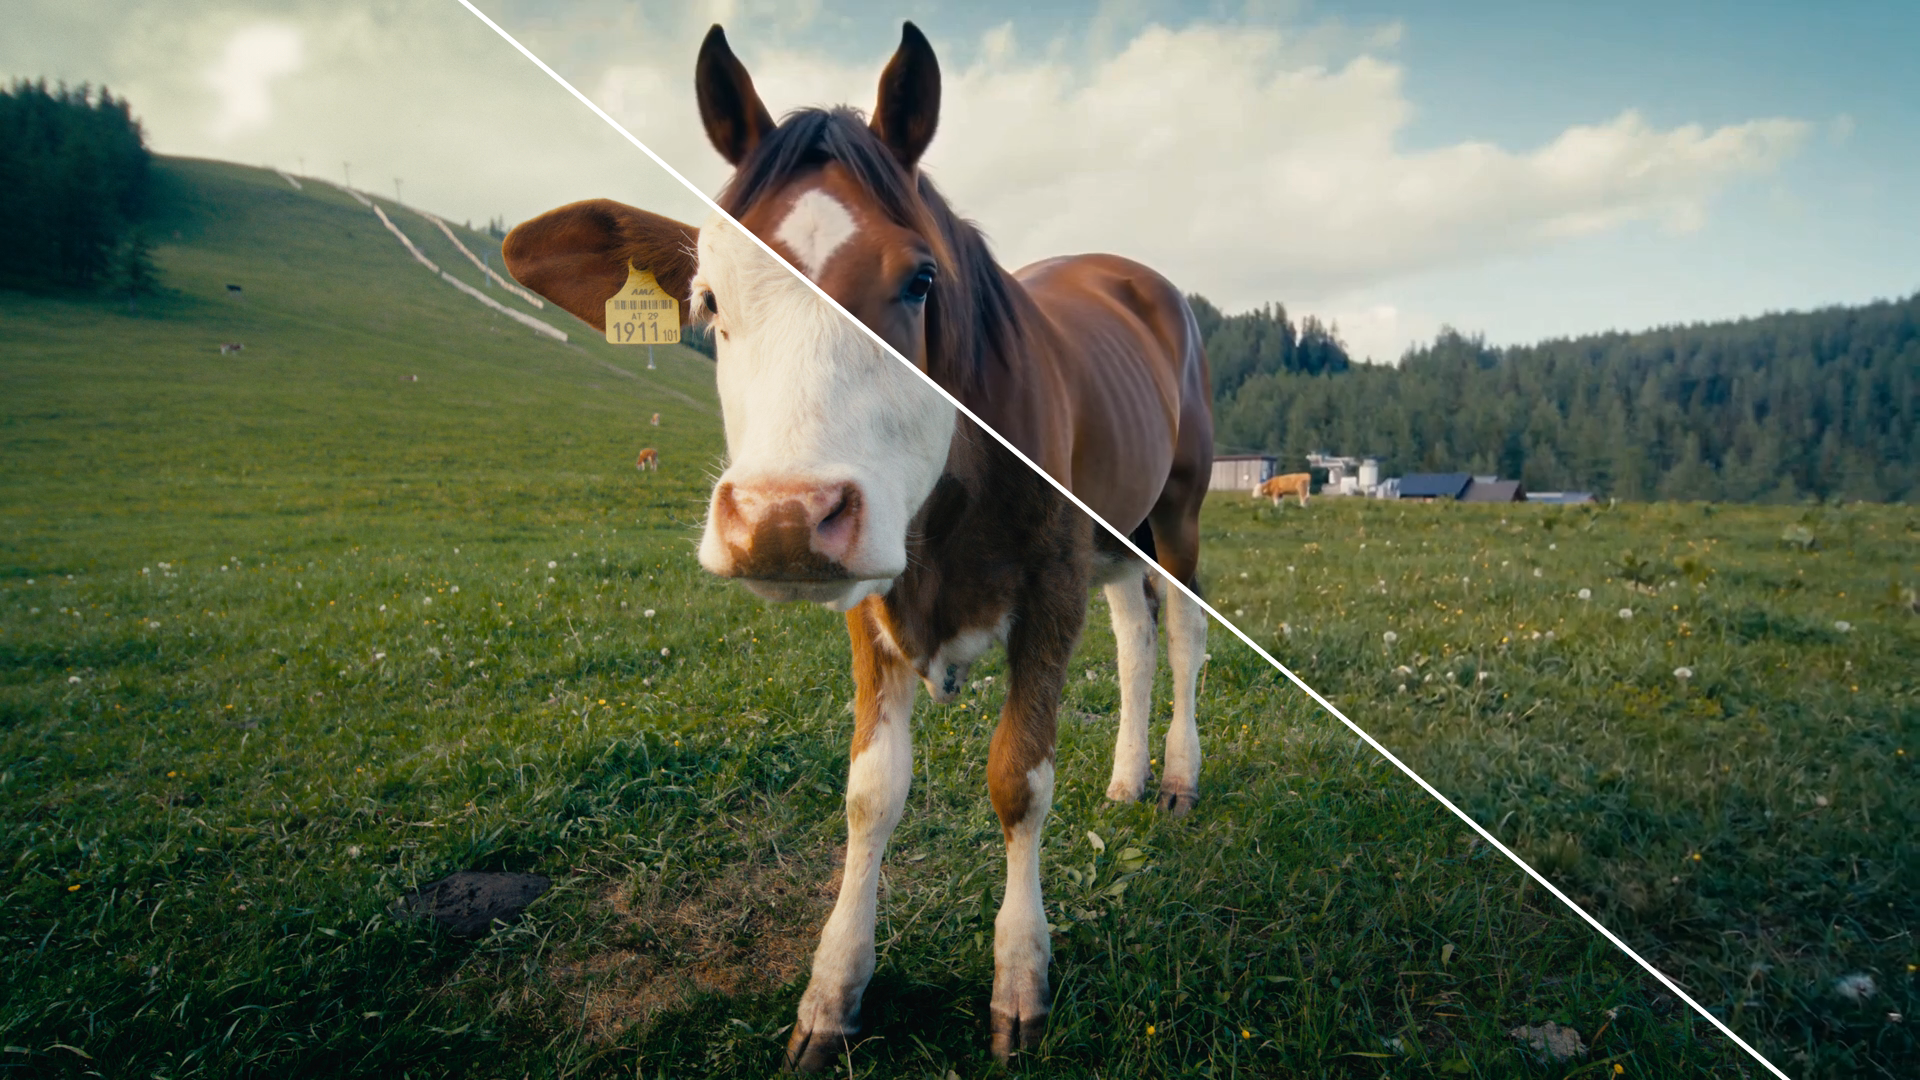
In this article, I’ll share everything you need to know to edit videos with Seedance 2.0 Omni is right here.
Video editing used to be something only professionals could pull off well. AI has changed that, and Seedance 2.0 Omni is one of the more impressive examples of how far things have come.
This AI Video Generator lets you feed it images, videos, and audio as references and build something entirely new from them. No timeline, no keyframes, no prior experience needed.
Here's how it works.
Seedance 2 vs Google Omni Flash | AI Film News
Below is an episode of our AI Film News series hosted by Caleb, where we cover the latest in AI video tools.
In this episode, we put Seedance 2.0 Omni up against the competition, including a deep dive into how it stacks up against Google Omni Flash.
How to Edit Video with Seedance 2.0 Omni
Here's everything you need to know to get your first edited video out of Seedance 2.0 Omni, broken down into 8 simple steps.
1. Head to your Favorite AI Video Platform (We’ll use Magnific)
Go to Magnific (Freepik) to get started.
Seedance 2.0 Omni is officially available through Dreamina, but we typically prefer to use Magnific as our go-to AI Video tool.
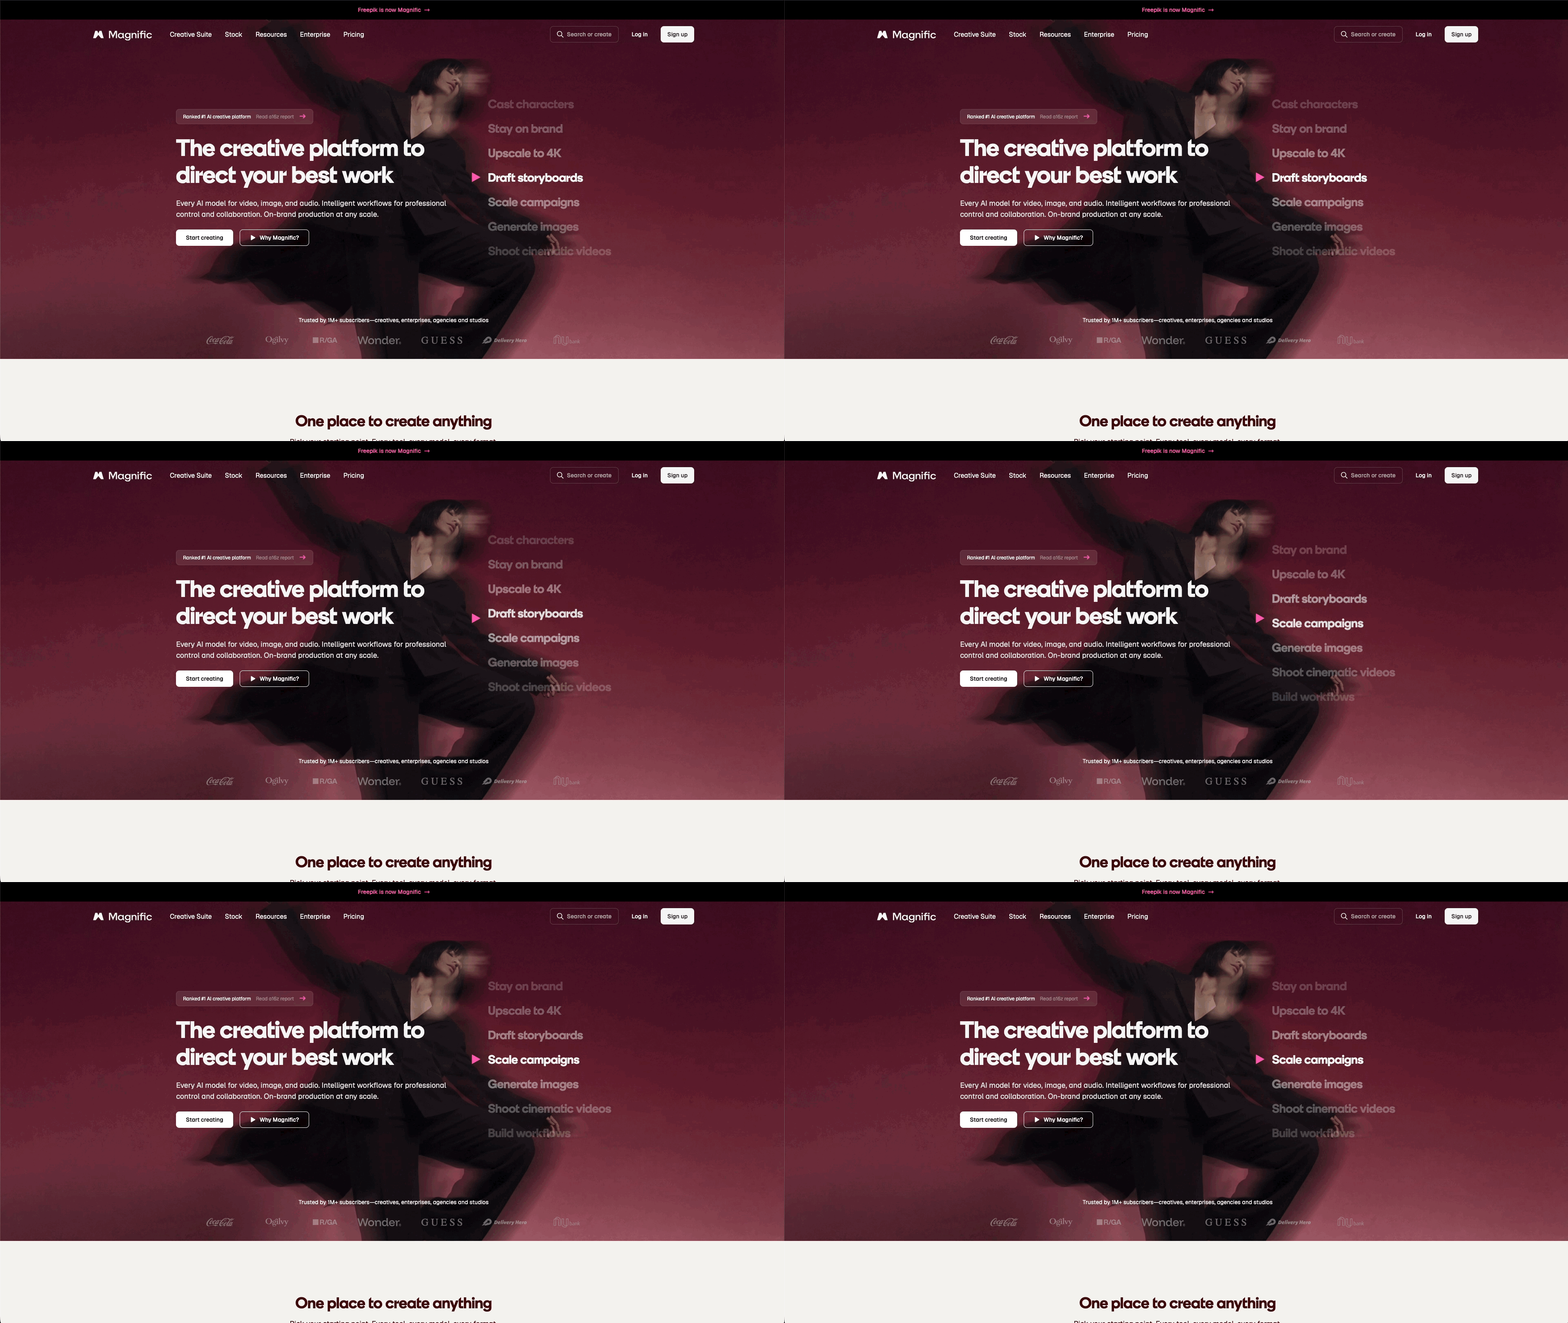
The interface is clean and easy to navigate, which makes the whole process a lot less intimidating.
In order to use Seedance 2.0 Omni, you'll need to set up an account.
2. Click 'Start Creating' and Log In
Once you're on the Magnific (Freepik) homepage, click the ‘Start Creating’ button to begin.
From there, you'll need to be logged in to continue.
You can sign in with Google, Apple, or email, whichever you prefer.
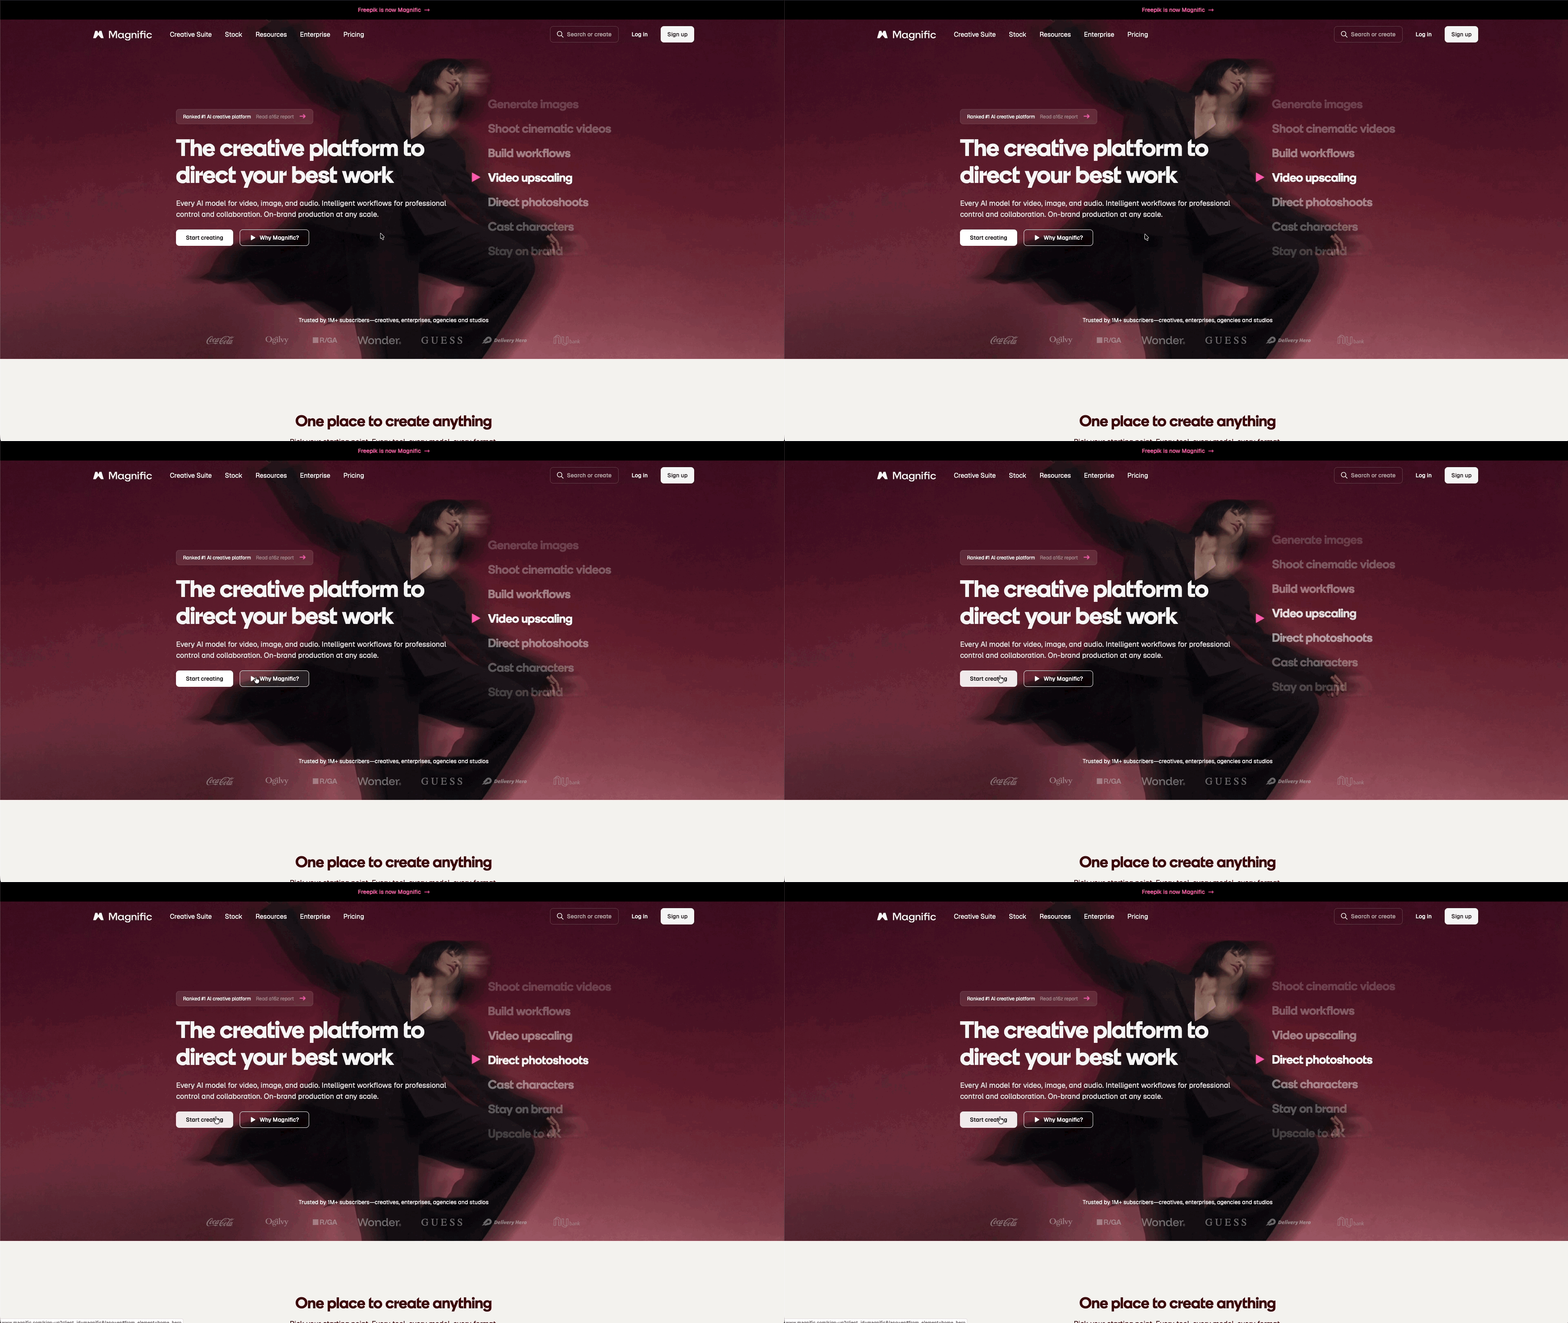
If you don't have an account yet, the same buttons will get you set up. Takes about a minute and you're good to go.
3. Click on the Video Generator Icon
Once you land on the home screen, look to the left sidebar and find the video camera icon.
Click on it to open the Video Generator.
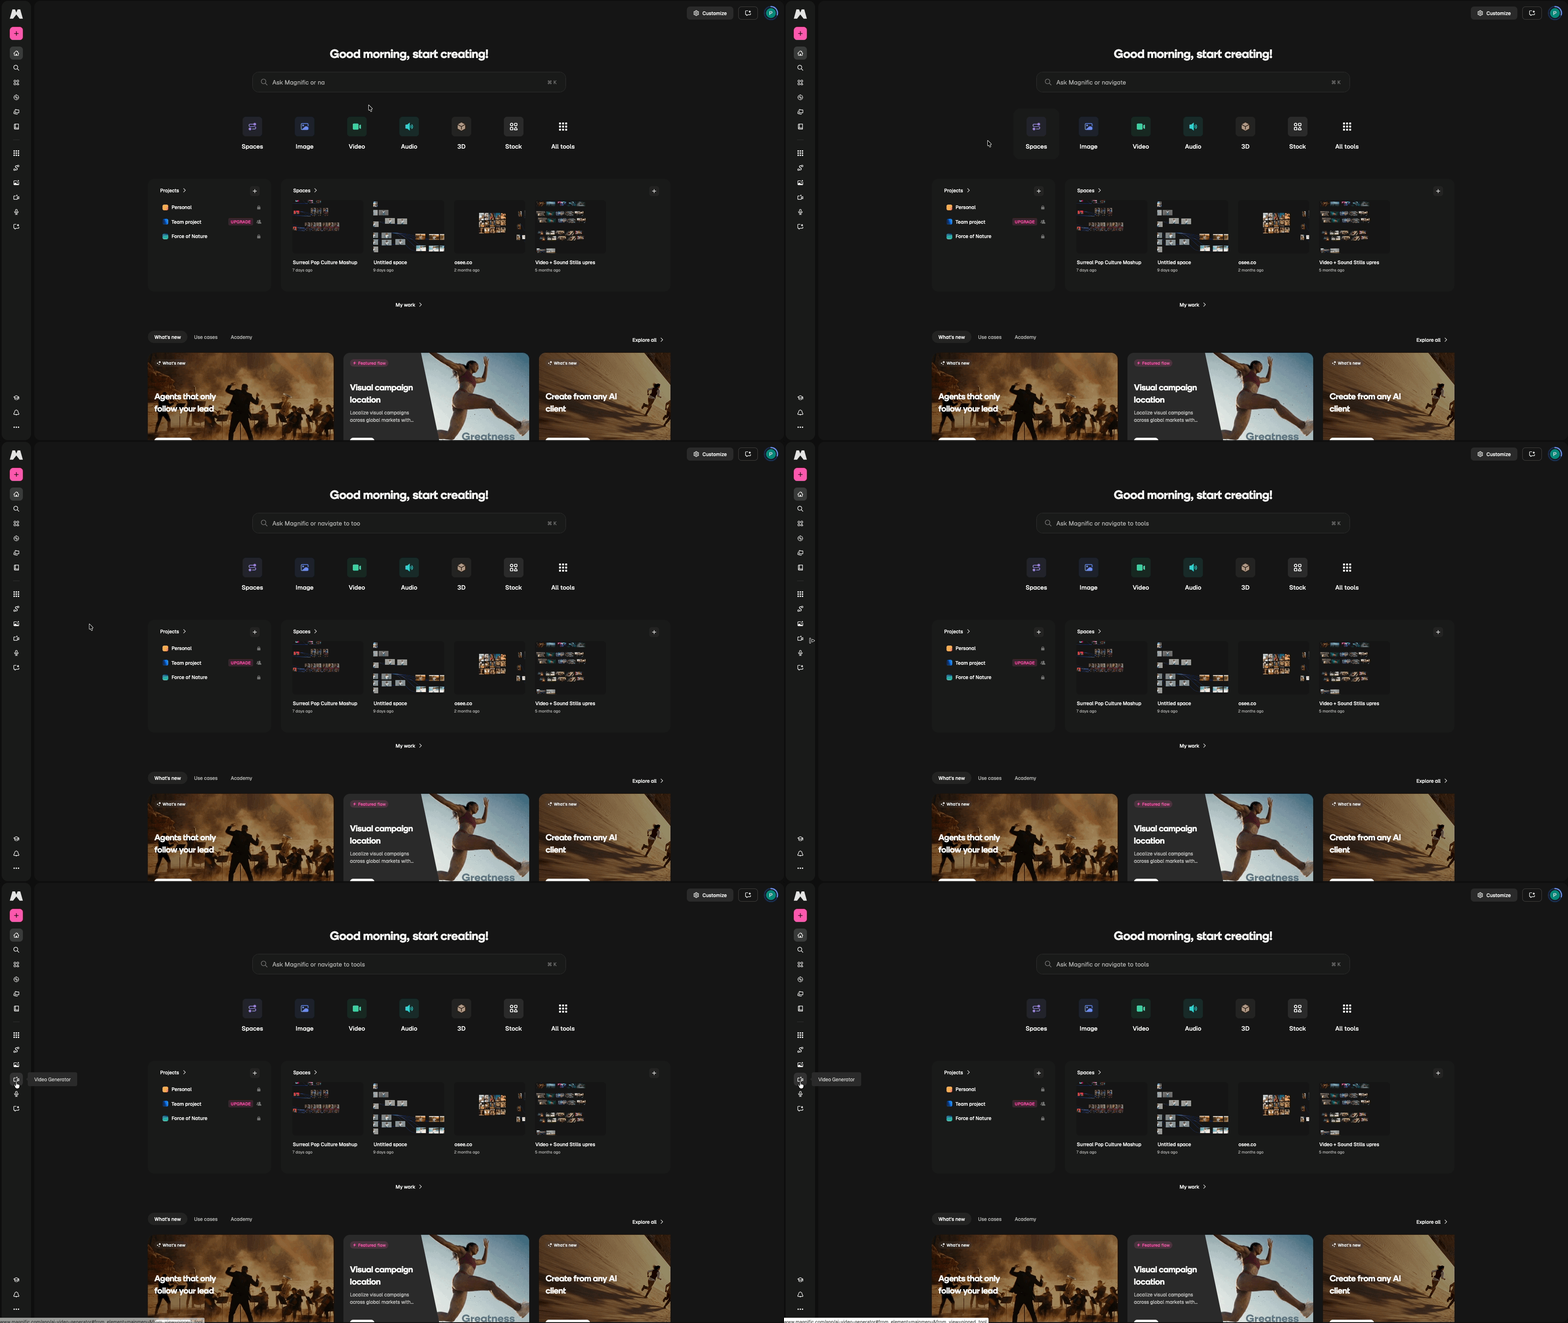
That's where Seedance 2.0 Omni lives inside Magnific (Freepik), so let's get in there.
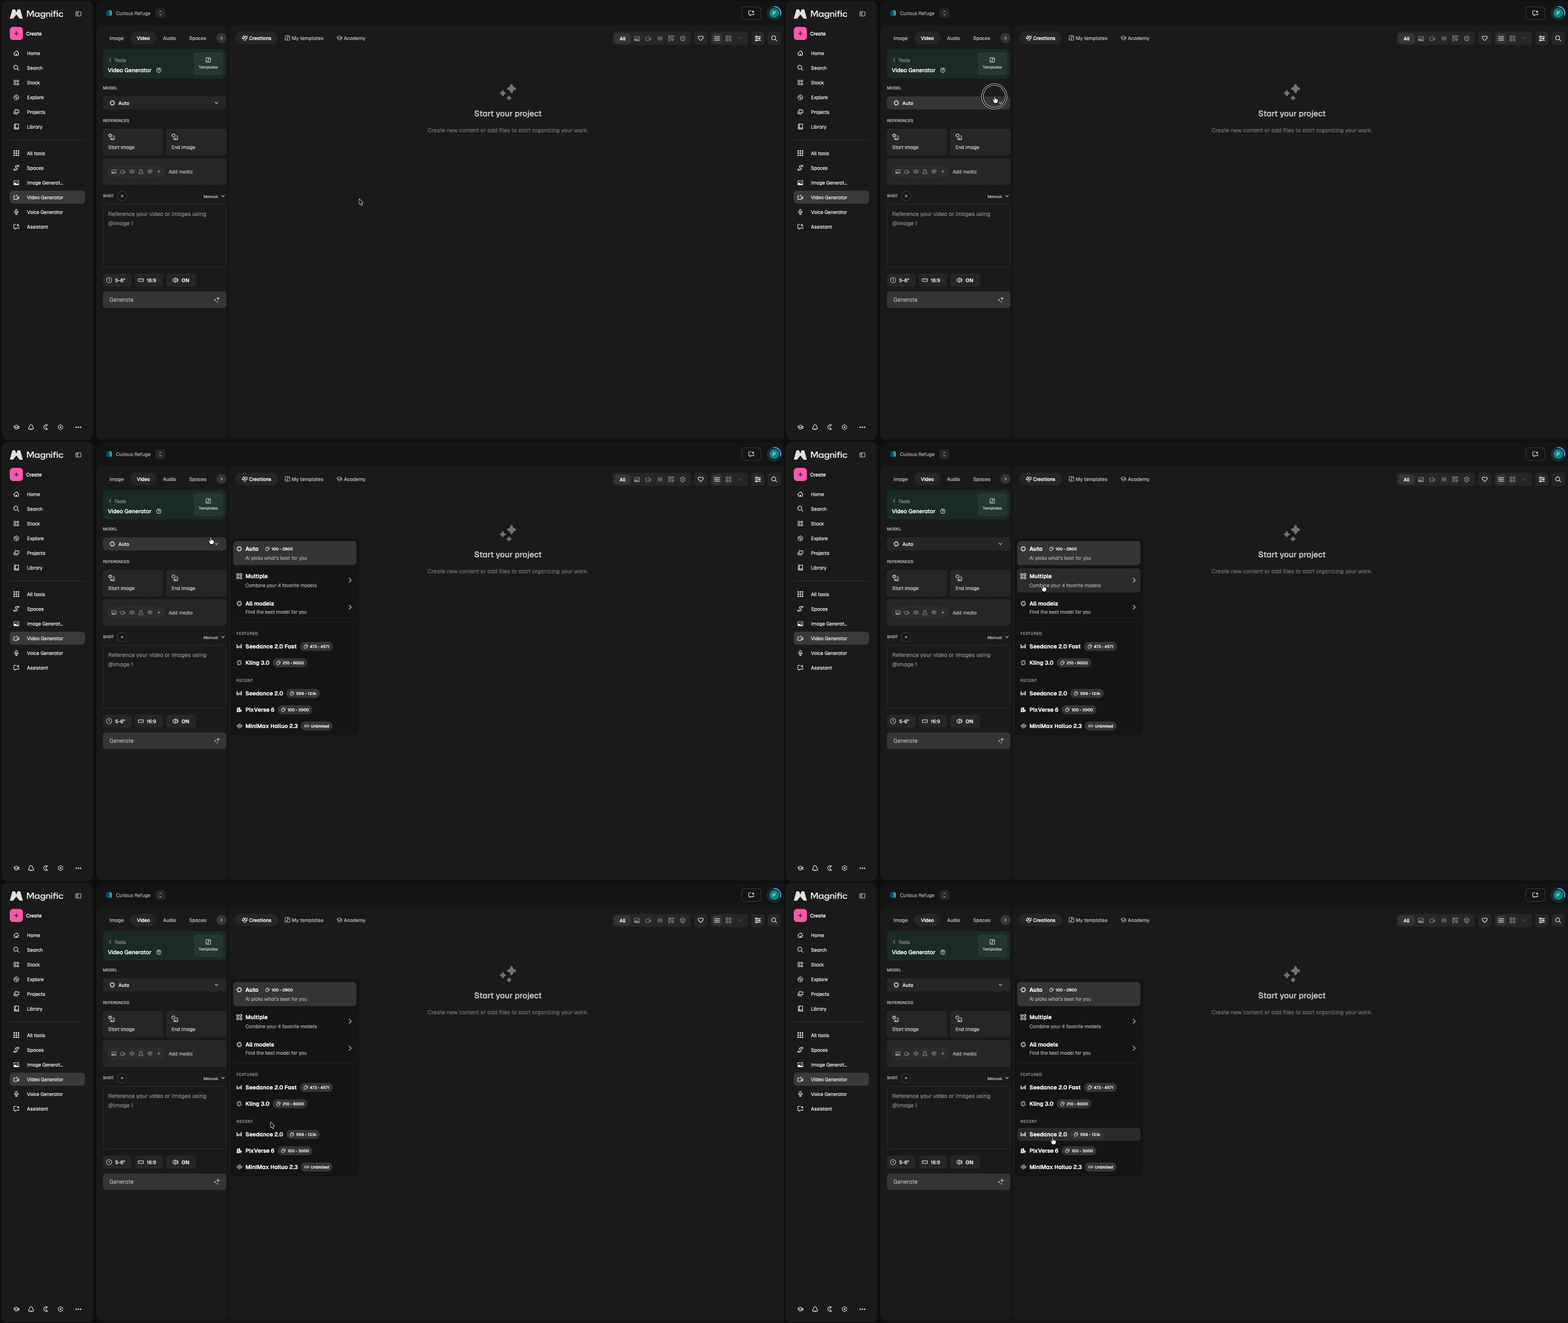
4. Select Seedance 2.0 From the Model Dropdown
In the Video Generator section, look for the "Model" label on the left panel. Click the dropdown to open it.
Click on Seedance 2.0 to being using it.
5. Drag Your Video Into the 'Add Media' Section
In the left panel, find the ‘References’ label and drag your video clip directly into the "Add Media" area.
This is how Seedance is able to edit your video.
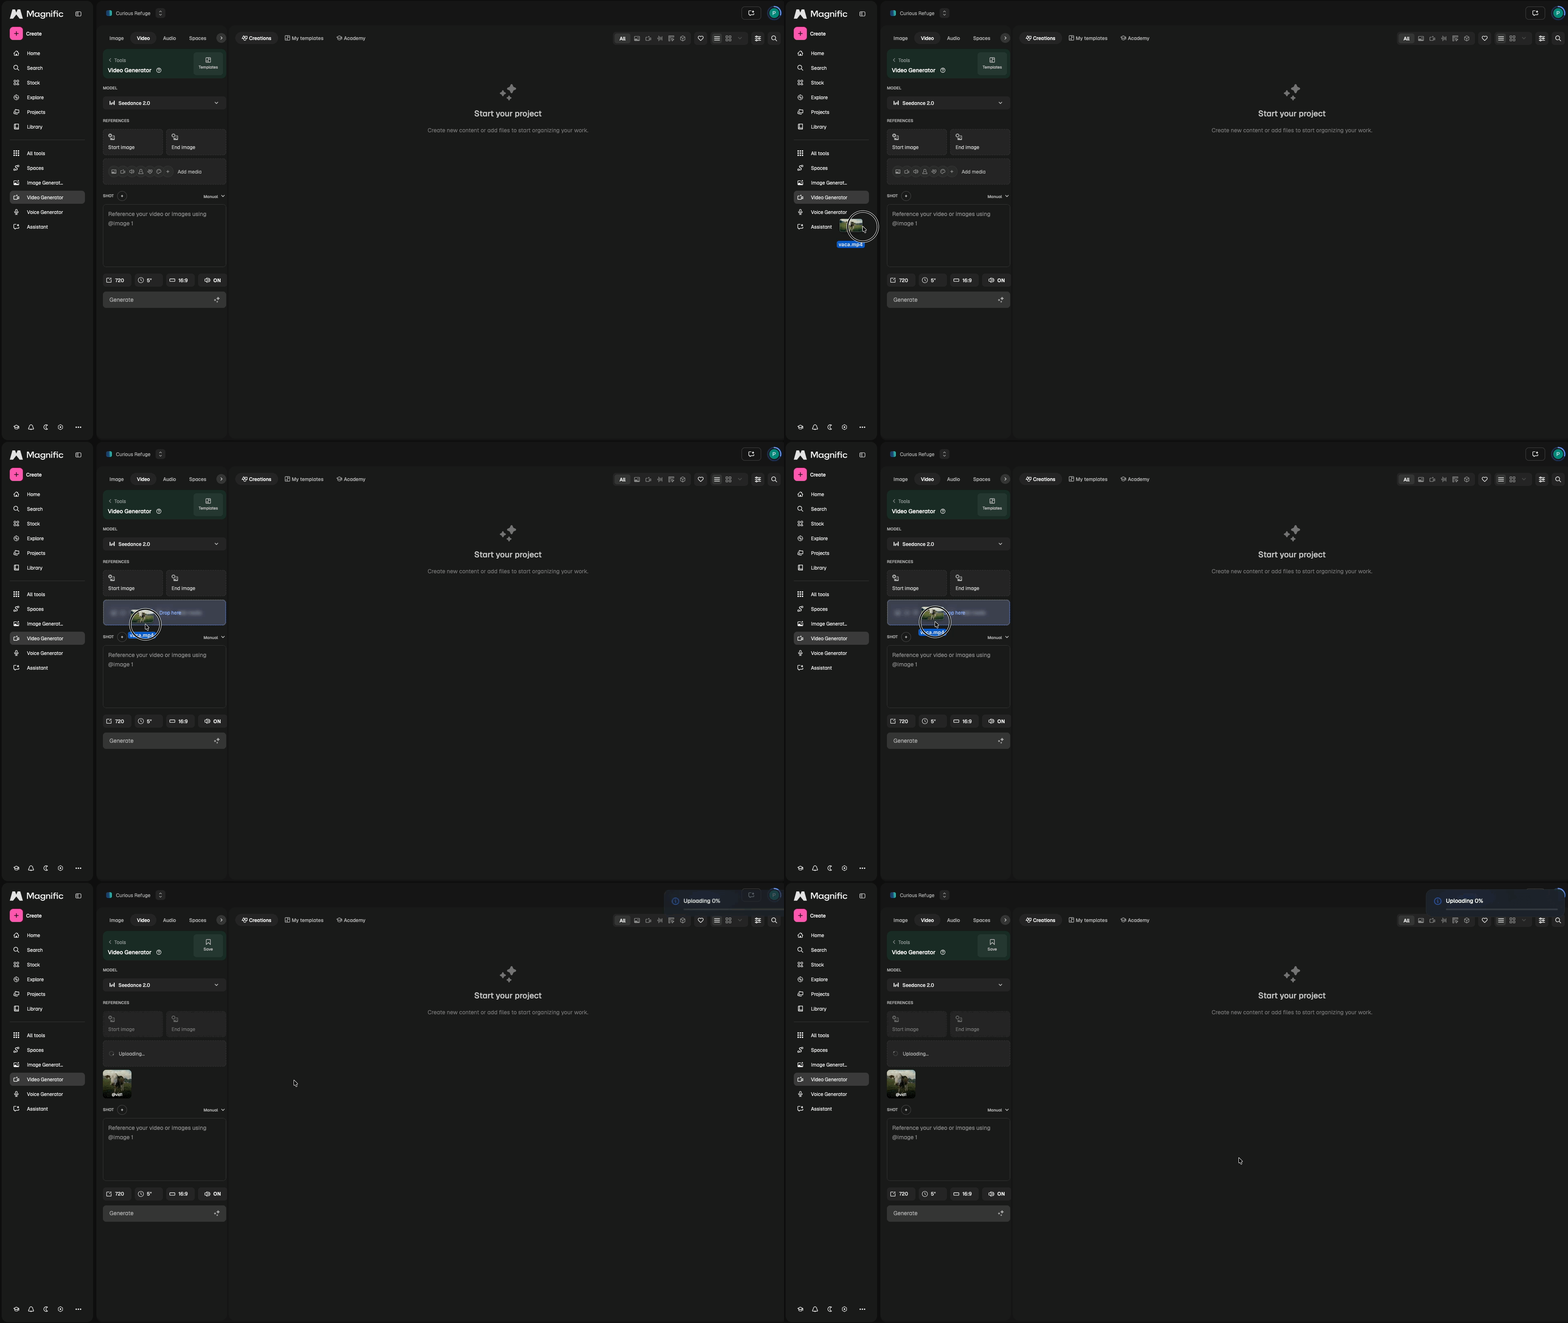
Once your video is uploaded, you're ready for the next step.
Below is the video we are using for this example.
6. Know Your Advanced Settings
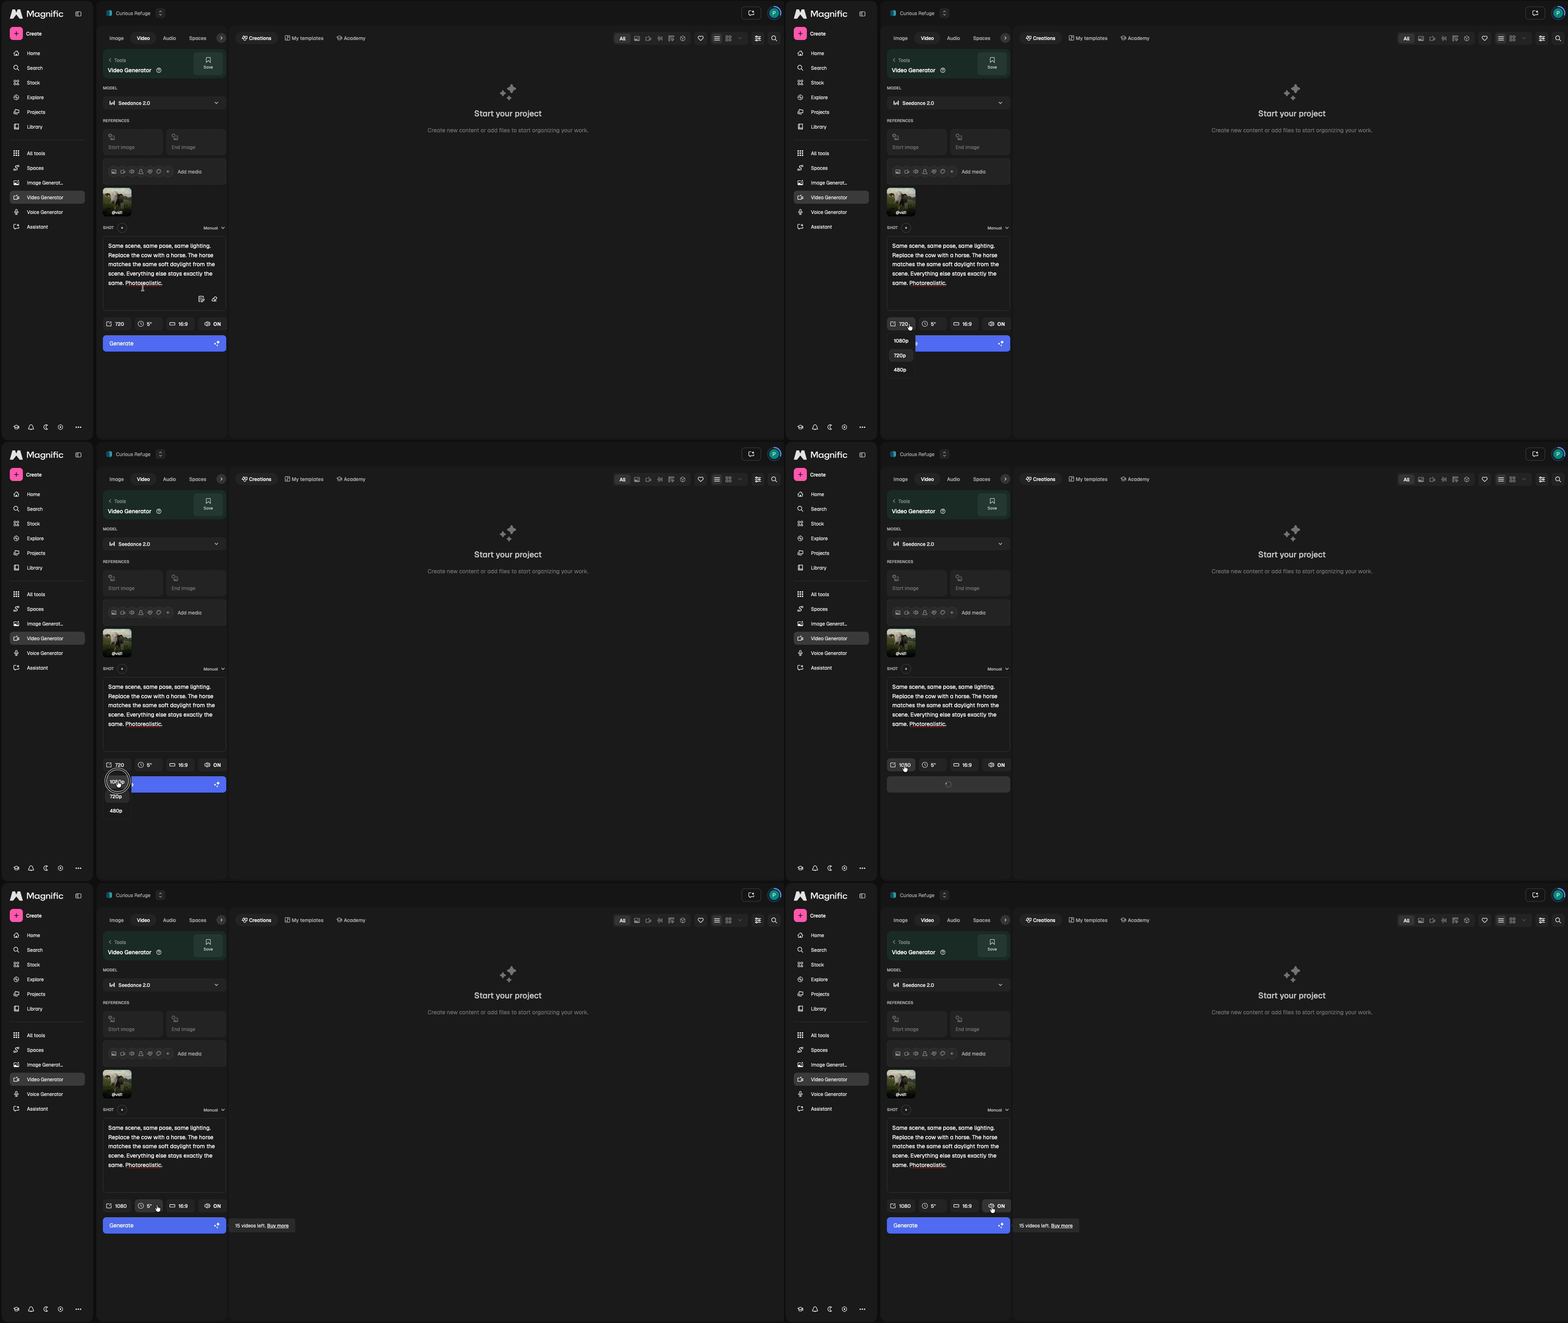
Take a second to review the settings at the bottom of the left panel. Here's what each one does:
Resolution: Defaults to 720p. Leave it there unless you want a higher resolution.
Duration: Controls how long your output clip will be. You can go up to 15 seconds with Seedance 2.0.
Aspect Ratio: Set to 16:9 by default. Adjust based on where your video is going to live.
Audio: Turn this on if you want native audio generated alongside your video. Turn it off if you're handling audio separately.
7. Write Your Prompt and Click 'Generate'
Click on the prompt box in the left panel and start describing your edit.
The key with Seedance 2.0 is being specific about what changes and crystal clear about what stays the same.
A solid prompt for this kind of edit follows this structure:
Scene consistency: Tell it to keep everything as it is. Ex: "Same scene, same pose, same lighting."
The edit: Describe exactly what you want changed. Ex: "Replace the cow with a horse."
Lighting match: Make sure the new element fits the existing light. Ex: "The horse matches the same soft daylight from the scene."
Preserve everything else: Be explicit about what shouldn't change. Ex: "Everything else stays exactly the same."
Style: How should the final result look? Ex: "Photorealistic."
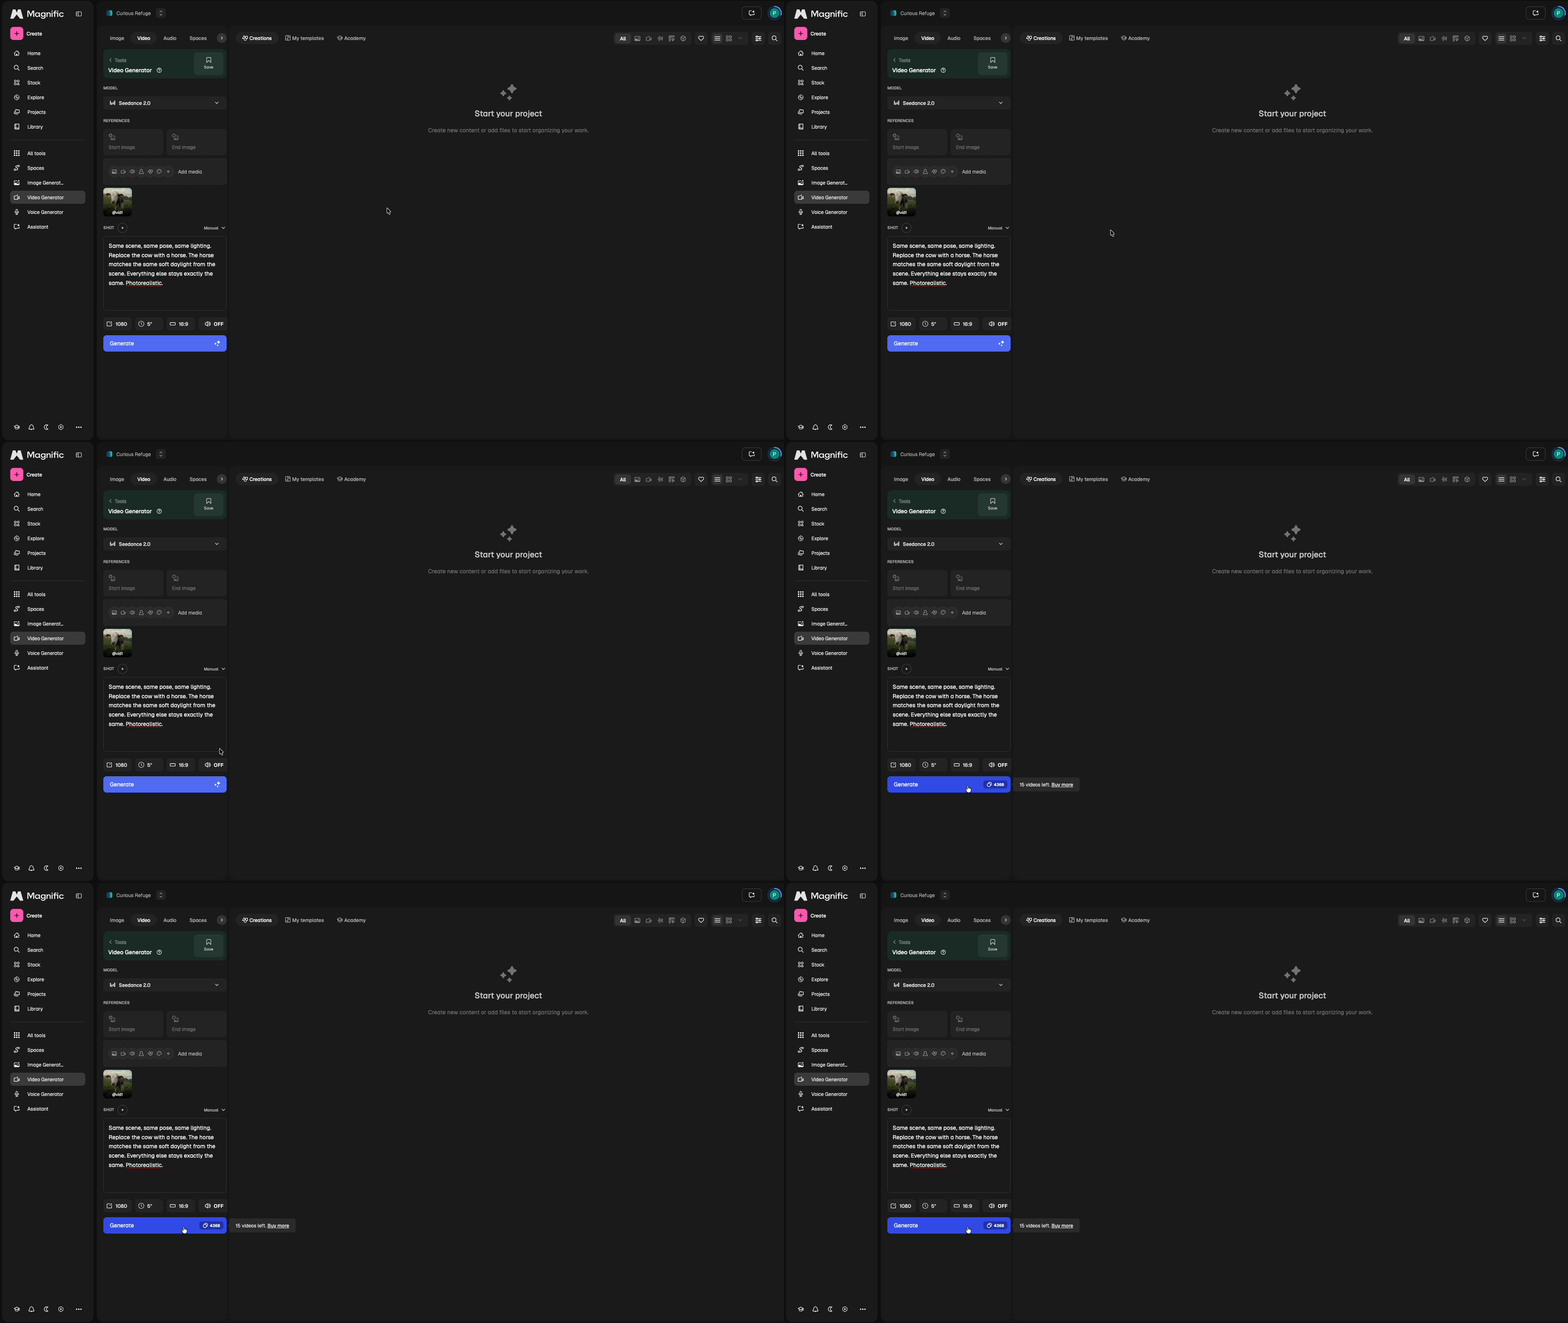
Full prompt: "Same scene, same pose, same lighting. Replace the cow with a horse. The horse matches the same soft daylight from the scene. Everything else stays exactly the same. Photorealistic."
Once your prompt is ready, click the "Generate" button at the bottom of the left panel.
8. Review Your Output and Iterate
Review the output. AI Video editing is an iterative process, so depending on the complevity of what you are wanting, you may need to adjust your prompt and try again.
For a straightforward swap like this, it usually does a solid job on the first try.
Keep in mind that video generation takes more time and credits than working with images, so make your feedback count.
The more specific you are about what needs to change, the less back and forth you'll need.
Free Course | Intro to AI Storytelling
Keep in mind that video generation takes more time and credits than working with images, so make your feedback count. The more specific you are about what needs to change, the less back and forth you'll need.
If you are interested in learning more about how to use AI in workflows just like this one, we would love to help you. Fill out the form below and get access to our free Intro to AI storytelling course.
You also get free access to our community where you can learn from and connect with AI creative from all around the world.
We would love to see you in the chat!
