Generate Images with Nano Banana 2 in Google Flow
In this article, we’ll show you how to generate AI images with Nano Banana 2 in Google Flow.
Nano Banana 2 is a phenomenal AI image generator created by the team at Google. Before it came Nano Banana and Nano Banana Pro.
Officially, Nano Banana 2 is known as Gemini 3 Flash Image.
In this article, we’ll show you how to generate AI images using Nano Banana 2 inGoogle Flow. If you are wanting to use this model in a professional project, then this is perfect.
If you are just interested in messing around with Nano Banana 2 for fun, we recommend generaitng inside of Gemini.
How to Generate Images Using Nano Banana 2 | Video Breakdown
Below is a video where we do a deep dive into Nano Banana 2, putting it through its paces and testing what it can actually do.
How to Generate AI Images with Nano Banana 2 in Google Flow
Here's everything you need to know to get your AI image out of Nano Banana 2, 7 steps, easy and fast.
1. Head to Google Flow (Google’s AI Platform)
Everything starts at Google Flow. Nano Banana 2 is available in other places, but Flow is where it feels most natural to use and where we'll be working throughout this tutorial.
2. Click the 'Create with Flow' Button
Right in the center of the screen, you'll find the "Create with Flow" button. Click the button and sign in with your Google account to get moving.
3. Click the ‘New Project’ Button
Flow might greet you with a few announcements when you first land, new features, updates, and the usual fanfare. Dismiss those and scroll down to hit the "New Project" button.
The platform is clean and easy to navigate, so it won;t take long for you to get comfortable with then platform.
4. Choose Your Model
Click on the model at the bottom right of the prompt box. Make sure you select ‘image',’ and then Nano Banana 2, or whichever model is the newest.
5. Type Your Prompt in the 'What Do You Want to Create?' Box
Click on the prompt bar at the bottom of the screen and start describing your idea. A solid prompt for Nano Banana 2 follows this structure:
Artistic medium: The style or format. Ex: "cinematic still" or "3D animated character"
Composition: Who or what, and where. Ex: "of a street vendor selling flowers in a busy market in Marrakech"
Character details: What they look like. Ex: "wearing a bright orange robe"
Extra details: Mood, lighting, environment. Ex: "warm afternoon light, colorful spices in the background"
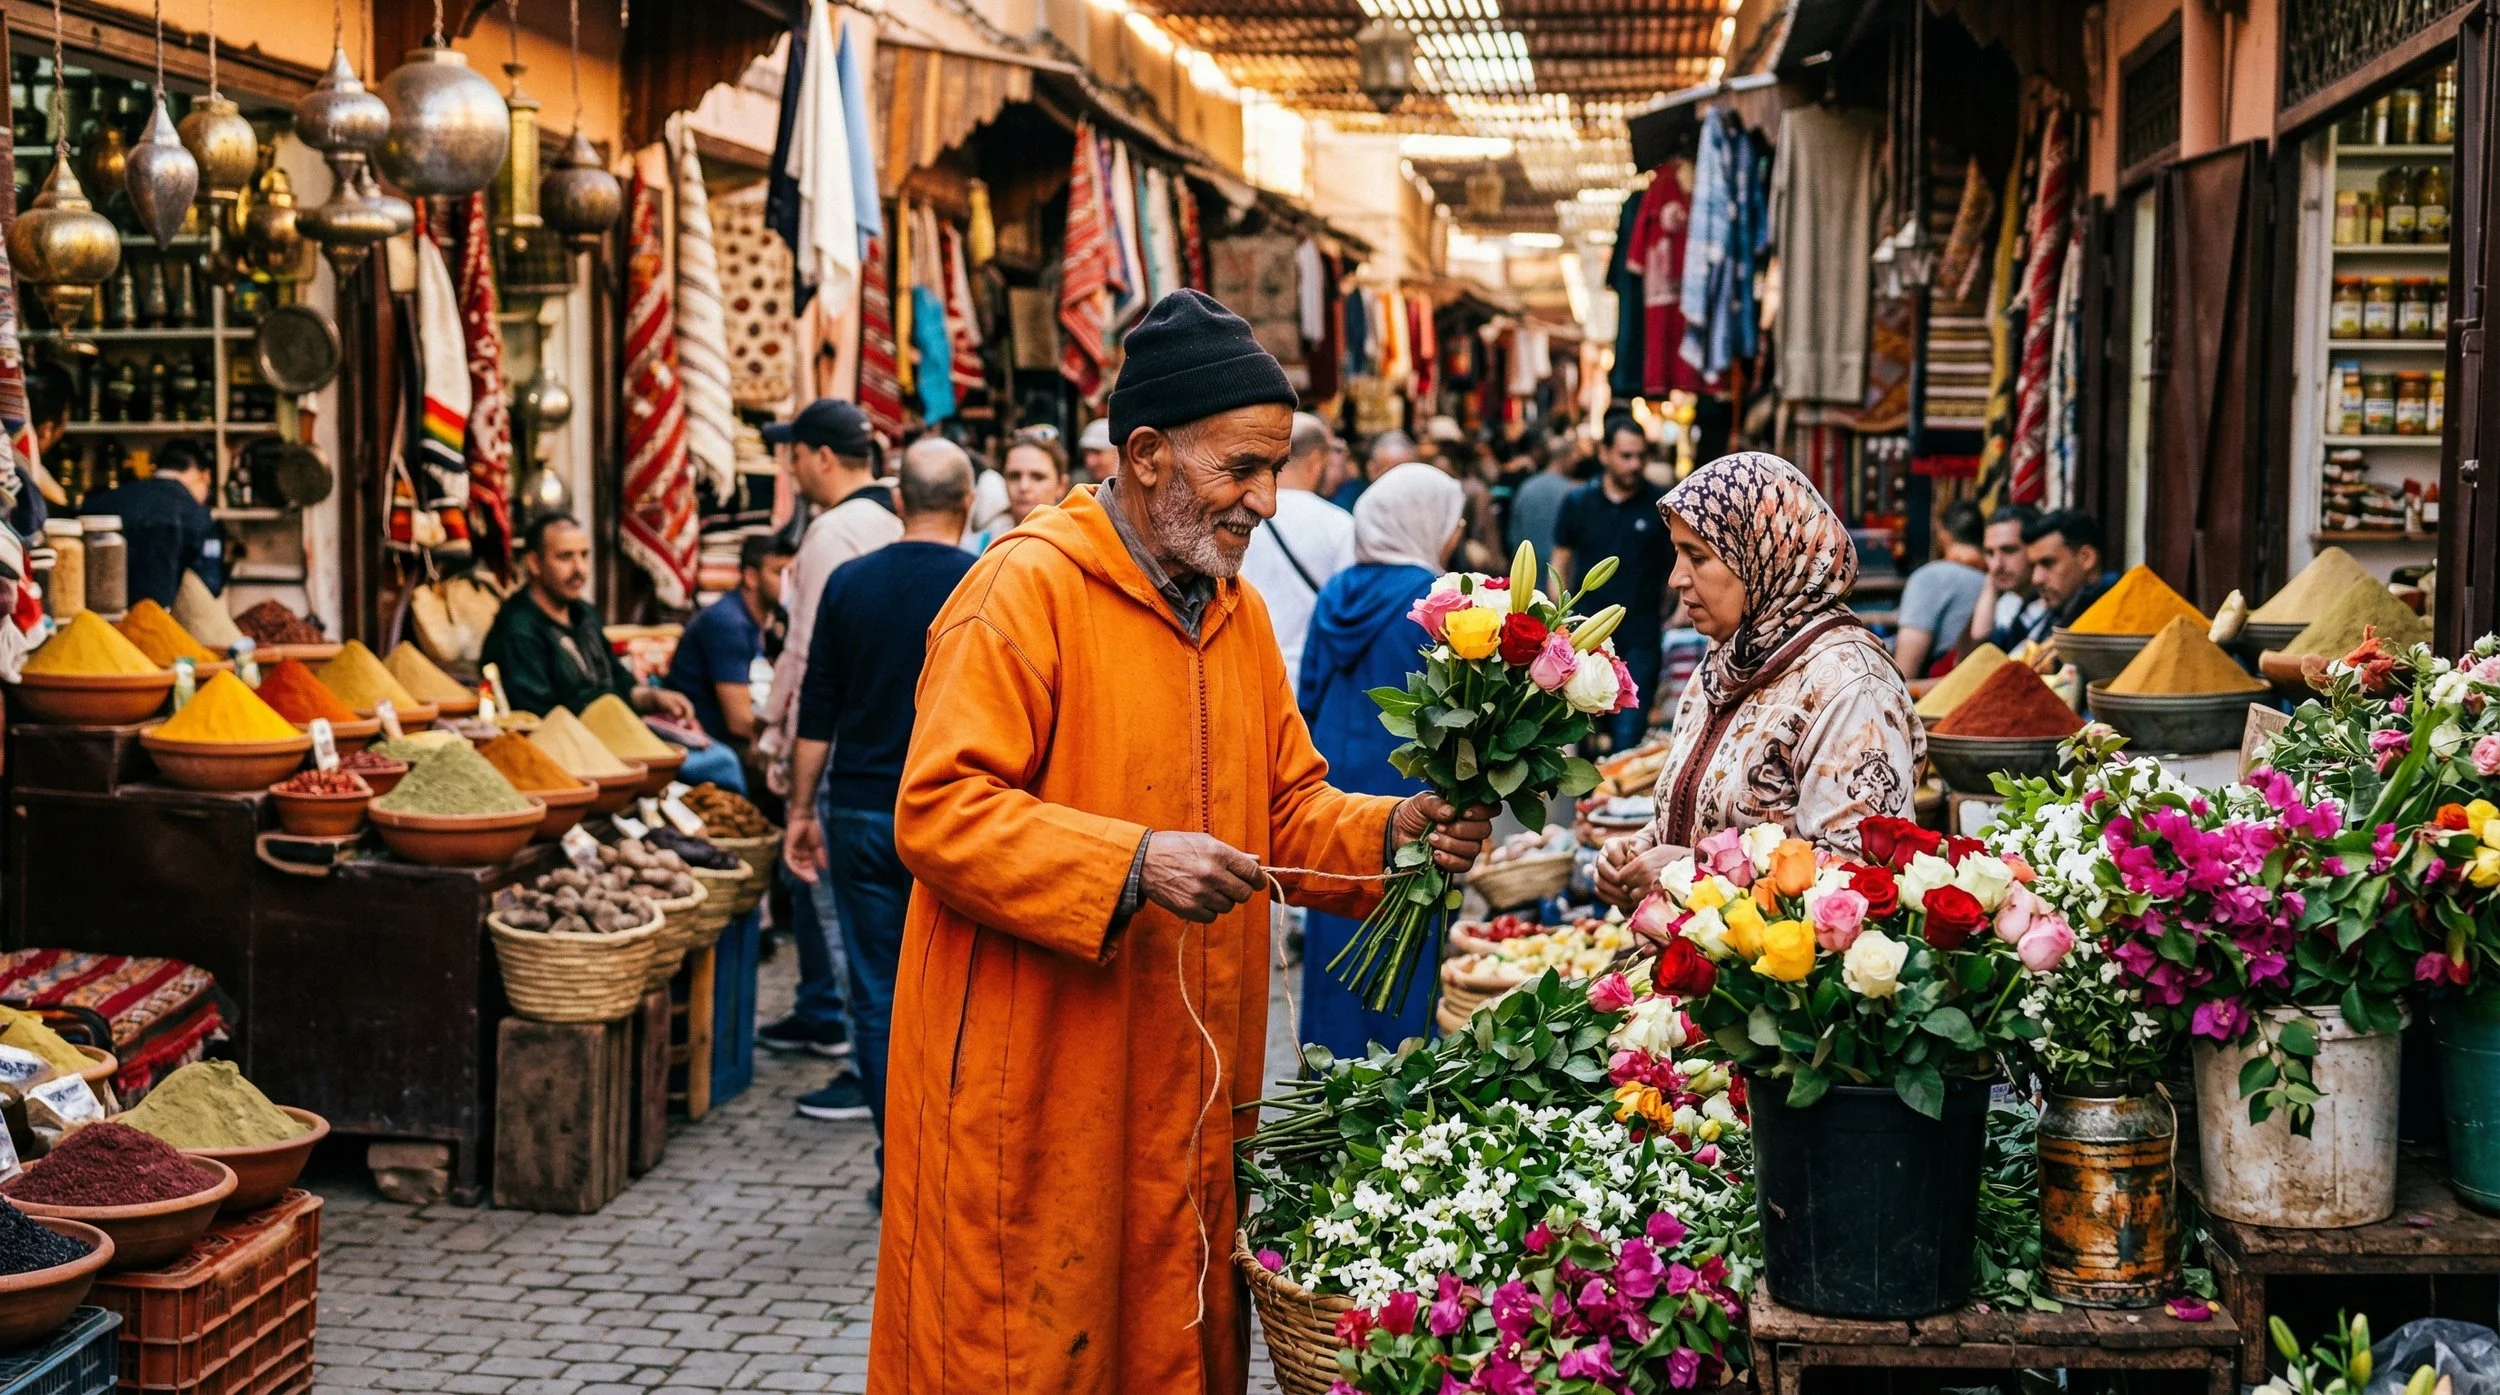
Full example: "cinematic still of a street vendor selling flowers in a busy market in Marrakech, wearing a bright orange robe, warm afternoon light, colorful spices in the background."
6. Click on the Arrow Button to Generate Your Image
Prompt looking good? Press the grey arrow button to the right of the banana icon and let Nano Banana 2 do its thing. Your image is just moments away.
7. Review Your Output and Iterate
When your image is ready, give it an honest look. Not quite what you had in mind? Nudge the prompt in a different direction and generate again.
One of the perks of working in Flow is that you can run multiple generations at once, so iterating is faster than you'd think.
Bonus Tip: Keep Editing Without Losing Quality
Nano Banana 2 handles iterative editing better than its predecessors.
You can go back and modify elements like clothing, lighting, or environment details multiple times and the image stays faithful to the original composition without picking up distortion or visual noise along the way.
It's a small thing that makes a big difference when you're refining a shot.
Free Intro to AI Storytelling Course
If you want to learn new creative AI workflows, we highly recommend checking out our free intro to AI storytelling course.
In the course, we show some of the basics for creating films using the latest AI tools, as well as, share some insights into the future of the creative industry.
We would love to see you in the course.