How to Create AI Images Using Gemini
In this article, I’ll show you how to create AI Images Using Gemini with Nano Banana 2.
Gemini is an incredibly user-friendly tool. It gives you the ability to generate images, problem-solve, vibe code, and so much more.
In this article, I’ll show you how to generate images using Gemini. The image model that Gemini uses is called Nano Banana 2, which is one of our favorite models available at the moment.
If you want to create a professional project, then we would recommend checking out our article where we show you how to generate AI images using Nano Banana 2 inside of Google Flow.
If you are just looking to run a couple of tests or just have some fun, then this article is perfect for you.
Let’s dive in.
Nano Banana 2 in Action | Video Breakdown
Below is a video showing you how to generate AI images using Nano Banana 2.
How to Create AI Images Using Gemini
Here's a step-by-step breakdown of how to create images using Gemini.
1. Go to Gemini’s Website
Head over to Gemini's website to kick things off. Nano Banana 2 is accessible in a handful of different places, but for this one we're keeping it inside Gemini, where everything just clicks together nicely.
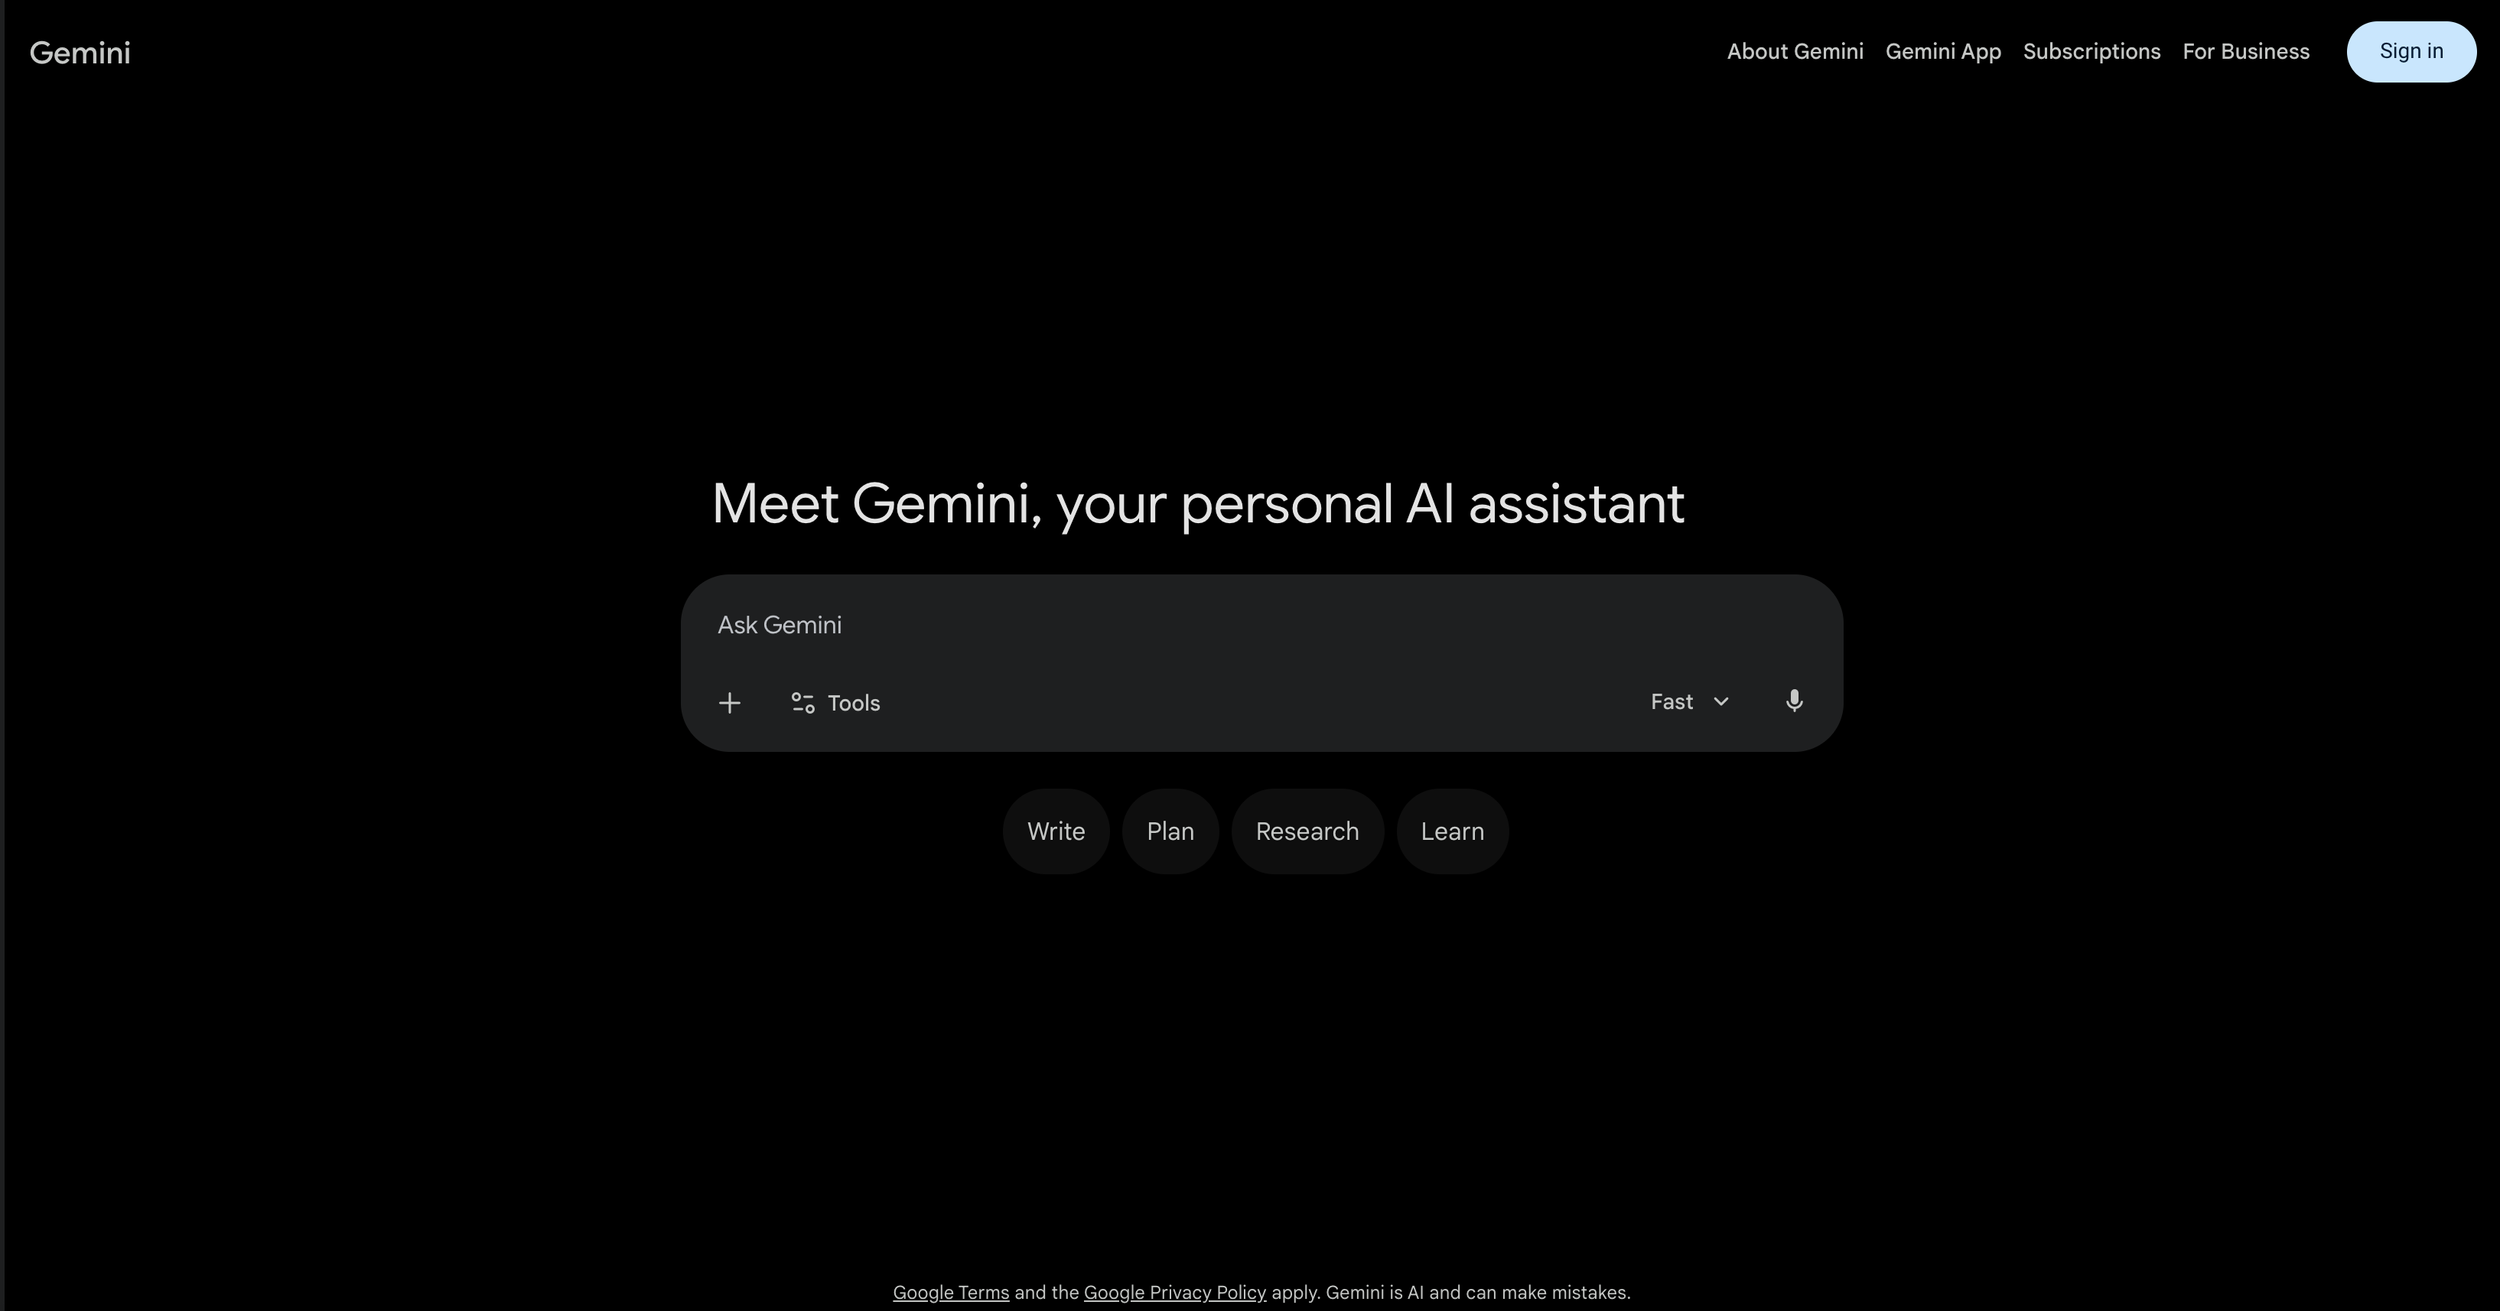
2. Type Your Prompt in the 'Ask Gemini' Bar
Find the "Ask Gemini" bar at the bottom of the screen and click on it. Unlike other AI image tools, Gemini works as a chat, so always kick off your prompt with "Generate a..." to set the right expectation.
Here's a structure that works really well:
Artistic medium: The style or format. Ex: "cinematic still" or "3D animated character"
Composition: Who or what, and where. Ex: "of a young woman reading a letter on a park
bench in autumn Paris"
Character details: What they look like. Ex: "wearing an oversized beige trench coat"
Extra details: Mood, lighting, environment. Ex: "golden leaves falling around her, soft
diffused light".

Prompt example: "Generate a cinematic still of a young woman reading a letter on a park bench in autumn Paris, wearing an oversized beige trench coat, golden leaves falling around her, soft diffused light, 16:9 ratio."
3. Click 'Submit.'
Once you have typed your prompt, click the "Submit" arrow.

4. Review the Output and Adjust
Once Gemini is finished generating your image, take a look. Creating AI images is a back-and-forth, iterative process, so depending on what you want, you might not get your desired output on the first try.
As you continue using tools like this in your creative process, you’ll learn some prompting best practices and tips that help you get your desired output faster over time.
Bonus Tip: Keep Editing Without Losing Quality
Nano Banana 2 handles iterative editing better than its predecessors.
You can go back and modify elements like clothing, lighting, or environment details multiple times, and the image stays faithful to the original composition without picking up distortion or visual noise along the way.
It's a small thing that makes a big difference when you're refining a shot.
Free Intro to AI Storytelling Course
We would love to have you join us in our Intro to AI storytelling Course. In the course, we share industry insights, AI workflows, and more.
Along with the course, you also get access to the exclusive chat channel where you can network with industry professionals.
We would love for you to join us, but no pressure at all. :)