
How to Control AI Video Camera Movements With Blender and Claude | Tutorial
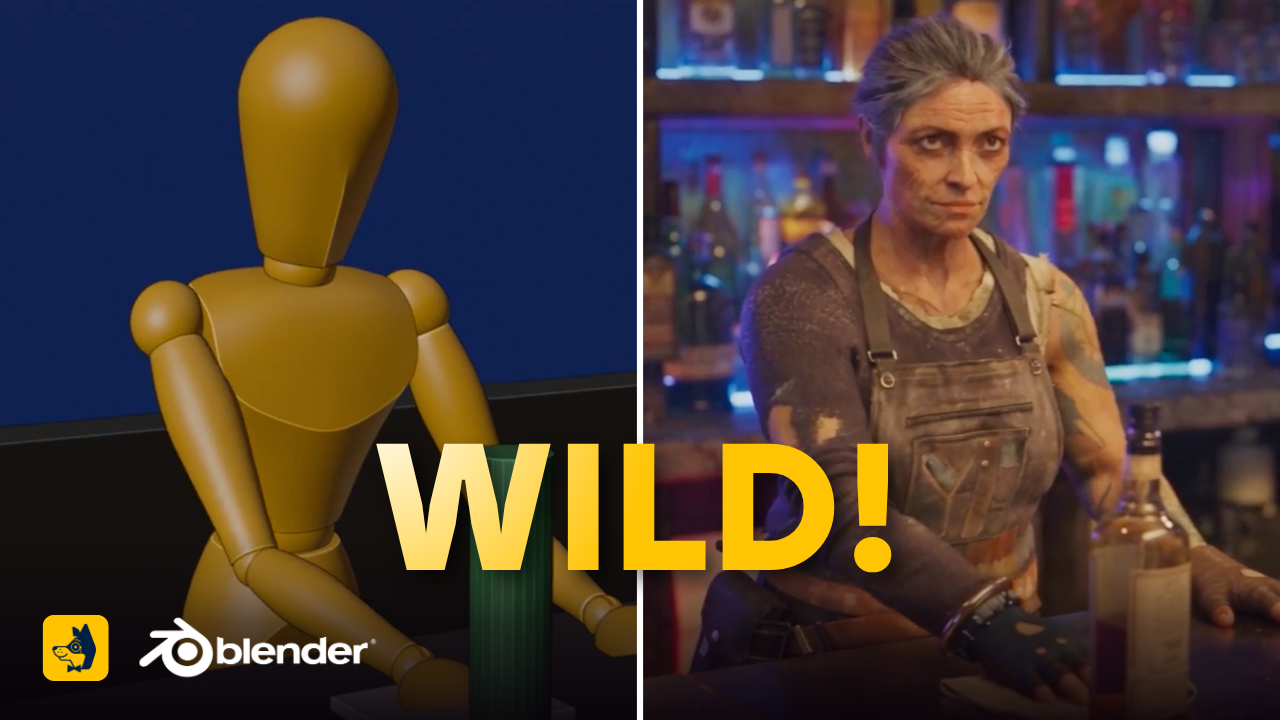
In this article and tutorial, we'll show you how to use Blender and Claude to control camera movements, composition, and character blocking in AI-generated videos.
One of the biggest challenges with AI filmmaking is getting precise control over what happens in a scene. You can describe a camera movement or character action in a prompt, but that doesn't always mean the AI will follow your direction.
What if you could plan your shots in 3D first, then use that animation to guide your AI video generation?
We recently explored a workflow that combines Blender, Claude, and Seedance 2.5 to do exactly that.
Using Blender's free 3D software and an AI assistant, we can create rough environments, position characters, plan camera angles, and generate a reference animation without manually building everything from scratch.
And the best part? You don't need to be a Blender expert to get started.
Let's break it down!
How to Control AI Video Camera Movements With Blender and Claude | Video Tutorial
Check out the full tutorial below to see how we built a cinematic scene using AI-assisted 3D blocking.
How to Control AI Video Camera Movements With Blender and Claude | Tutorial
Here's a breakdown of the workflow, including how to set everything up, generate your scene, and turn your Blender animation into an AI video.
How the Blender and Claude Workflow Works
The idea is to use Blender as a virtual production tool, rather than relying entirely on text prompts to control your AI video.
Claude connects directly to Blender through an MCP (Model Context Protocol) integration. This allows it to build environments, pose characters, position cameras, and create animations based on your instructions.
You can then render a rough animation, or animatic, and upload it to an AI video model alongside your visual references.
For this experiment, we used:
Blender: To build and animate our 3D scene.
Claude Desktop: To control Blender and create the animatic.
Magnific: To generate our environment and character reference images, and access Seedance.
Seedance 2.5: To transform our rough animation into a cinematic AI video.
Instead of asking the video model to invent the entire scene, we're giving it a much clearer visual blueprint.
Step 1: Install Blender and Connect It to Claude
First, download Blender. It's completely free and open source.
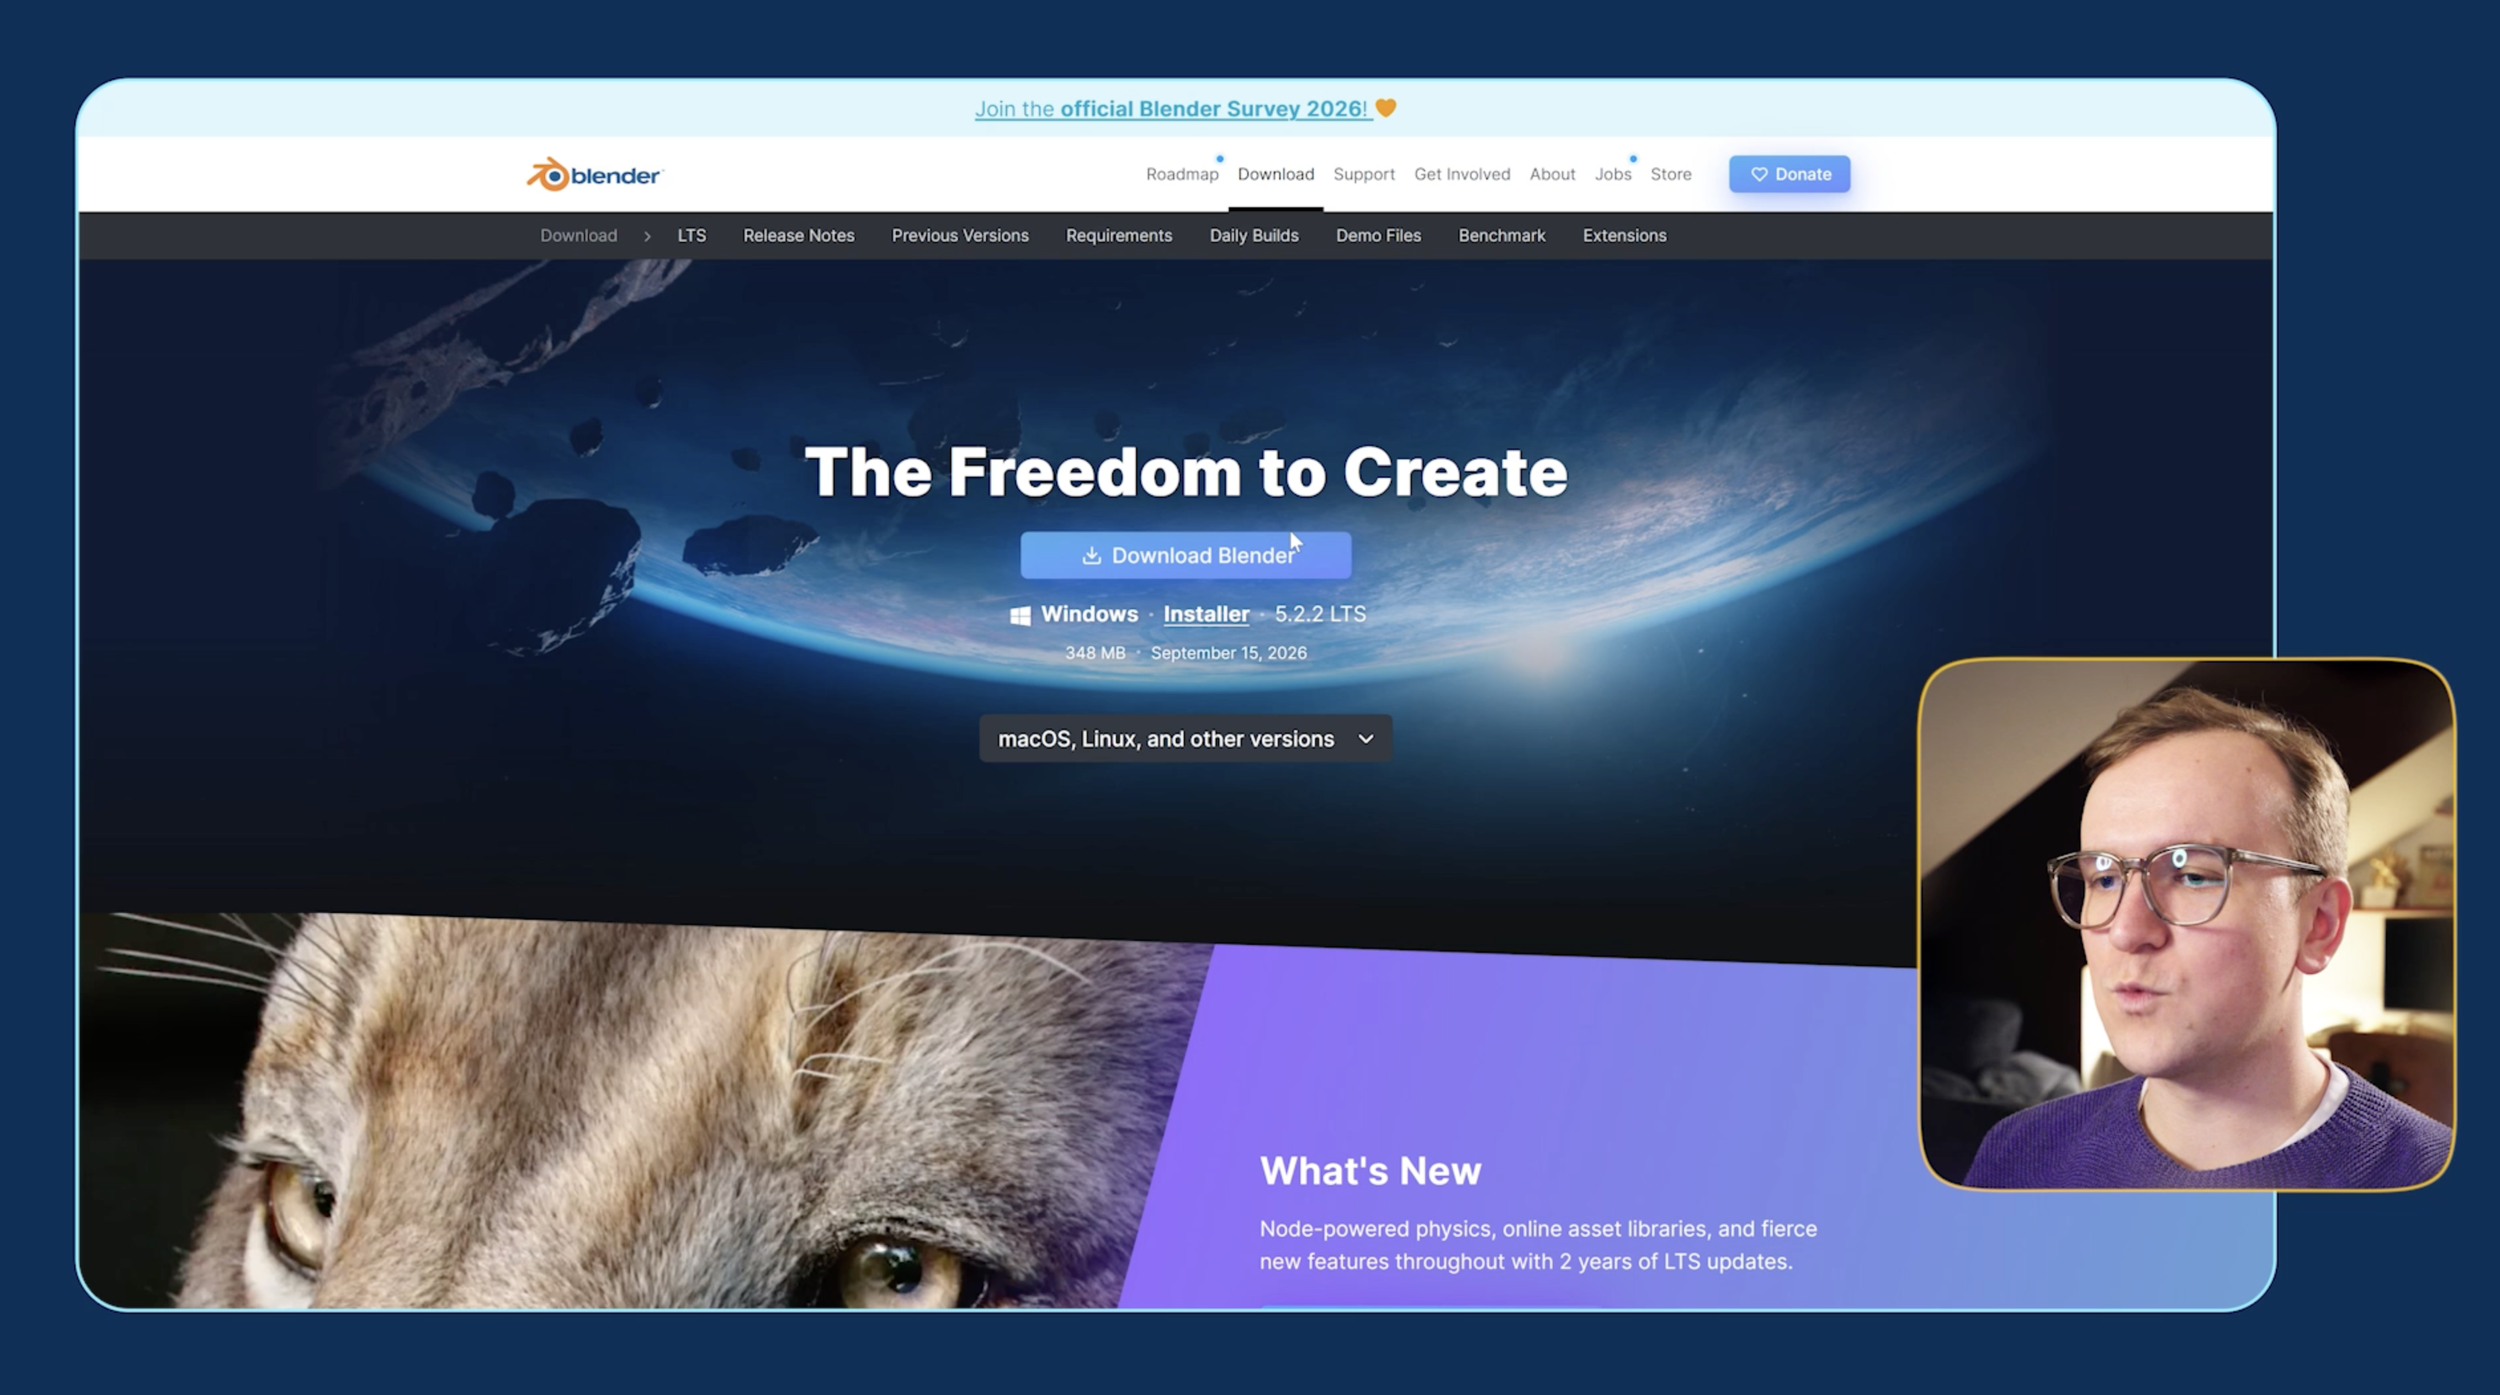
Once Blender is installed, we'll need to set up its MCP integration so Claude can control the software directly.
Here's how:
Open Blender and navigate to Edit → Preferences.
Find the official Blender MCP add-on through Blender's Labs website.
Drag the installation link into Blender.
If prompted, enable online access in Blender's system settings.
Approve the Blender Labs repository and enable the add-on.
Confirm that the MCP server is running.
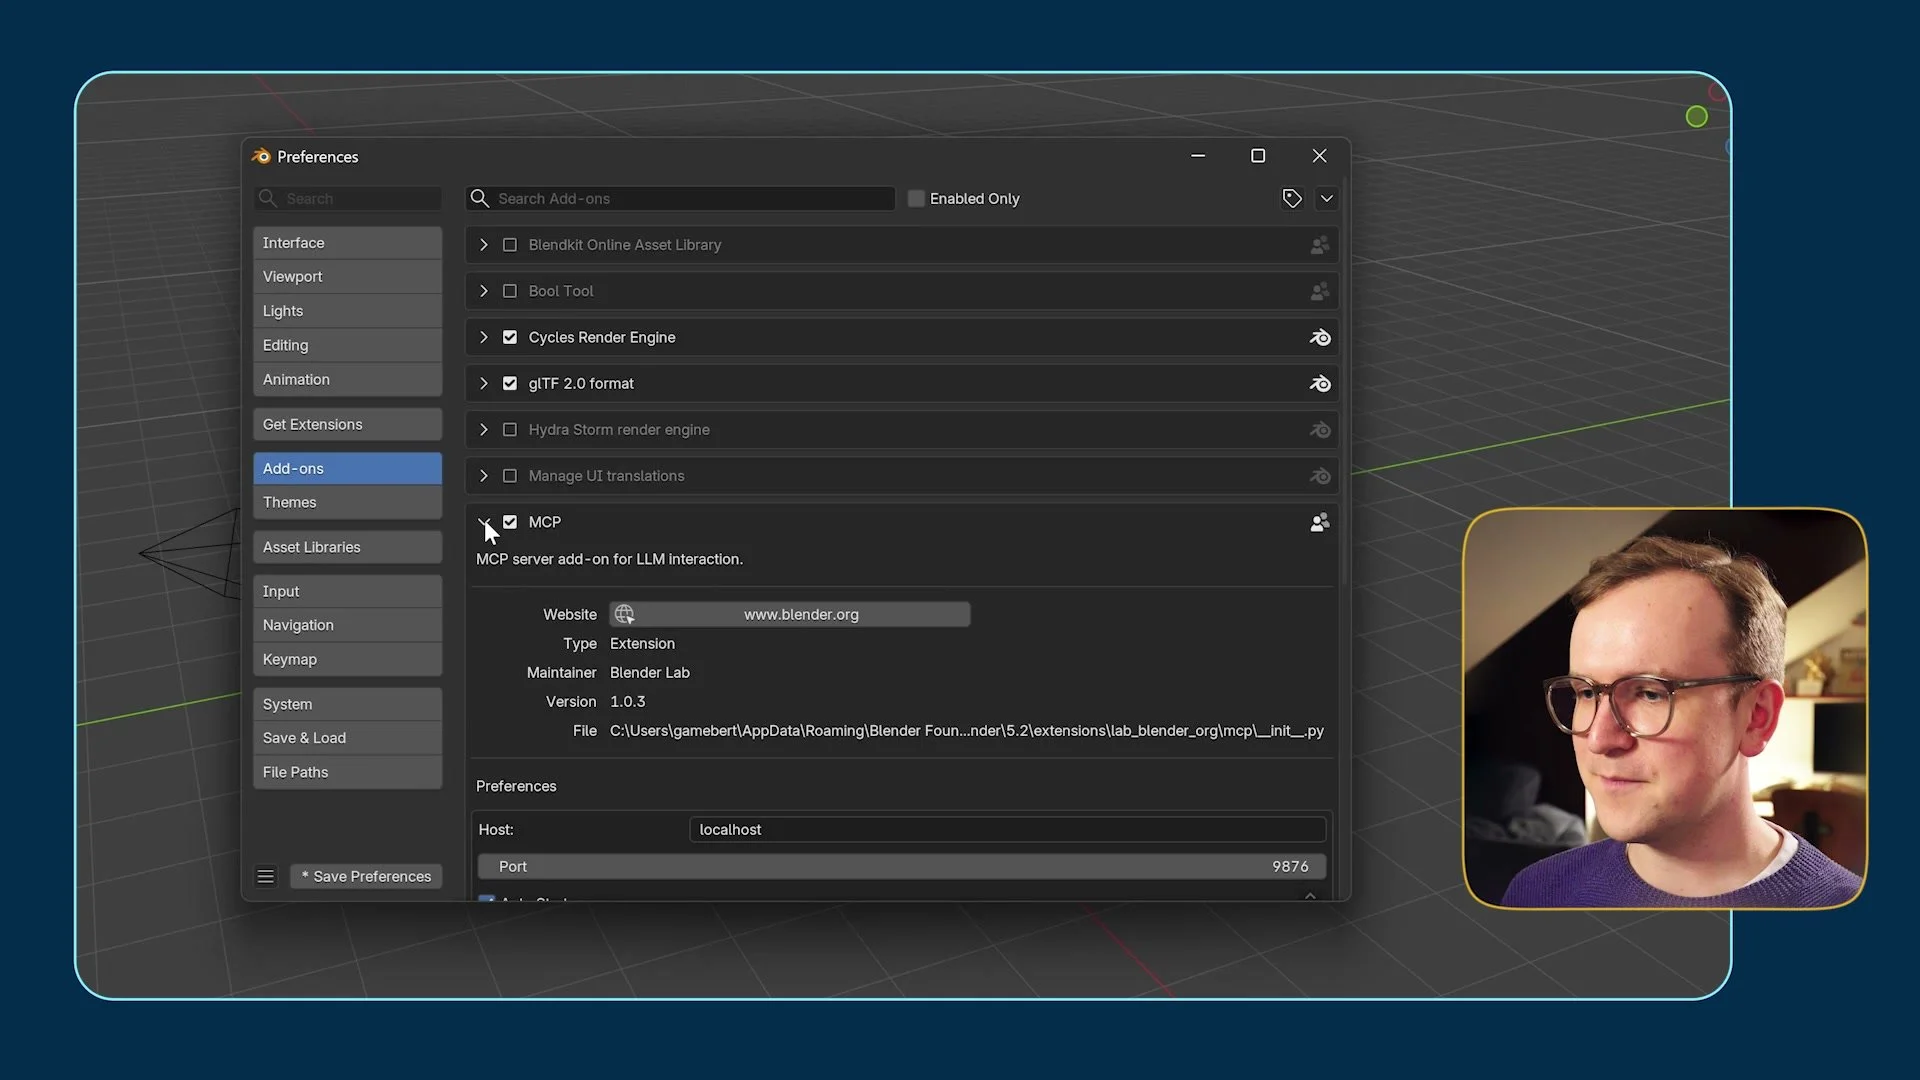
If you're using an NVIDIA GPU, it's also worth checking your CUDA settings to help speed up rendering.
Next, open Claude Desktop, navigate to Settings → Connectors, search for Blender, and install and enable the connector.
Once everything is connected, Claude can start interacting with your Blender project.
Step 2: Download the Blender Starter Kit
You could spend years learning everything Blender can do. Fortunately, for this workflow, we're mainly using it to create rough 3D scenes that guide our AI videos.
To make that process easier, Albert created a Blender starter kit with much of the foundational setup already done.
The starter kit includes:
A prompt template with instructions for Claude.
Basic cinematic composition and camera movement guidelines.
A rigged human character that Claude can duplicate, color, and pose.
Generators for environments, buildings, trees, rocks, and other objects.
A premade animation timeline and video output settings.
The project is already configured to render a 720p reference video, which is plenty for guiding an AI video model.
When you open the file, you'll see two main tabs: Scripting and Layout.
The Scripting tab contains the prompt template we'll give Claude, while the Layout tab contains the 3D scene.
Step 3: Generate Your Environment and Character References
Before building anything in Blender, we need a visual reference for our scene.
For this example, we created a cyberpunk café with diner booths, scrap-metal tables, and an entrance made from an old jukebox.
We used Magnific with the Luma Uni 1.1 image model to generate the environment, but you can use another AI image generator or even an existing photograph.
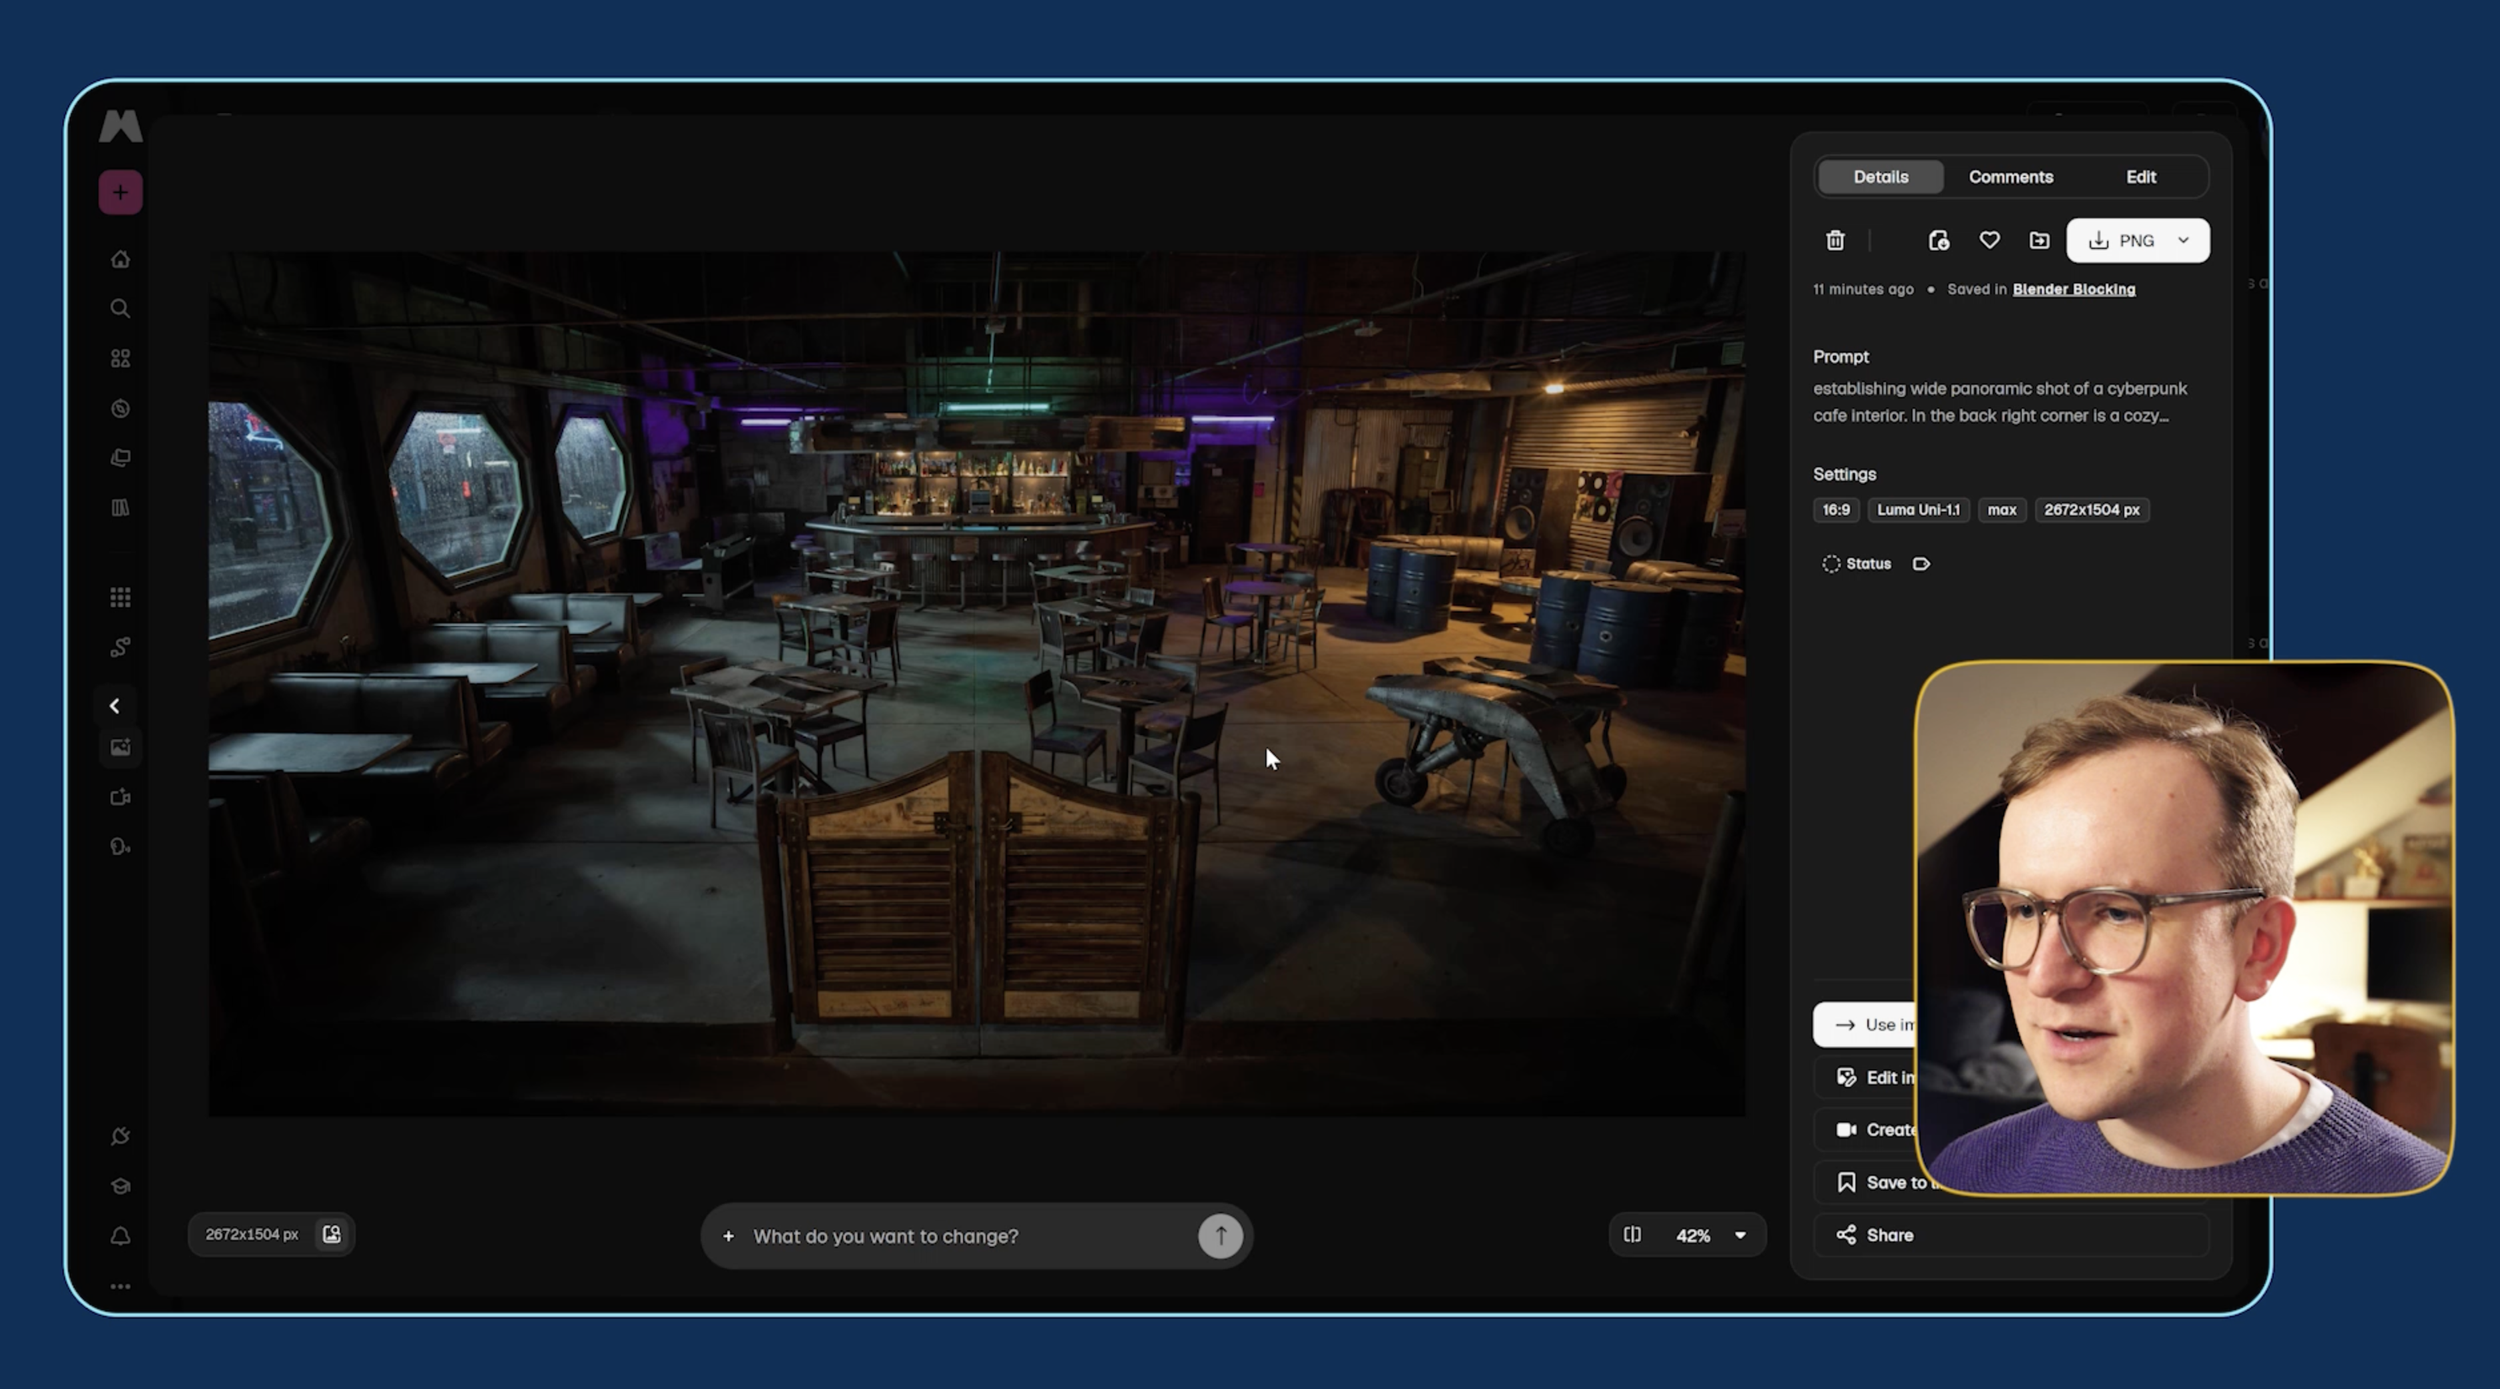
Environment Reference Generated in Magnific
One tip: Generate your environment without characters. We'll handle their placement and actions separately inside Blender.
We also recommend avoiding small text in your reference images, since it can create problems during video generation.
Next, we generated character turnaround sheets for our two characters:
Alma: A suspicious barkeeper standing behind the counter.
Liam: A mysterious newcomer who stumbles into the café looking for help.
Each character reference includes multiple angles to help the video model maintain a consistent appearance.
Character References
For character sheets, we recommend neutral lighting, a plain grey background, and minimal props or text.
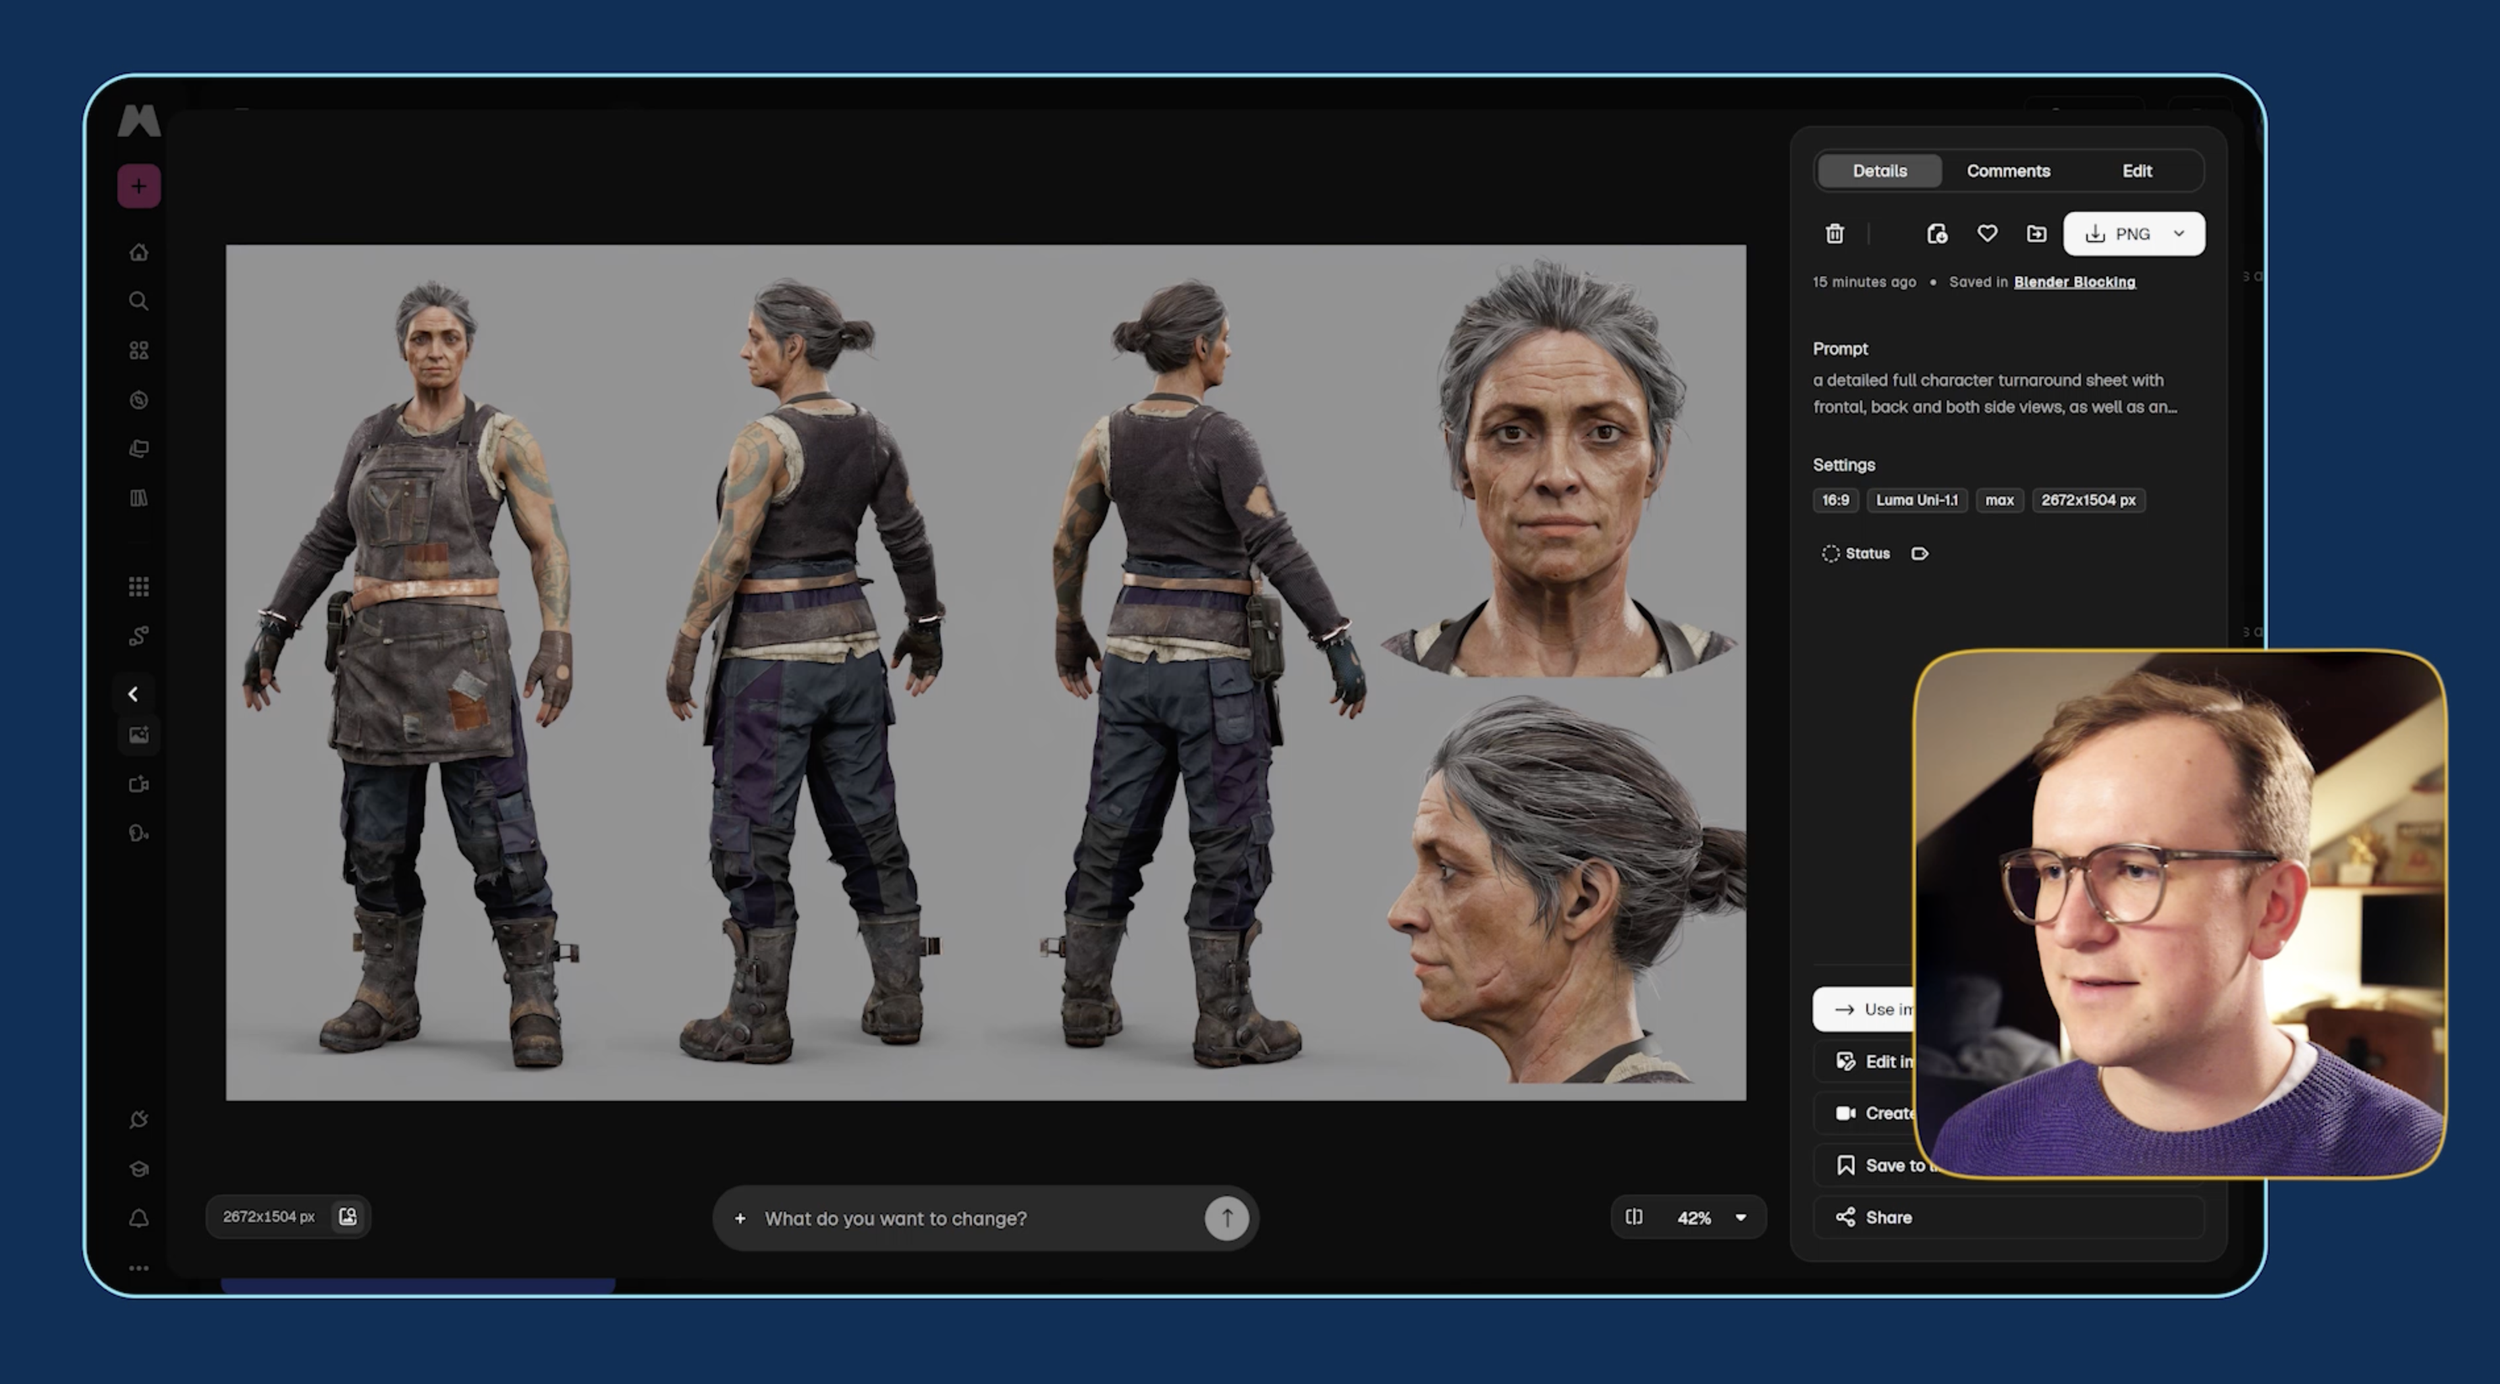
Character Sheet of Alma
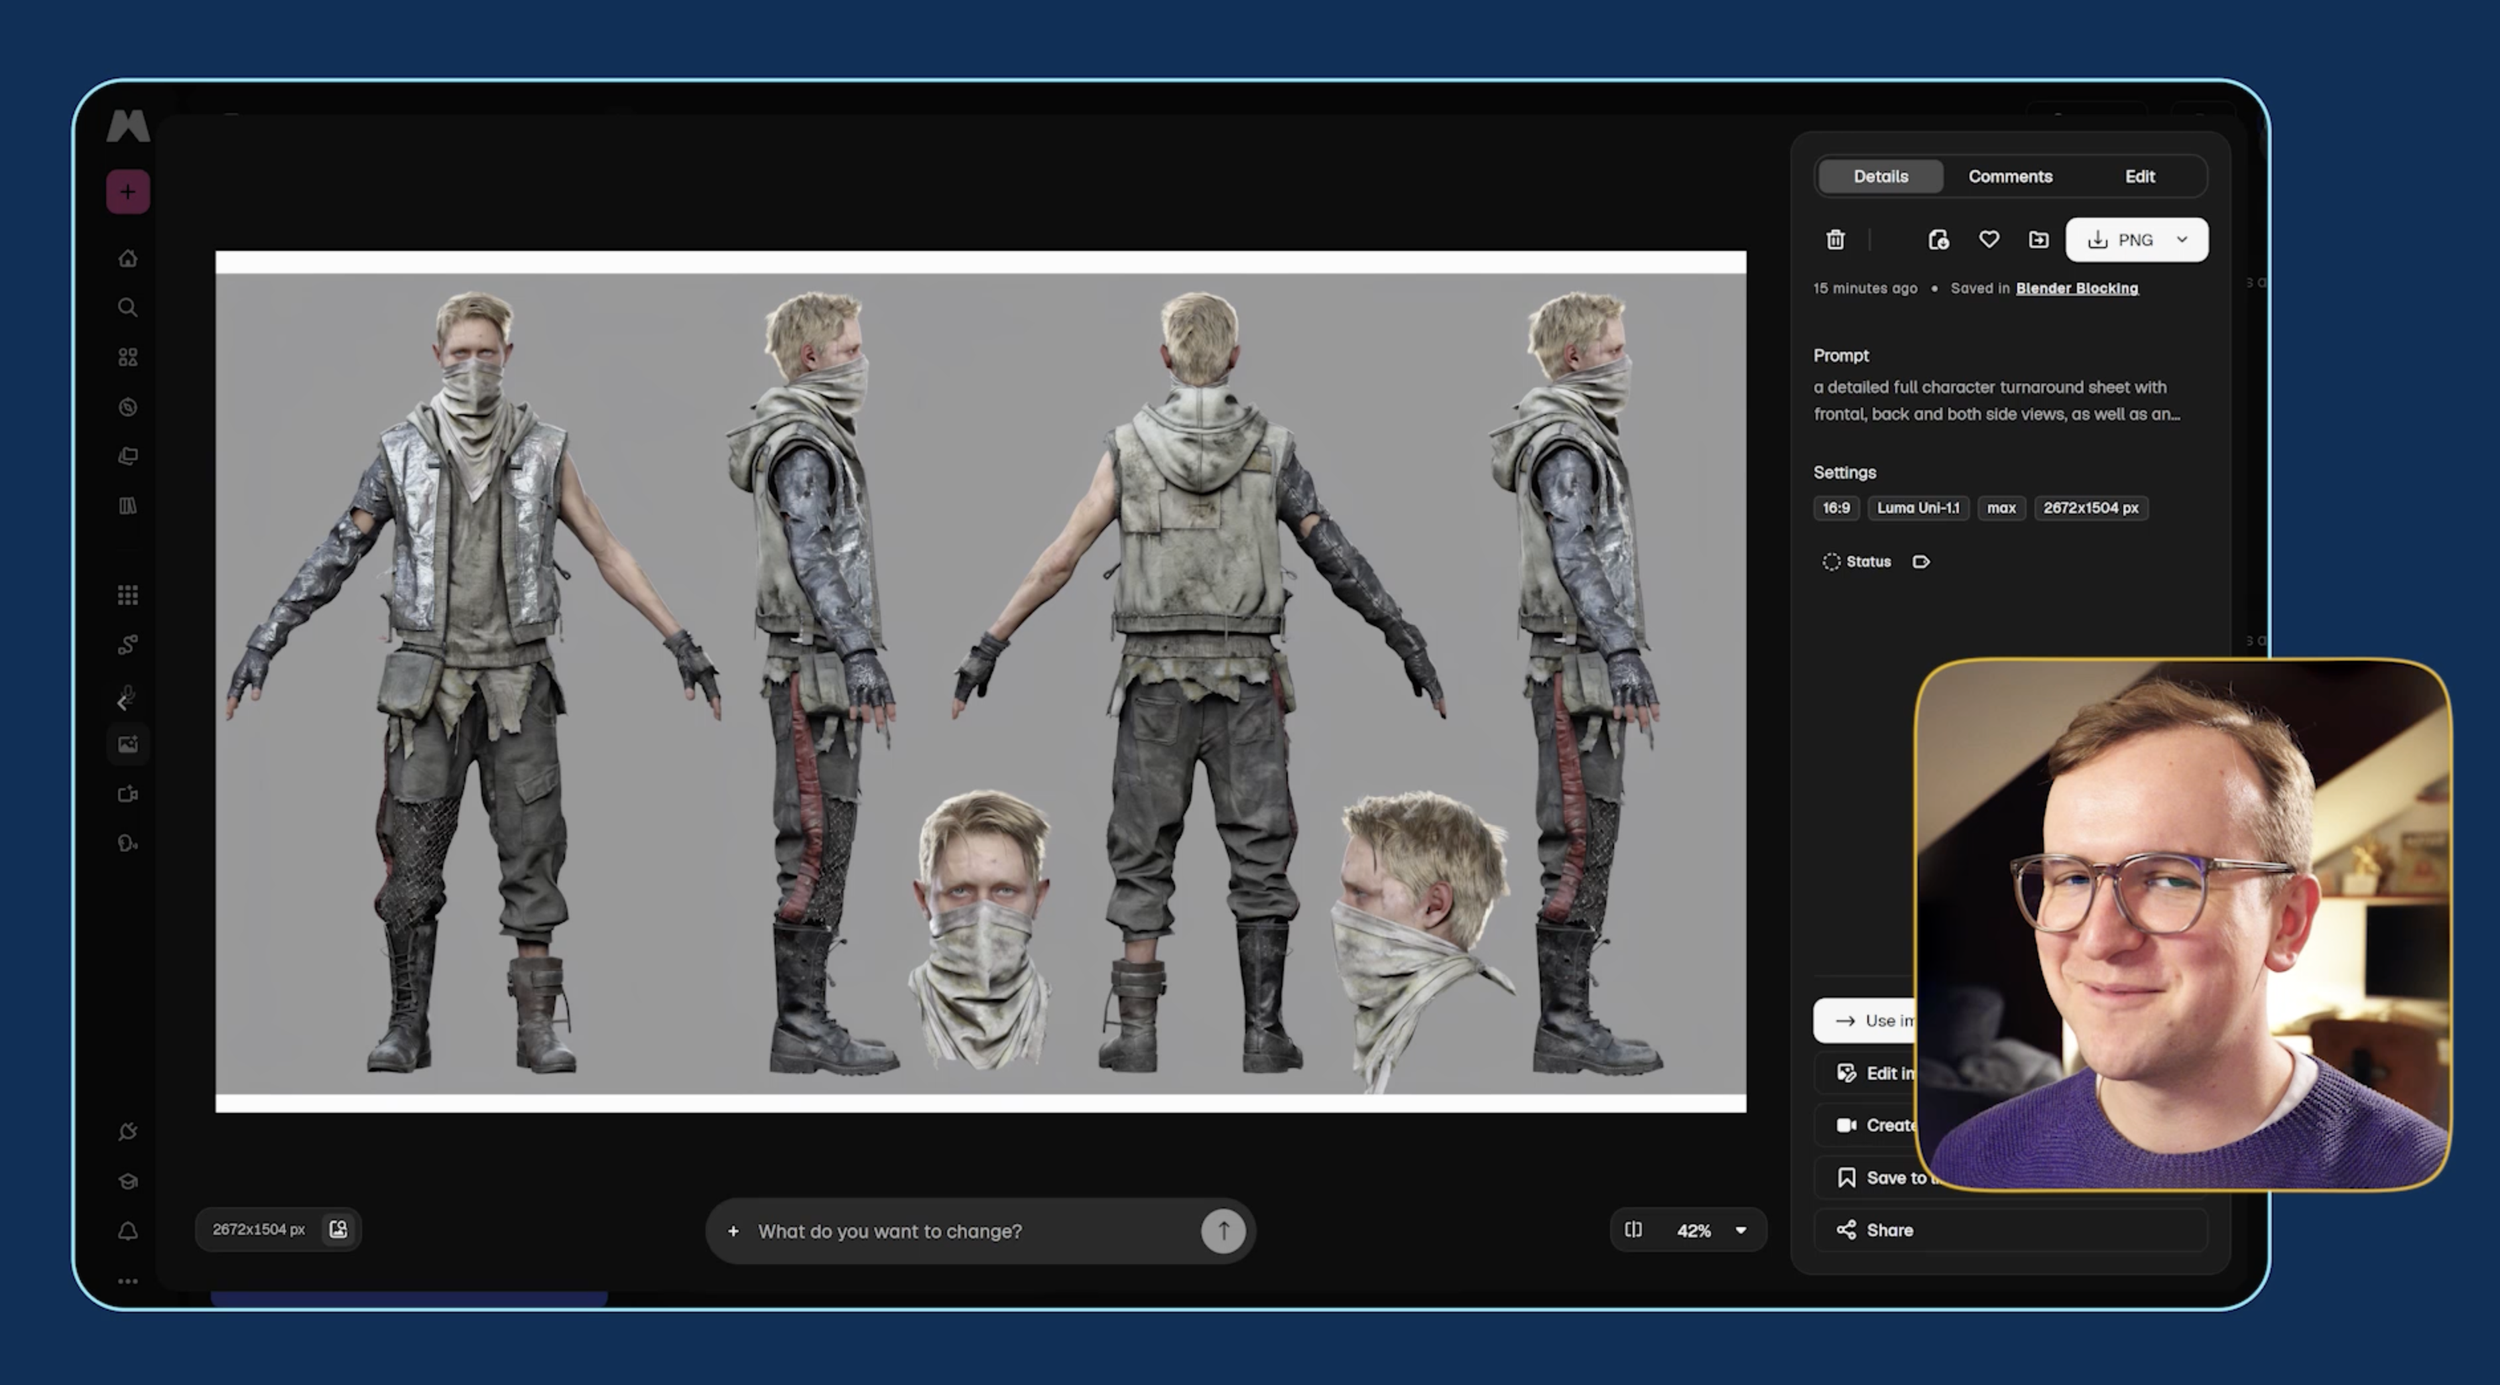
Character Sheet of Liam
Step 4: Use Claude to Build and Animate Your Scene
Now for the fun part.
Return to the Blender starter kit, copy the prompt template from the Scripting tab, and paste it into a new Claude conversation.
You'll need to customize a few details:
Describe your characters and their actions. In our scene, Alma is wiping down the bar and watching for strangers. Liam enters, stumbles toward her, and asks for help. We also added an extra action: Liam knocks over a bottle.
Define your camera shots. You can let Claude choose the camera angles, but specifying them gives you more creative control. For our sequence, we planned an establishing shot of the café, a medium shot of Alma cleaning, and an over-the-shoulder shot of Liam entering.
Identify your visual references. Label the images you'll upload to the video generator later: Image 1 for the environment, Image 2 for Alma, and Image 3 for Liam.
Add stylistic direction. Include any additional instructions about the genre, sound effects, music, dialogue, or overall visual style.
Claude doesn't need the character reference images to create the rough animation. It mainly needs to understand the characters' roles and how those references will be used later.
Once the prompt is ready, Claude can begin building the scene inside Blender.
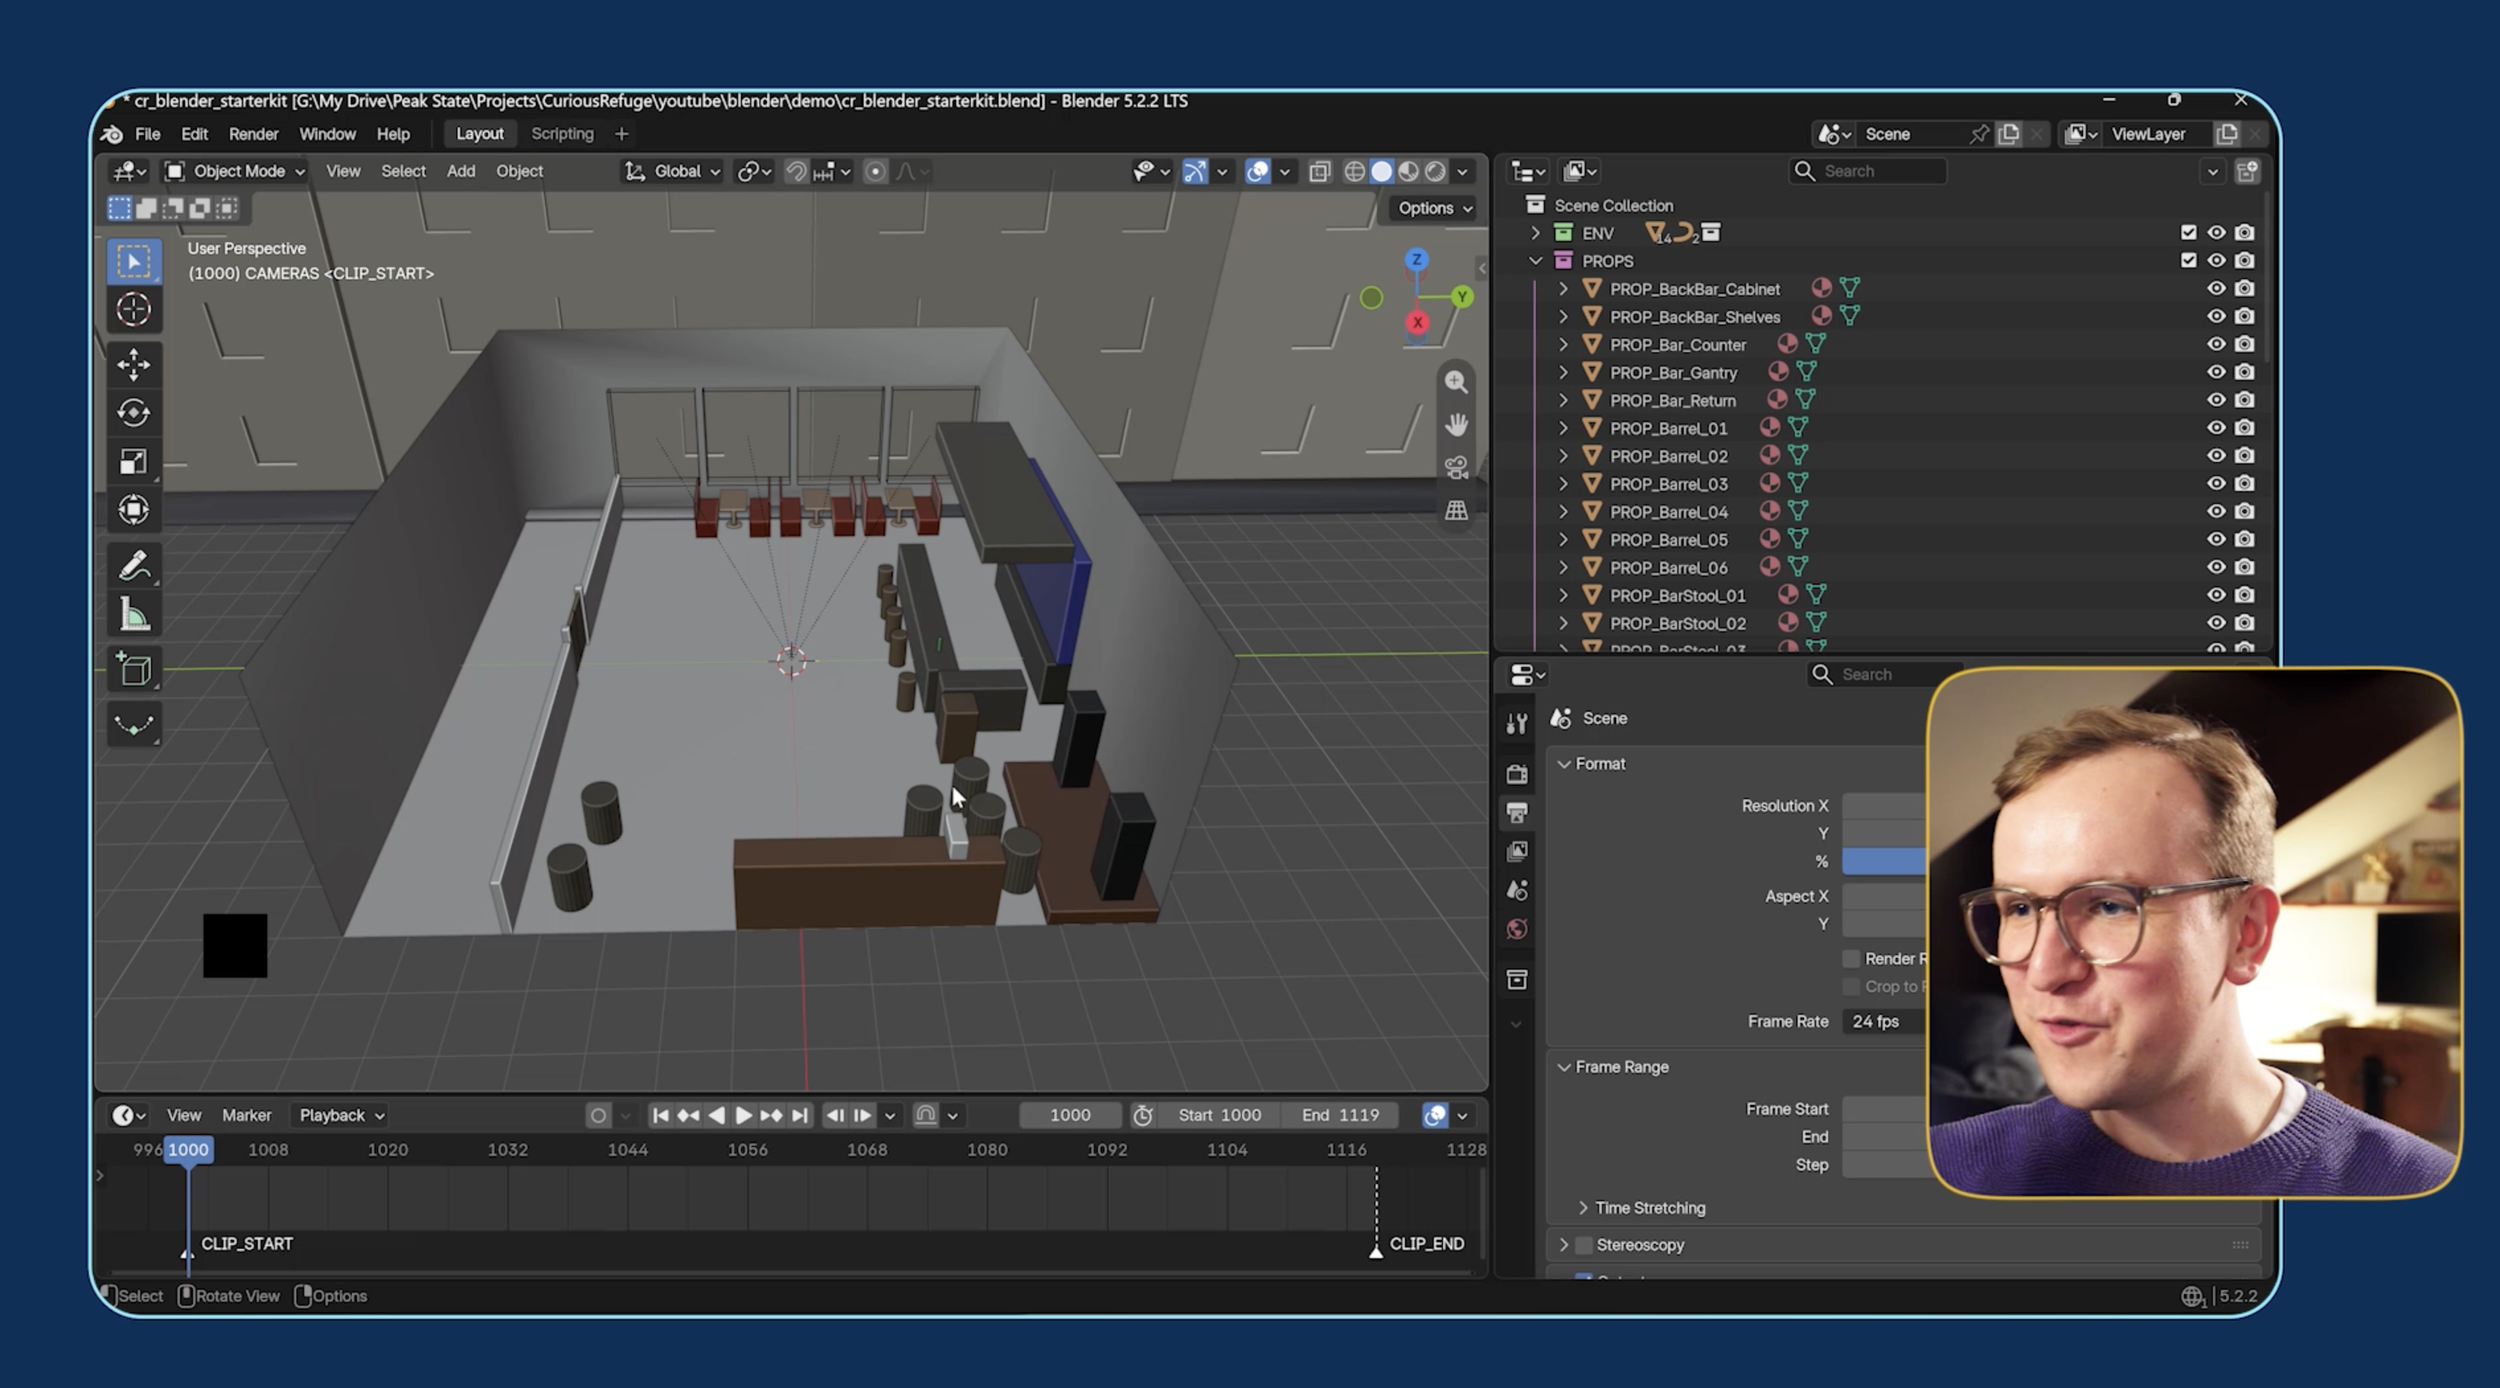
Building Animatic in Blender using Claude MCP
In our test, Claude recreated the basic café layout, including the bar, booths, tables, entrance, and even buildings outside. It also positioned the characters, animated their movements, set up the cameras, and rendered a reference video.
Claude even organized the shot timings and attempted to follow the 180-degree rule, which helps maintain consistent screen direction between characters.
But the first animatic wasn't perfect.
Animatic
We noticed several issues. The characters' wrist movements looked unnatural, Liam occasionally twisted awkwardly, and Alma slid across the scene. The bottle interaction also happened in the wrong position, and Claude didn't add the camera movements we'd hoped to see.
Fortunately, we can give Claude feedback and ask it to adjust the character animation, blocking, or camera placement.
Updated Animatic
Once we're happy with the animatic, we can render a new video and use it as our reference for Seedance.
Step 5: Turn Your Blender Animation Into an AI Video
With our final animatic ready, we can upload it to Magnific and generate the cinematic version using Seedance 2.5.
Claude also provides a video generation prompt that describes the sequence, including shot timing, character actions, sound effects, and camera direction.
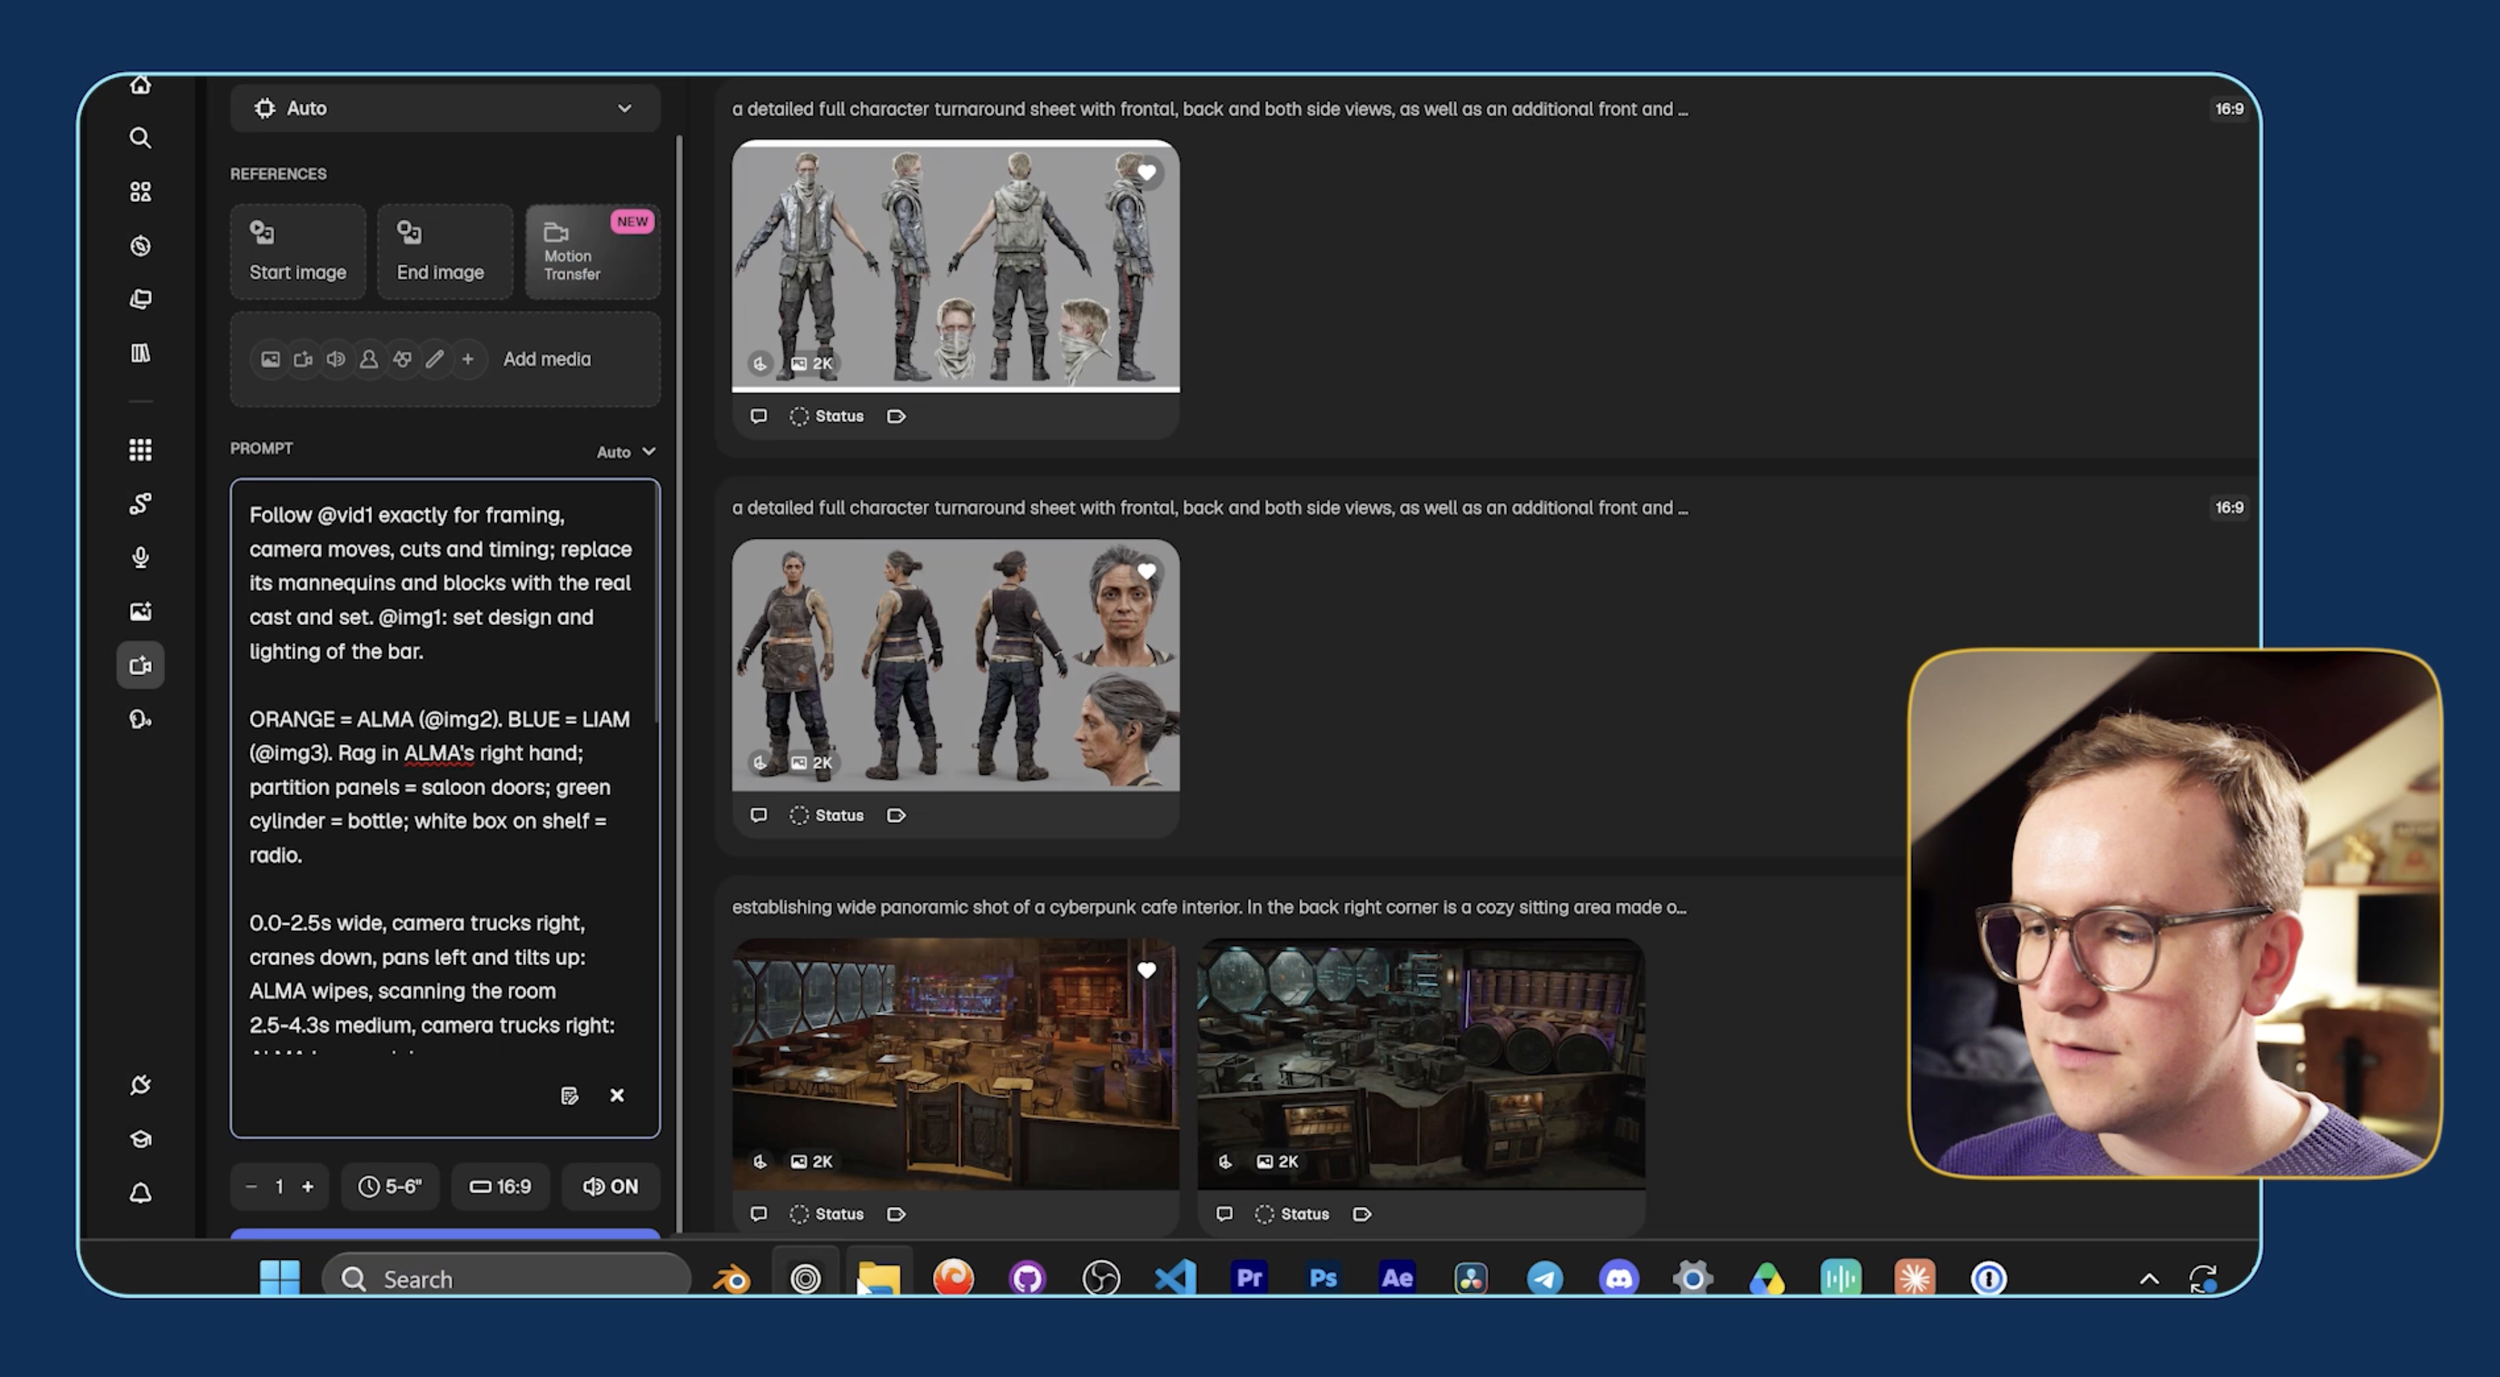
For our generation, we uploaded:
The Blender animatic as the video reference.
The café environment as Image 1.
Alma's character sheet as Image 2.
Liam's character sheet as Image 3.
We then copied Claude's prompt into the video generator.
One particularly helpful detail is that Claude describes the individual shot timings. Although the cuts are already visible in the reference video, repeating that information in the prompt can help Seedance follow the sequence.
For our first test, we used these settings:
Model: Seedance 2.5
Duration: 10 seconds
Aspect ratio: 16:9
Audio: Enabled
Resolution: 480p draft mode
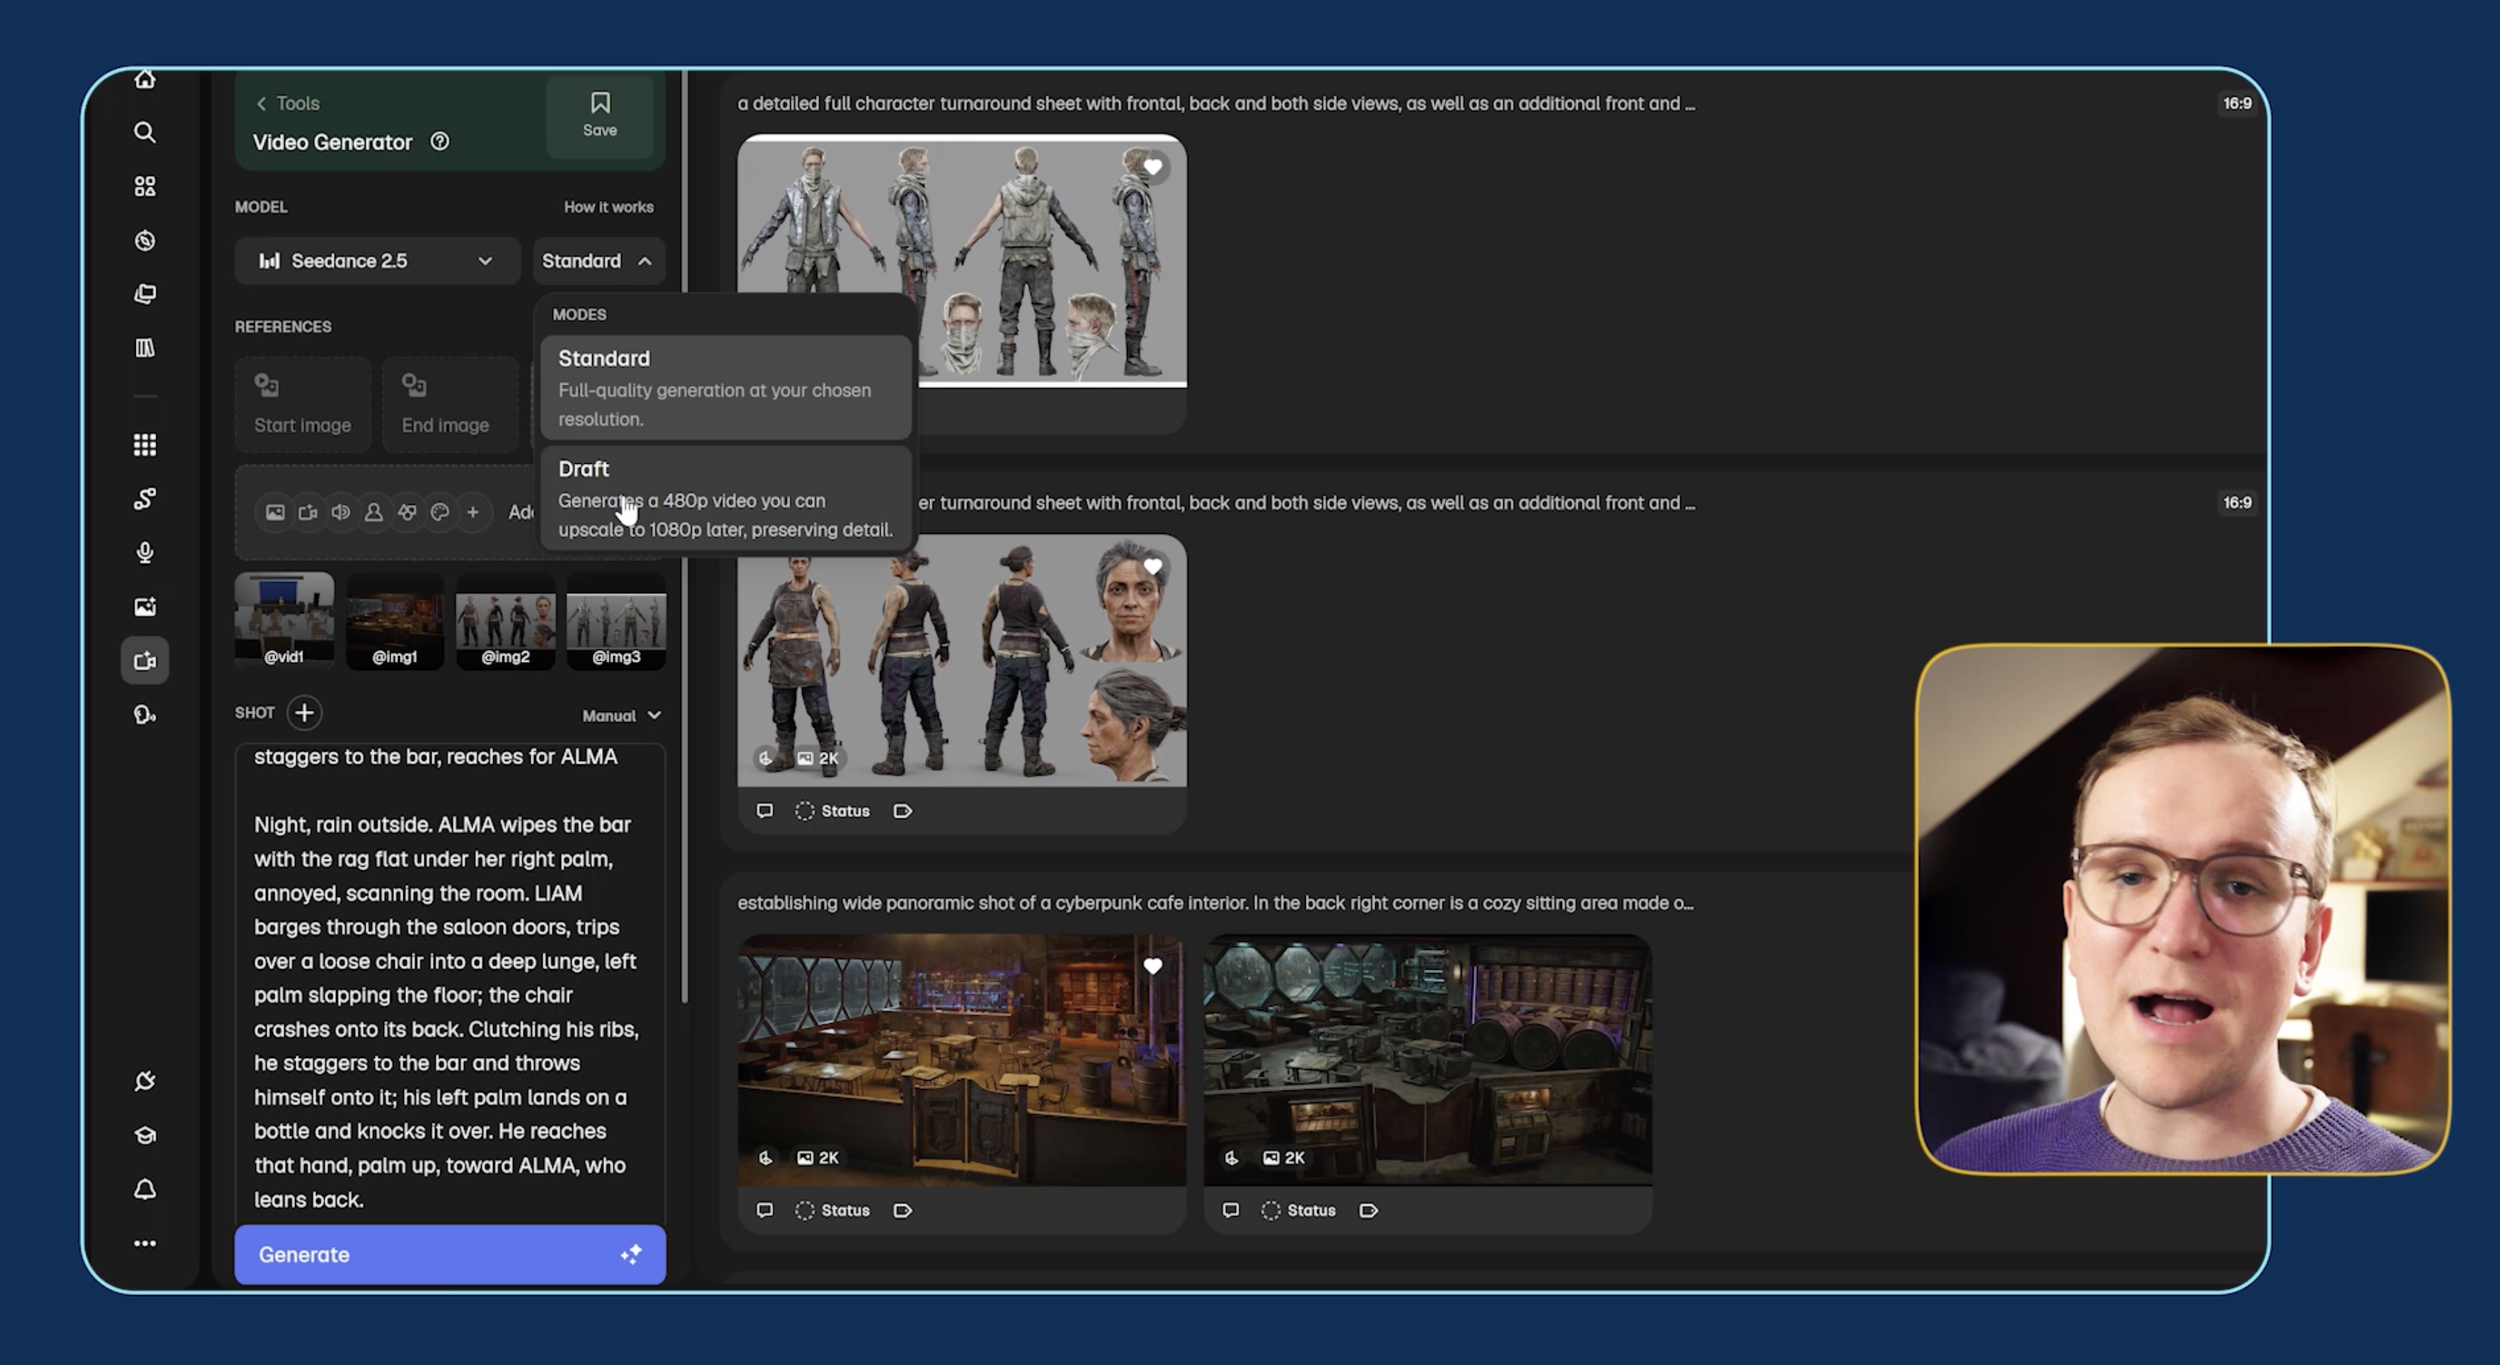
We recommend starting in draft mode before committing to a higher-resolution generation, especially with a relatively expensive model like Seedance 2.5.
How Well Did Blender Control the AI Video?
The final result was pretty impressive! Seedance followed our Blender animation closely, giving us a good amount of control over camera angles, cuts, character positions, and the overall sequence of events.
Generated with Seedance 2.5
Of course, it wasn't perfect. Some character movements still looked a little video-game-like, and the bottle interaction wasn't entirely convincing.
One thing we learned is that Seedance can follow the Blender reference almost too closely, including its unnatural character movements. If that happens, try adjusting your prompt to use the reference video primarily for camera positions and movements, rather than copying the characters' exact poses.
For example, you can tell Seedance:
Use the reference video as a guide for camera positions and movements. Treat the 3D figures as placeholders rather than copying their exact poses or body mechanics.
Overall, this is a really promising technique for sequences that need more precise creative control.
We wouldn't necessarily use it for every shot, but being able to direct camera movements, cuts, and character blocking with Blender and Claude opens up some pretty exciting possibilities for AI filmmaking.
Learn AI Filmmaking | Free Training
Keep exploring what's possible with AI filmmaking through our free training! We share the latest industry updates, some of our favorite creative workflows, and practical tips to help you bring your ideas to life.
You'll also get free access to our online community of filmmakers and creatives from around the world!
Fill out the form to begin learning. We would love to see you there, but not pressure of course.
