How to Create a Professional AI Commercial (Step-by-Step Workflow)
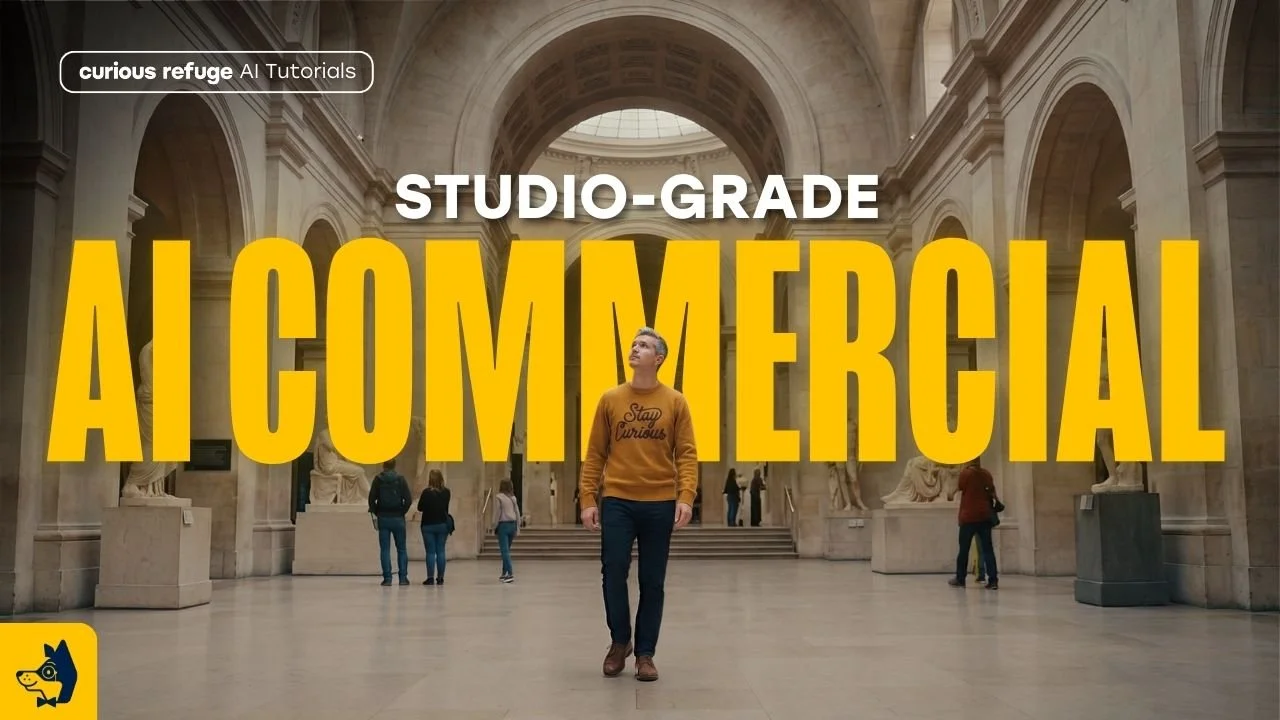
In this article and video tutorial, I will show you how to create a professional AI commercial.
Creating a professional AI commercial doesn’t have to feel like a science experiment gone wrong. In fact, with the right workflow, you can move from a rough idea to an investor-ready spot in just a few hours.
At Curious Refuge, we’re all about using the world's best productivity tools to bridge the gap between "left-brain curiosity" and "right-brain organization."
Today, I’m breaking down the exact step-by-step workflow you need to build a high-end commercial from scratch using AI.
Create an AI Commercial | Video Tutorial
Below is a video, where I show you step by step how to create a professional AI commercial
Create a Professional AI Commercial | 13 Easy Steps
Below is a breakdown of each of these steps for creating a professional AI commercial.
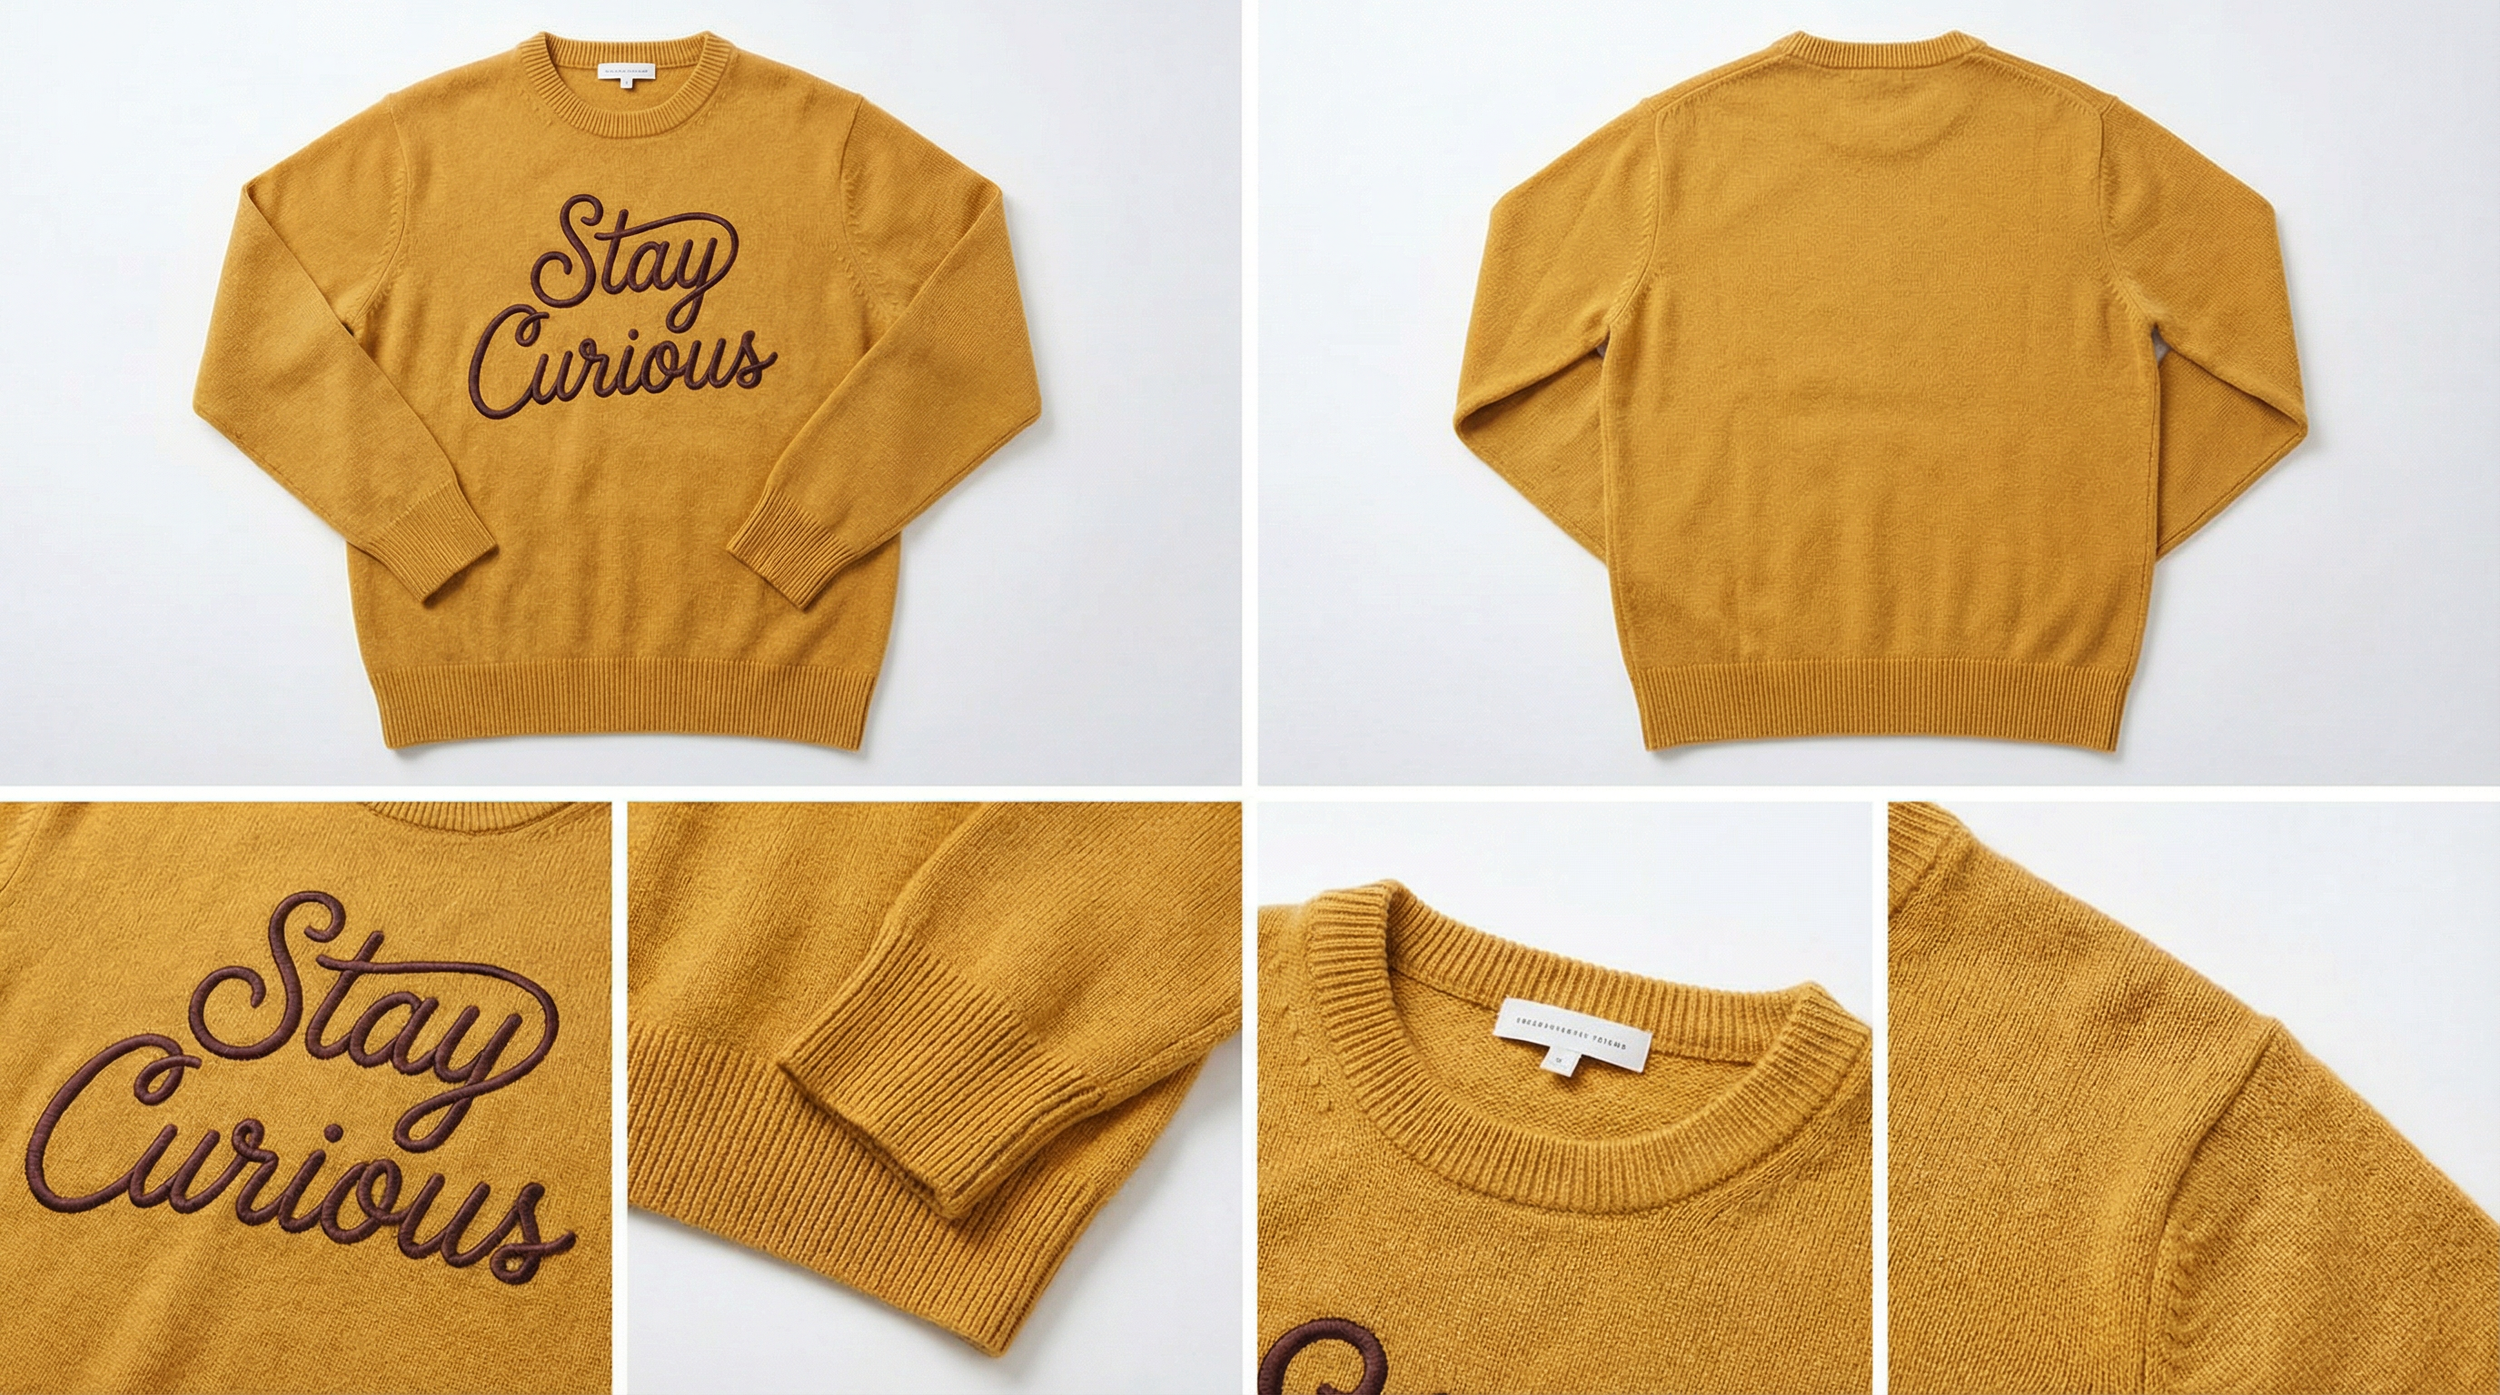
Step 1: Design the Product with AI Image Generation
Every great commercial starts with a hero, the product. Instead of spending thousands on a physical prototype, we used Google Nano Banana Pro (via Freepik) to "hallucinate" our product into existence.
Keep your prompts simple and your backgrounds clean. For this project, we’re creating a yellow sweater featuring our favorite mantra, "Stay Curious.”

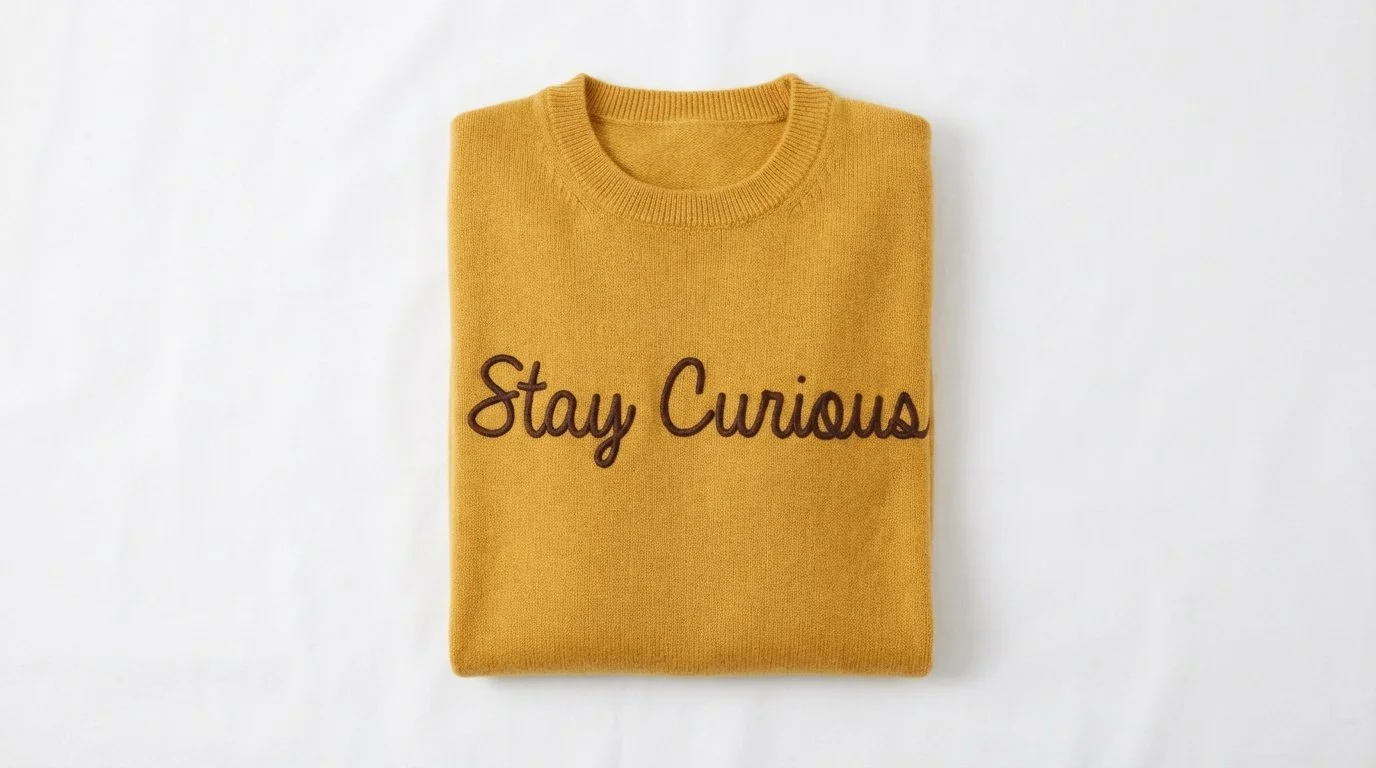
Below is the one I like the best, clean lettering, good proportions, and realistic fabric texture.
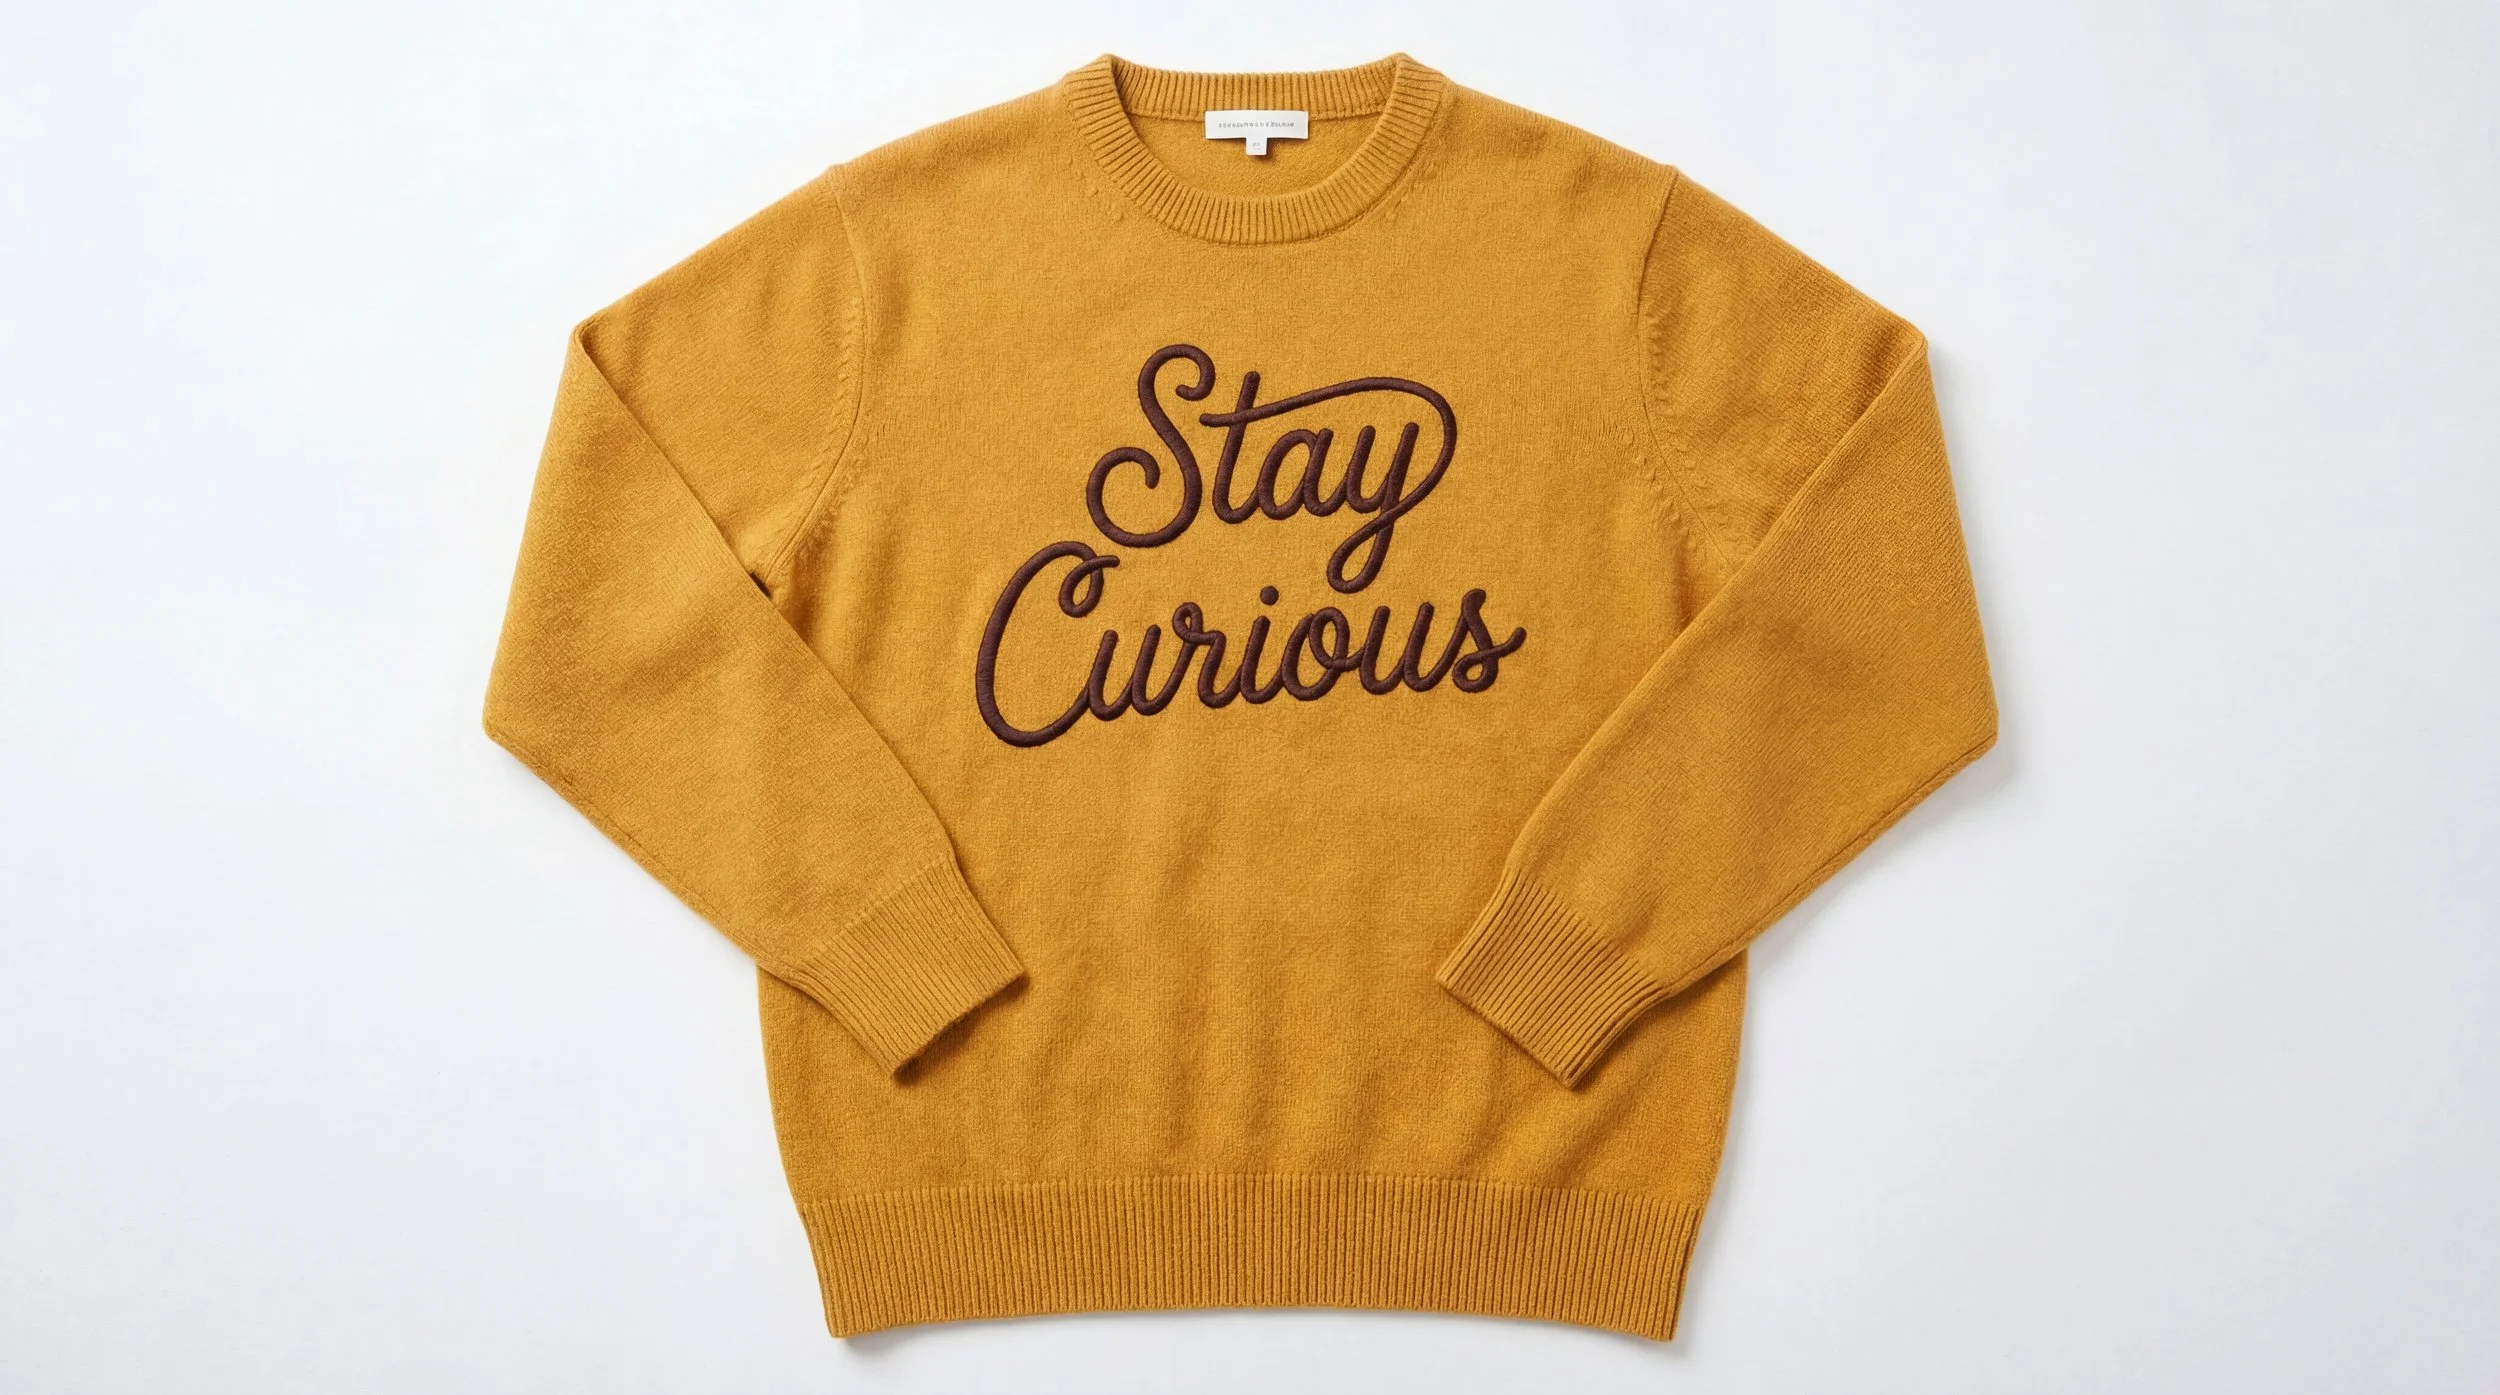
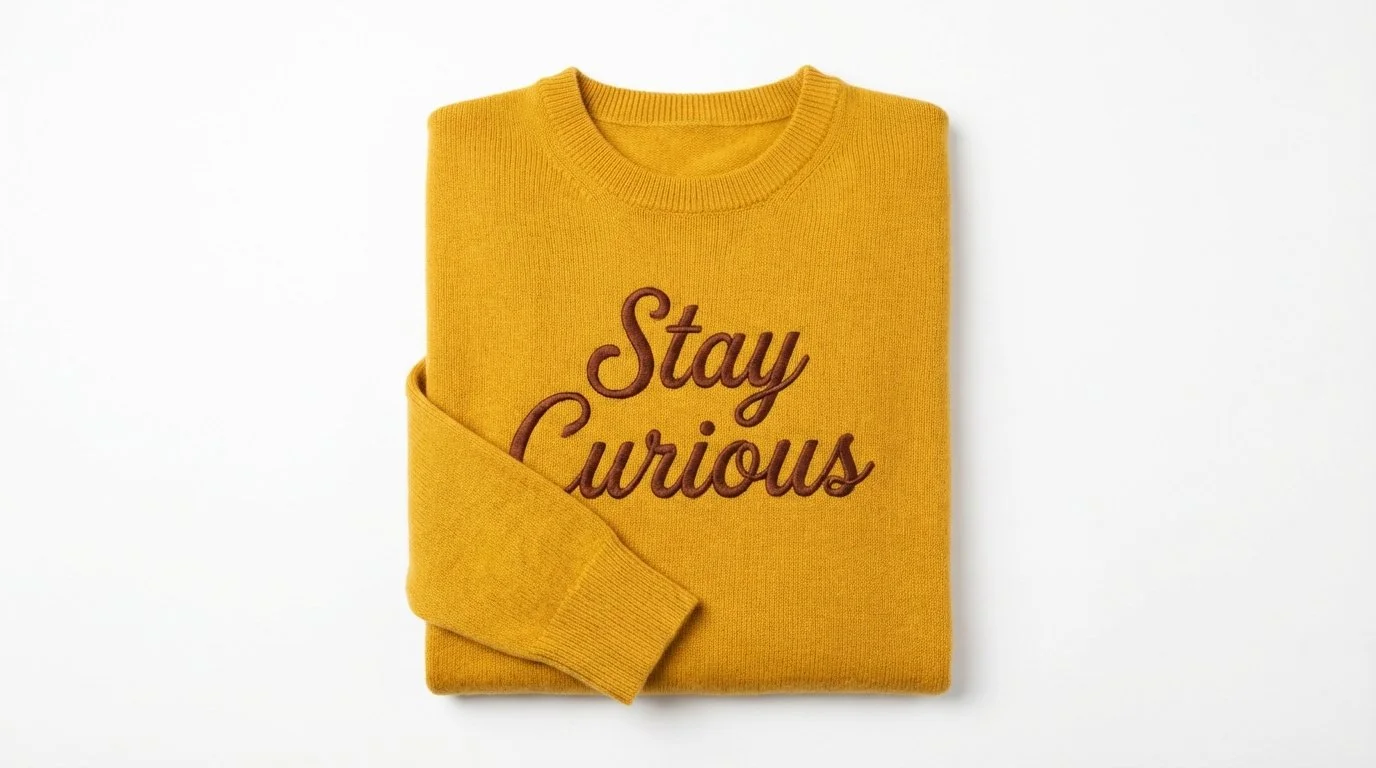
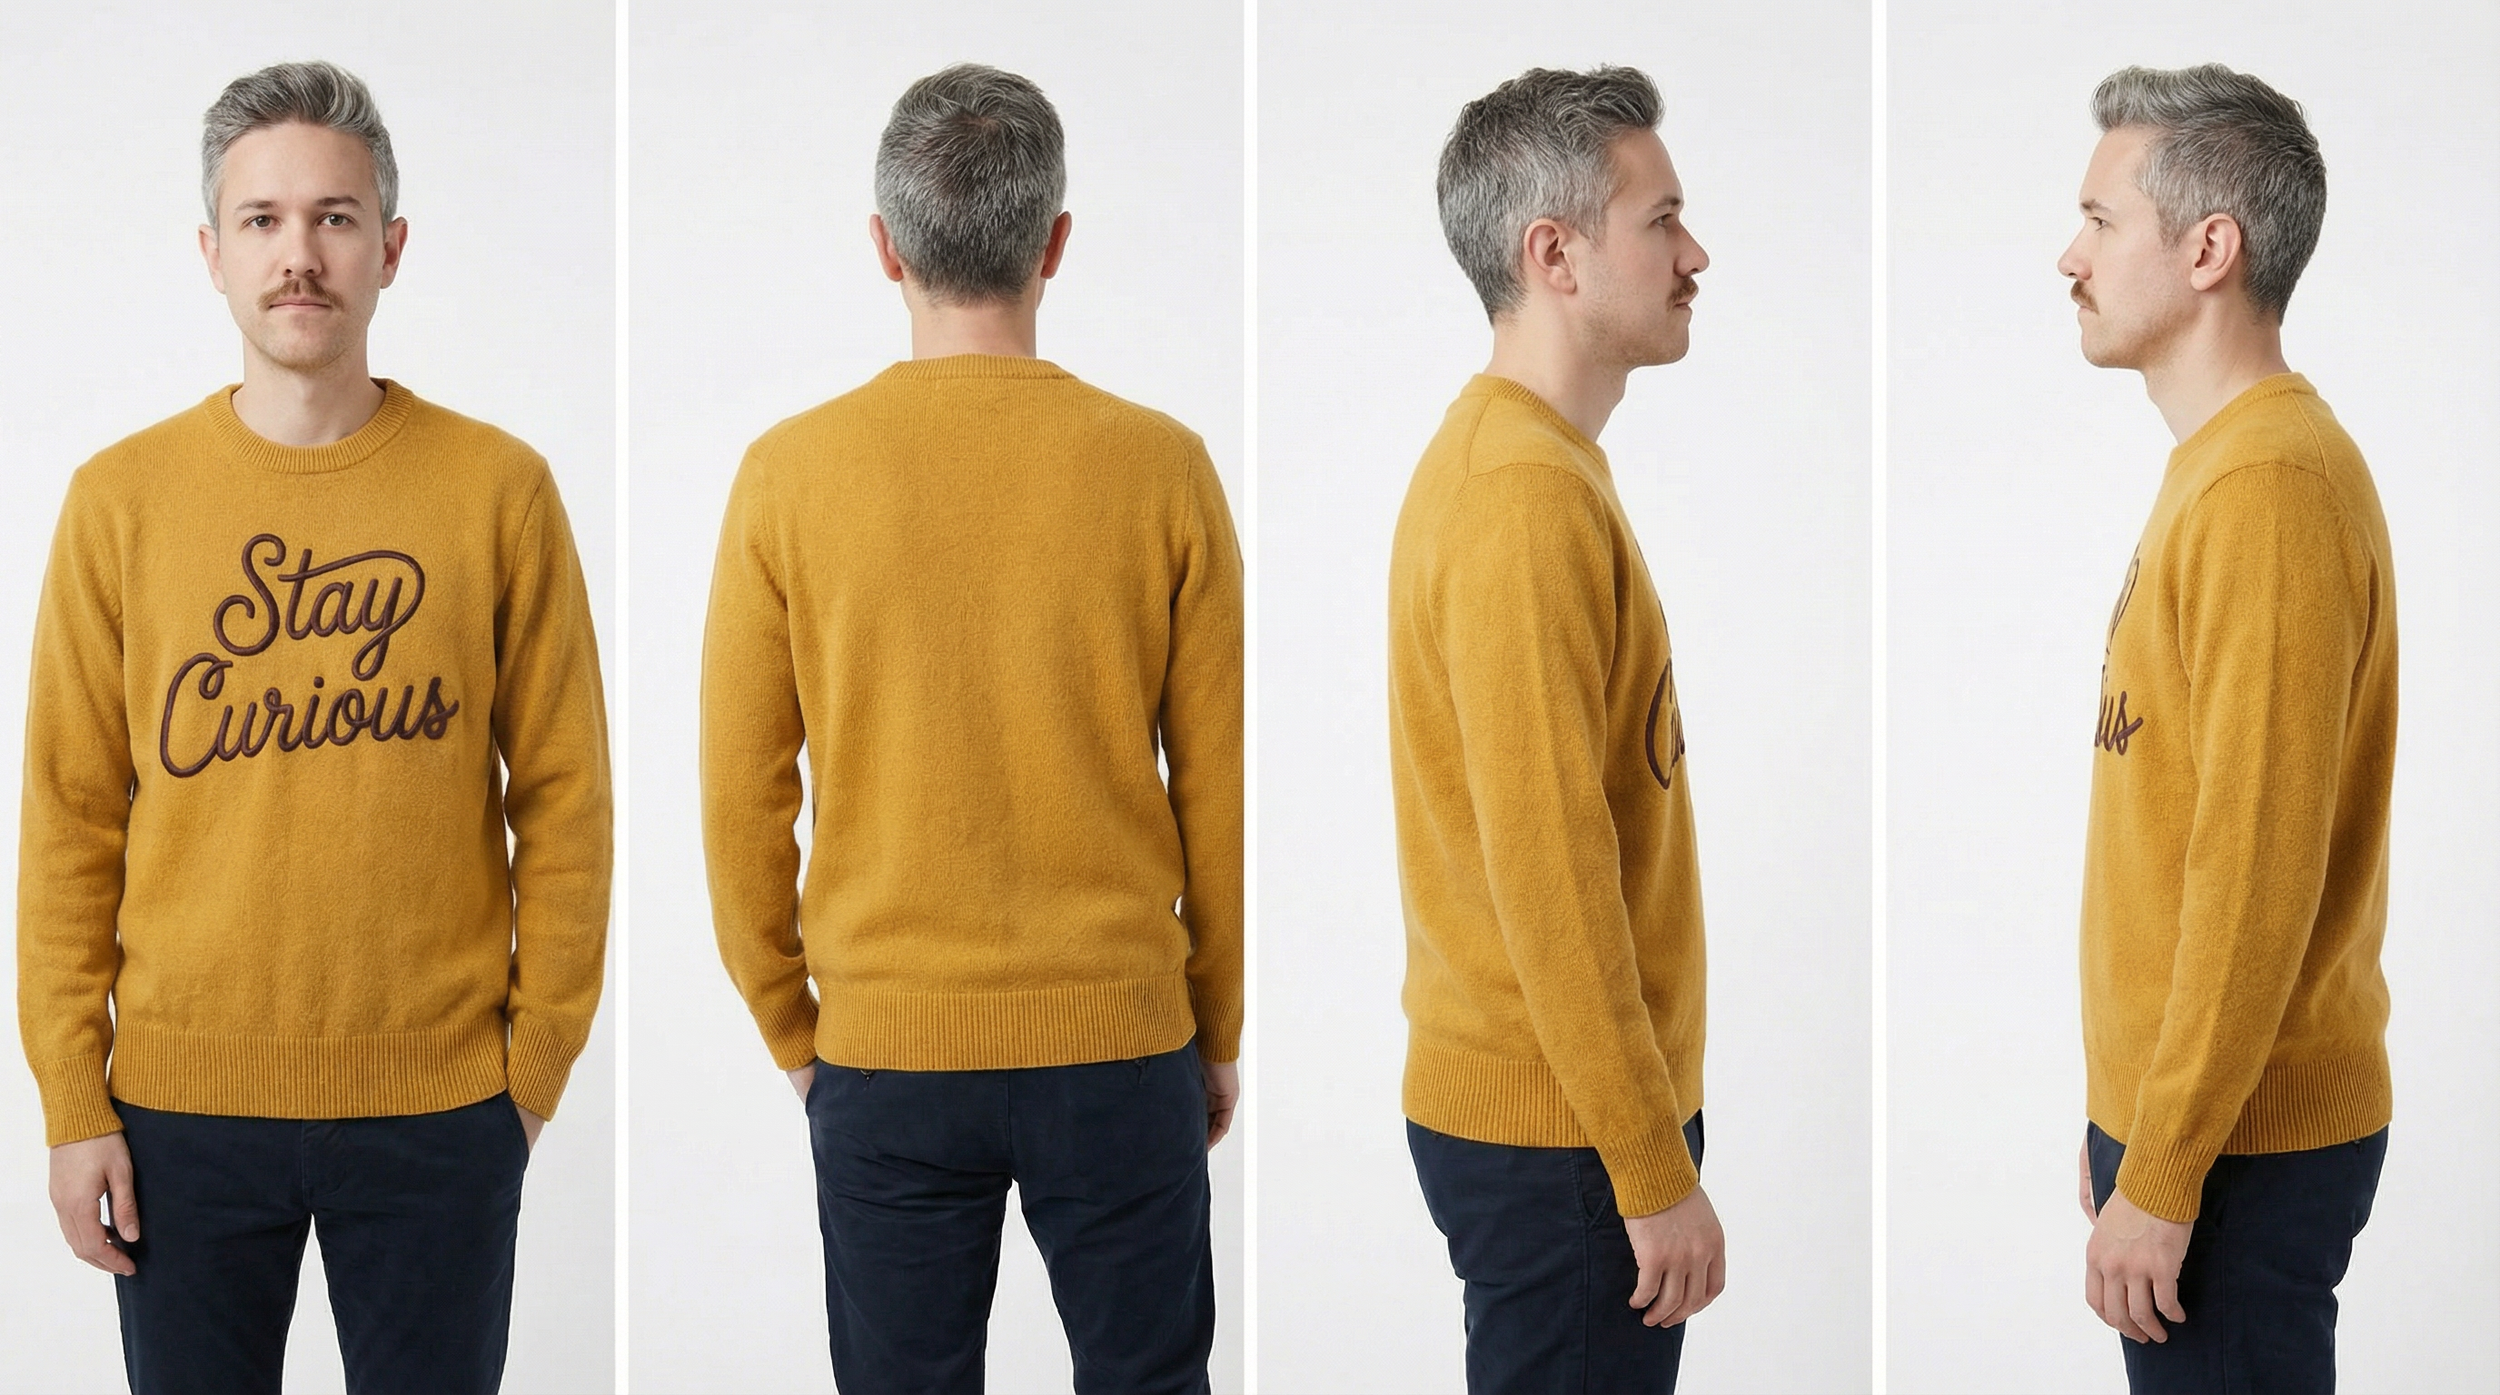
Step 2: Generate Multiple Angles for Consistency
Don’t just stop at one image. You need coverage. Generate multiple angles, front, back, and side details, to build a "product kit." This is your insurance policy for when the AI inevitably tries to warp your fabric later in the process.
Step 3: Cast Your Character
Now, who’s wearing the gear? You can use AI-generated models, but for the best realism, use reference photos of real people (even yourself!). By uploading multiple angles of a real face, you give the AI a "battle-tested" reference that reduces the guesswork.

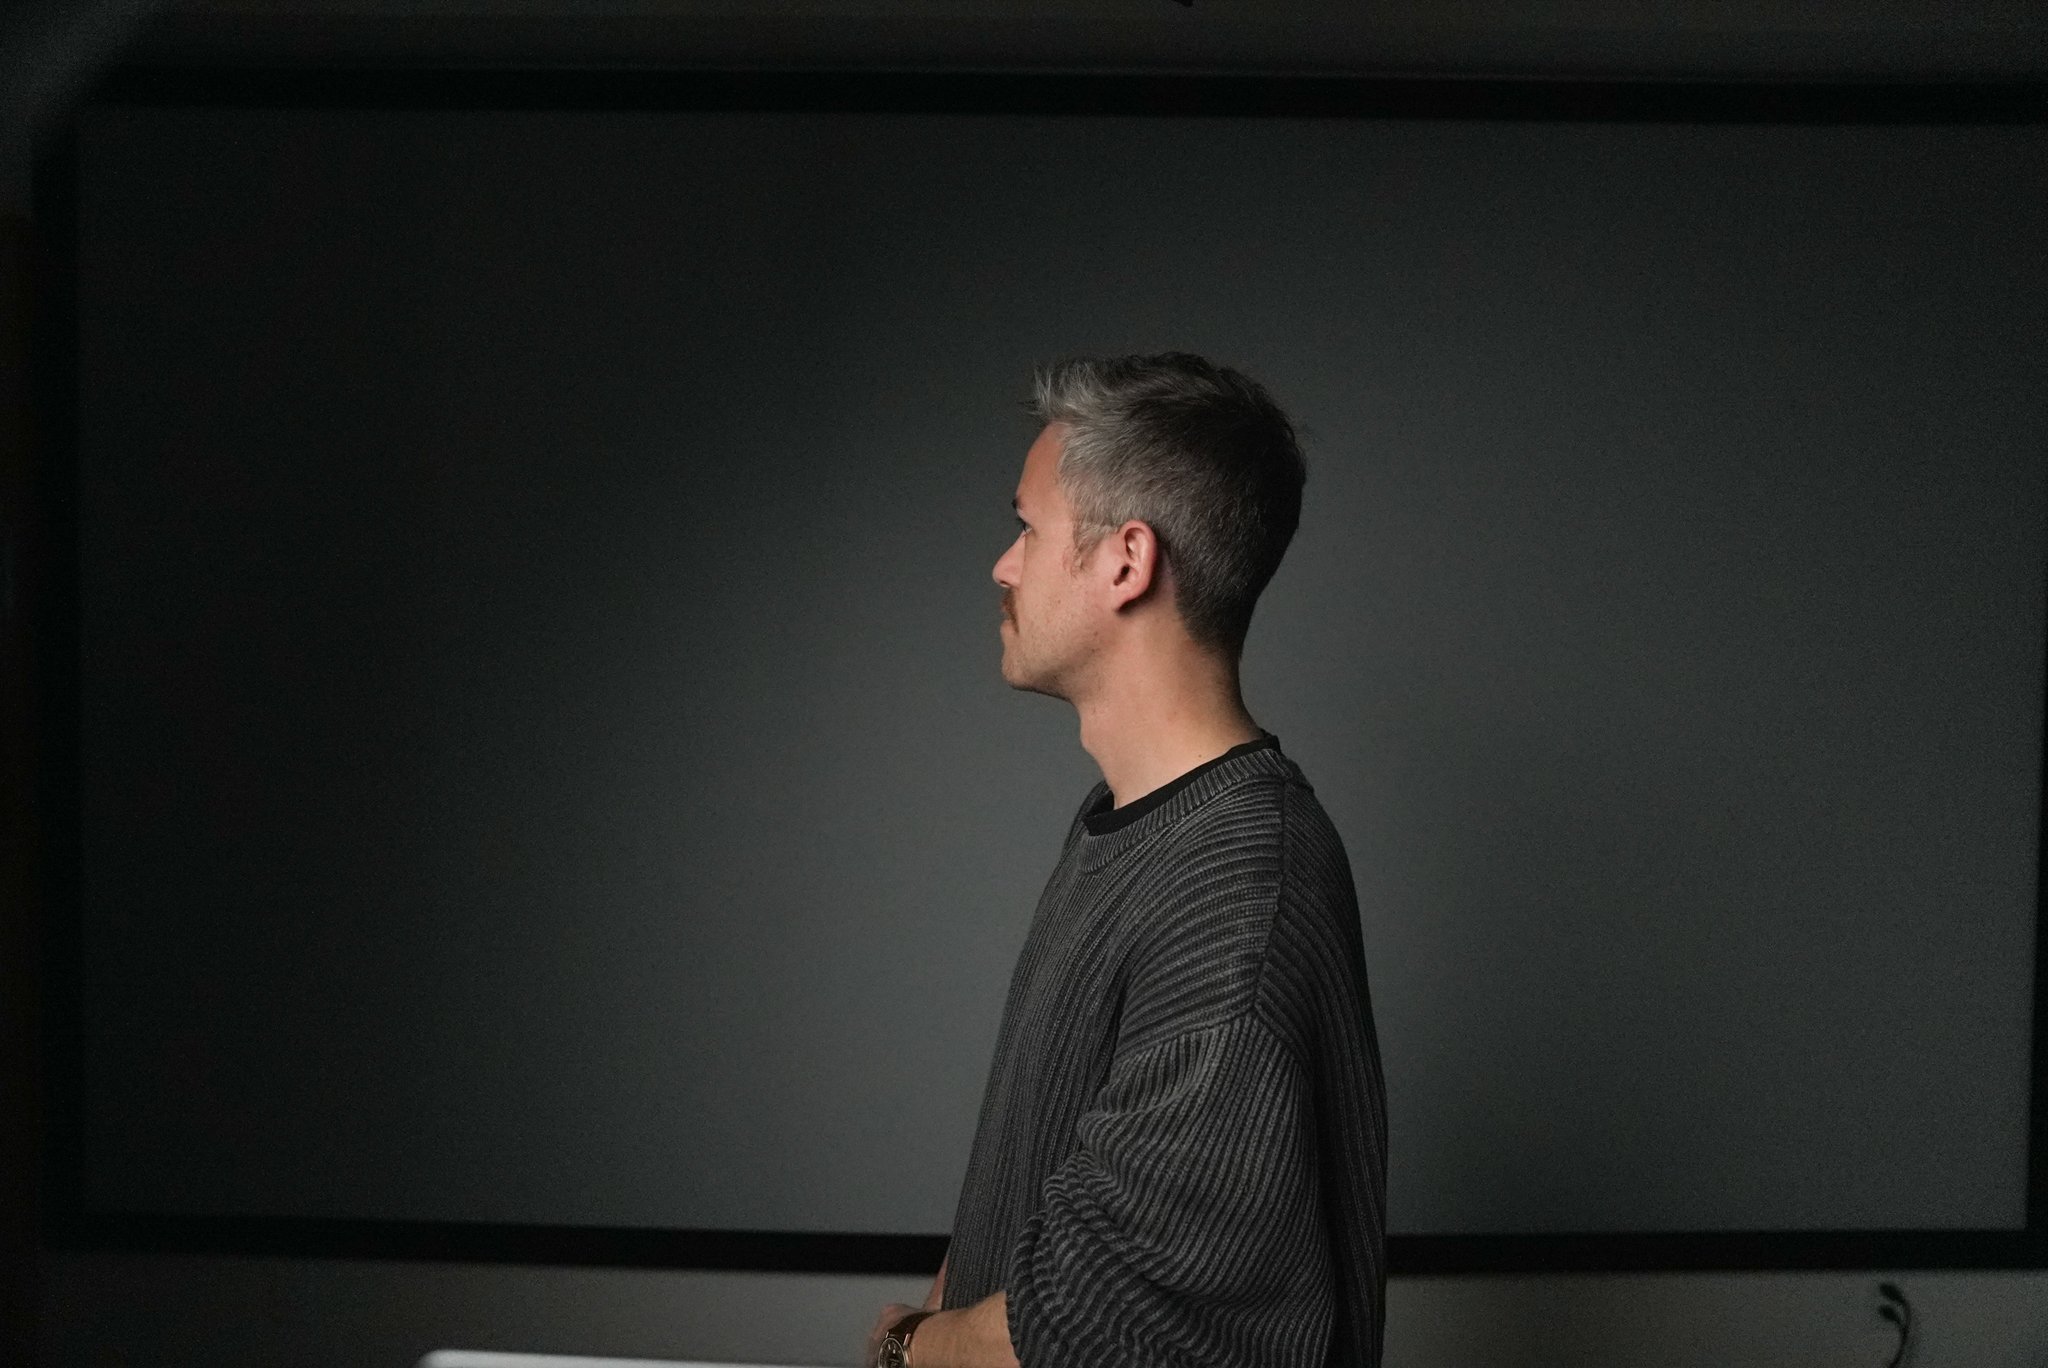
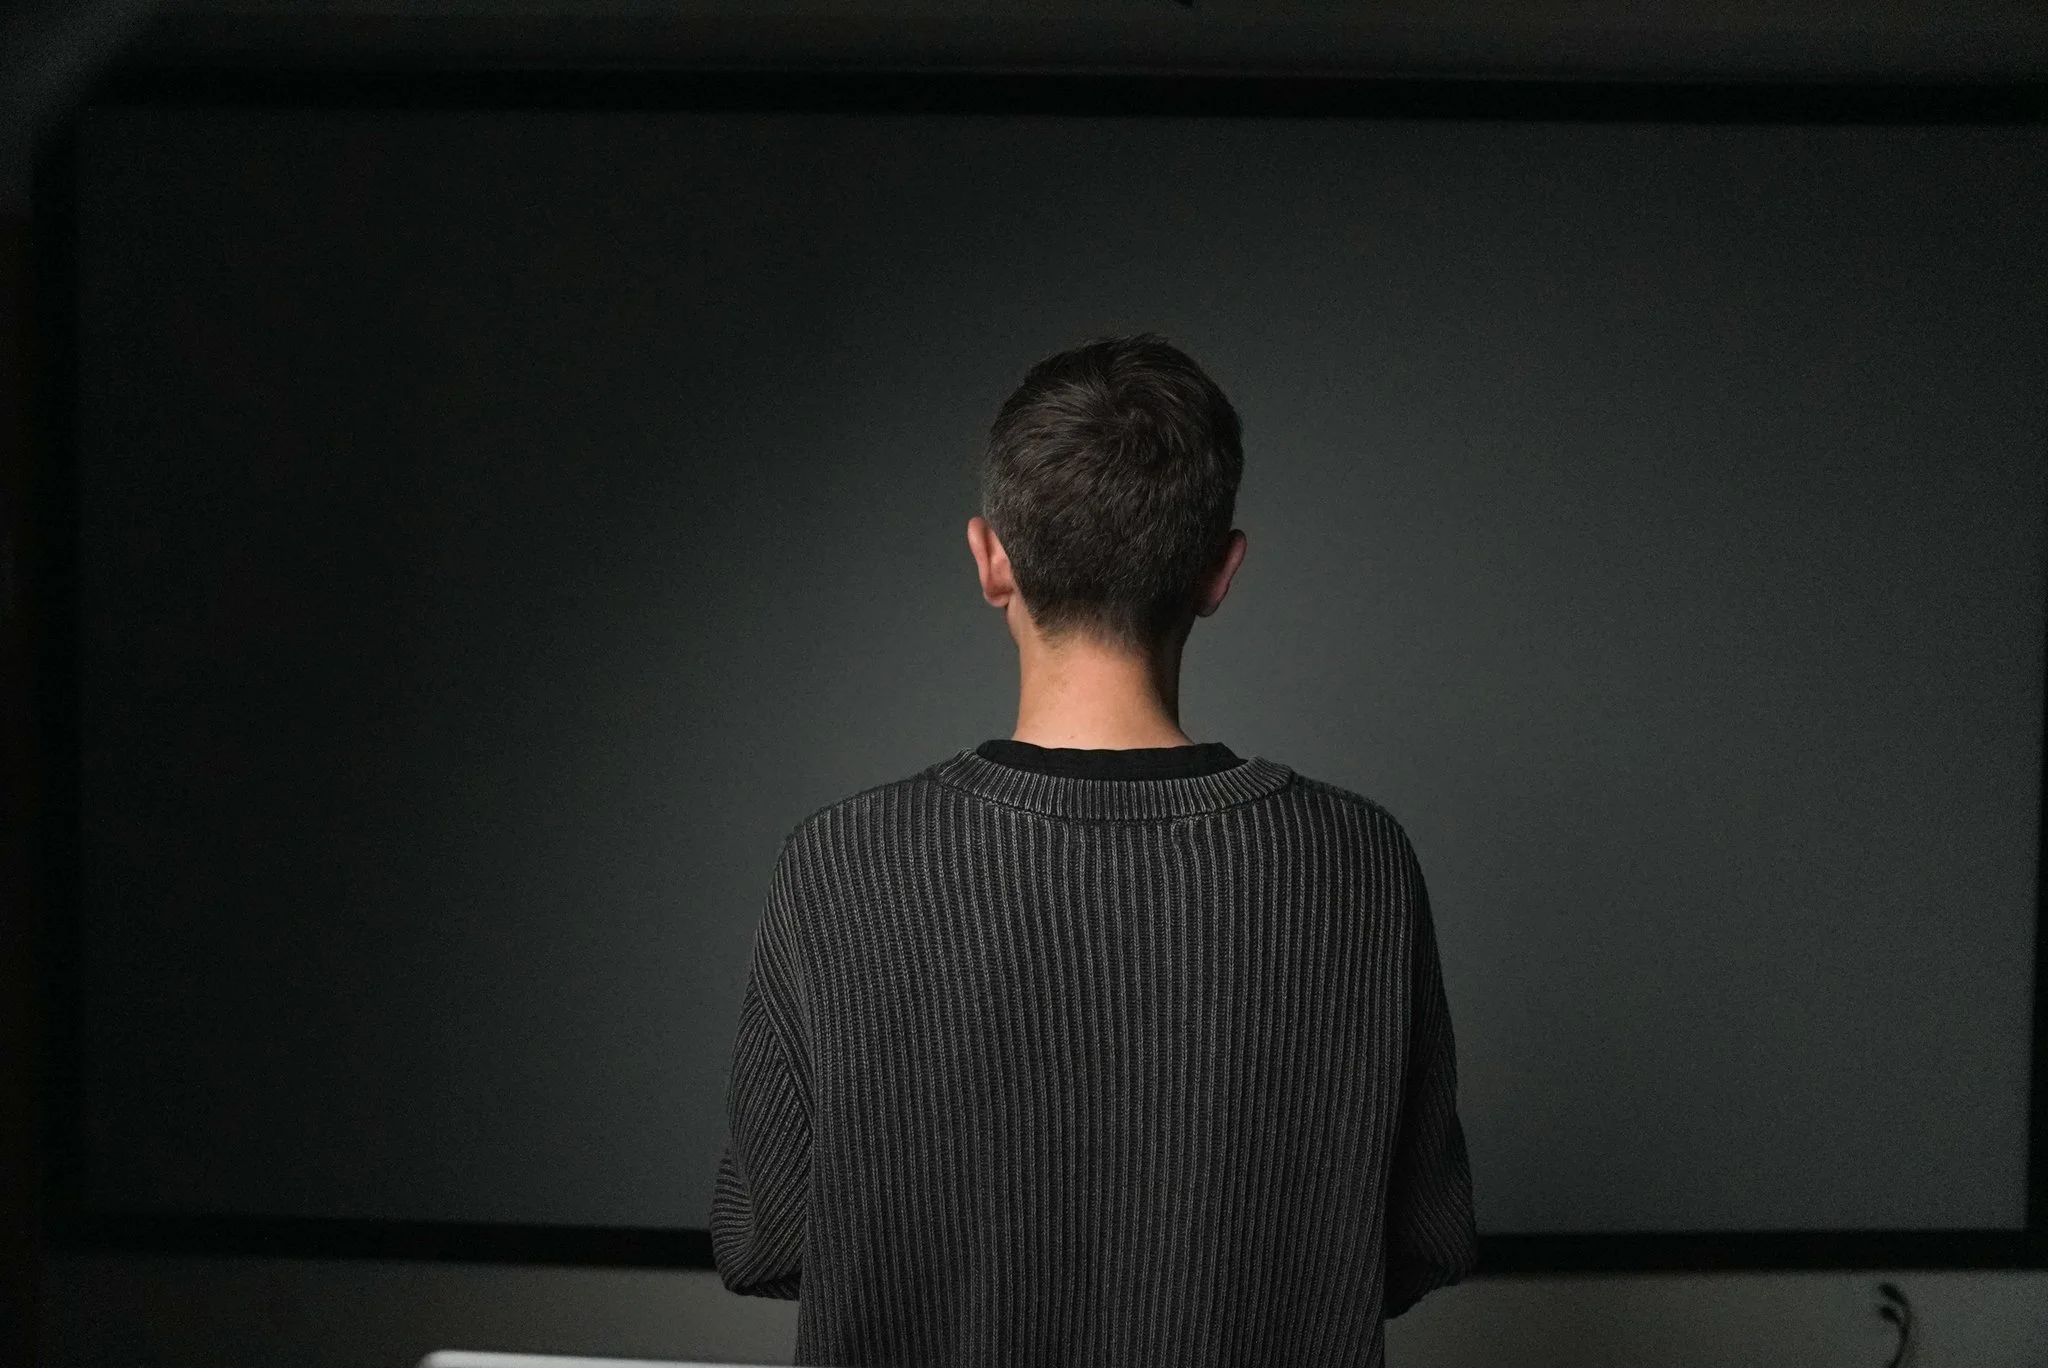
Inside Freepik, the sweater image and the reference photo are combined with a prompt like:
Place the sweater from image one on the man in image two. White background. Modeling-style lighting.
Vertical (9:16) framing is used here to see the full body. Below are the generations I got.
After generating multiple versions (above), I went with the one center left, with the hand in the pocket.
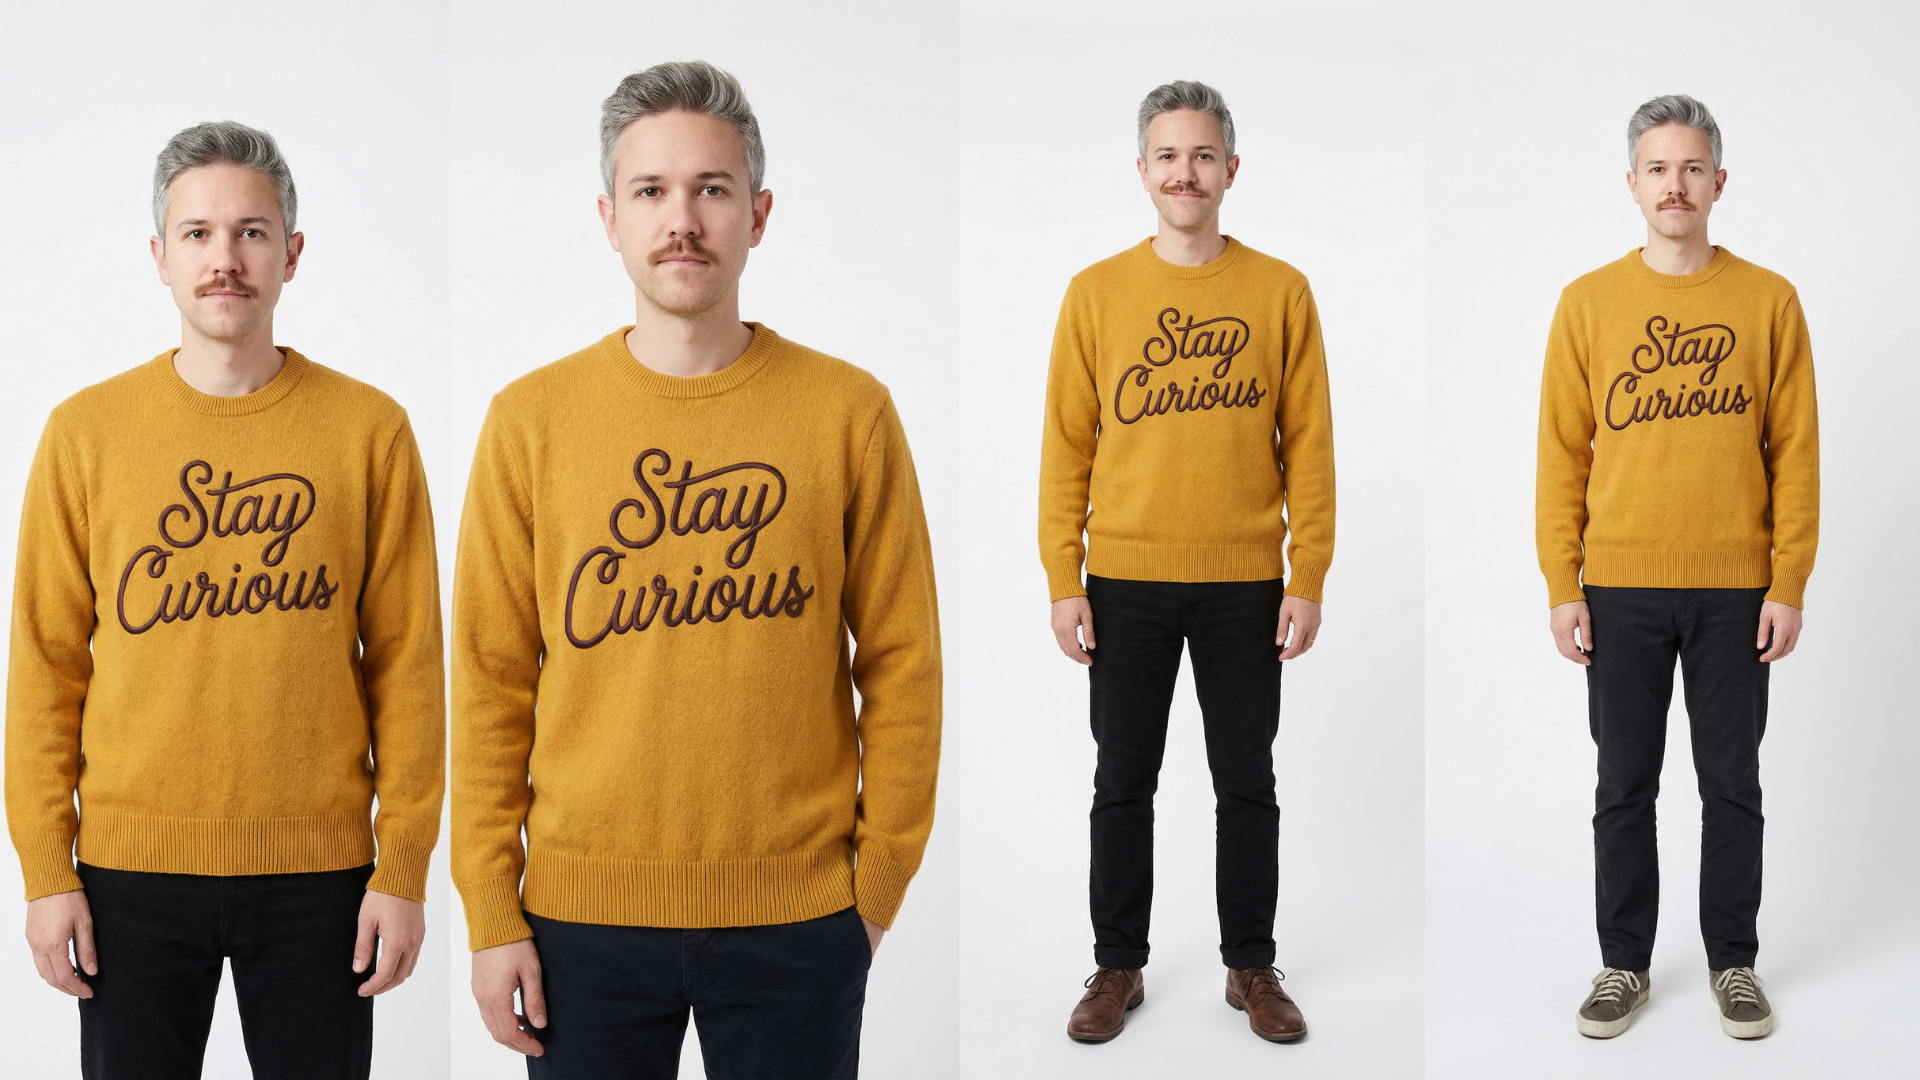
Step 4: Create Multi-Angle Character References
Consistency is the name of the game in AI filmmaking. Just like you did with the sweater, create a multi-angle panel of your character wearing the product. This digital wardrobe ensures that your character doesn’t look like a different person every time the camera moves.
Step 5: Develop the Commercial Concept
With your assets ready, it's time to find your "hook."
For this demo, we’re going with a "Luxury Travel" vibe: a sweater rugged enough for a hike in the Alps but stylish enough for a Parisian café.
Step 6: Generate Cinematic Storyboards in Panels
Forget single images. Use four-panel generations to storyboard entire sequences at once. This ensures that the lighting, camera quality, and color grade stay consistent across the entire commercial.
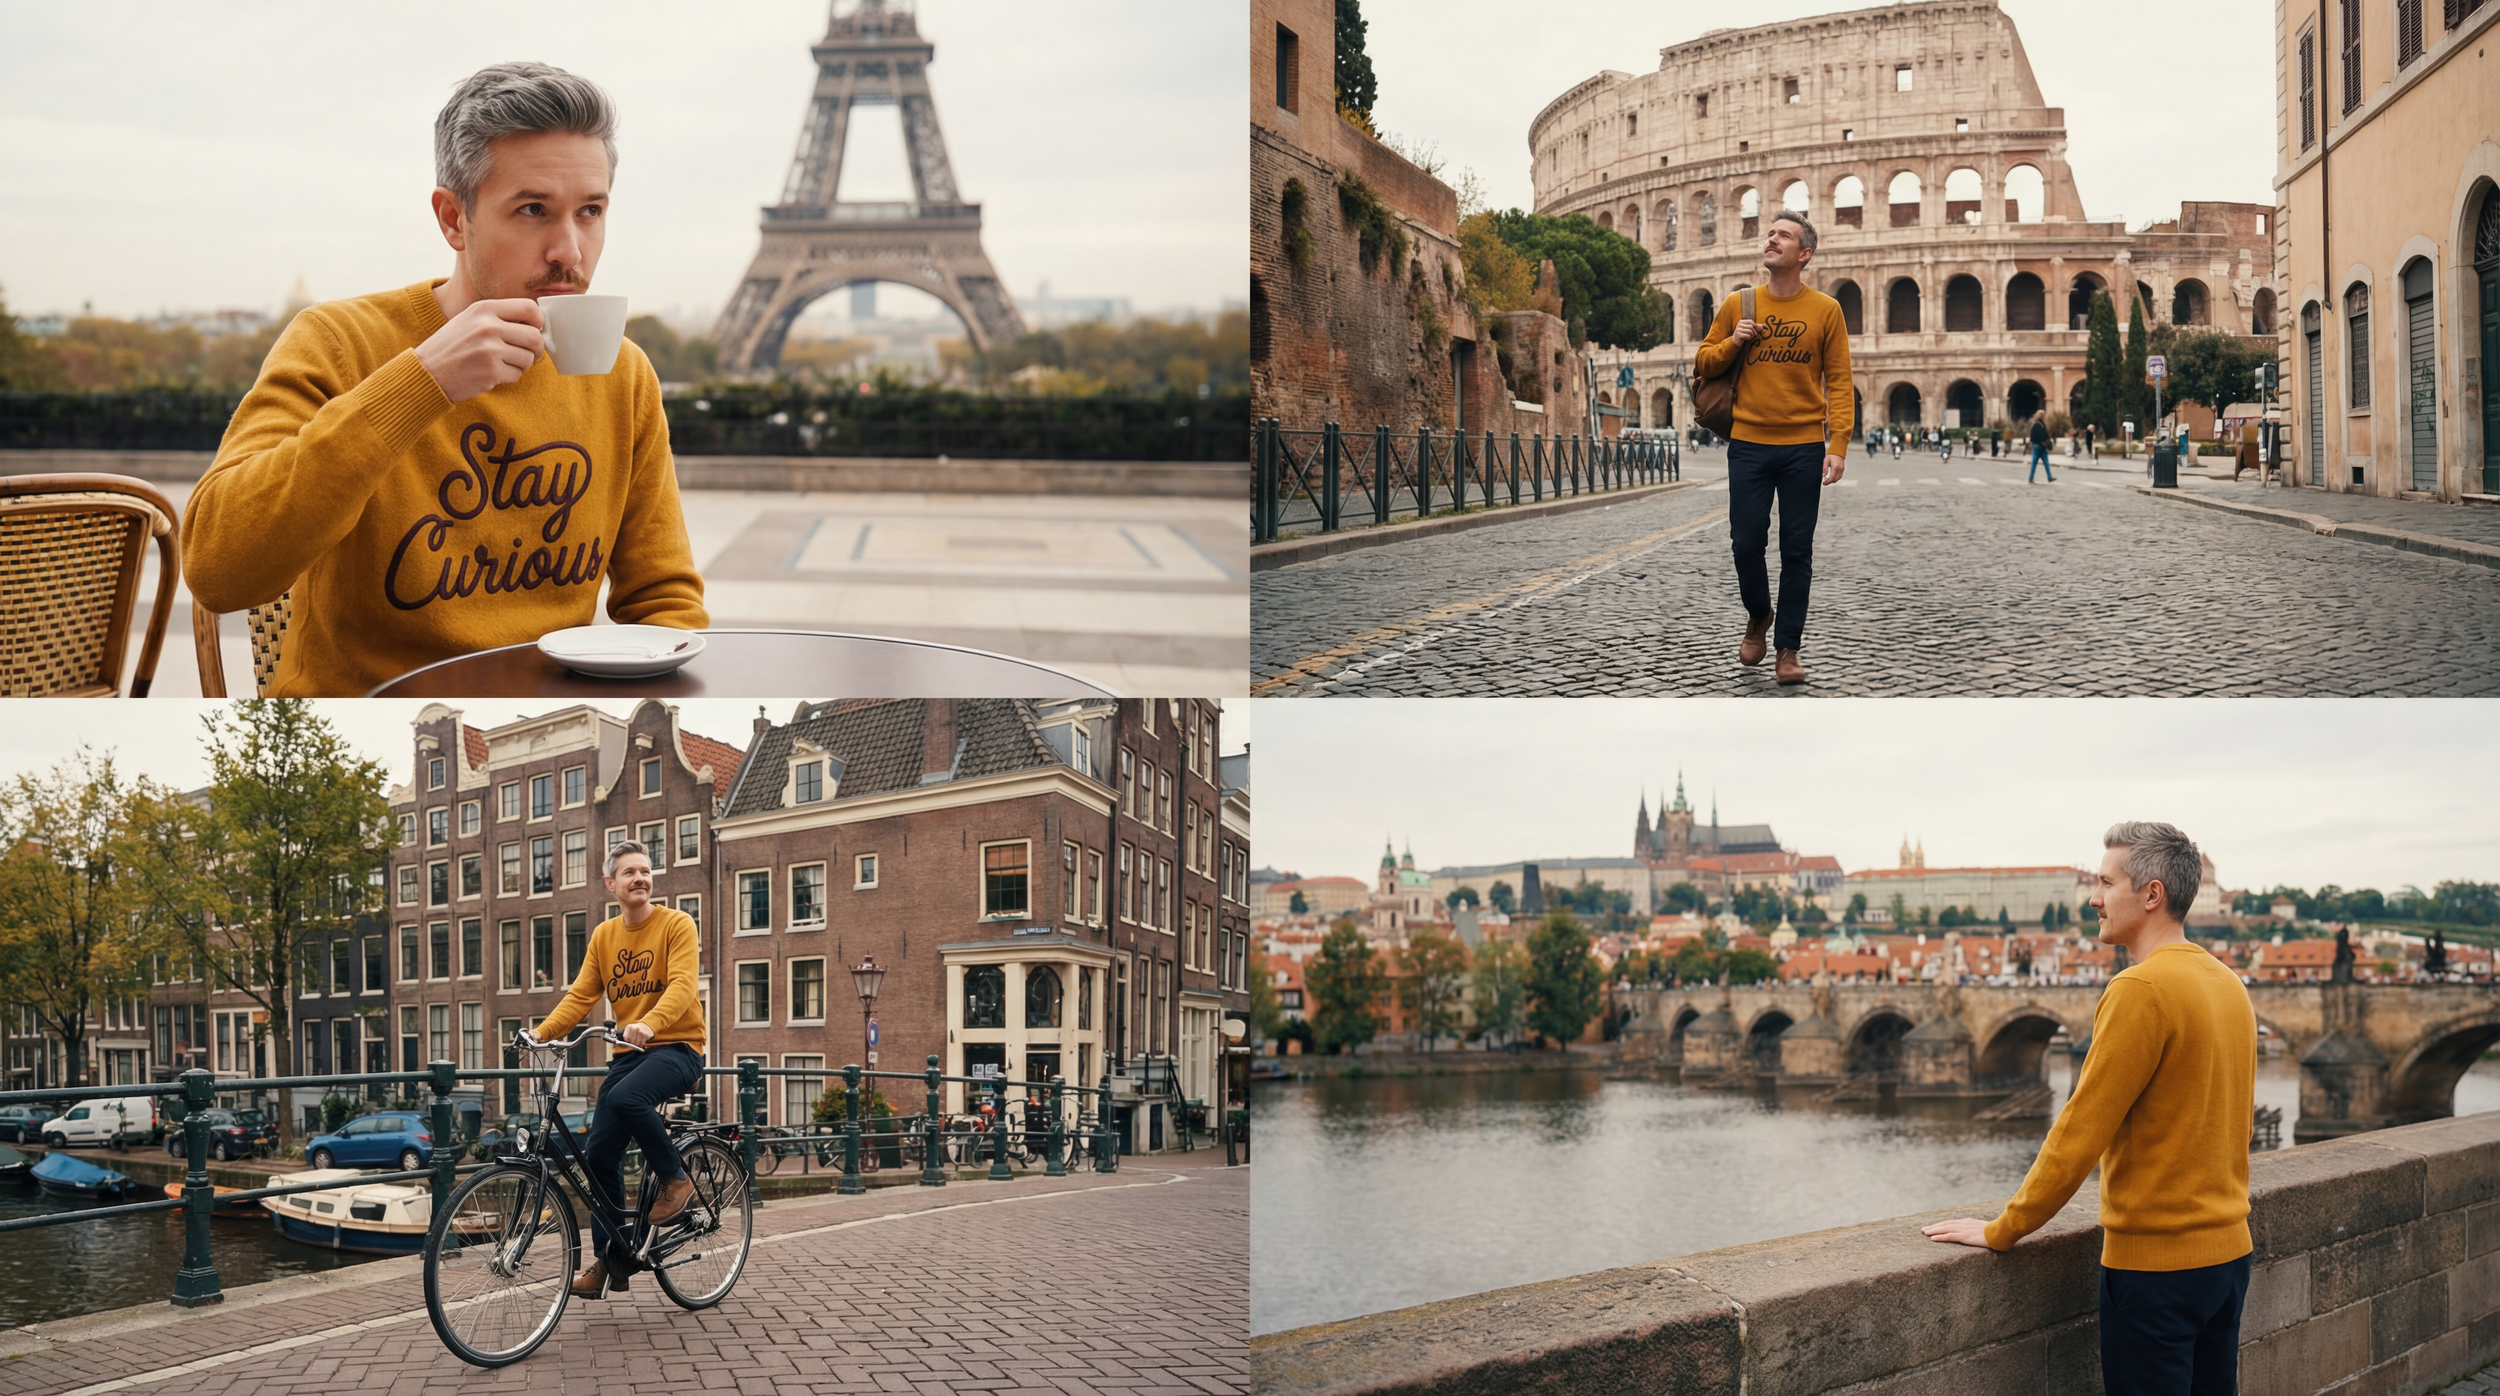
Here’s the best panel. I’ll use this as the style reference for the entire commercial, to help keep color grading, style, and other visuals consistent.
Here’s a tutorial where I showed the process of creating a story using a panel method when prompting your images.
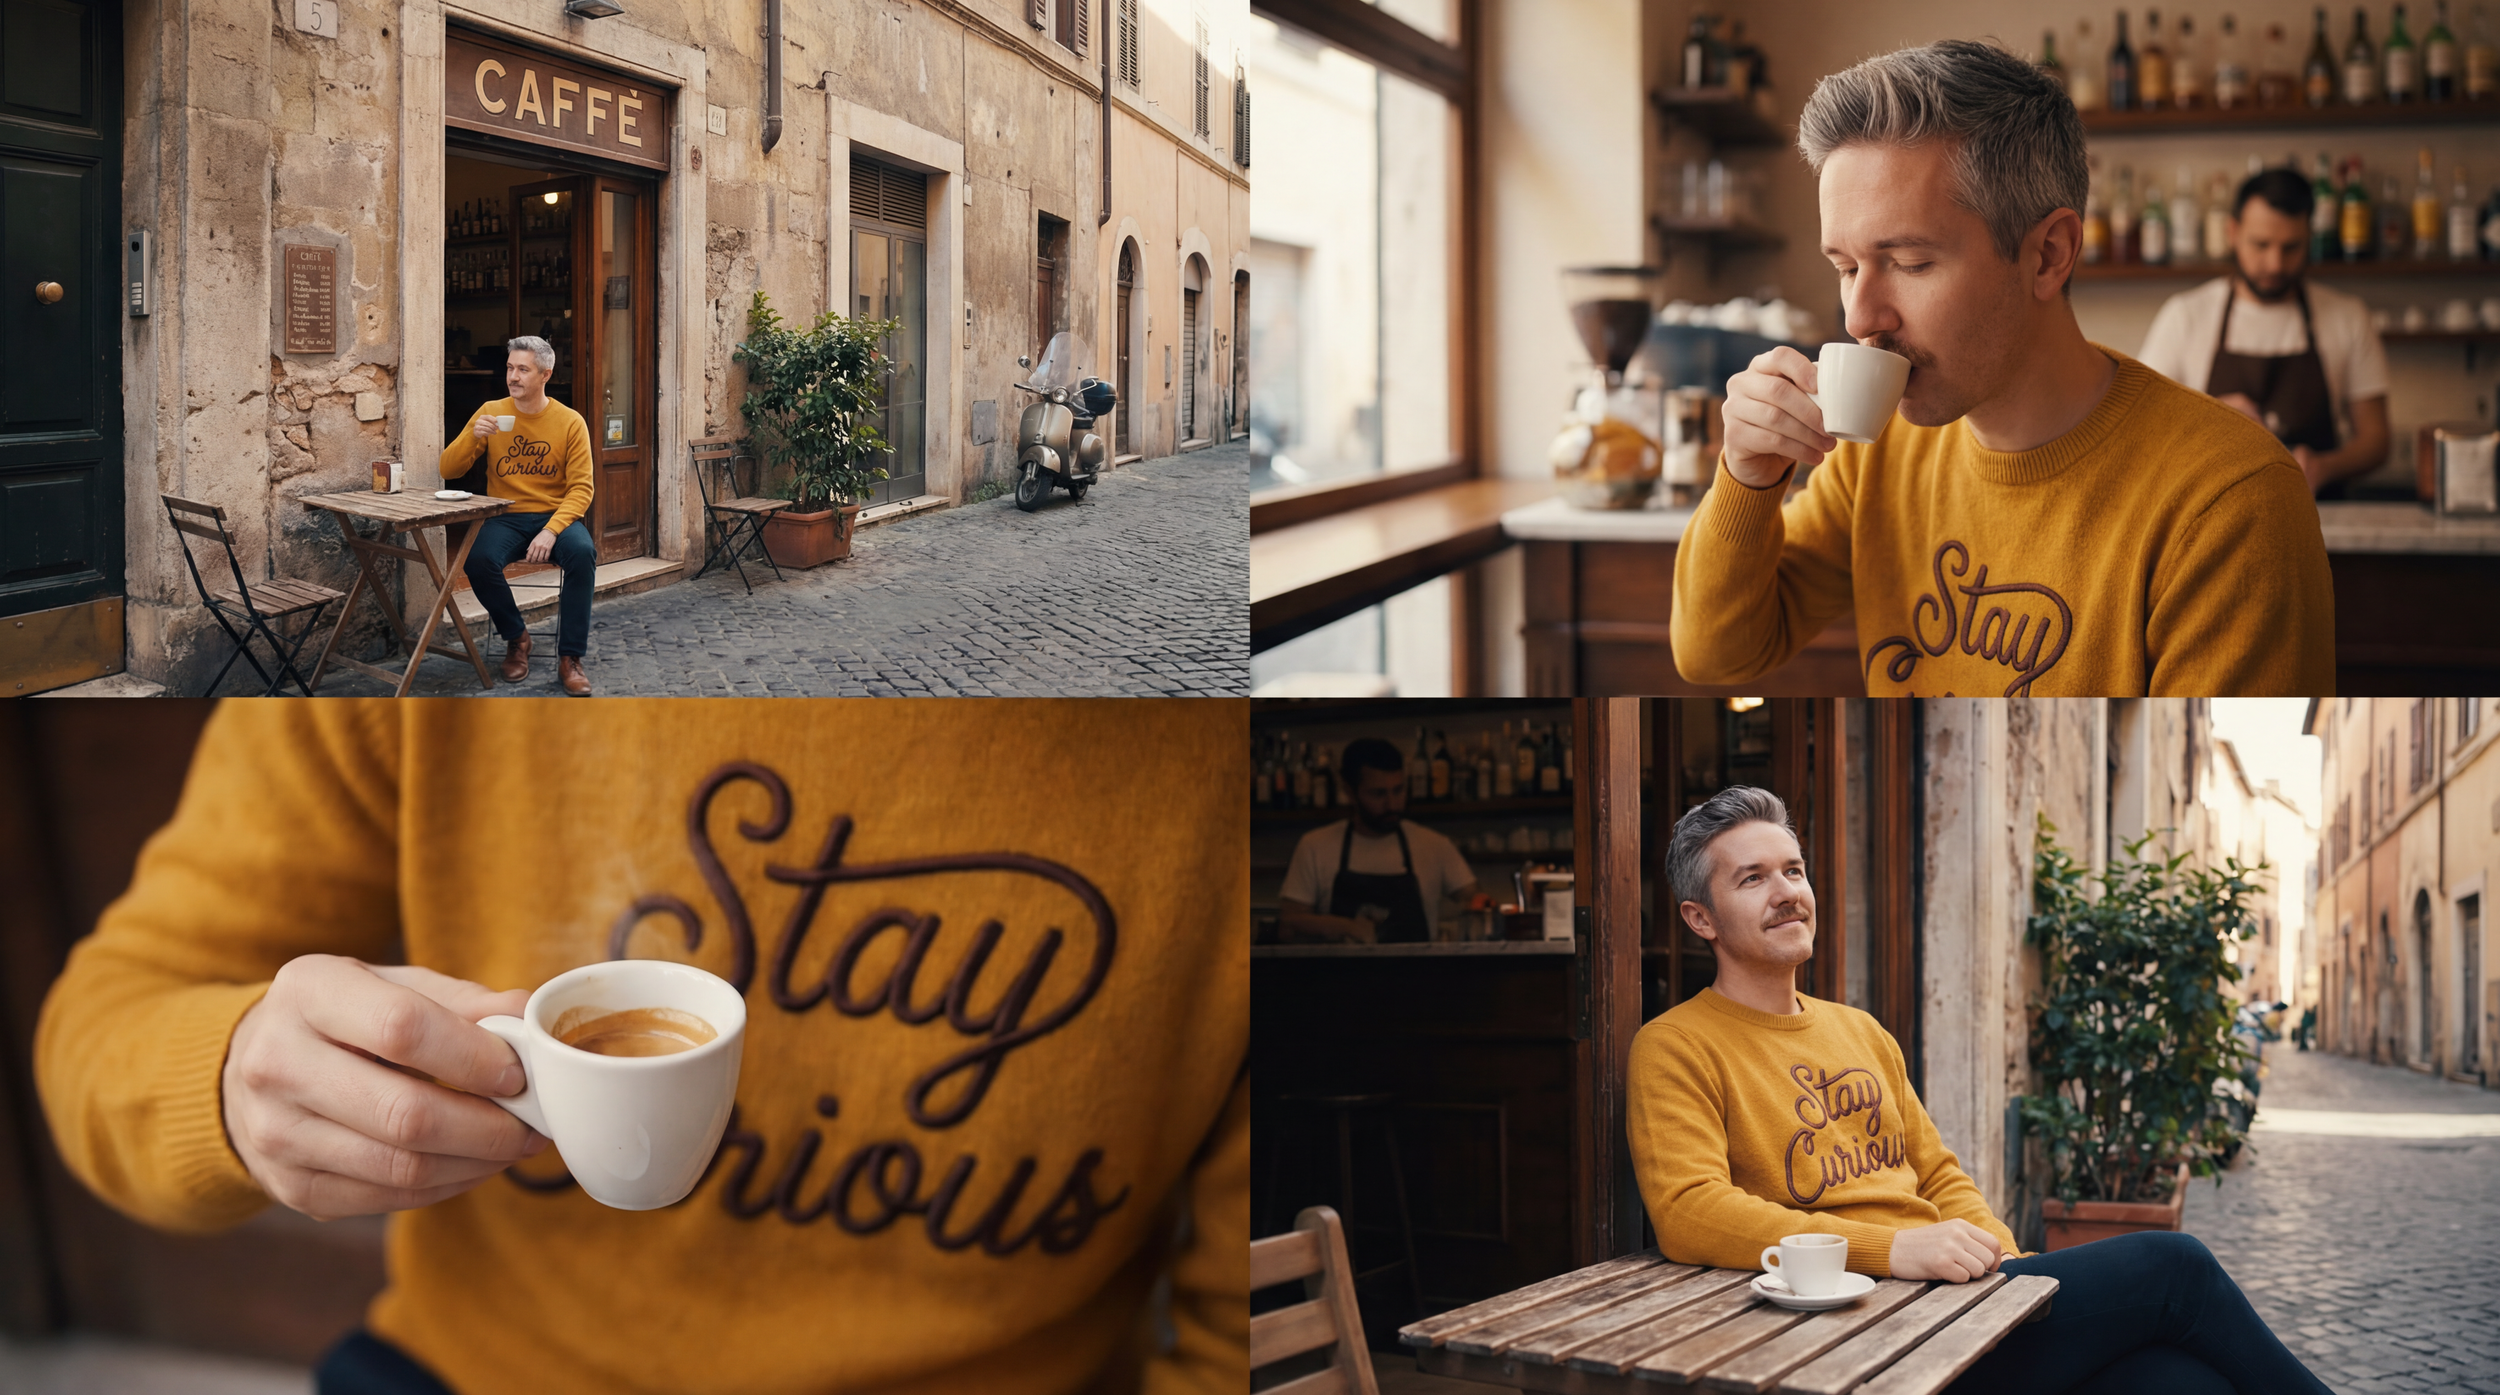
Step 7: Expand the Story with New Scenes
Use your style base to "niche down" into specific vignettes: drinking coffee, touring museums, or hiking scenic trails. Some generations will fail—sometimes a building will replace a person’s head—but don't sweat it. Just keep the strong takes and discard the rest.
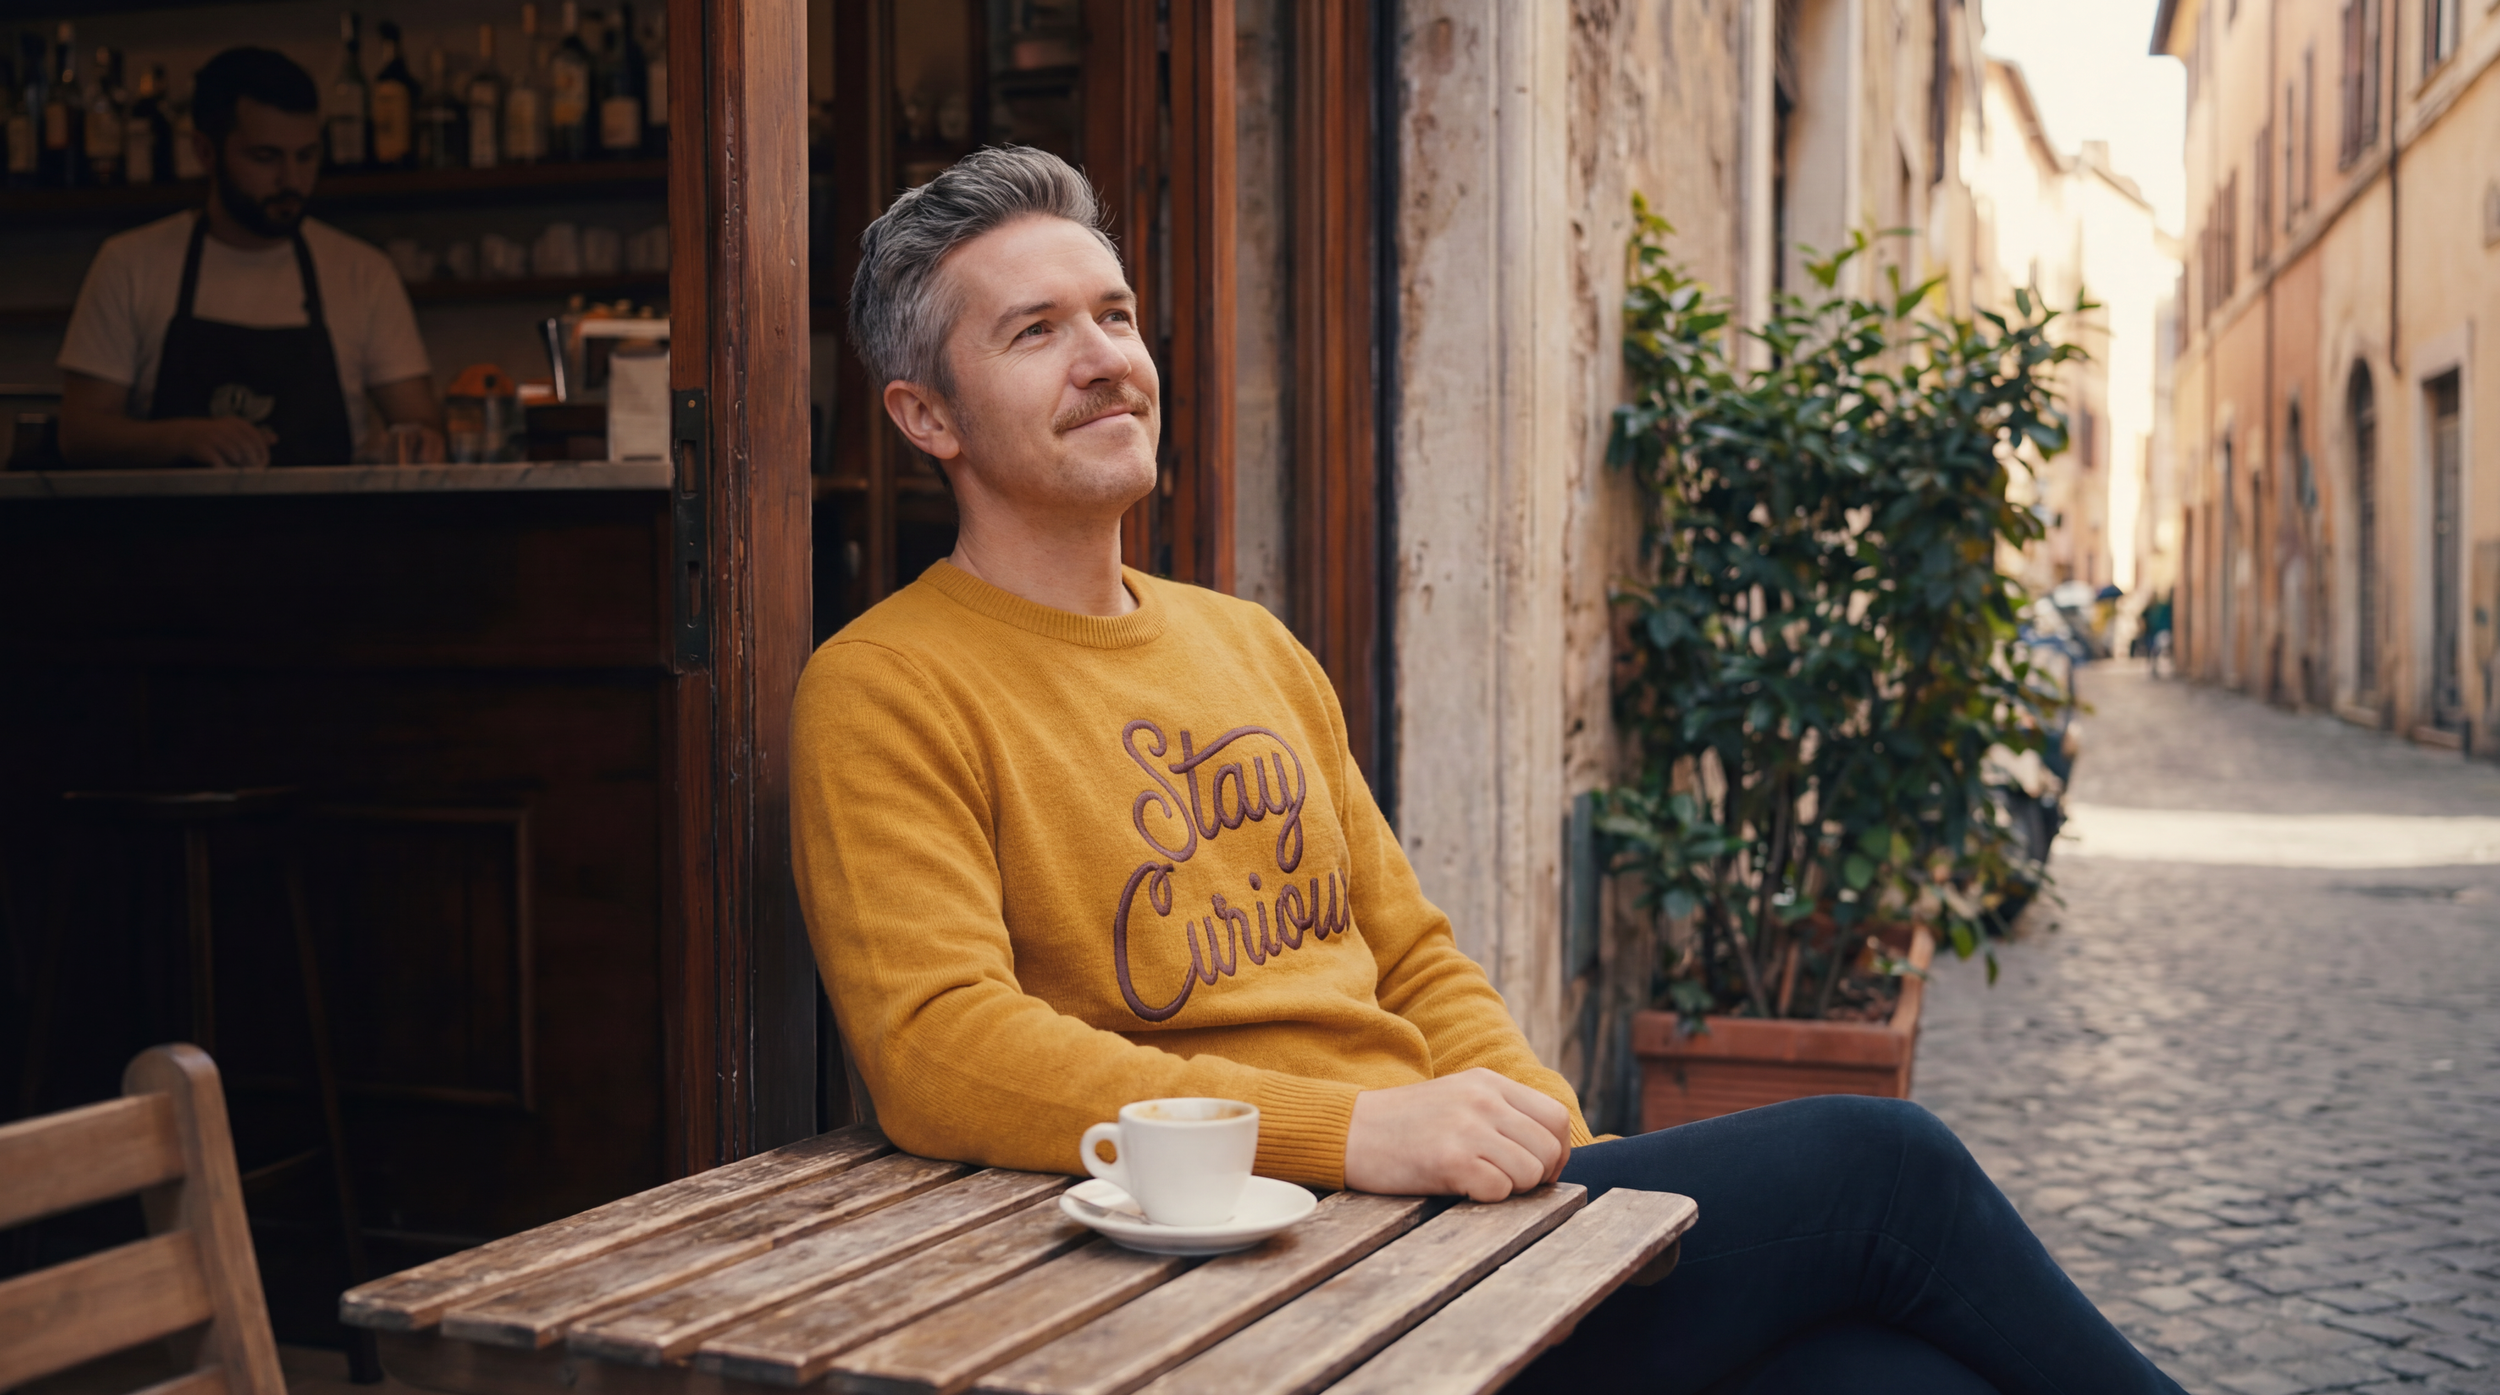
Step 8: Split Panels into Individual Shots
Once you have your panels, isolate them into single frames. You can do this manually or use "spaces" in tools like Freepik or Flora to automate the process.
Now you have a professional shot list ready for the magic of motion.
Step 9: Animate Your Images with AI Video Tools
For iteration speed, I used Google Flow, perfect for iteration speed. Use "Fast Mode" to explore multiple versions of a clip until you find the one that sticks.
Step 10: Upscale and Polish with Topaz Astra
If your footage looks a little "AI-crunchy," pass it through Topaz Astra. Set it to 4K at 24fps to give it that cinematic, "big screen" feel.
This step is where the amateur stuff starts looking like a real TV spot.
Below is a Tutorial showing how to get tons of quality out of your AI Videos.
Step 11: Edit the Commercial Together
Bring everything into your timeline. Add letterboxing, a touch of film grain, and subtle color tweaks. This is where you combine your "left-brain" technical shots into a "right-brain" creative masterpiece.
Step 12: Generate AI Music
Don’t settle for boring stock music. Use Suno to create a custom track.
For this spot, we used the prompt: "Sentimental luxury jazz, French female singer."
Layer it in, level your audio, and you’re done.
Step 13: Export the Final Draft
In just 2.5 hours, the workflow produces this awesome AI Commercial below!
By building your reference assets early and locking in your visual style, you can produce professional-grade work that used to take weeks in a matter of hours.
That’s the power of using modern AI tools for advertising pipelines.
Learn Professional AI Advertising Techniques
We hope you enjoyed this article and workflow. We love helping people on their creative journey. If you enjoyed this article, then you should check out our AI Advertising course. In the course, we go in-depth into learning AI Advertising workflows, A/B testing, graphics design, and so much more.
Fill out the form above to join the waitlist. We would love to help you on your creative journey!
Best of luck on your next creative project. :)