
How to Make AI Videos with Luma Ray 3.2 | 7 Steps
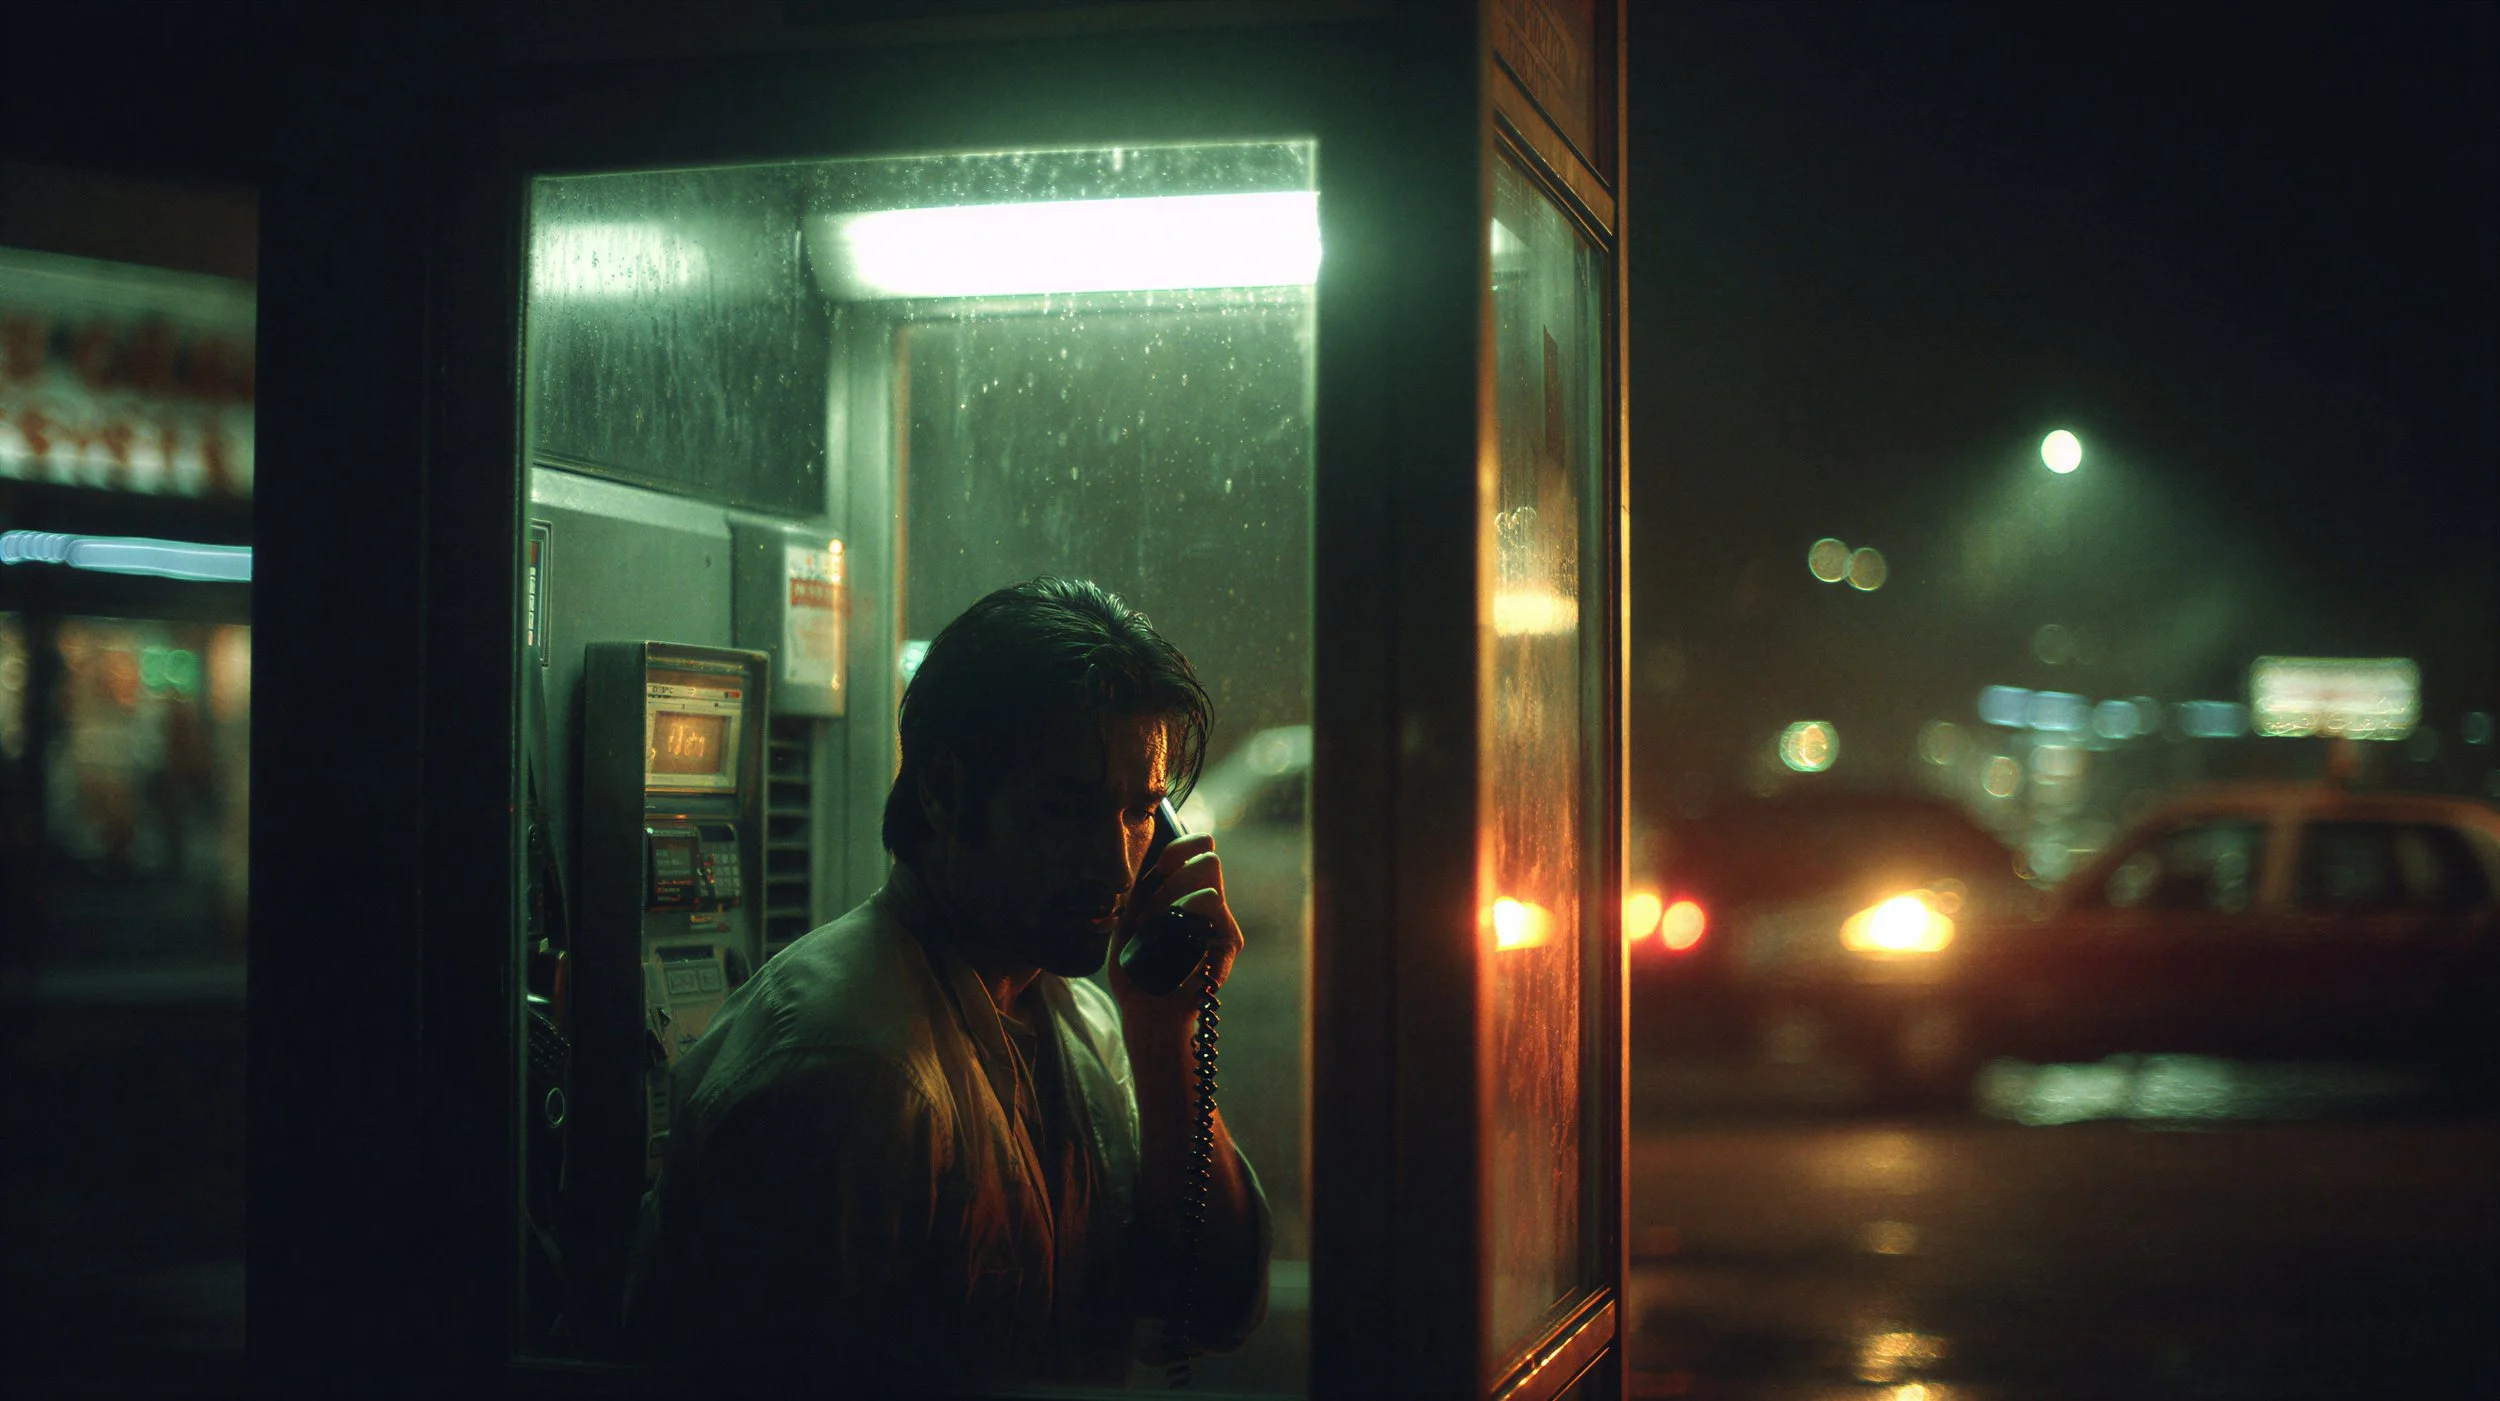
In this article, we’ll show you exactly how to make AI videos using Luma Ray 3.2.
Luma Ray 3.2 is a phenomenal AI video generator that, more recently, has often gotten overlooked.
We are big fans of the team at Luma, and we love their tools.
Today I'm walking you through exactly how to make AI videos with Luma Ray 3.2, using Luma's own platform.
Let's jump in.
How to Create AI Videos using Luma Ray 3.2
Here's a breakdown of 9 steps showing you exactly how to generate AI videos using Luma’s Ray 3.2.
1. Go to Luma's Ray 3.2 Page
Got to Luma's Ray 3.2 page. It's worth a quick scroll before you jump in since it gives you a solid sense of what the model can do.
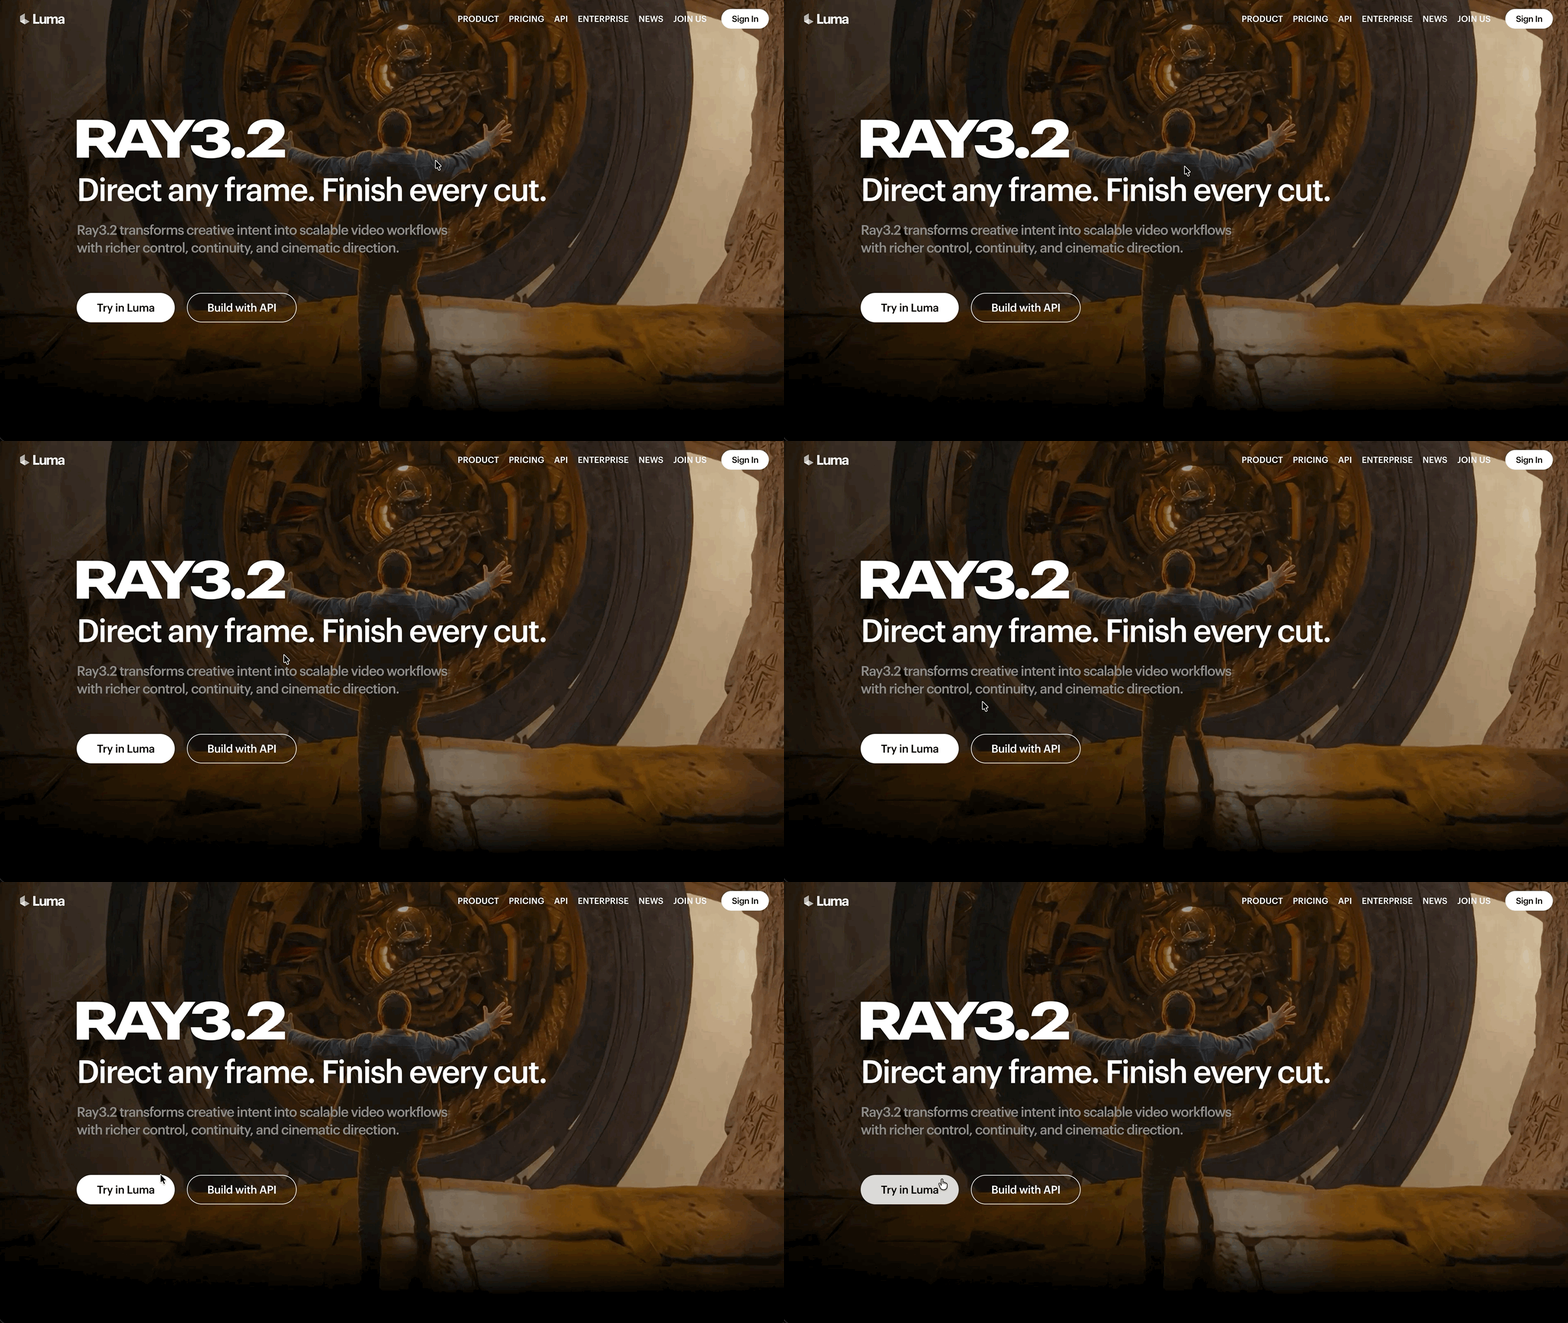
Once you're ready, hit the white 'Try in Luma' button to get into the platform. If you don’t have an account, you can create one in seconds using Google, Apple, or a conventional email address.
2. Click the '+' to Start a New Board
After logging in you'll find yourself on the Boards page, where all your past and current Luma projects are organized. Take a second to get familiar with the layout if this is your first time here.
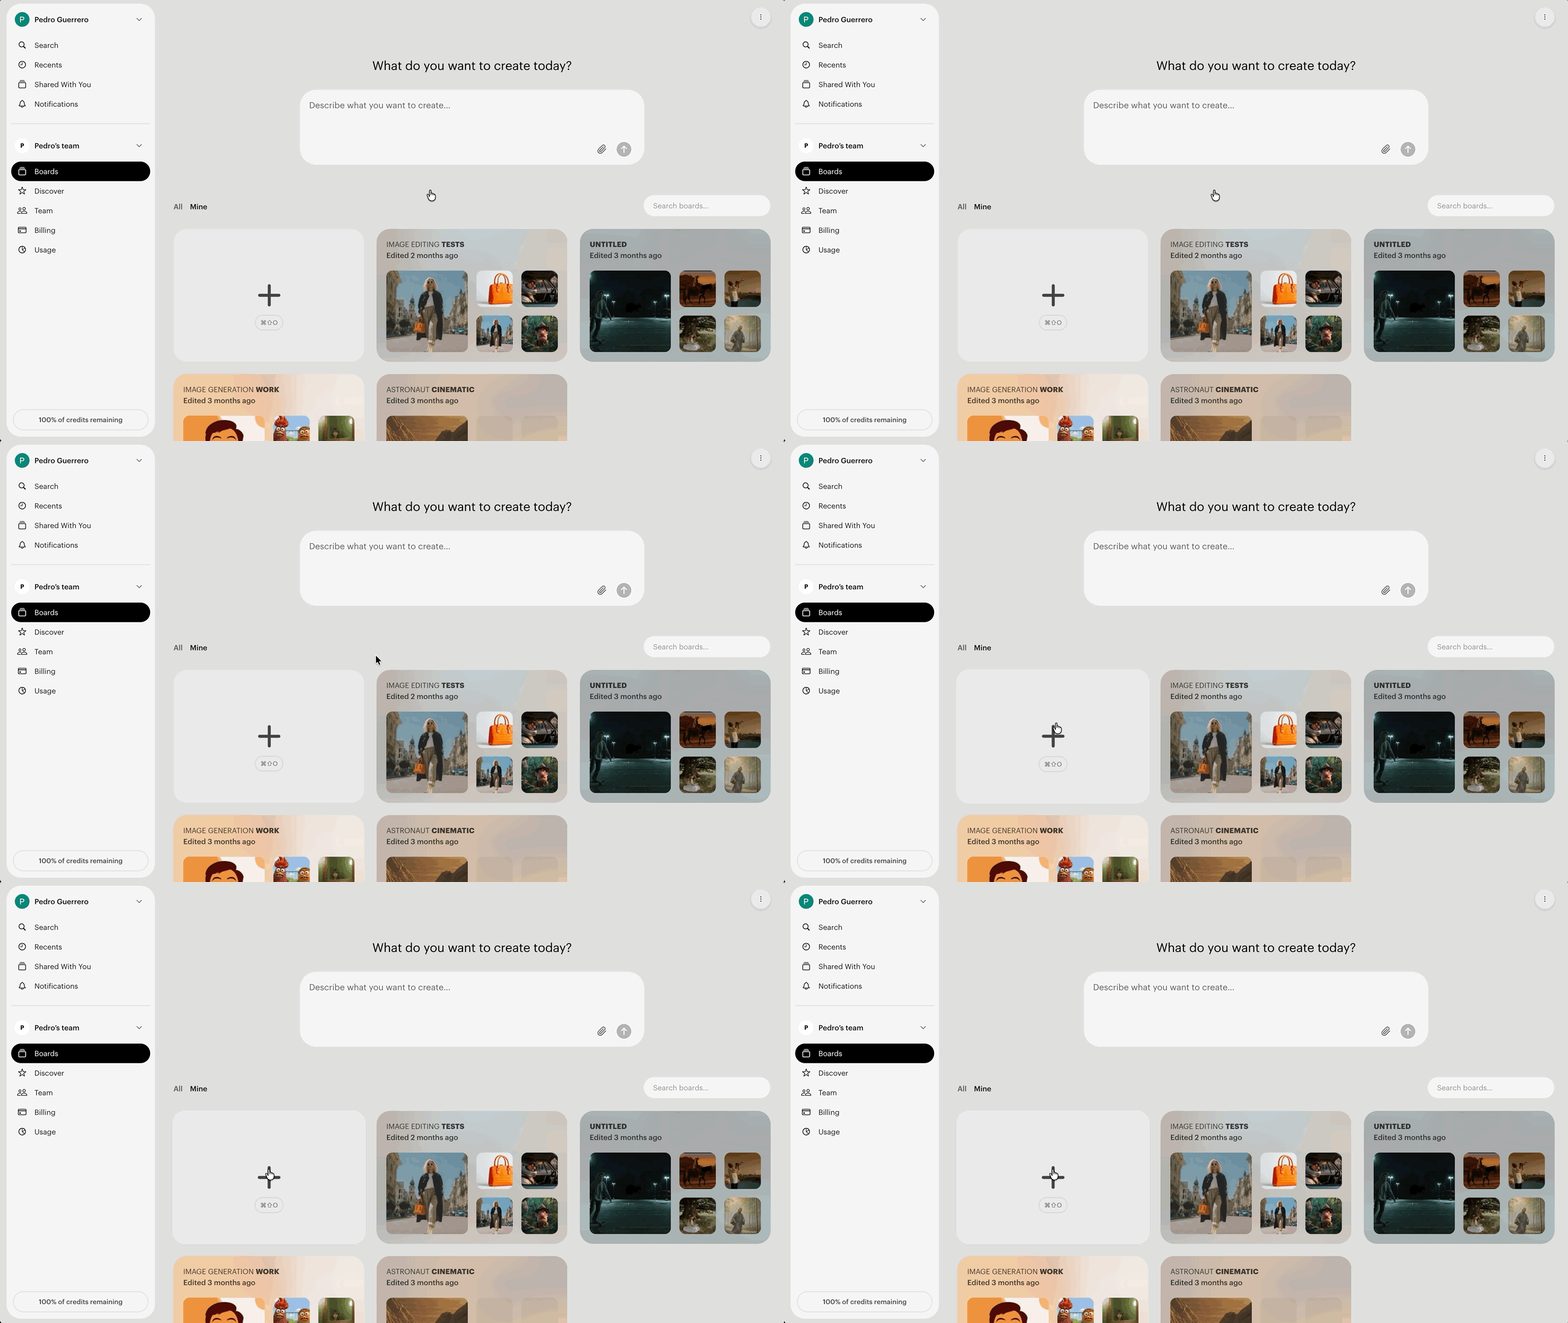
When you're ready, click the '+' card on the left to create a new board.
3. Click 'Create Video' in the Toolbar
Look for the black circular button with a play icon in the toolbar at the bottom of the screen, hover over it to confirm it says 'Create Video,' and click it.
A dropdown menu will appear with a list of available models.
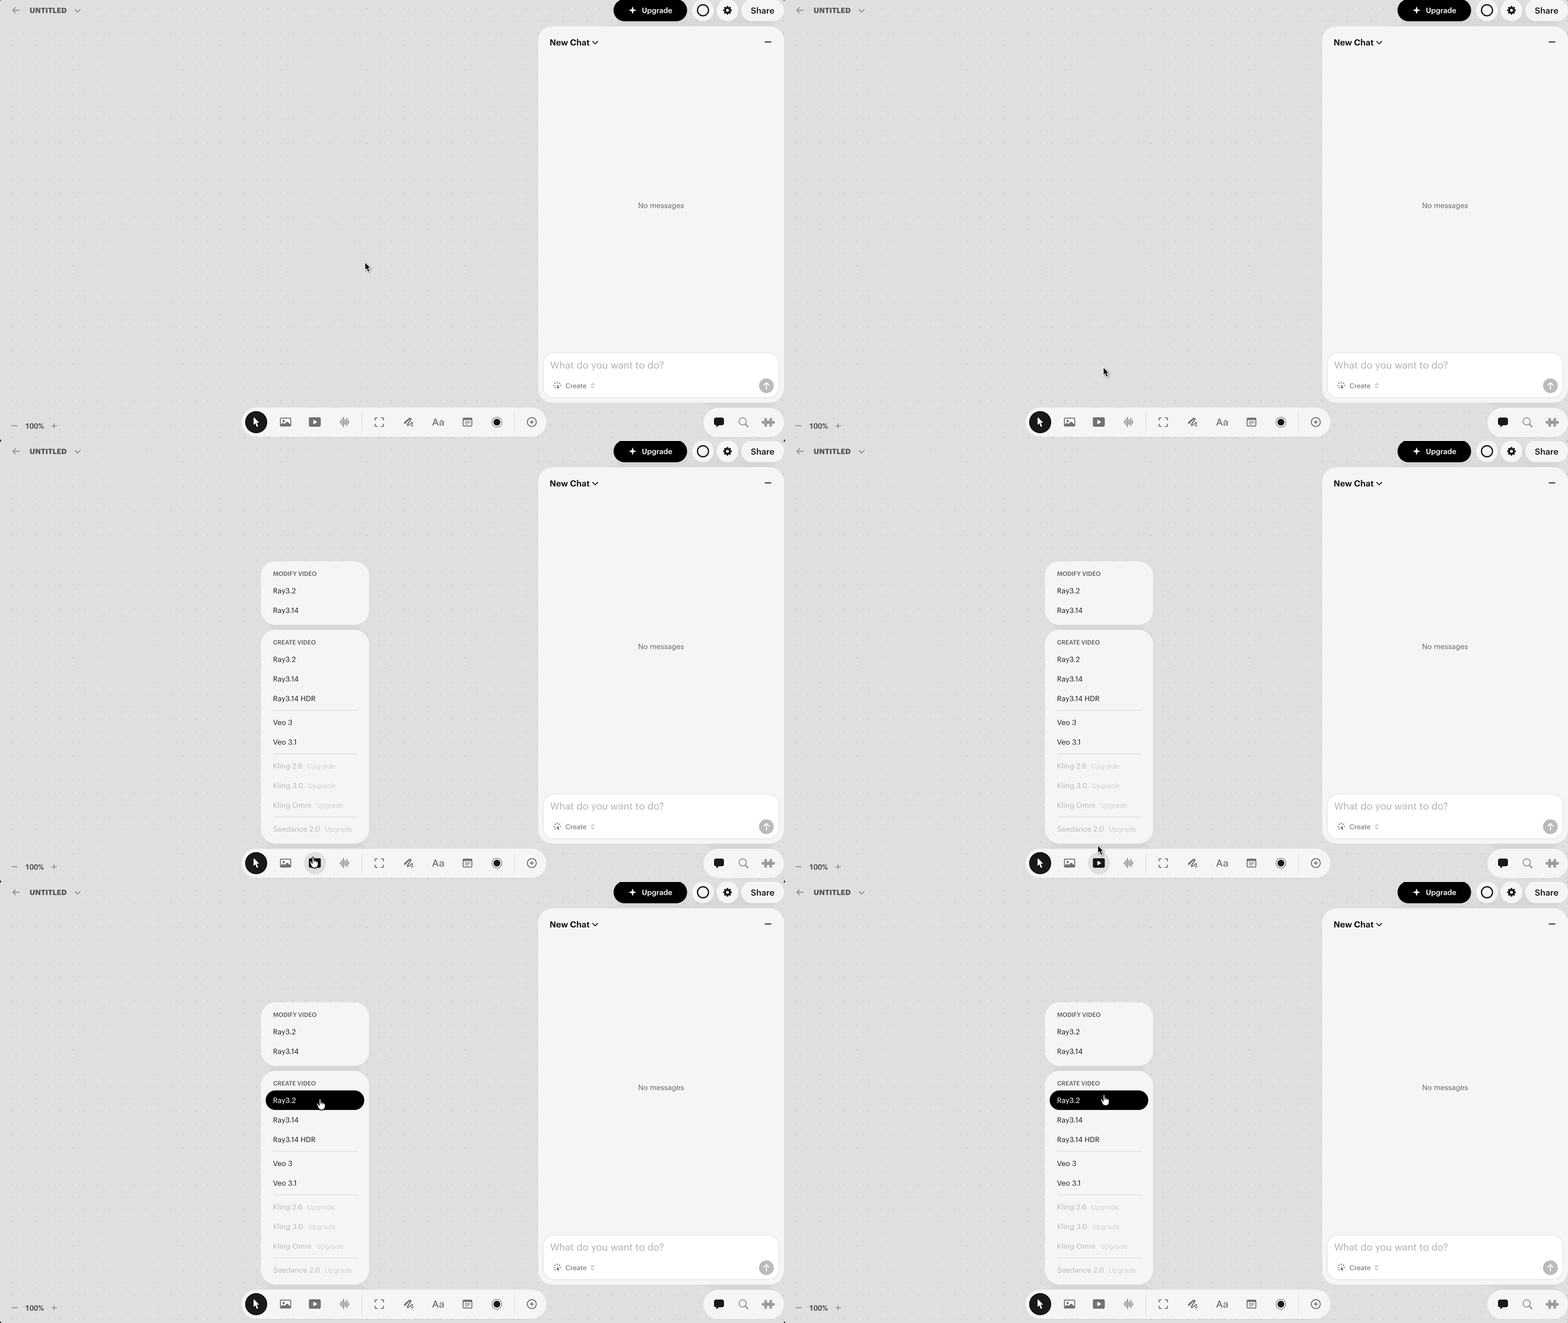
Find Ray 3.2 under the 'Create Video' section and select it.
4. Drop Your Image into the First Keyframe Slot
When the Create Video panel opens up, you'll see a keyframe timeline with four '+' slots running across the top.
Keyframing is Ray 3.2's way of giving you frame-by-frame control over your clip, letting you define exactly what happens at different points in the timeline.
This feature is incredibly useful for more advanced workflows, but not something we're tackling today.
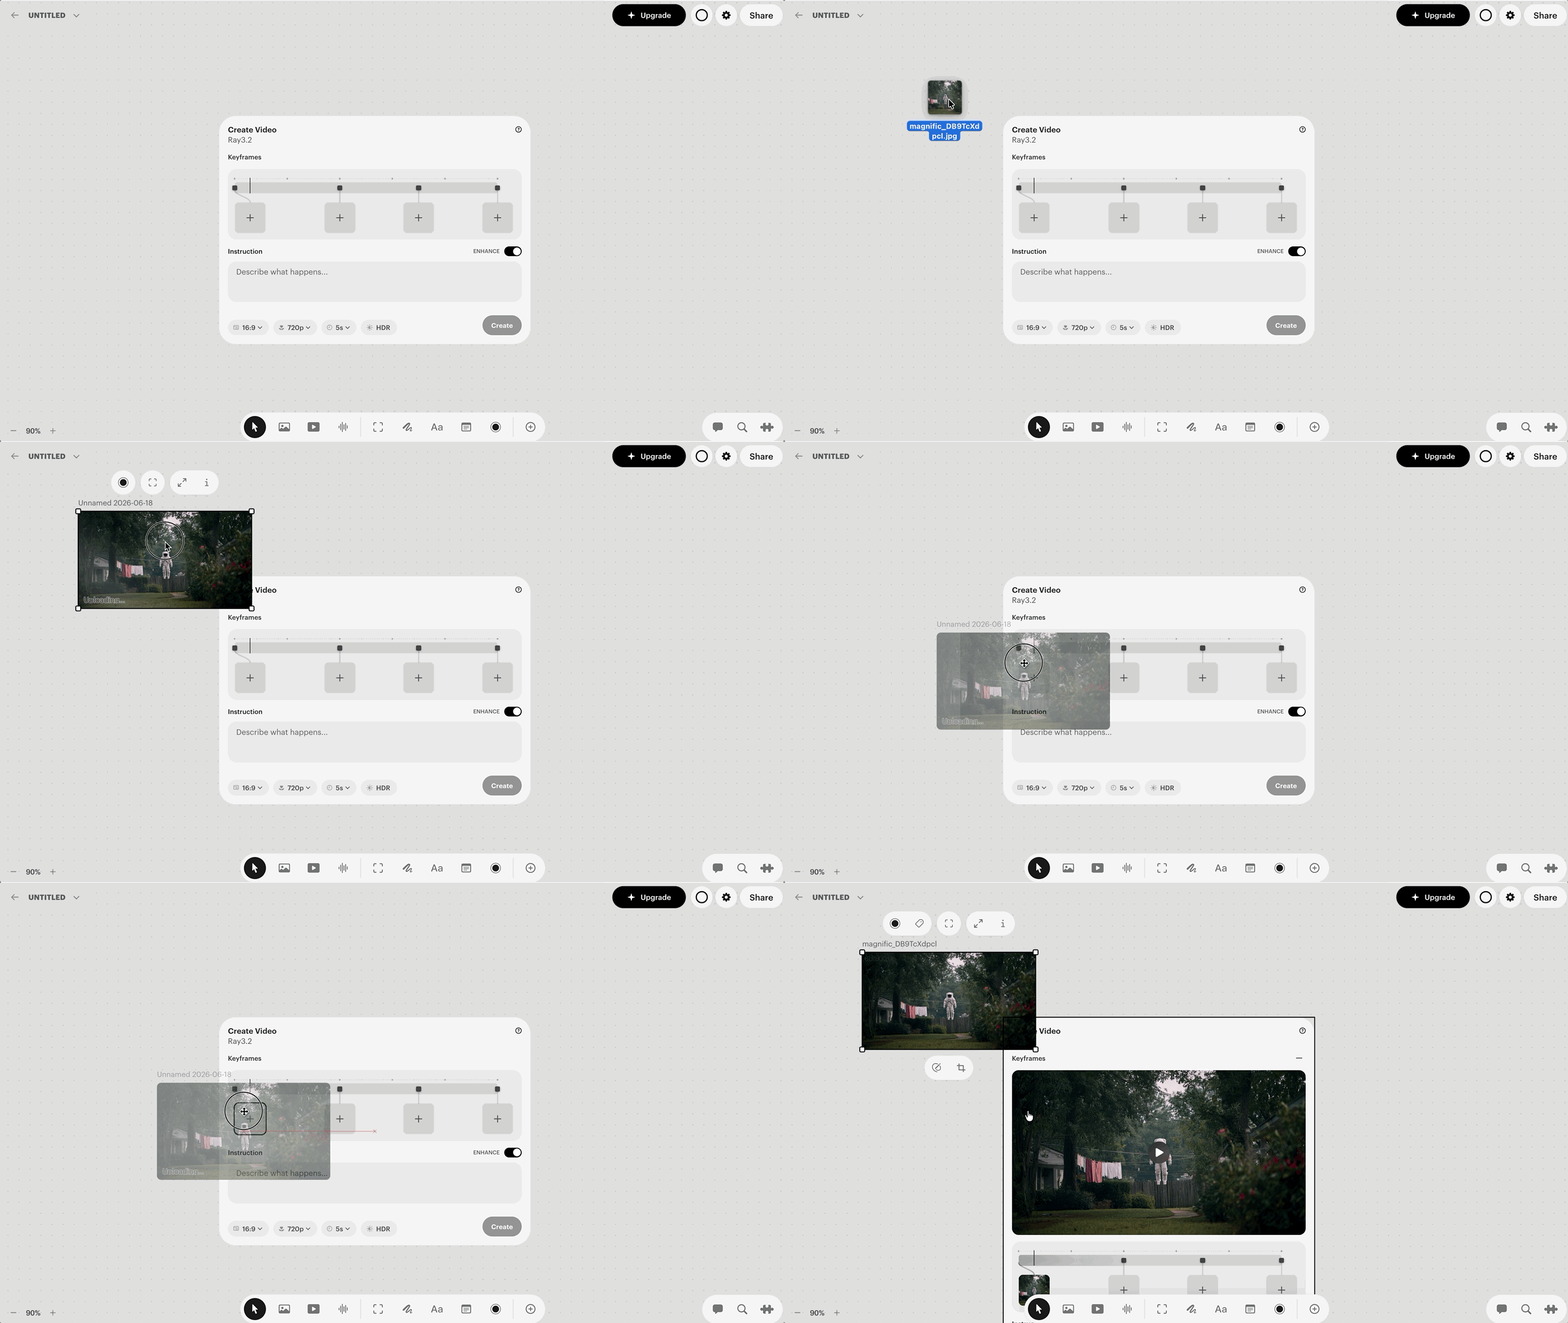
To add your image, start by dragging it onto the board canvas, then drag it from there into the first keyframe slot on the left.
That's your start frame.
5. Write Your Prompt
The prompting structure we always come back to for AI video is the CCR method: Camera -> Character -> Reaction.
Here's how it breaks down:
Camera: Start by describing what the camera is doing. For example, "a slow cinematic dolly-in."
Character: Then address who or what is in the shot. For example, "on the astronaut floating in a suburban backyard."
Reaction: Finally, describe what's happening in the scene. For example, "drifting gently downward, boots landing softly on the path, the clothesline and trees perfectly still around them."
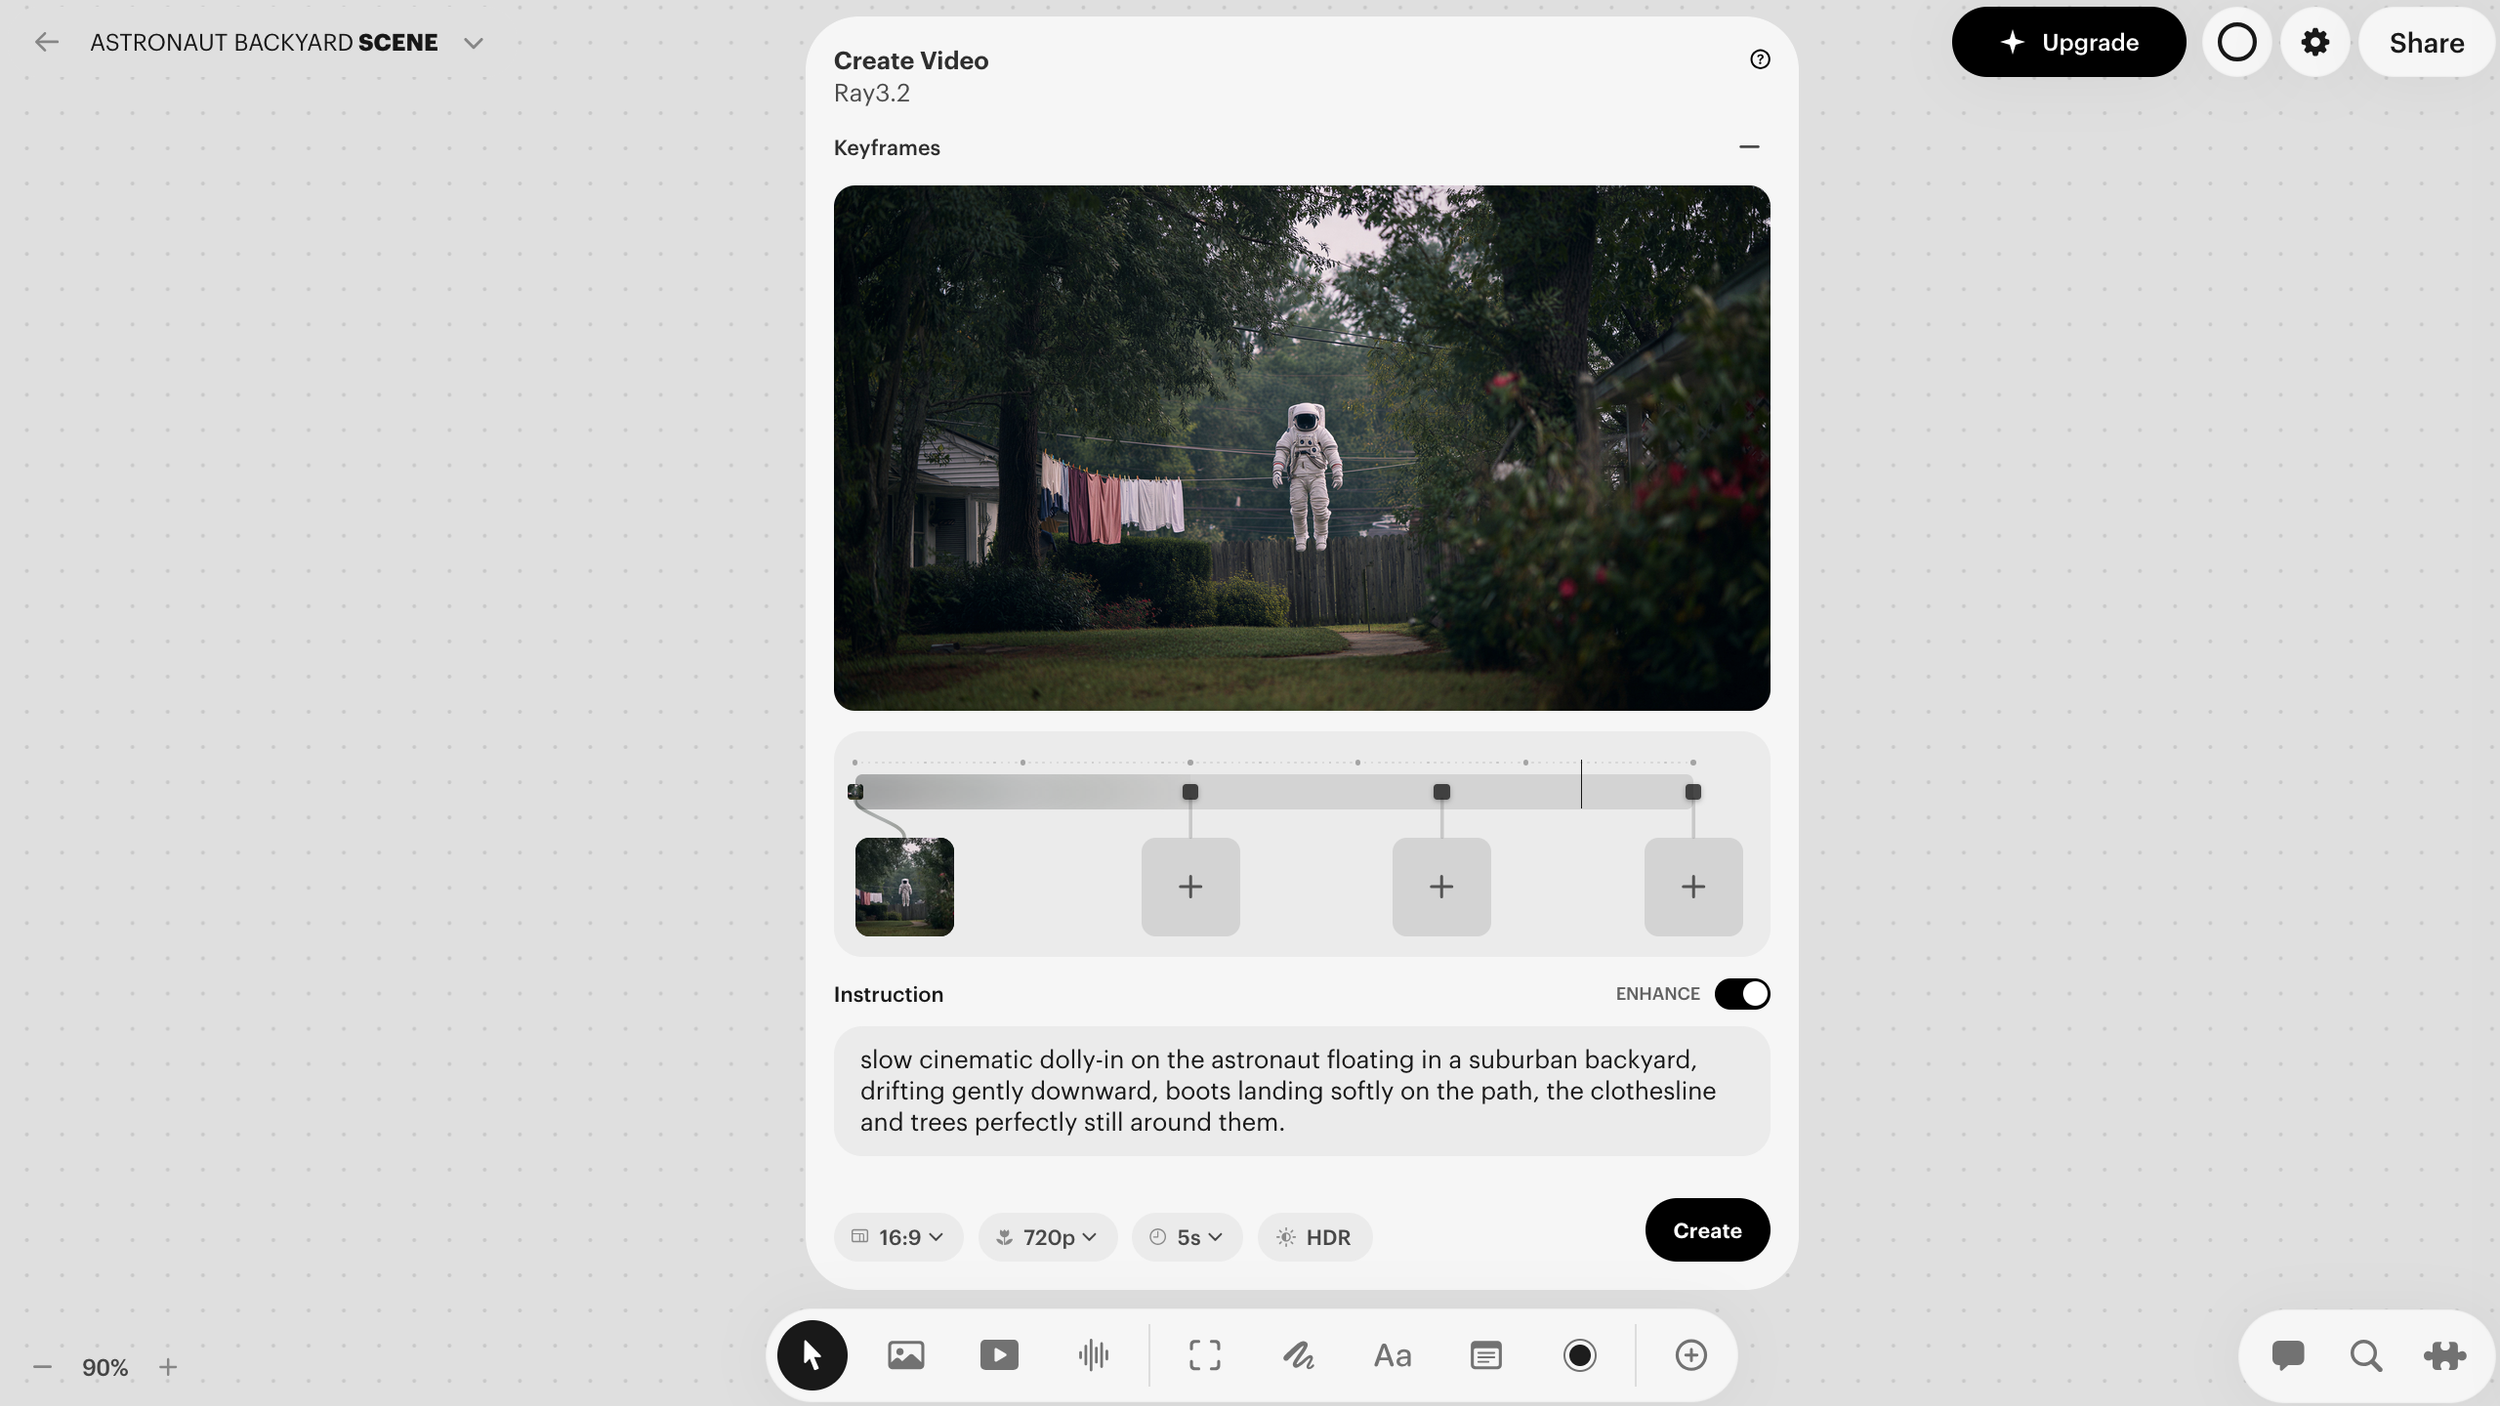
Here’s the prompt we used: slow cinematic dolly-in on the astronaut floating in a suburban backyard, drifting gently downward, boots landing softly on the path, the clothesline and trees perfectly still around them.
6. Check on Your Settings and Hit 'Create'
Before you generate, take a quick look at the settings sitting at the bottom of the panel.
Aspect Ratio: 16:9 by default, which works great for most projects. Adjust it if you need vertical or ultrawide.
Resolution: 720p is the default. Bump it up to 1080p for higher quality output.
Duration: Set to 5 seconds by default. Ray 3.2 supports up to 10 seconds, so adjust depending on how much action your shot needs.
HDR: A toggle for native HDR generation. Worth turning on if your project requires it.
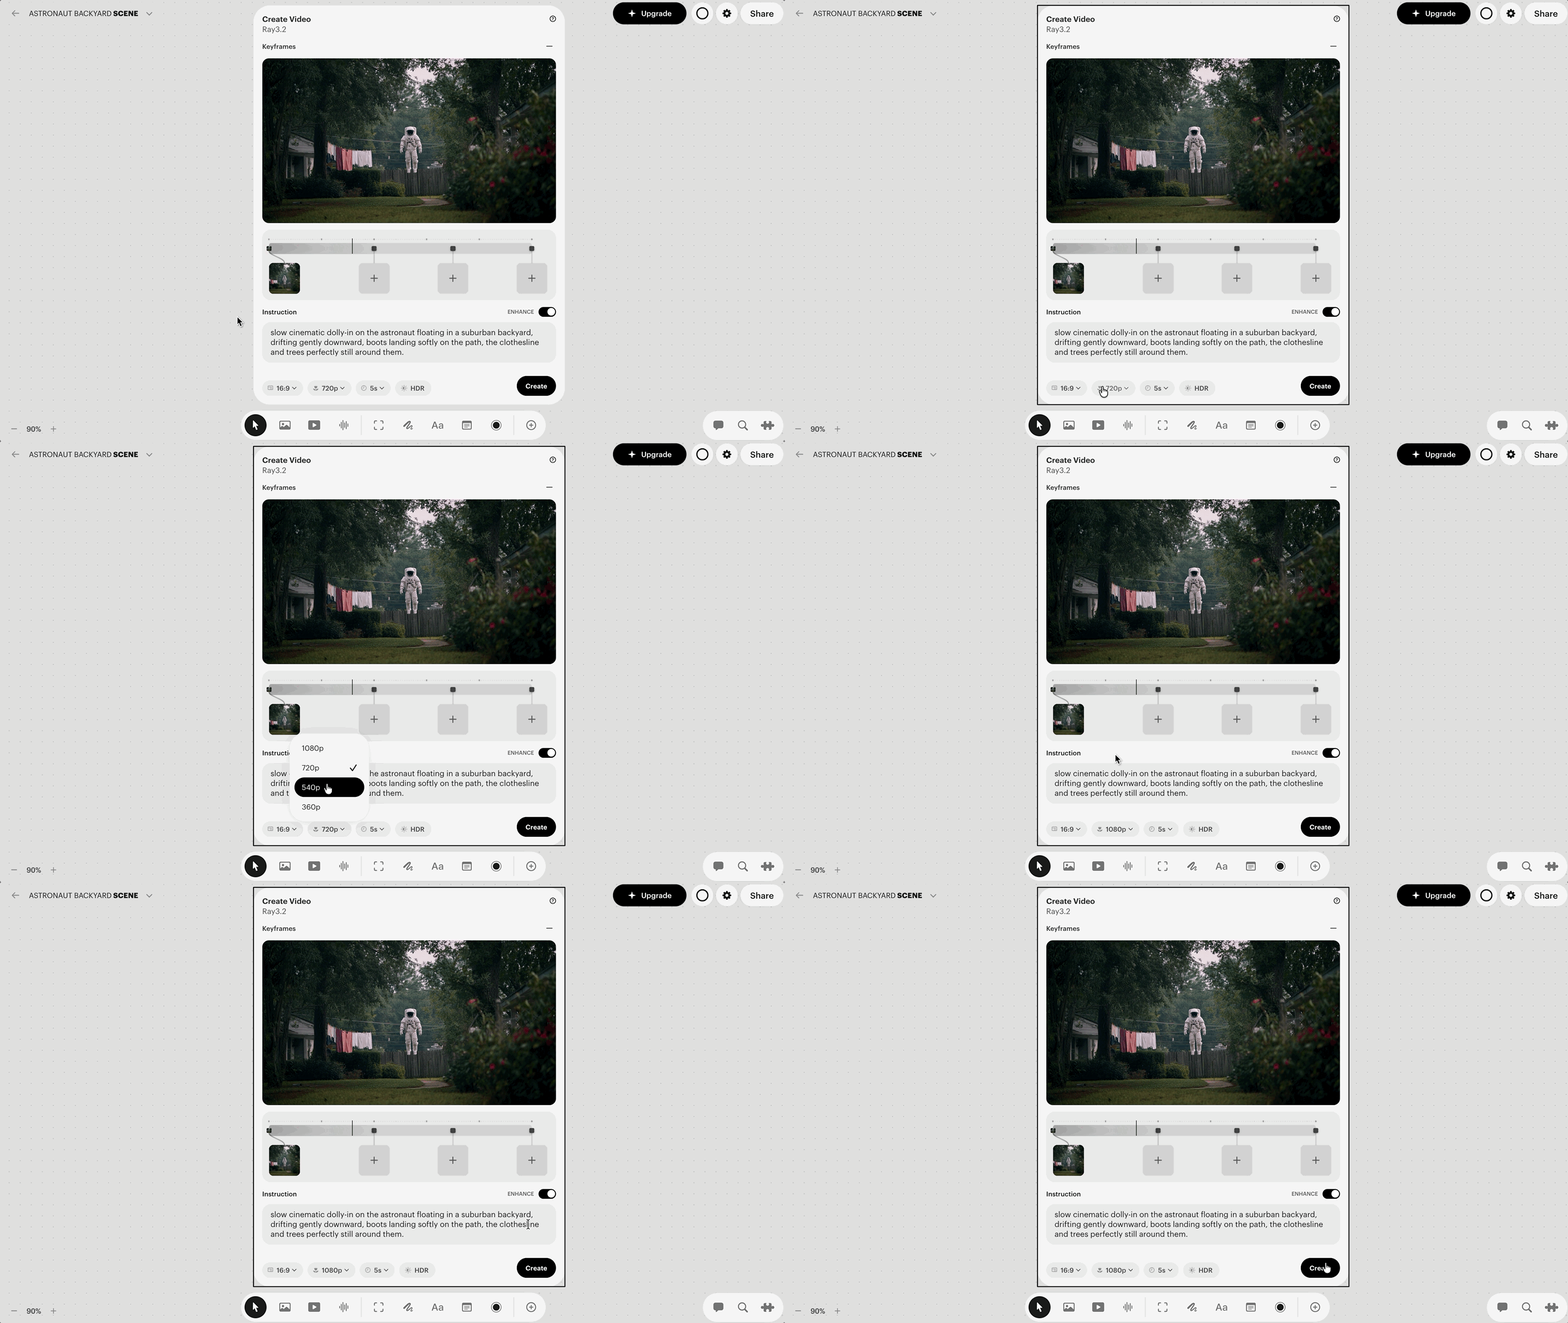
Once everything looks good, hit the black 'Create' button.
7. Review Your Output and Iterate
After a couple of minutes, you’ll get to watch your video.
If something feels off, we’d recommend you tweak the prompt slightly, adjust a setting, and hit Create again.
Getting the perfect shot sometimes takes a round or two, and that's completely normal.
Free Intro Course
Check out our free AI Storytelling course. You can fill out the form below and gain access immediately at no cost to you.
In the course, we show some of the basics for creating films using the latest AI tools, as well as, share some insights into the future of the creative industry.
Along with the course, you also get access to the exclusive chat channel where you can network with industry professionals.
We would love to see you in the course, but of course no pressure!
