How to Generate AI Images Using Luma AI
In this article, we’ll show you how to generate AI images using Luma AI.
Luma just entered the chat, and UNI-1 is their boldest move yet. It's not just an image generator. It's a multimodal reasoning model that actually understands what
you're going for. I'll walk you through exactly how to use it to create AI images, step by step.
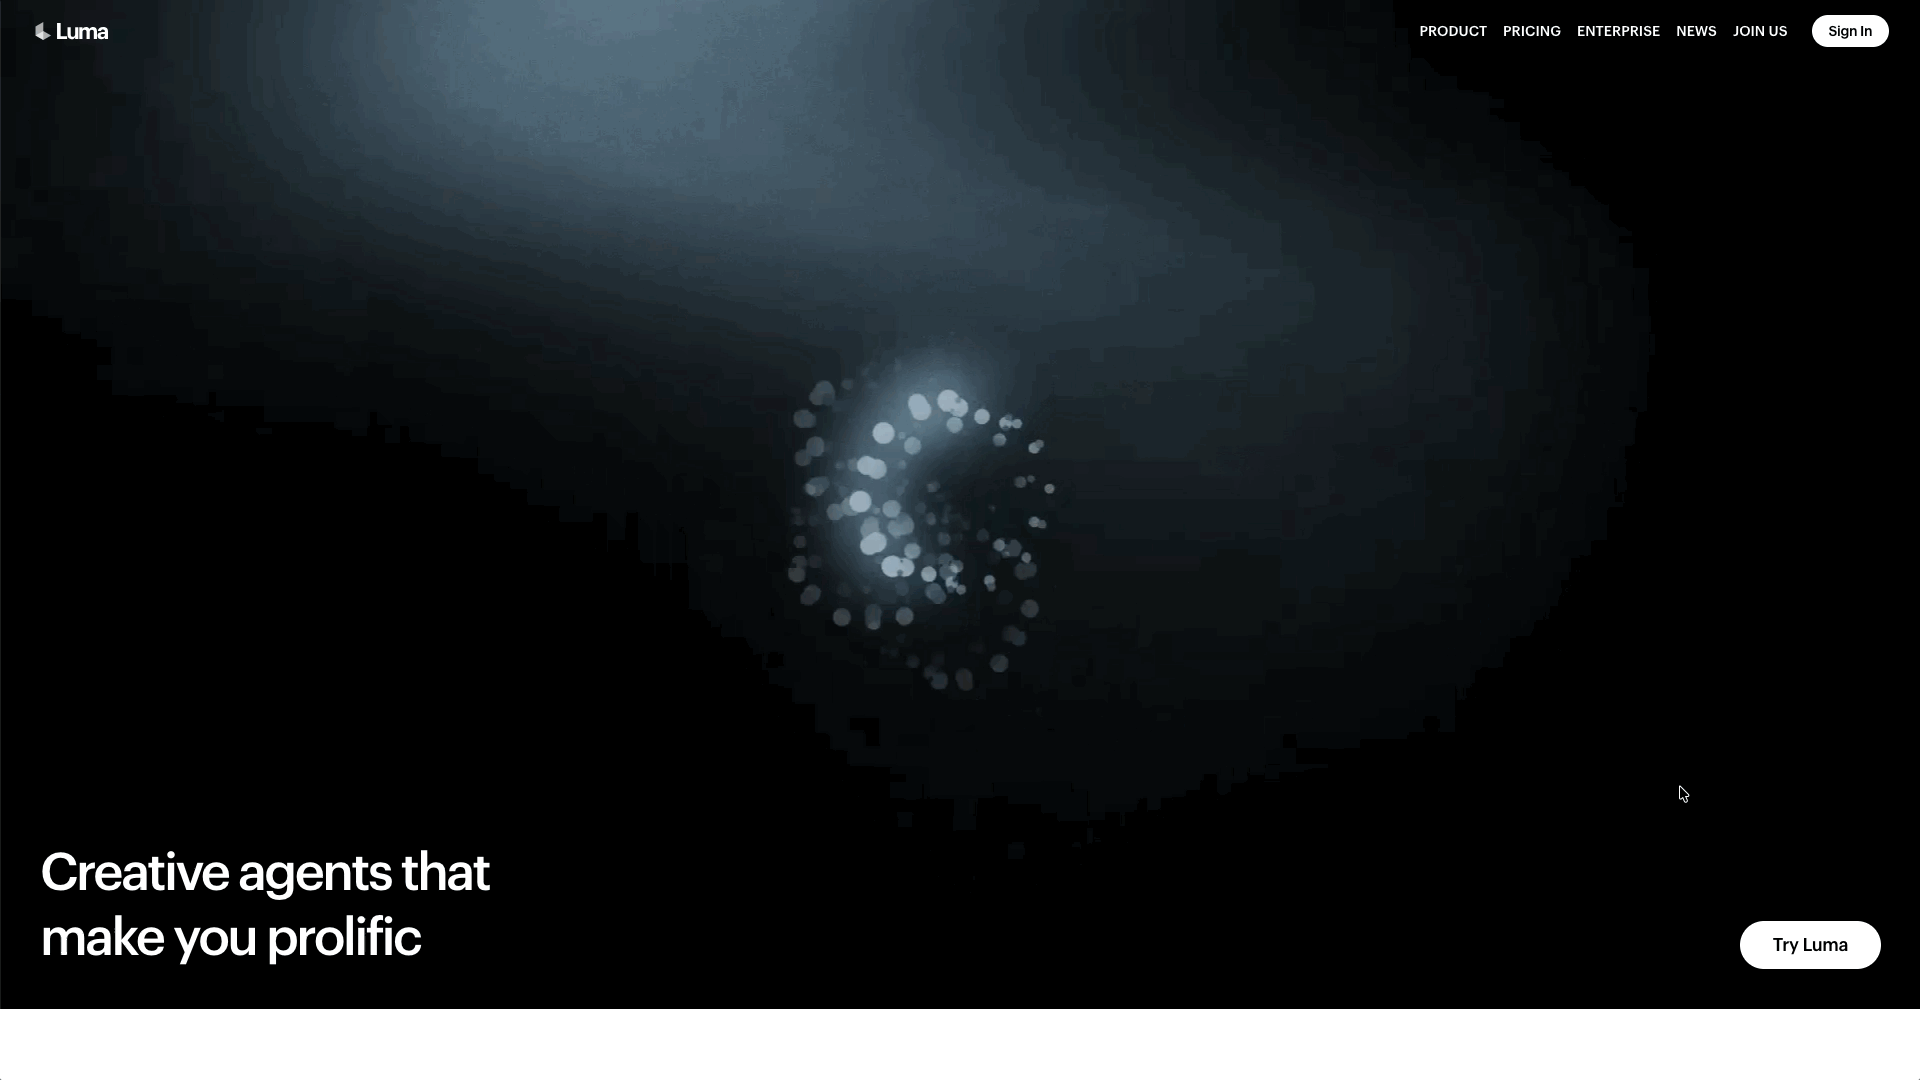
1. Start at Luma Labs' Website
Start by going to Luma Labs' website.
UNI-1 lives inside Luma's own platform, so that's where we'll be working for this tutorial. Look for the "Try Luma" button at the bottom
right corner and give it a click.
2. Log in or Set up an Account
Quick stop before the good stuff: you'll need to sign in to Luma. Google or Apple both work, your call.
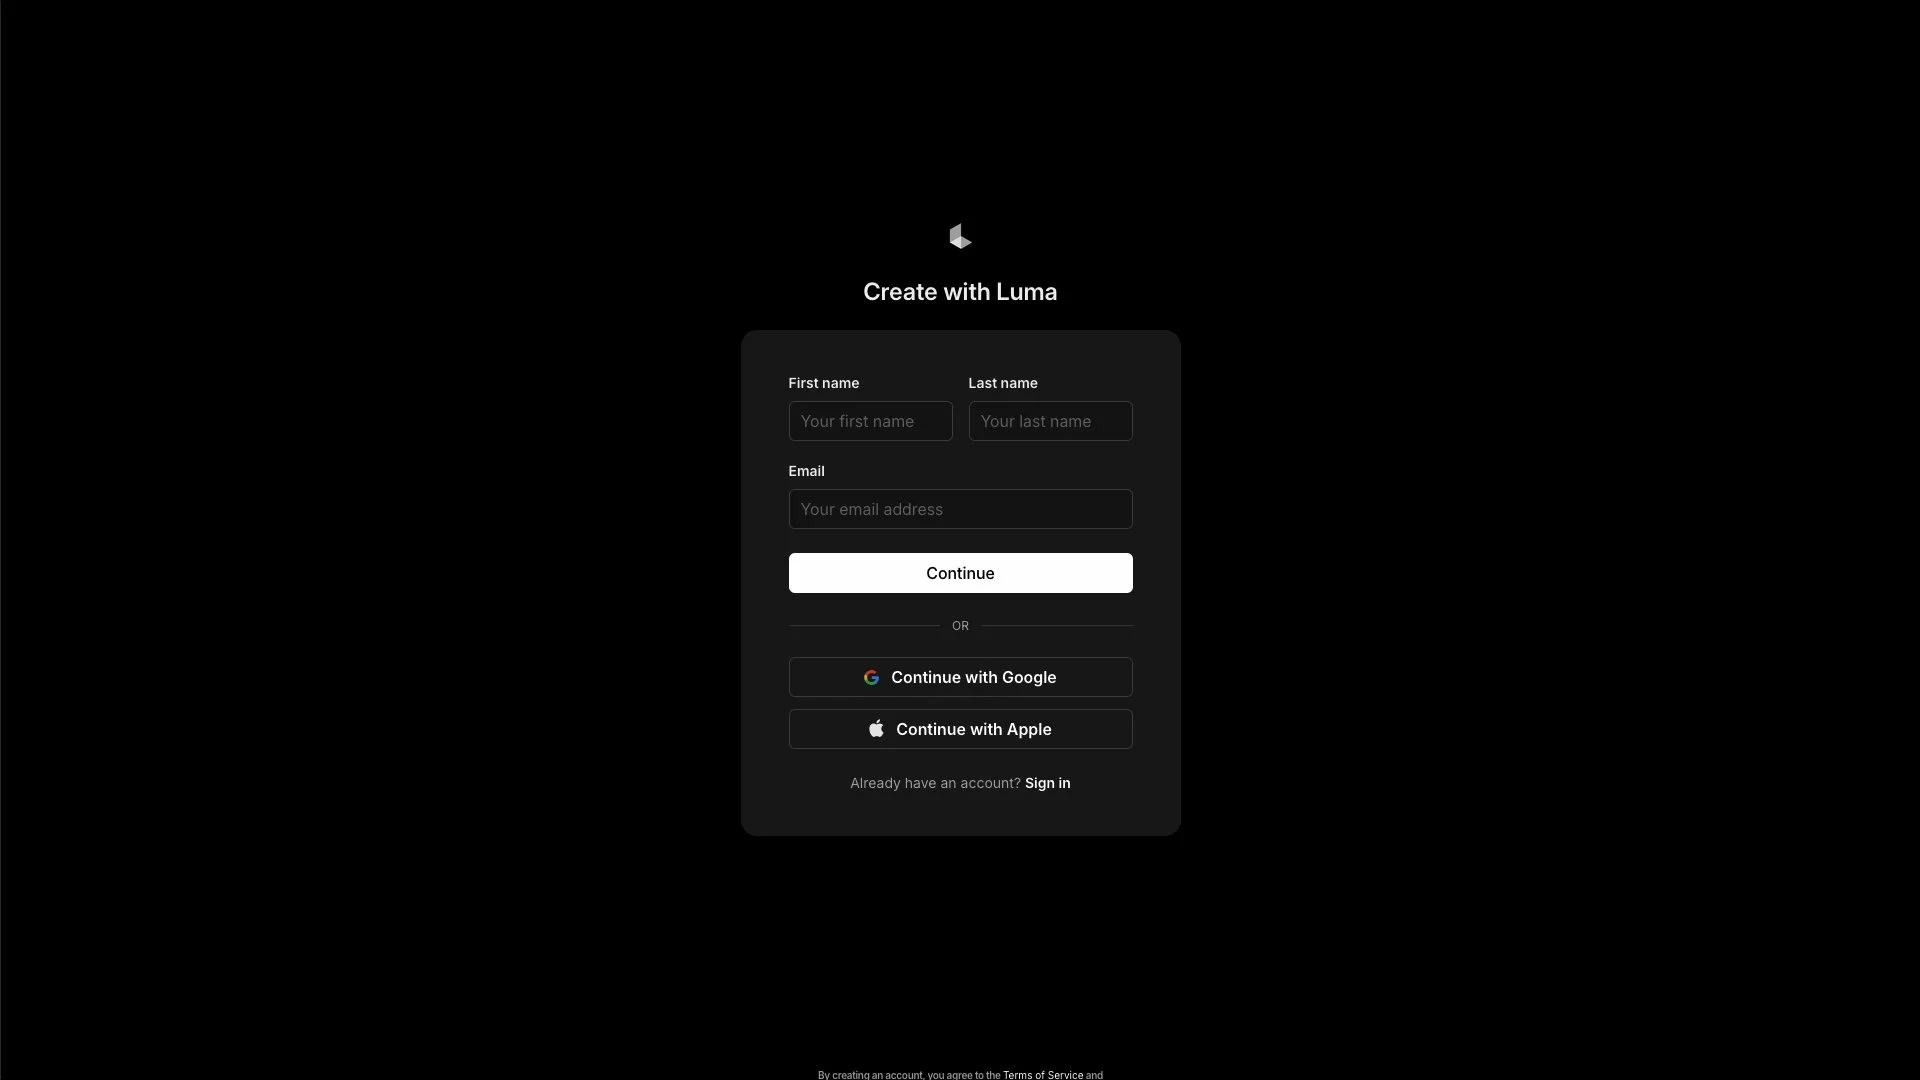
If this is your first time here, those same buttons will create your account on the spot.
3. Tap The '+' Button to Open a New Board
After logging in, you'll land on your boards page. That white '+' button sitting at the bottom of the screen is your way in.
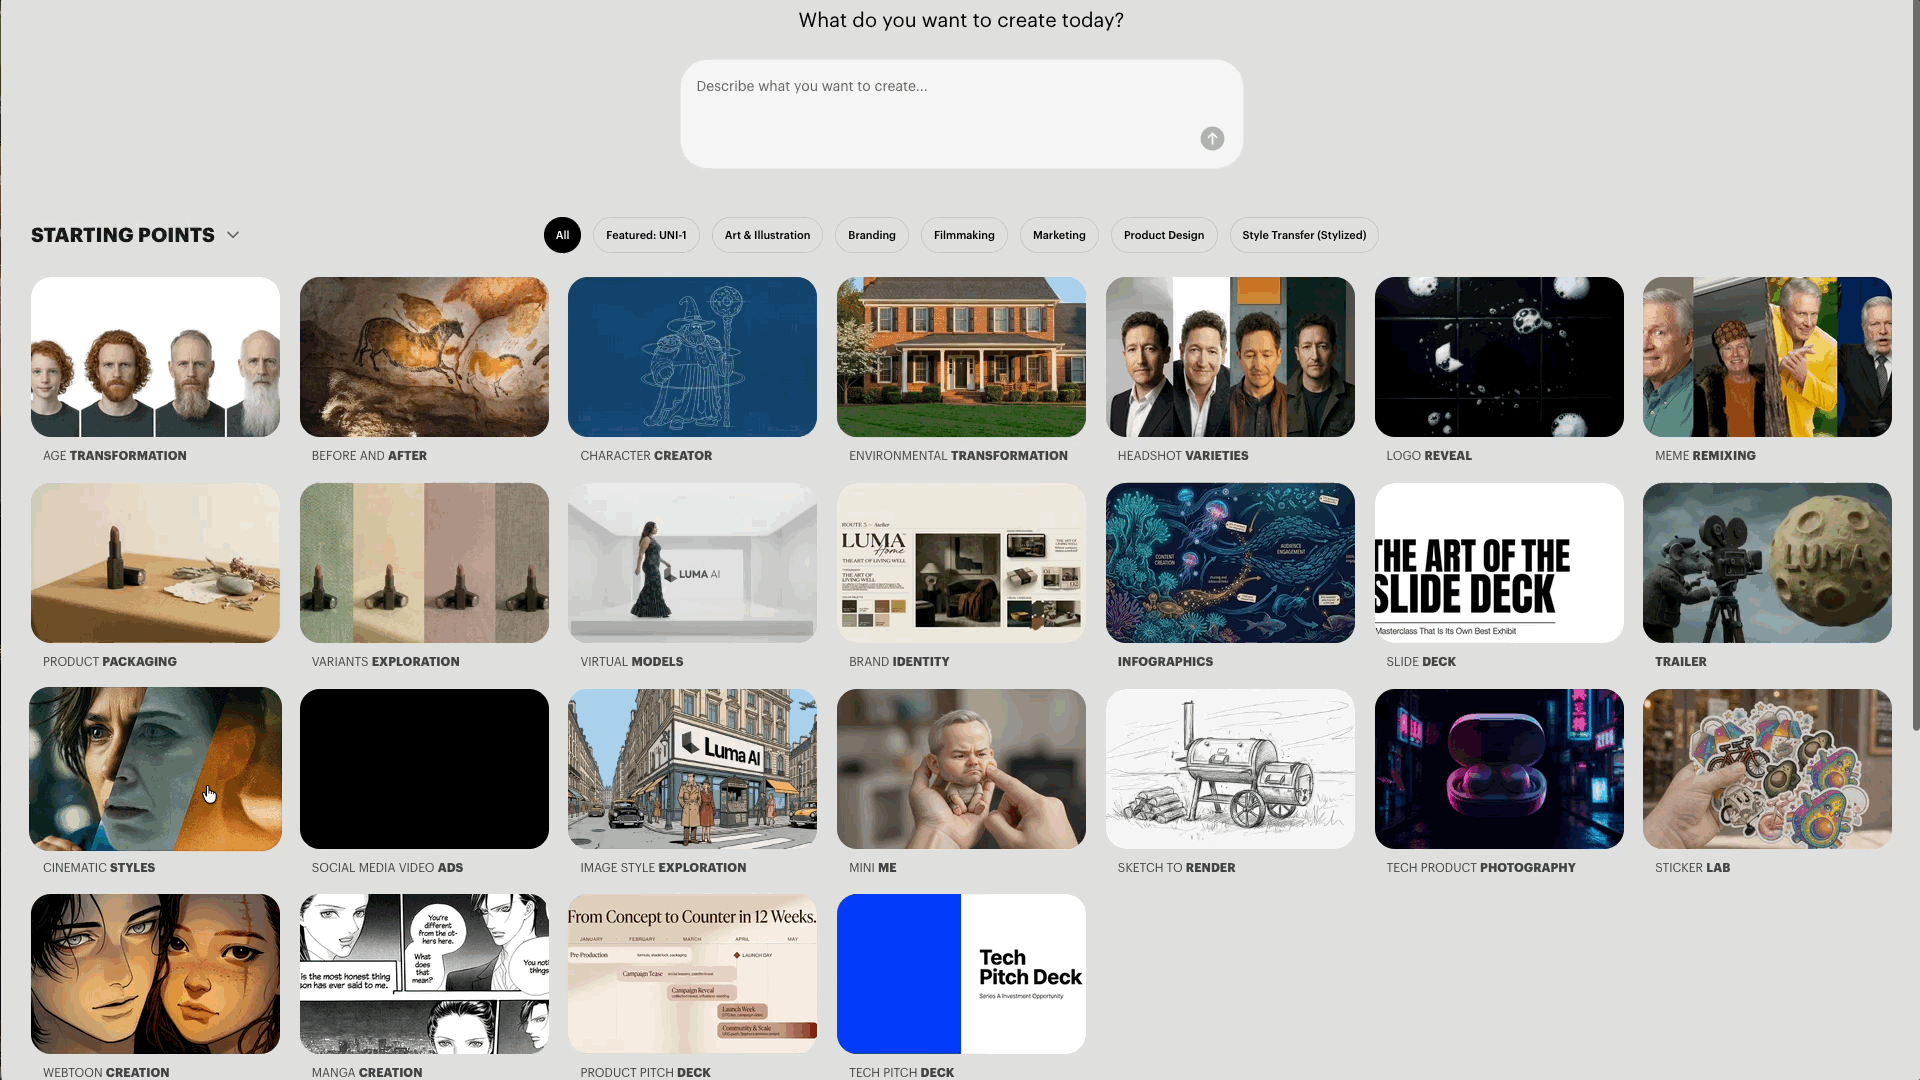
And while you're here, take a second to appreciate how refreshingly clean Luma’s interface is.
4. Your Canvas is Ready. Time to Pick UNI-1
Hit the "Generate Image" button in the bottom toolbar to get things moving.
When the menu appears, go ahead and select UNI-1 (or their latest AI image model).
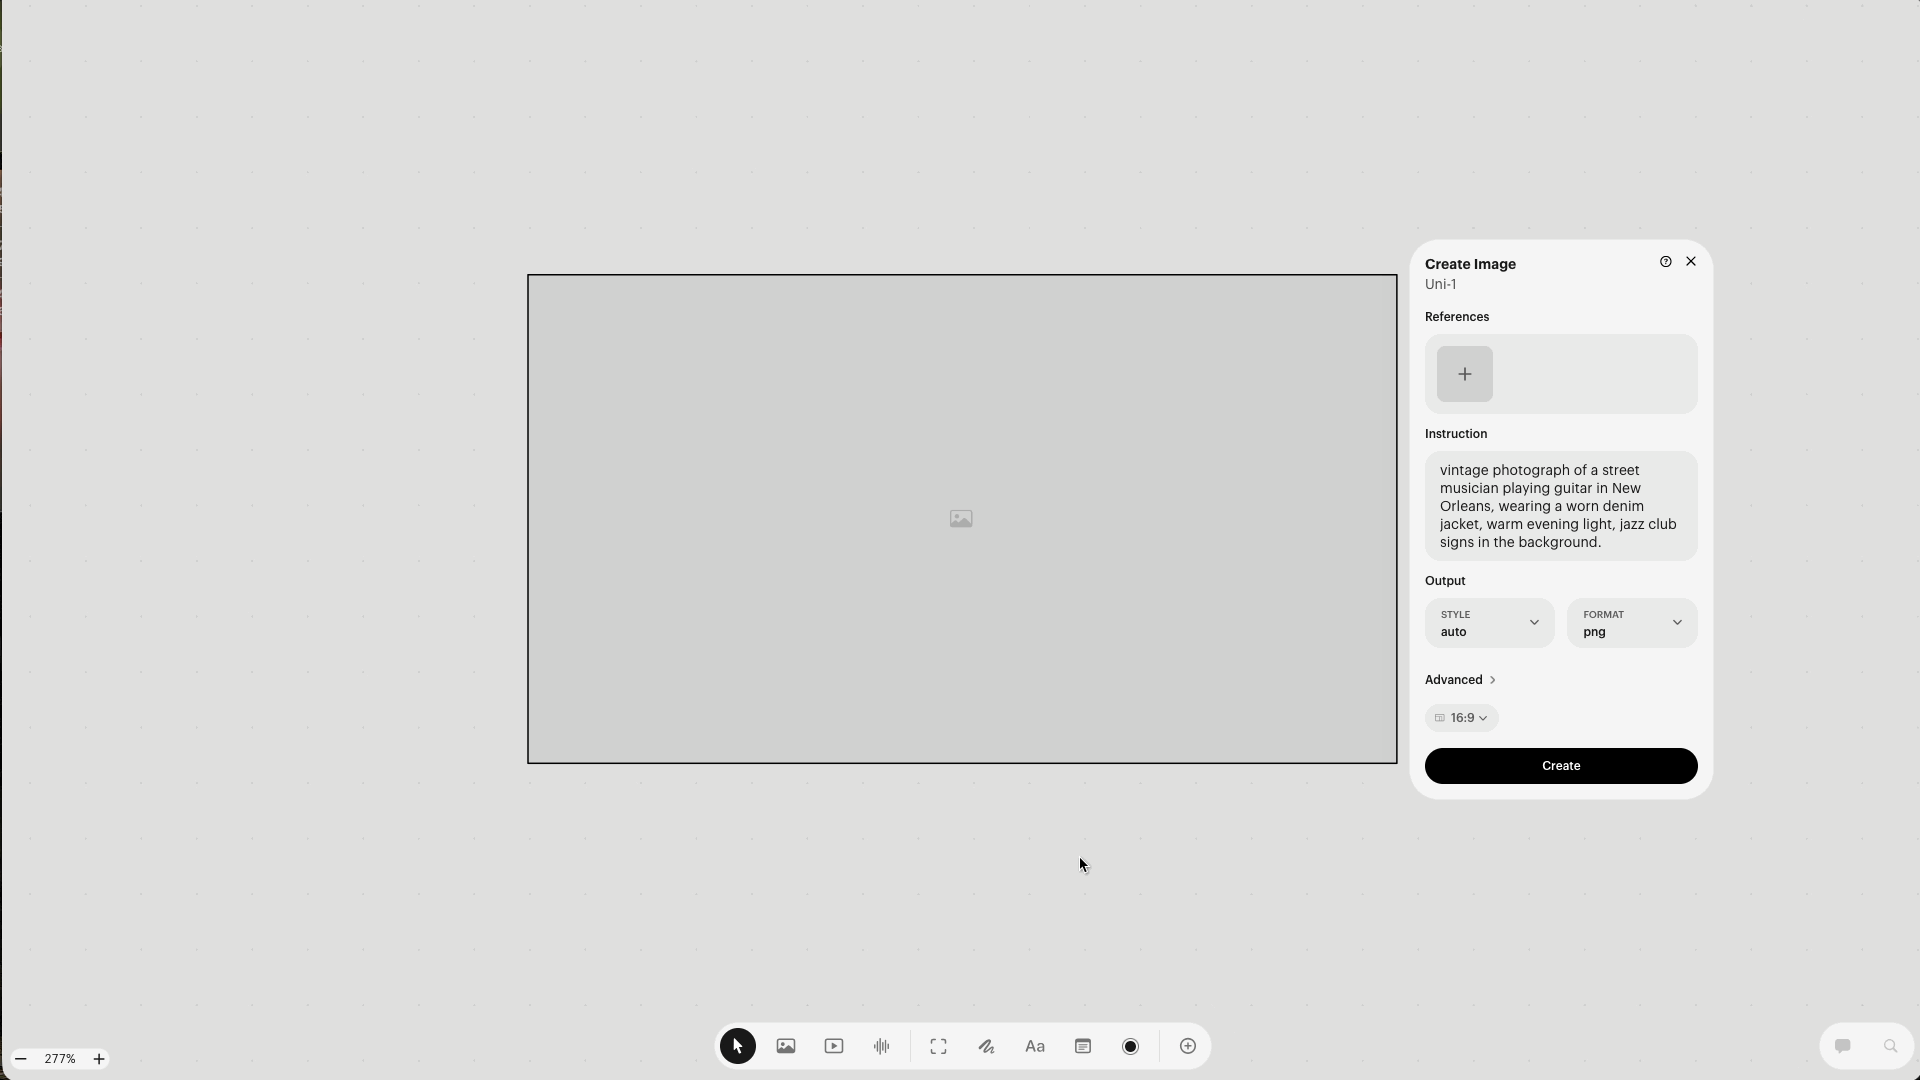
5. Write Your Prompt
Pull up the prompt box and start typing. A good prompt for UNI-1 follows this flow:
Artistic medium: The style or format. Ex: "vintage photograph" or "digital illustration"
Composition: Who or what, and where. Ex: "of an old fisherman sitting by a harbor in Portugal"
Character details: What they look like. Ex: "weathered face, wearing a wool cap"
Extra details: Mood, lighting, environment. Ex: "foggy morning, fishing boats in the background"
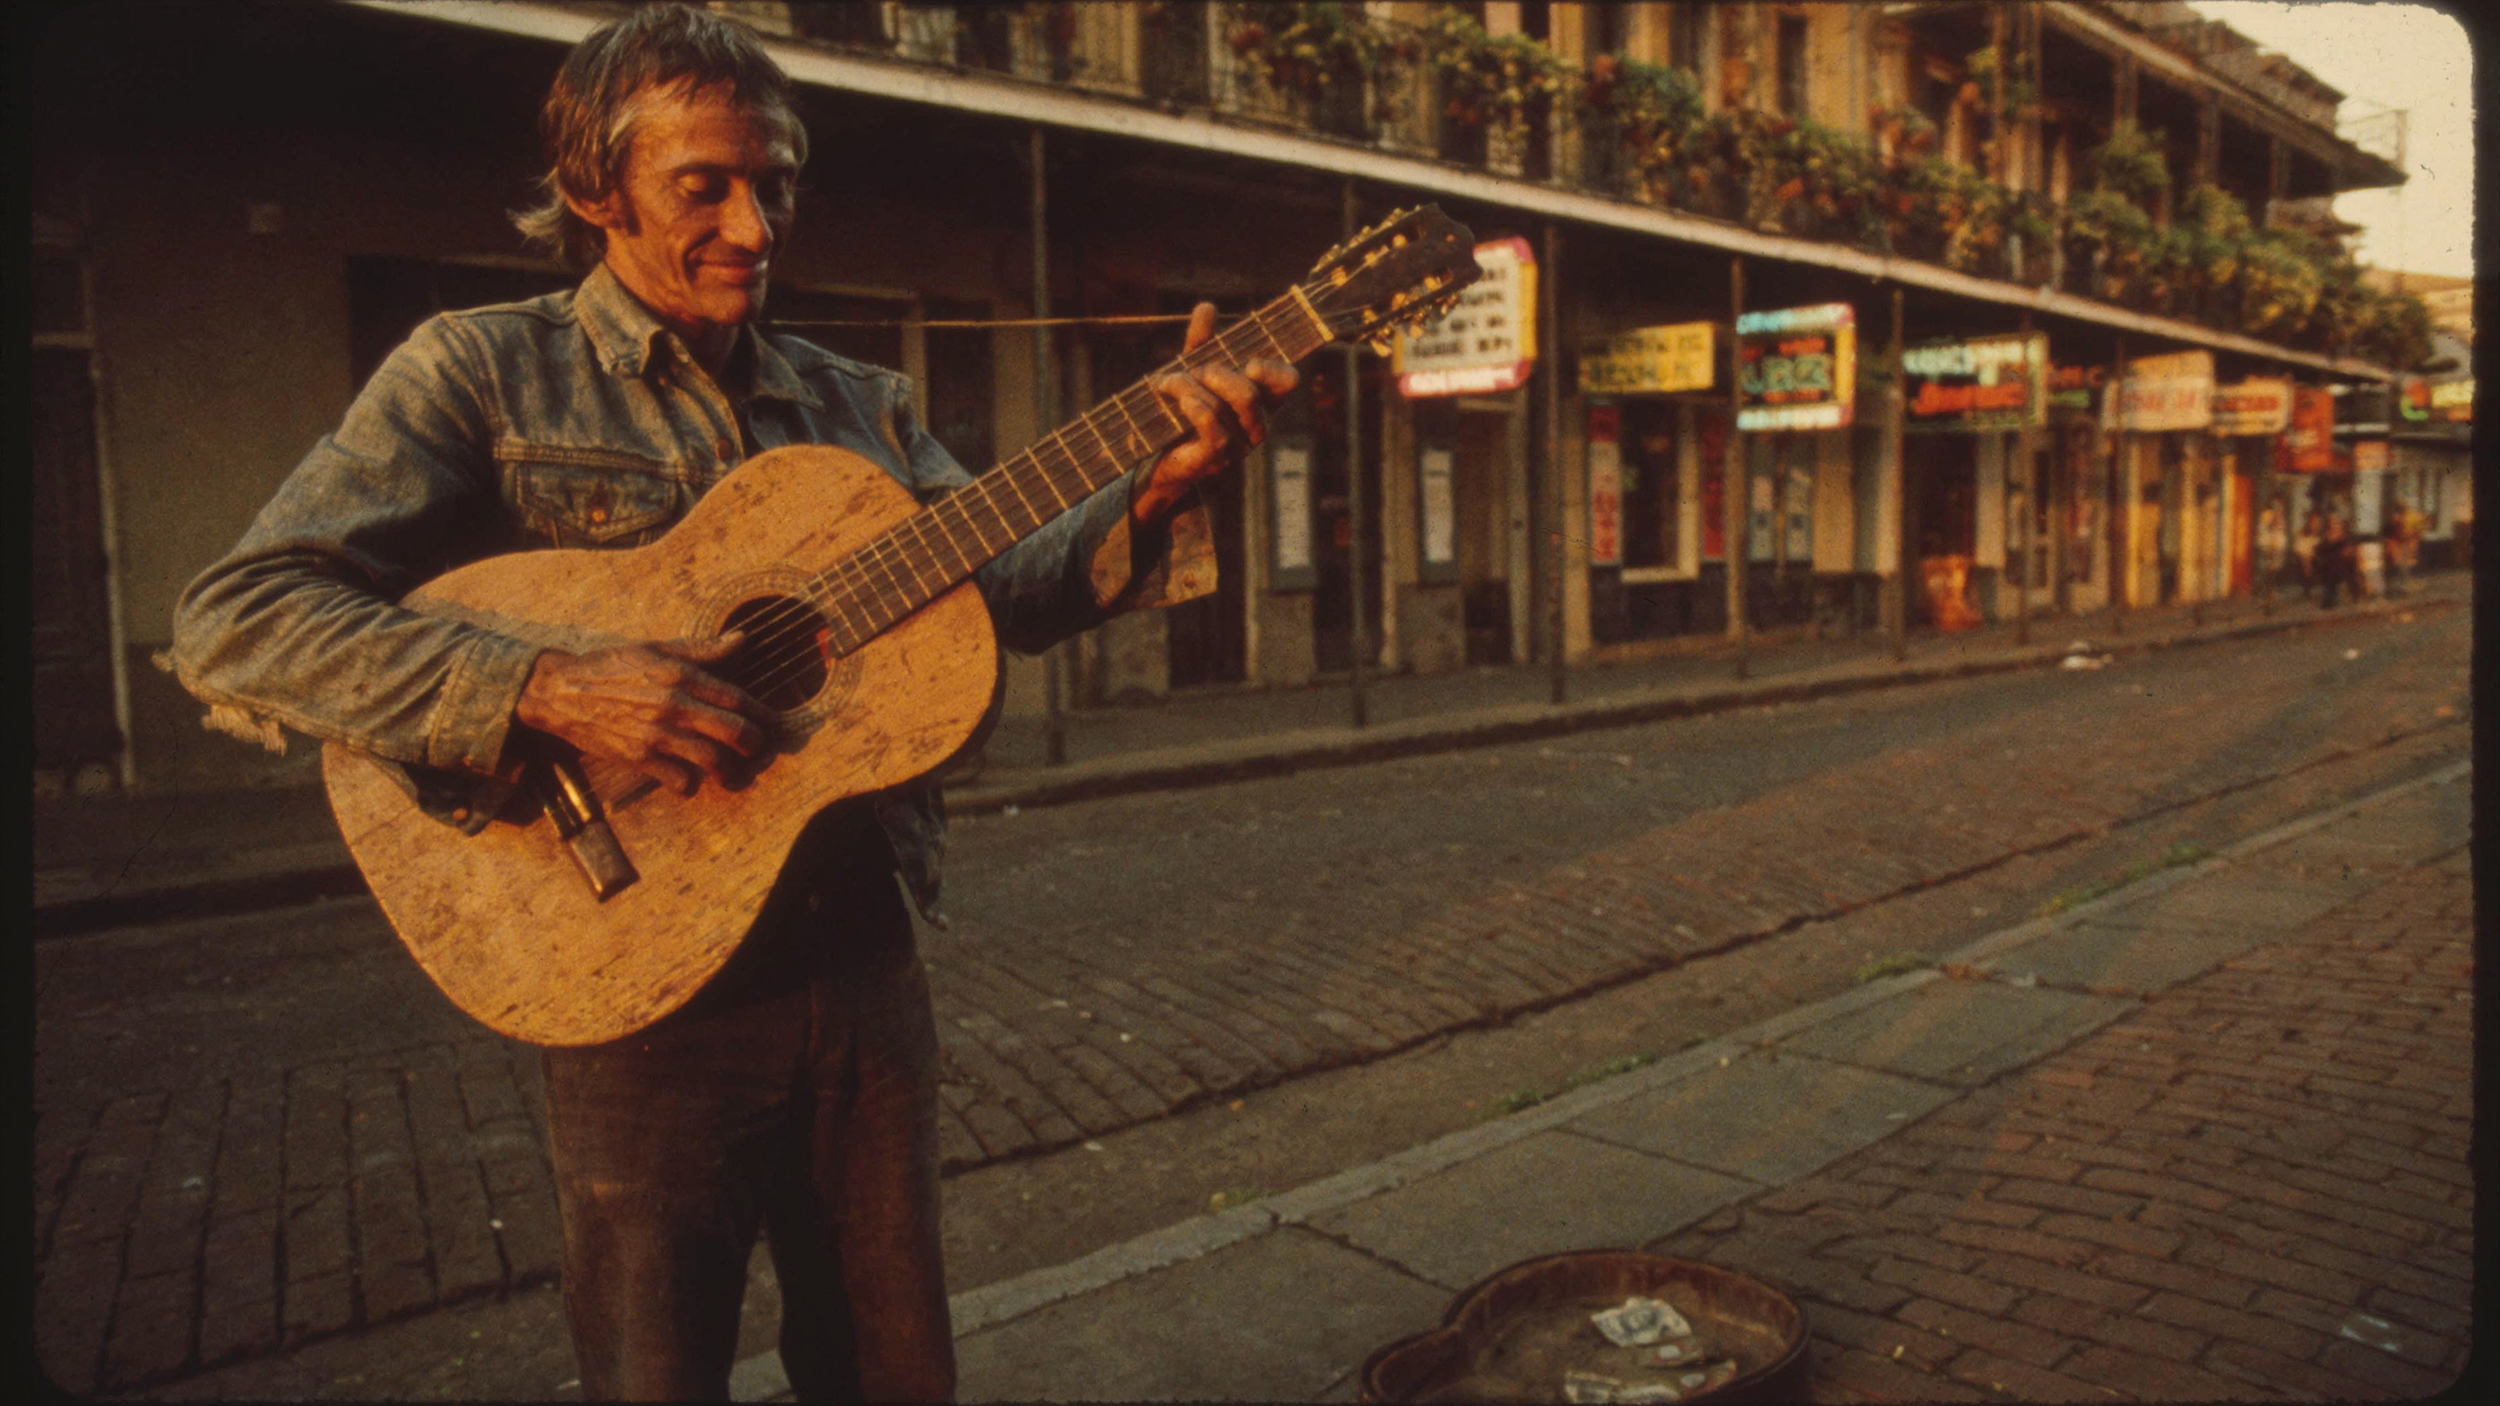
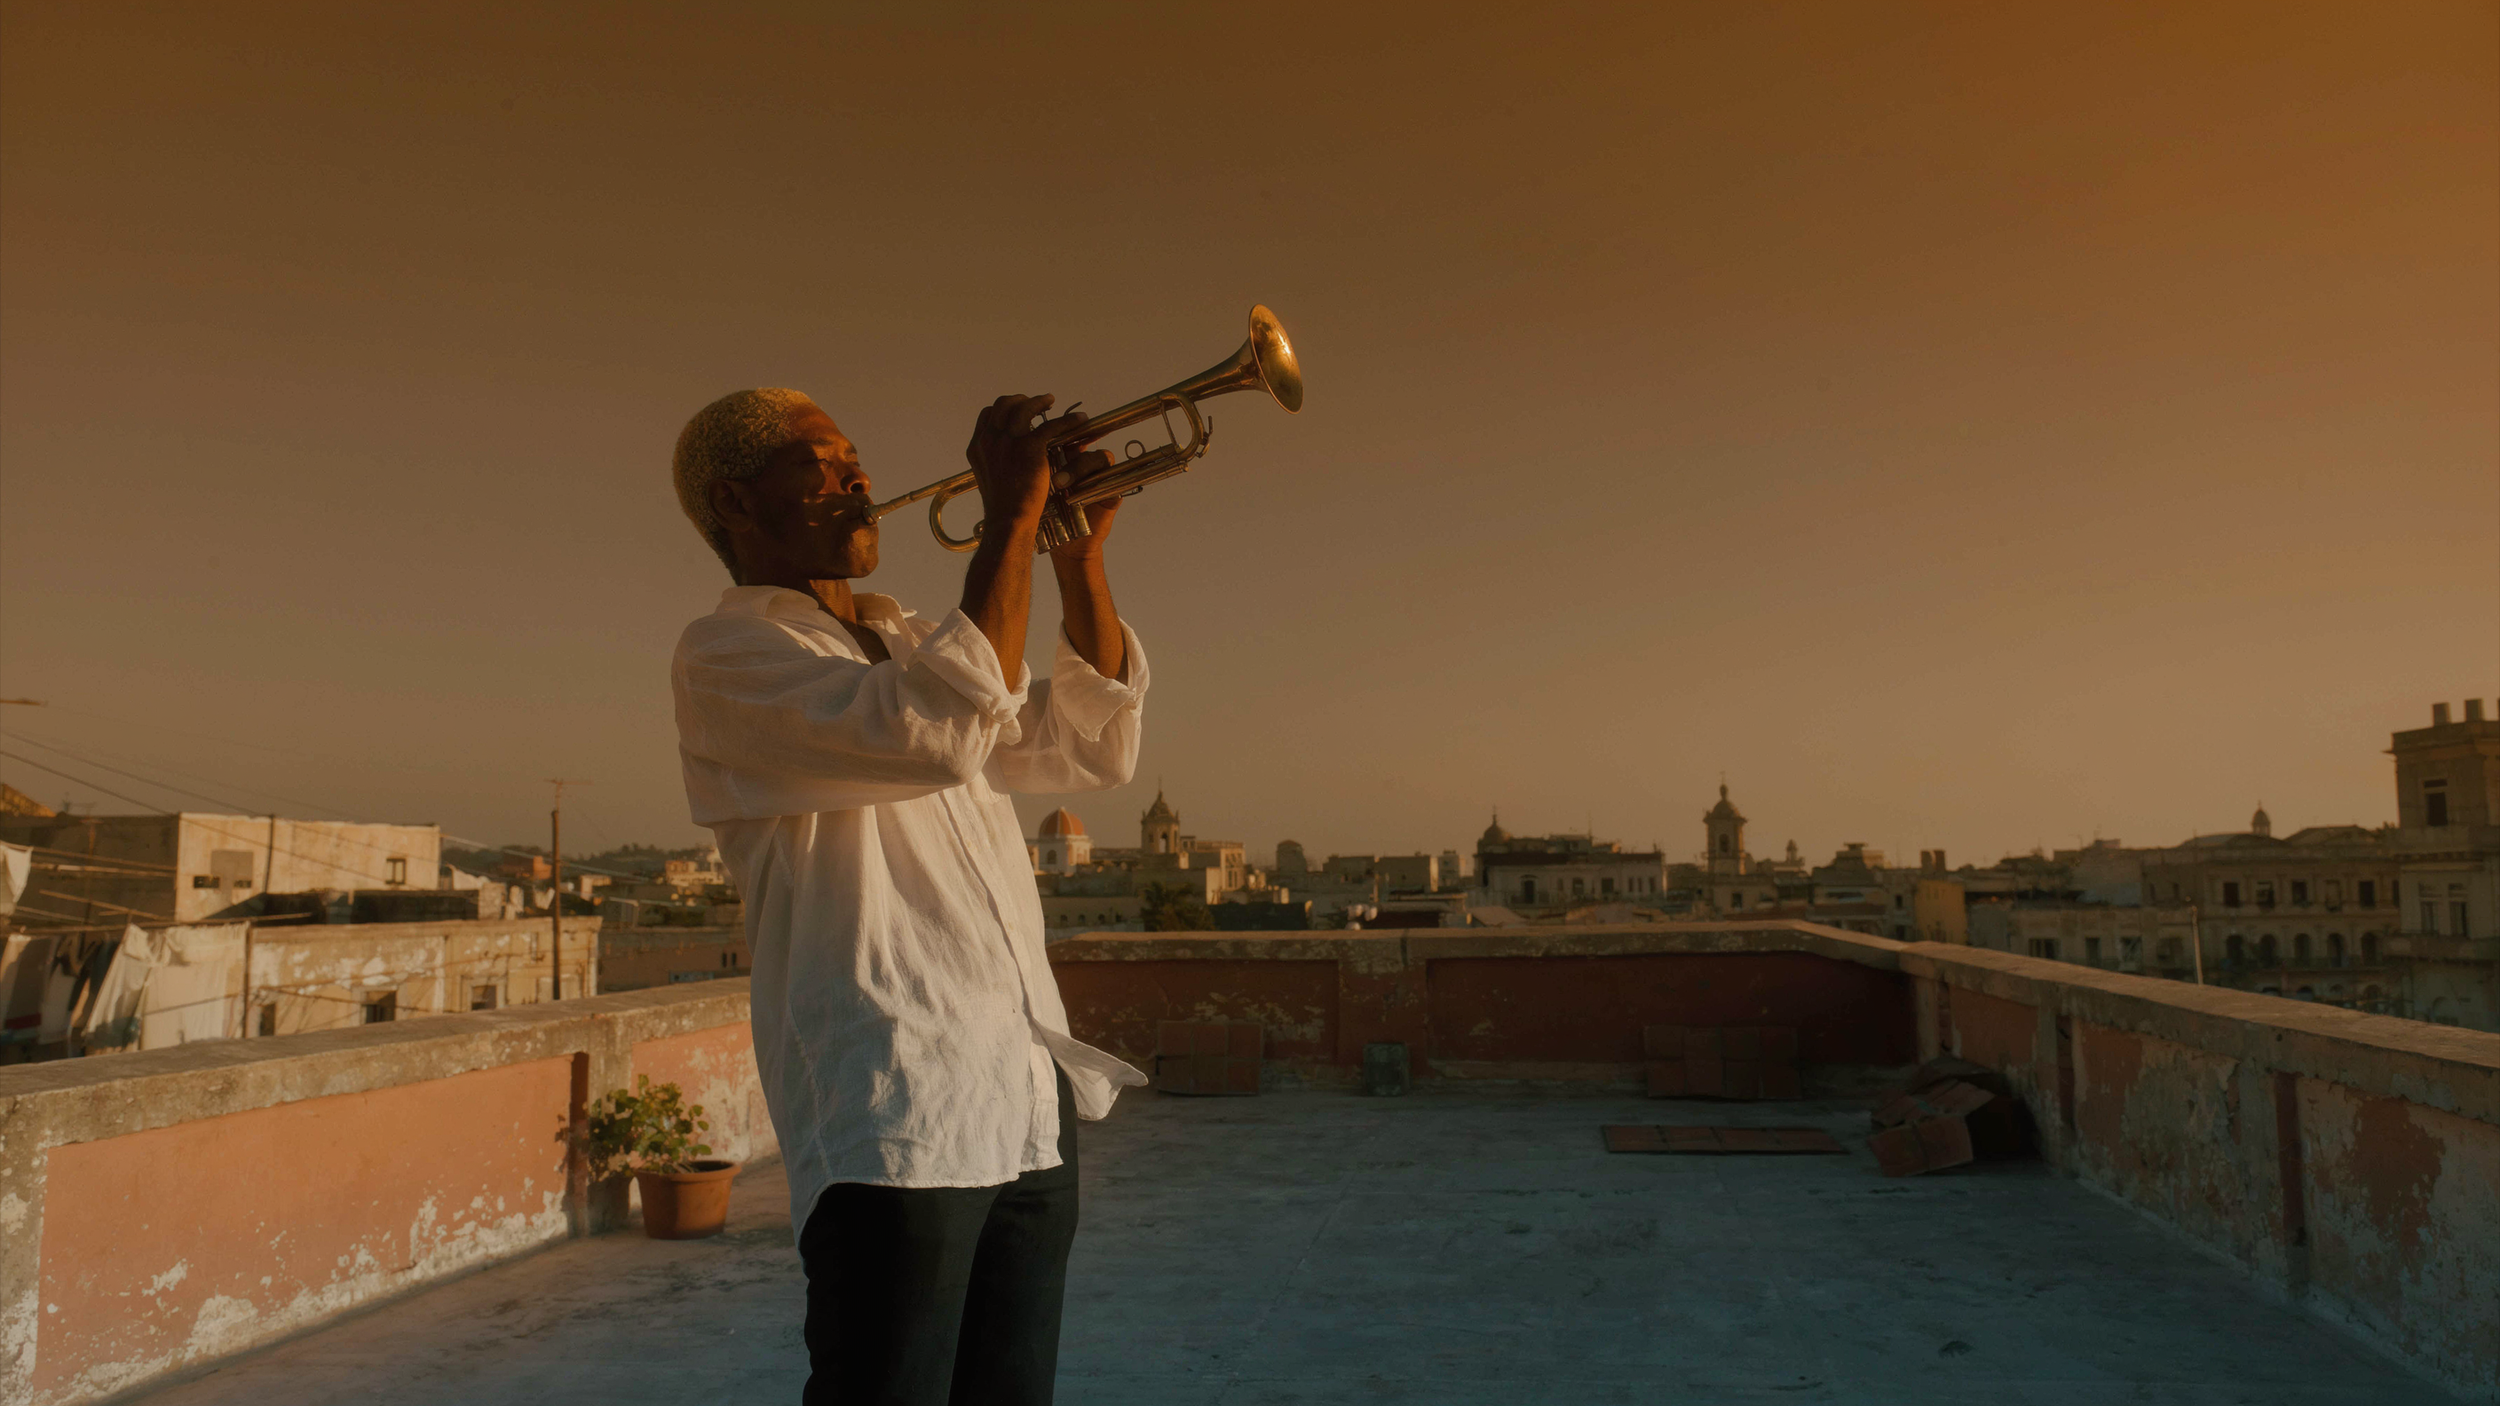
Full example: "vintage photograph of a street musician playing guitar in New Orleans, wearing a worn denim jacket, warm evening light, jazz club signs in the background."
6. Press 'Create' and Let UNI-1 Do Its Thing
Once you are happy with your prompt, you can click the black "Create" button at the bottom of the panel and let UNI-1 take it from there. Your image is on its way.
7. Review Your Image and Iterate as Needed
Once UNI-1 delivers your image, give it a good look. Not quite there? Tweak the prompt a little and hit Create again. Small changes can go a long way.
Don't be afraid to experiment with the artistic medium or add more specific details to your composition. UNI-1 is smart enough to pick up on even subtle shifts in your prompt.
Luma AI Bonus Tip: Utilize the References Box
One of the most useful things about UNI-1 is the References box sitting right above the prompt. Drop any image in there, a character, a style, an object, a location, and
UNI-1 will use it as visual guidance for your generation. It's genuinely one of the best tools for keeping things consistent across multiple images, and it's worth
experimenting with early on.
Free Intro to AI Storytelling Course
If you really want to get started learning the latest AI Filmmaking and creativity workflows, we highly recommend joining our free intro to AI storytelling course.
In the course, we share some workflows for getting started with using AI for your creative projects.
Along with the course, you also get access to the exclusive chat channel where you can network with industry professionals.
We would love to see you in the course.