How to use Kling 3.0 Motion Control | 8 Easy Steps
In this article, we’ll show you how to use Kling 3.0 Motion Control in just 8 simple steps.
Motion control tools are becoming incredibly popular, and they can often be intimidating to dive into.
In this article, we’ll show you how to use Kling 3.0 motion control. This breakdown will make it incredibly simple if you want to utilize motion control tools just like this one.
Let’s dive in!
How to Use Kling Motion Control | Video Breakdown
Below is a video where we take a look at Kling motion control. This tutorial was created using their older version, but the information should still apply. Enjoy!
How to Use Kling 3.0 Motion Control
Below are the steps laid out to show you how to use Kling 3.0 motion control.
1. Head to Kling AI's Website
Kick things off by navigating to Kling AI's website.
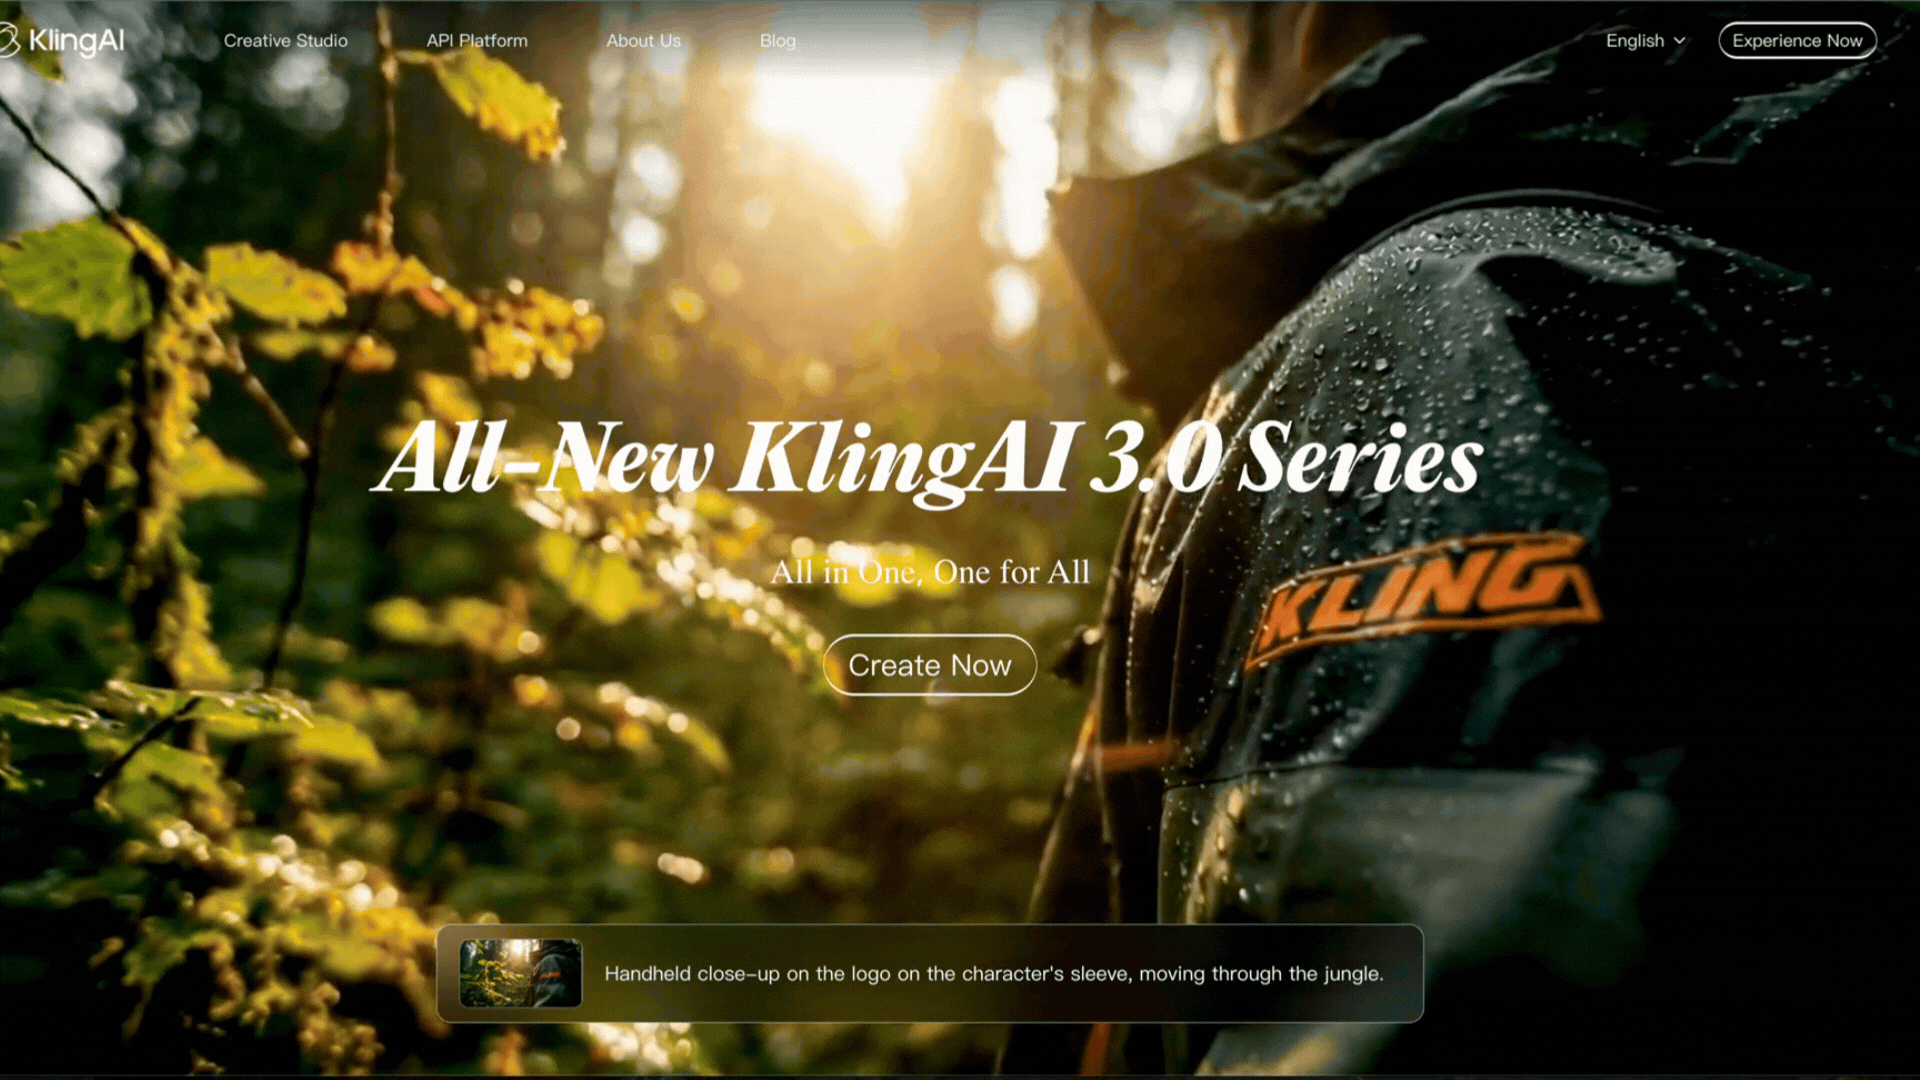
You can access Motion Control through other tools like Freepik as well, but we'll keep it simple and stick with Kling AI's platform for this one.
2. Click the 'Experience Now' Button
In the top right corner, click the 'Experience Now' button. We're not sure who named that button, but it is a genius call-to-action button.
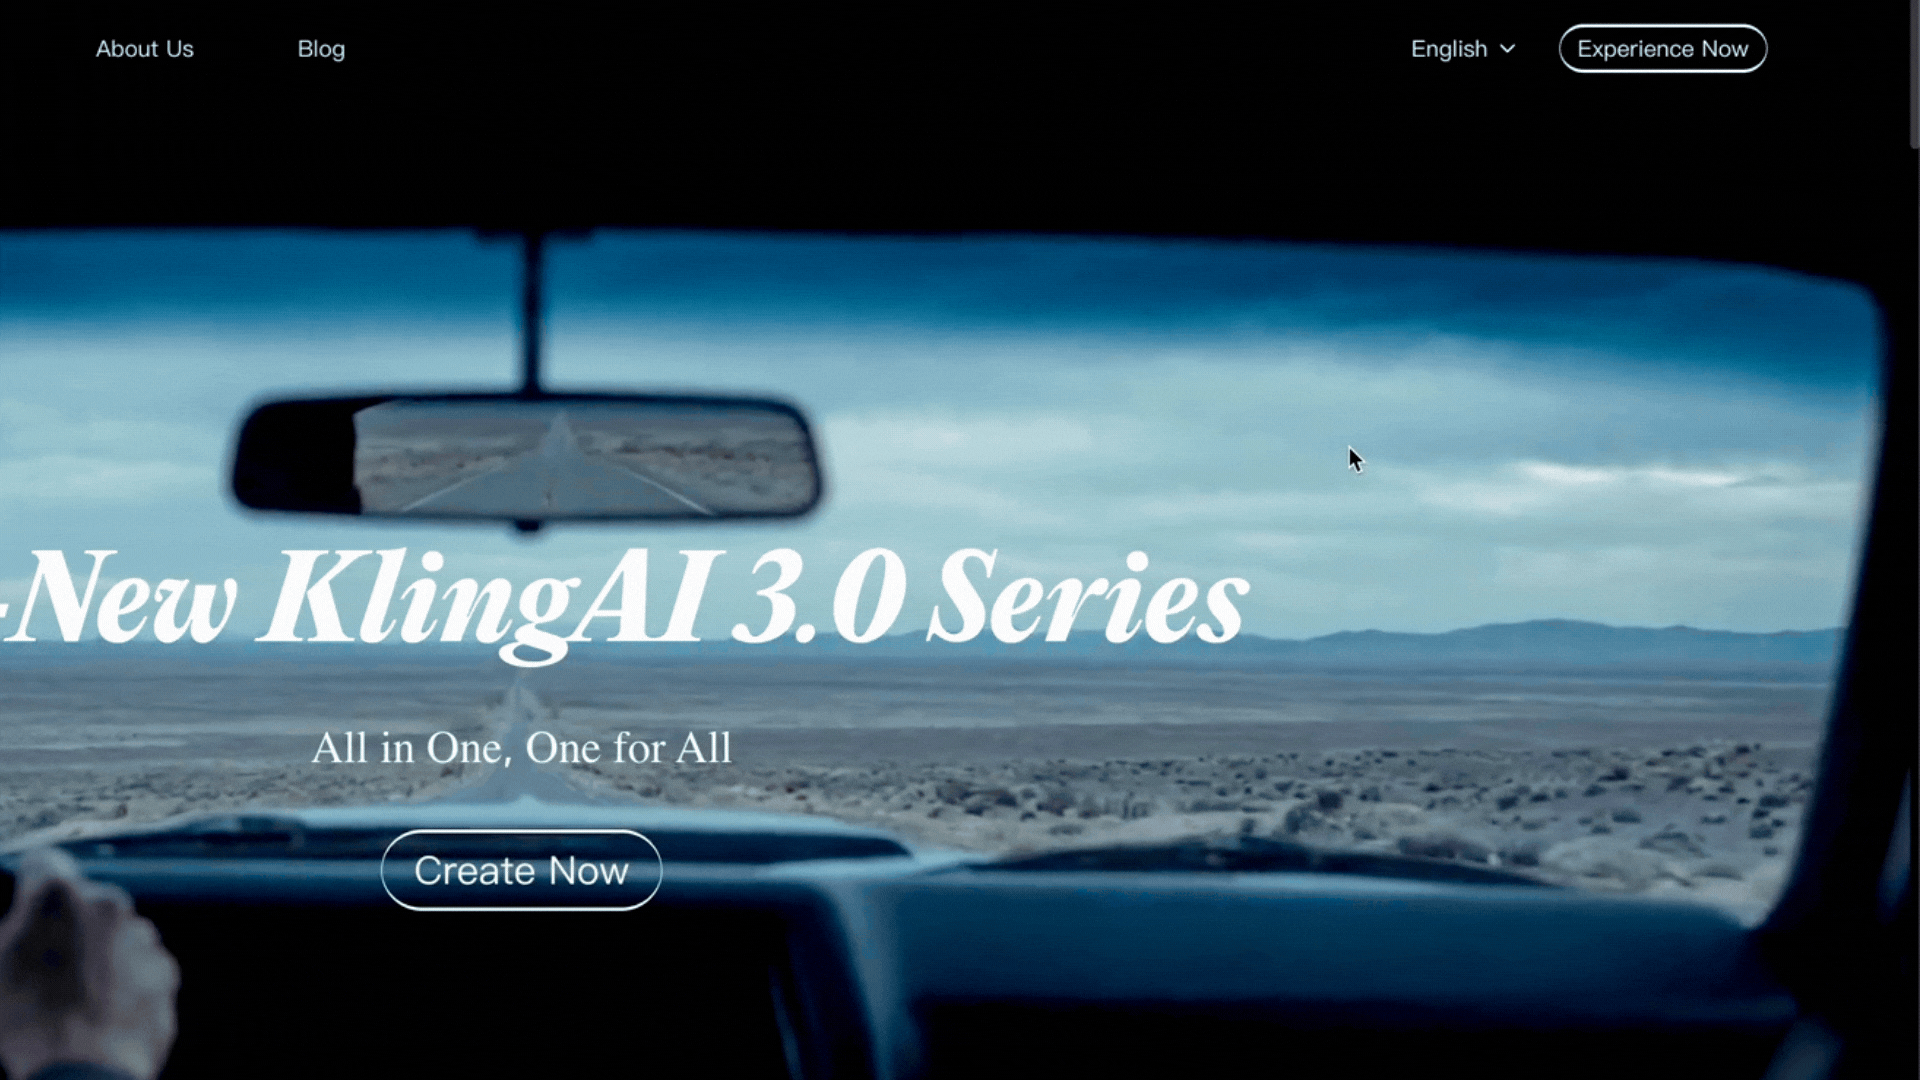
If you don't have an account yet, you can still get a few free generations. If you are planning to utilize Kling as your primary AI Video model, it might be worth taking a look at their pricing page.
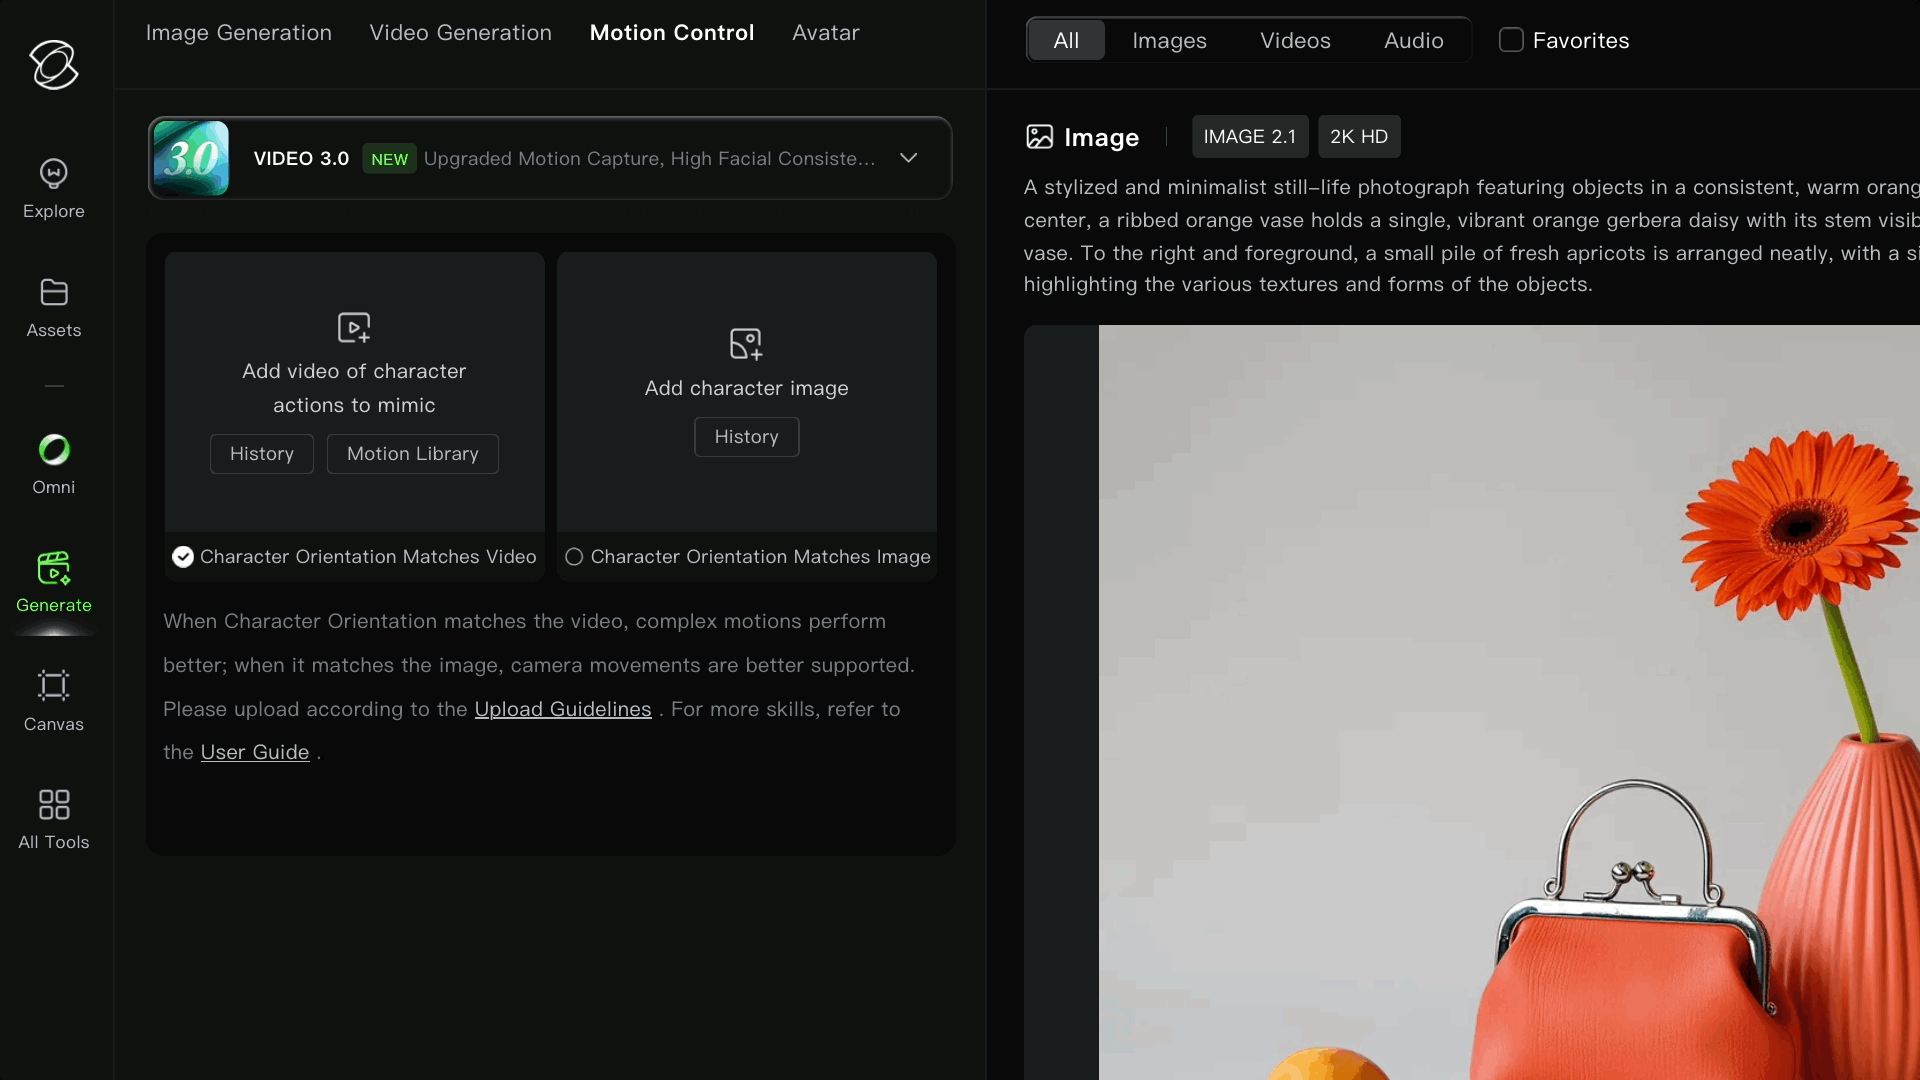
3. Click on 'Motion Control.'
Once you're in, look for the 'Motion Control' button near the center of the screen and click it.
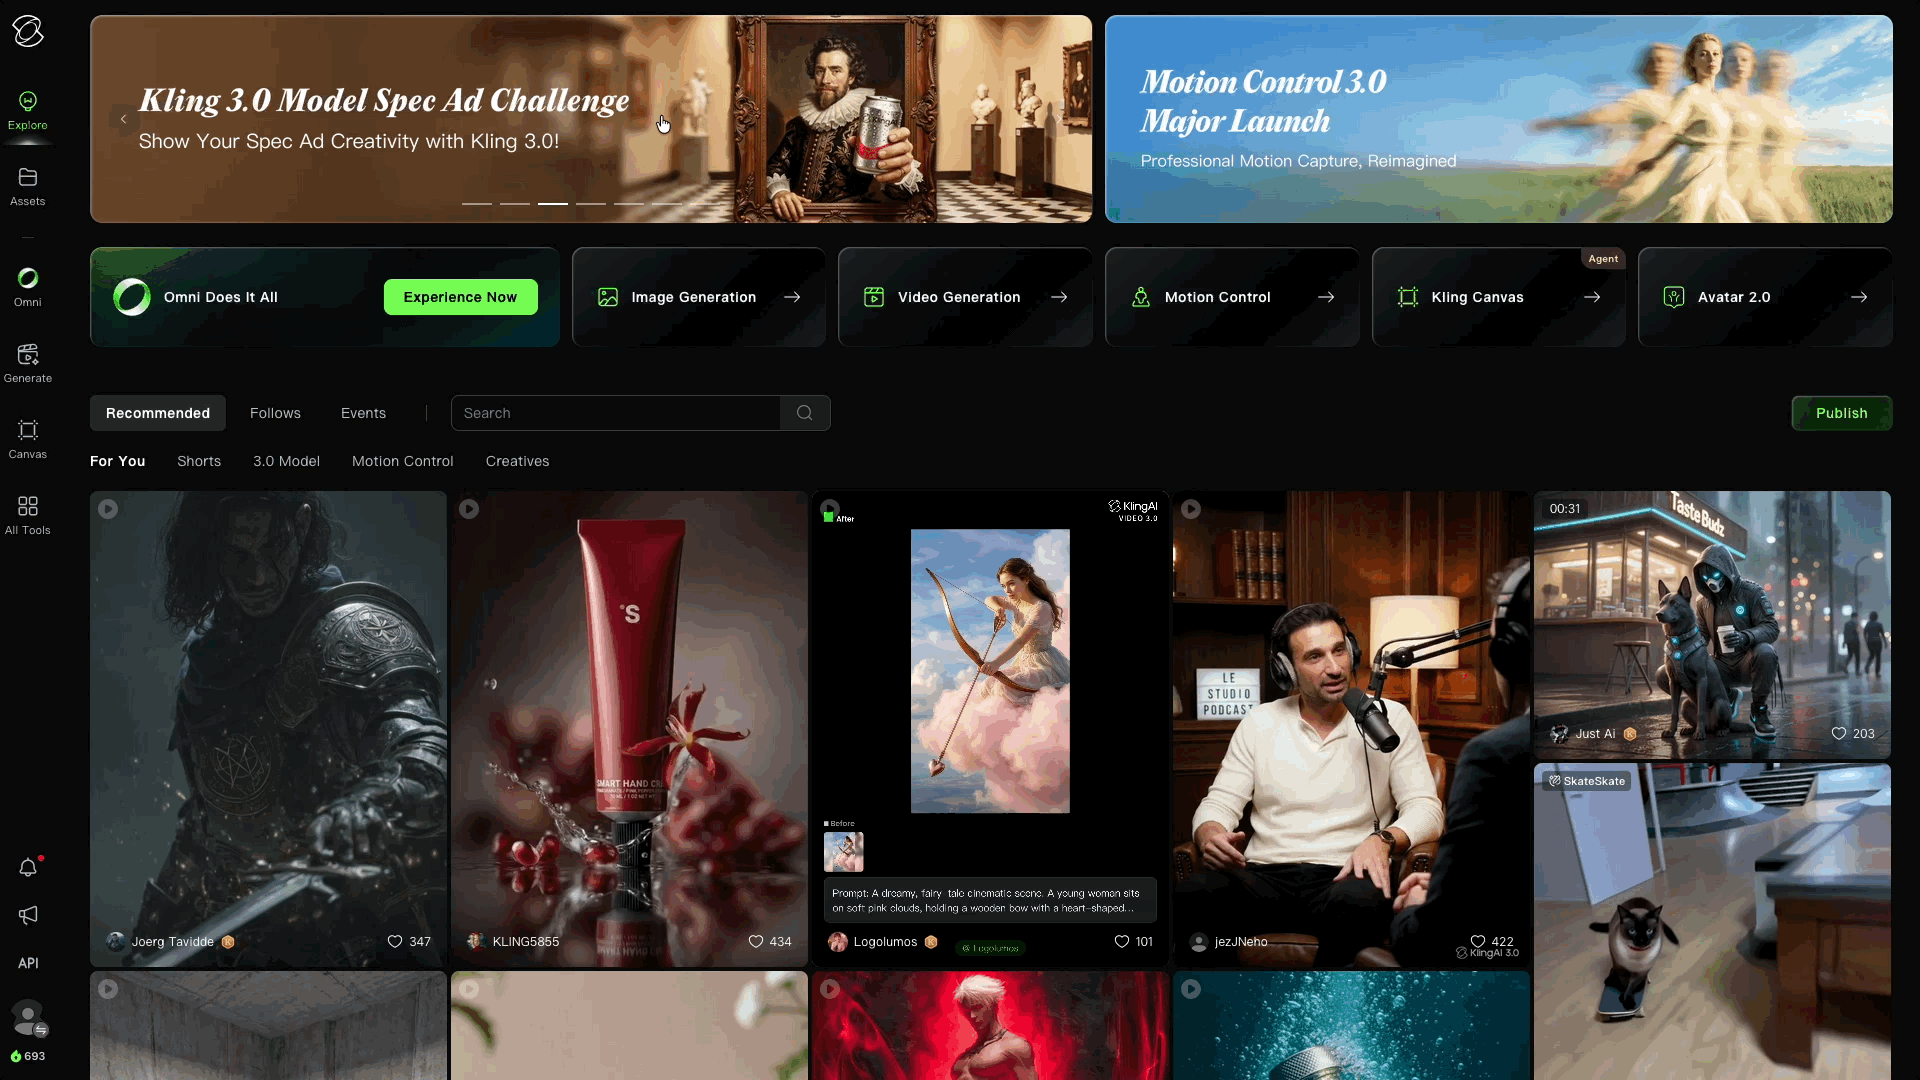
The platform has a lot going on, but don't let it intimidate you.
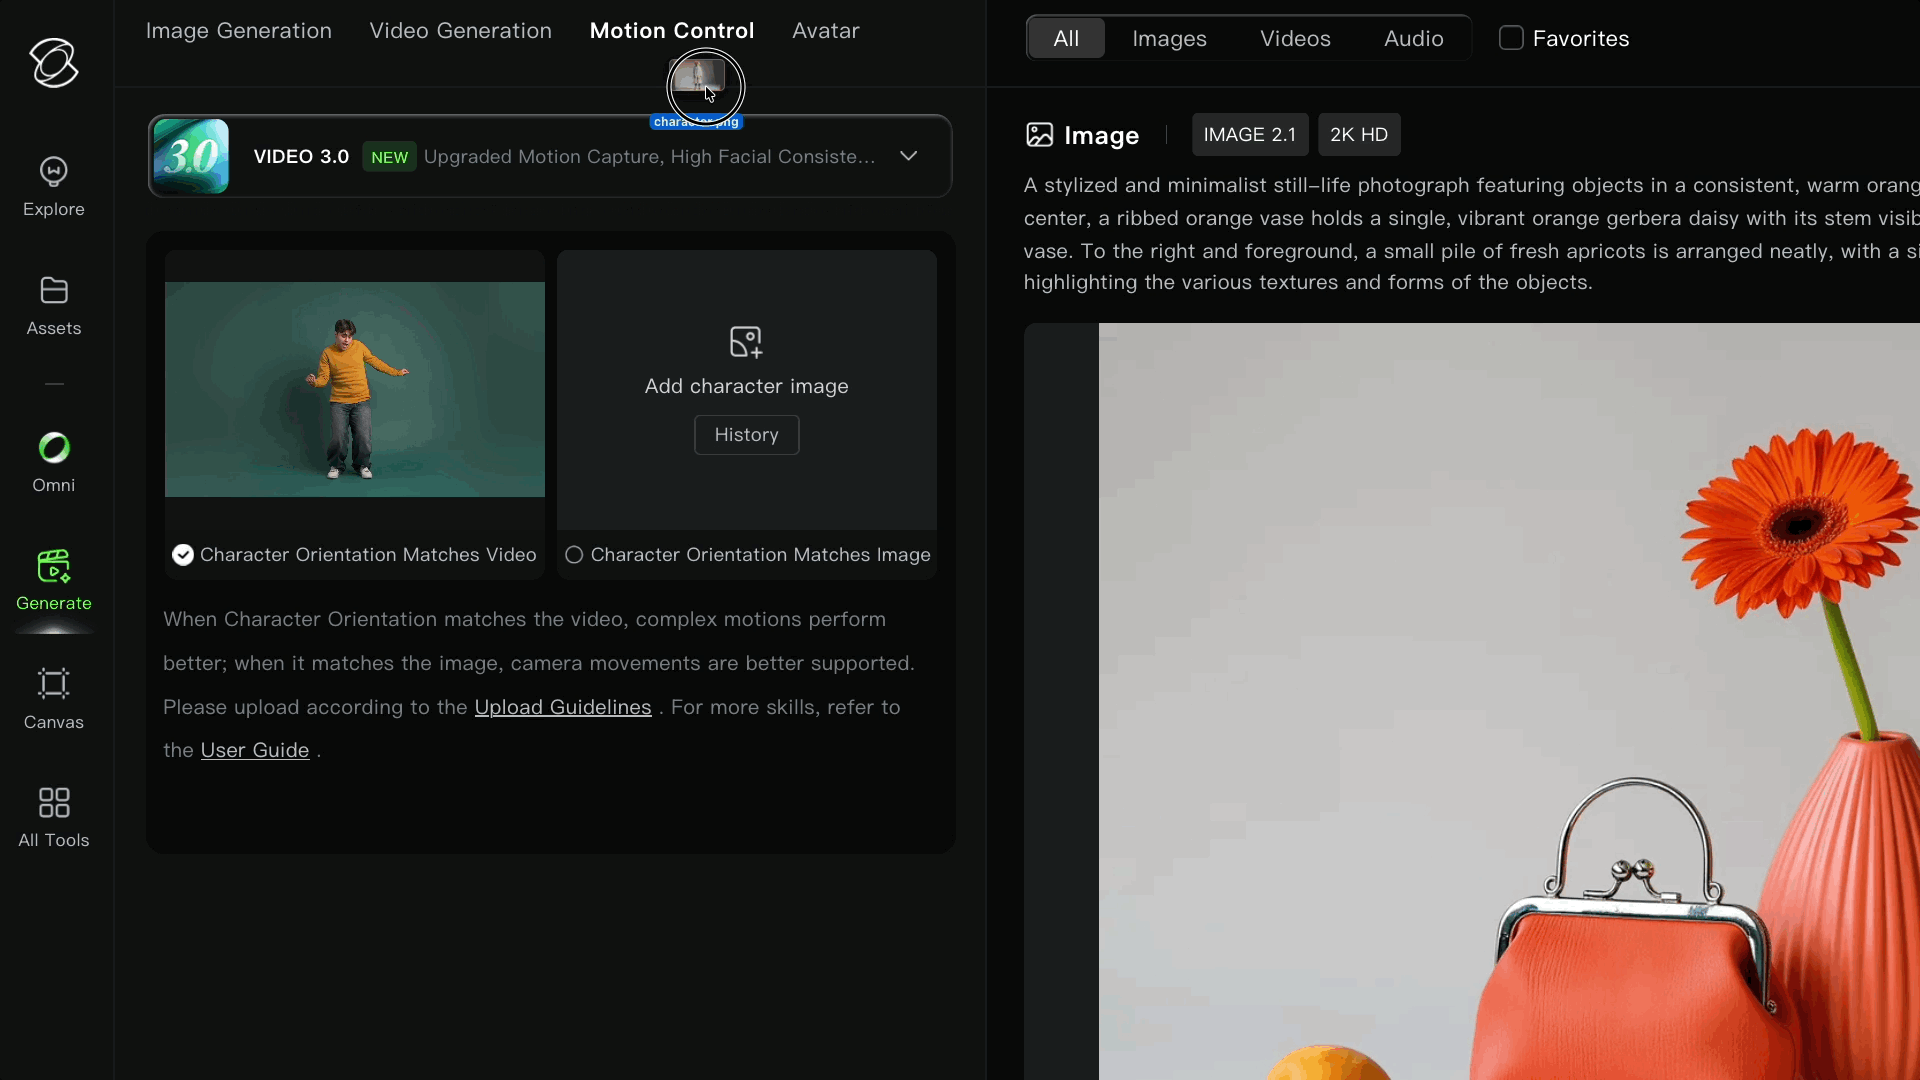
4. Drag and Drop Your Reference Footage
Drop your reference footage into the left box labeled "Add video of character actions to mimic."
You'll want one person in the shot, full-body or half-body framing, and smooth, continuous movement throughout. The cleaner the clip, the happier Kling is.
For our test, we pulled a stock video from a stock footage library.
You'll also notice "Character Orientation Matches Video" is checked by default at the bottom. This basically tells Kling to favor the reference video as opposed to the reference image. We will leave it how it is.
5. Add Your Character Reference Image
Drag and drop your reference image into the box on the right.
You'll want a clean half-body or full-body shot of one person, and try to match the framing of your reference video. If your dance clip is full-body, your image should be too.
Mismatched framing is one of the easiest ways to get wonky output.
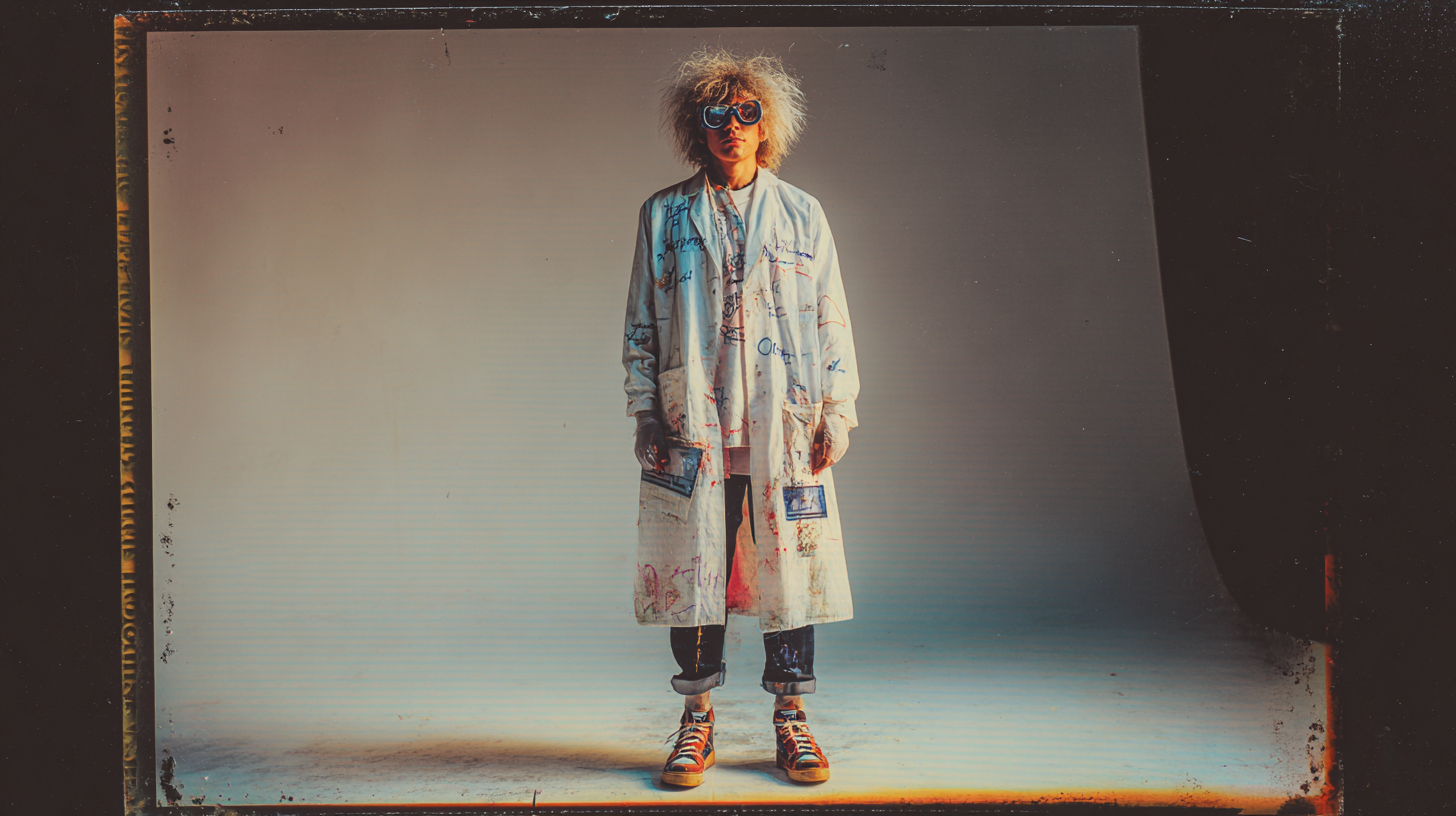
Above is the reference image we used for this test:
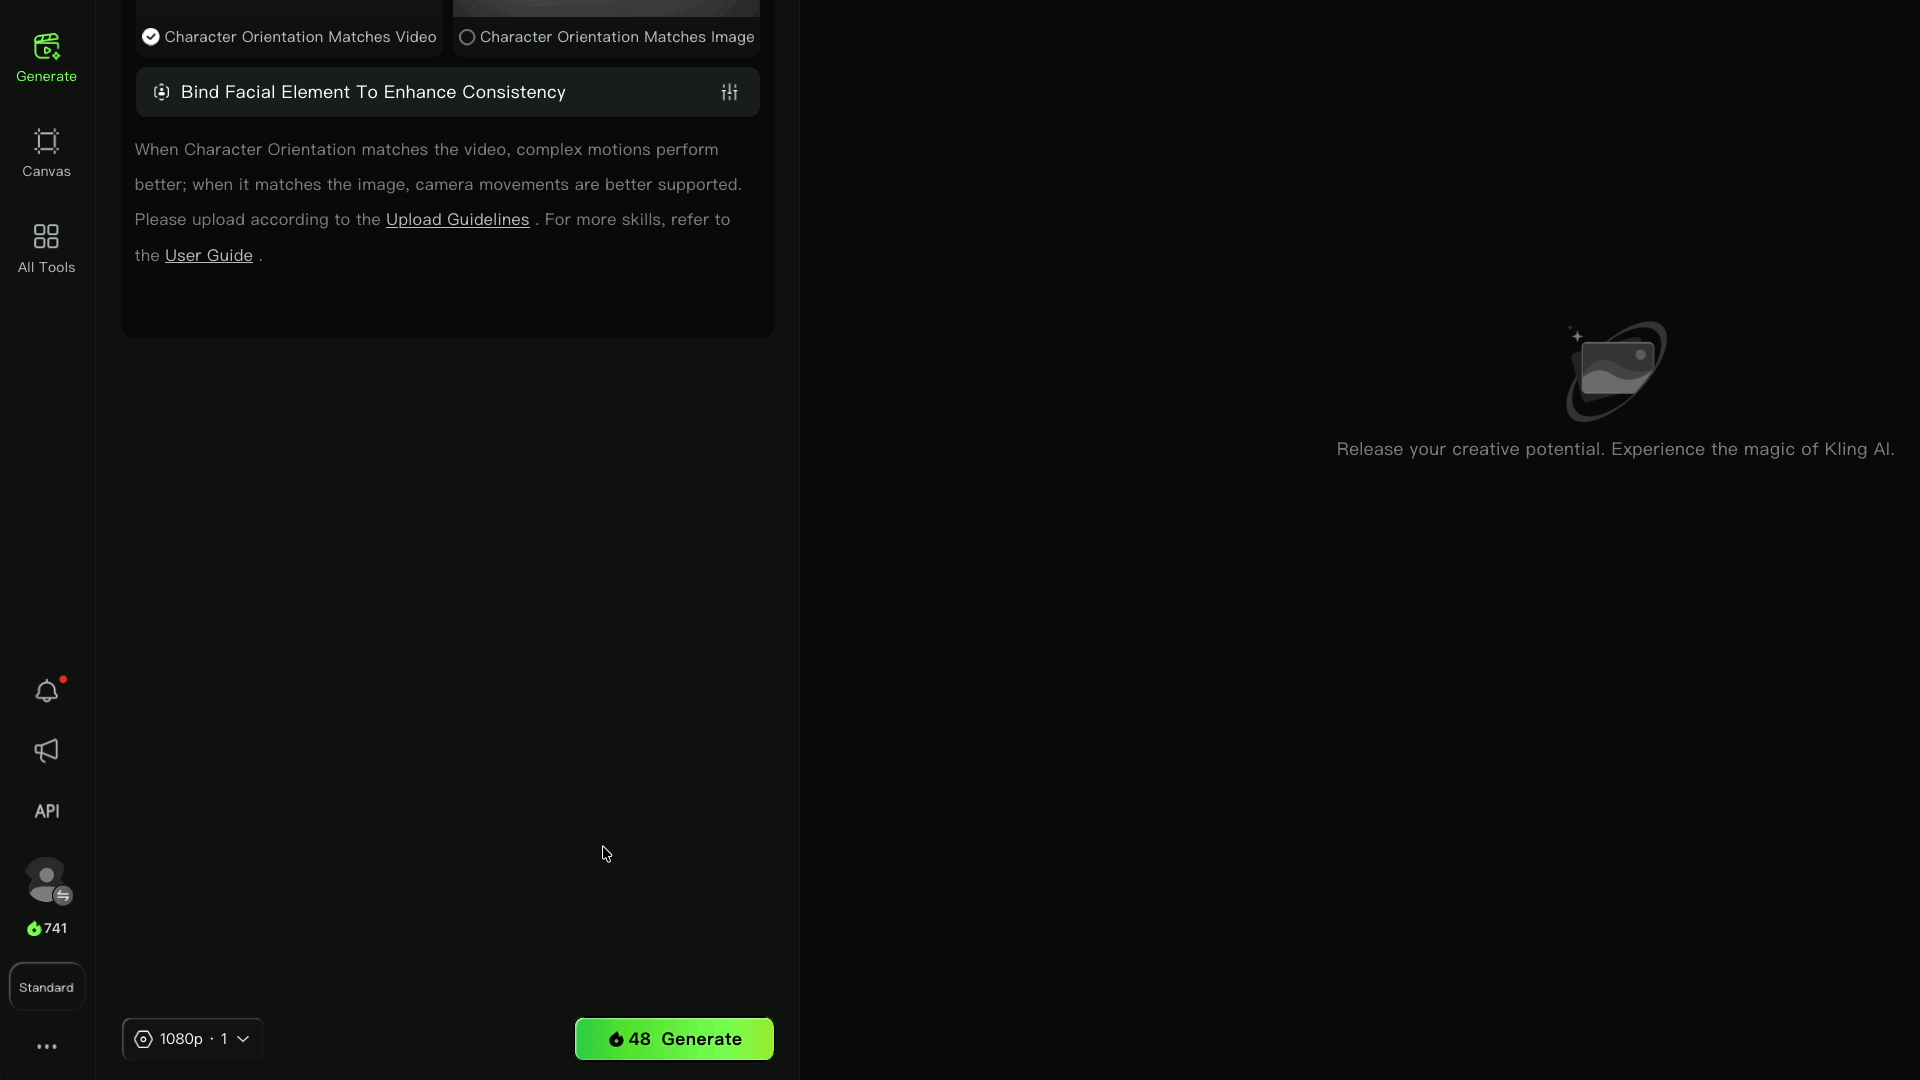
6. Make Sure the Latest Model is Selected
Kling AI lets you choose different models, so it's worth a quick check before you generate. Make sure the latest model is selected.

It takes two seconds and saves you from wondering why your results look off.
7. Press the Generate button.
Once all of the reference assets are uploaded, you're good to go. Press Generate and let Kling take it from here.
8. Review the output.
Take a good look at what Kling came up with. If it nailed it, you're done. If not, don't sweat it. Try swapping your reference video or character image for a cleaner input and generating again.
Check out our results below.
Free AI Storytelling Course
If you want to dive into the world of AI tools and take you skills to a new level, we would love for you to join our free, intro to AI storytelling course.
In the course, we show some of the basics for creating films using the latest AI tools, as well as, share some insights into the future of the creative industry.
It’s a great place to start, as well as get connected with the community!
We would love to see you in the course.