How to Use Kling 2.6 Motion Control | Step-By-Step Tutorial
In this article and video tutorial, I’ll show you how to use Kling 2.6 Motion control.
In the wild world of AI video generation, getting a character to move exactly how you want can feel like rolling dice at a casino. You type in a prompt, cross your fingers, and pray the model understands the nuance of a human shrug or a subtle head tilt. But those days are quickly coming to an end.
A newer, much more reliable approach is gaining serious traction: performance projection. This is the process of taking a real human performance and mapping it directly onto an AI-generated character.
Today, we’re breaking down Kling 2.6 Motion Control.
Whether you want a 3D-animated koala or a hyper-realistic human, you’re no longer just relying on text. You’re feeding the system actual physical data—gestures, posture shifts, and those subtle acting beats that make a performance feel "real".
Let’s hop in.
Kling 2.6 Motion Control Video Tutorial
Below is a video tutorial showing how to use Kling Motion Control.
How to Use Kling Motion Control | Step-by-Step
Below is a step-by-step breakdown of how to use Kling Motion Control.
Step 1: Capture Your Reference Video
Film yourself (or an actor) performing the action. Keep it focused, opening a letter, spinning in a chair, or reacting to big news.
Above is the reference footage that we took from an online stock library.
Step 2: Generate Your Reference Image
Create a high-quality still of your target character first. I love using tools like Google Nano Banana Pro to get the look just right. My favorite place to use it is inside of Freepik, but you can use it wherever you prefer.
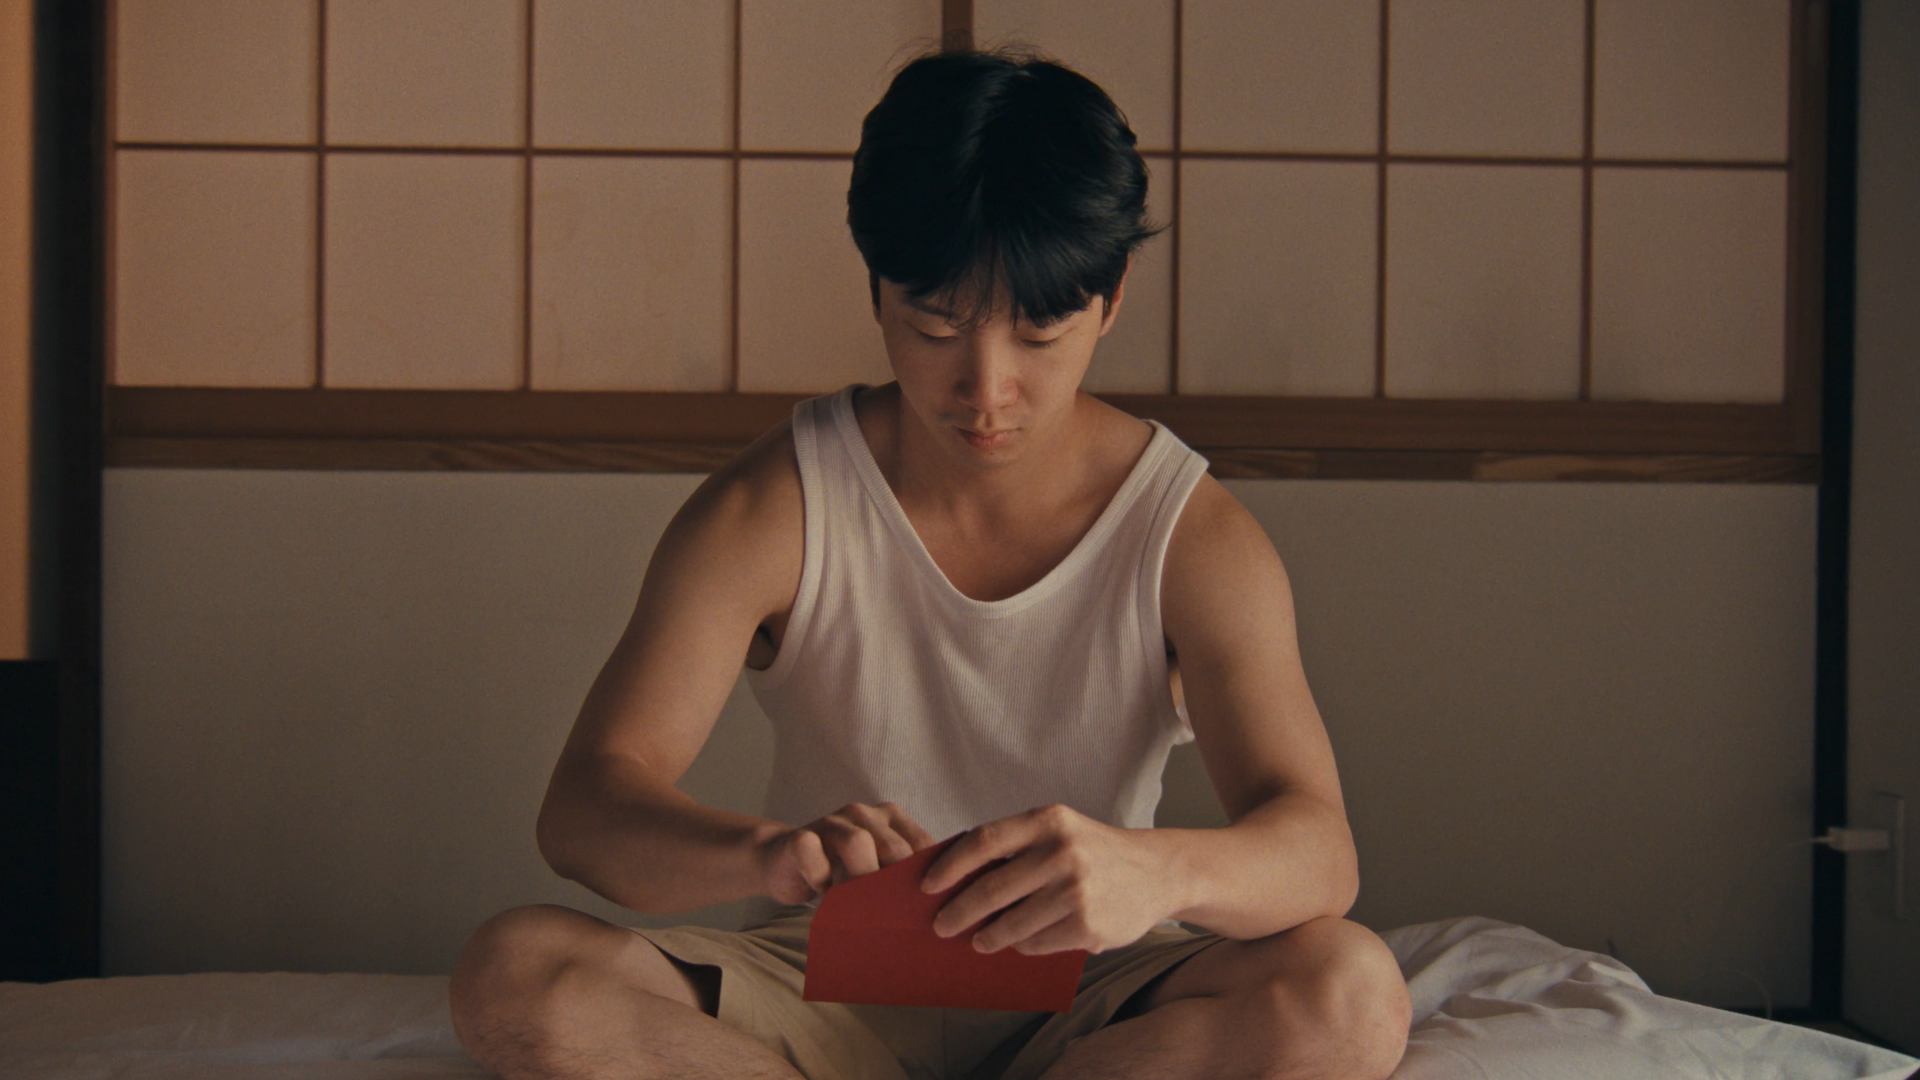
First Frame
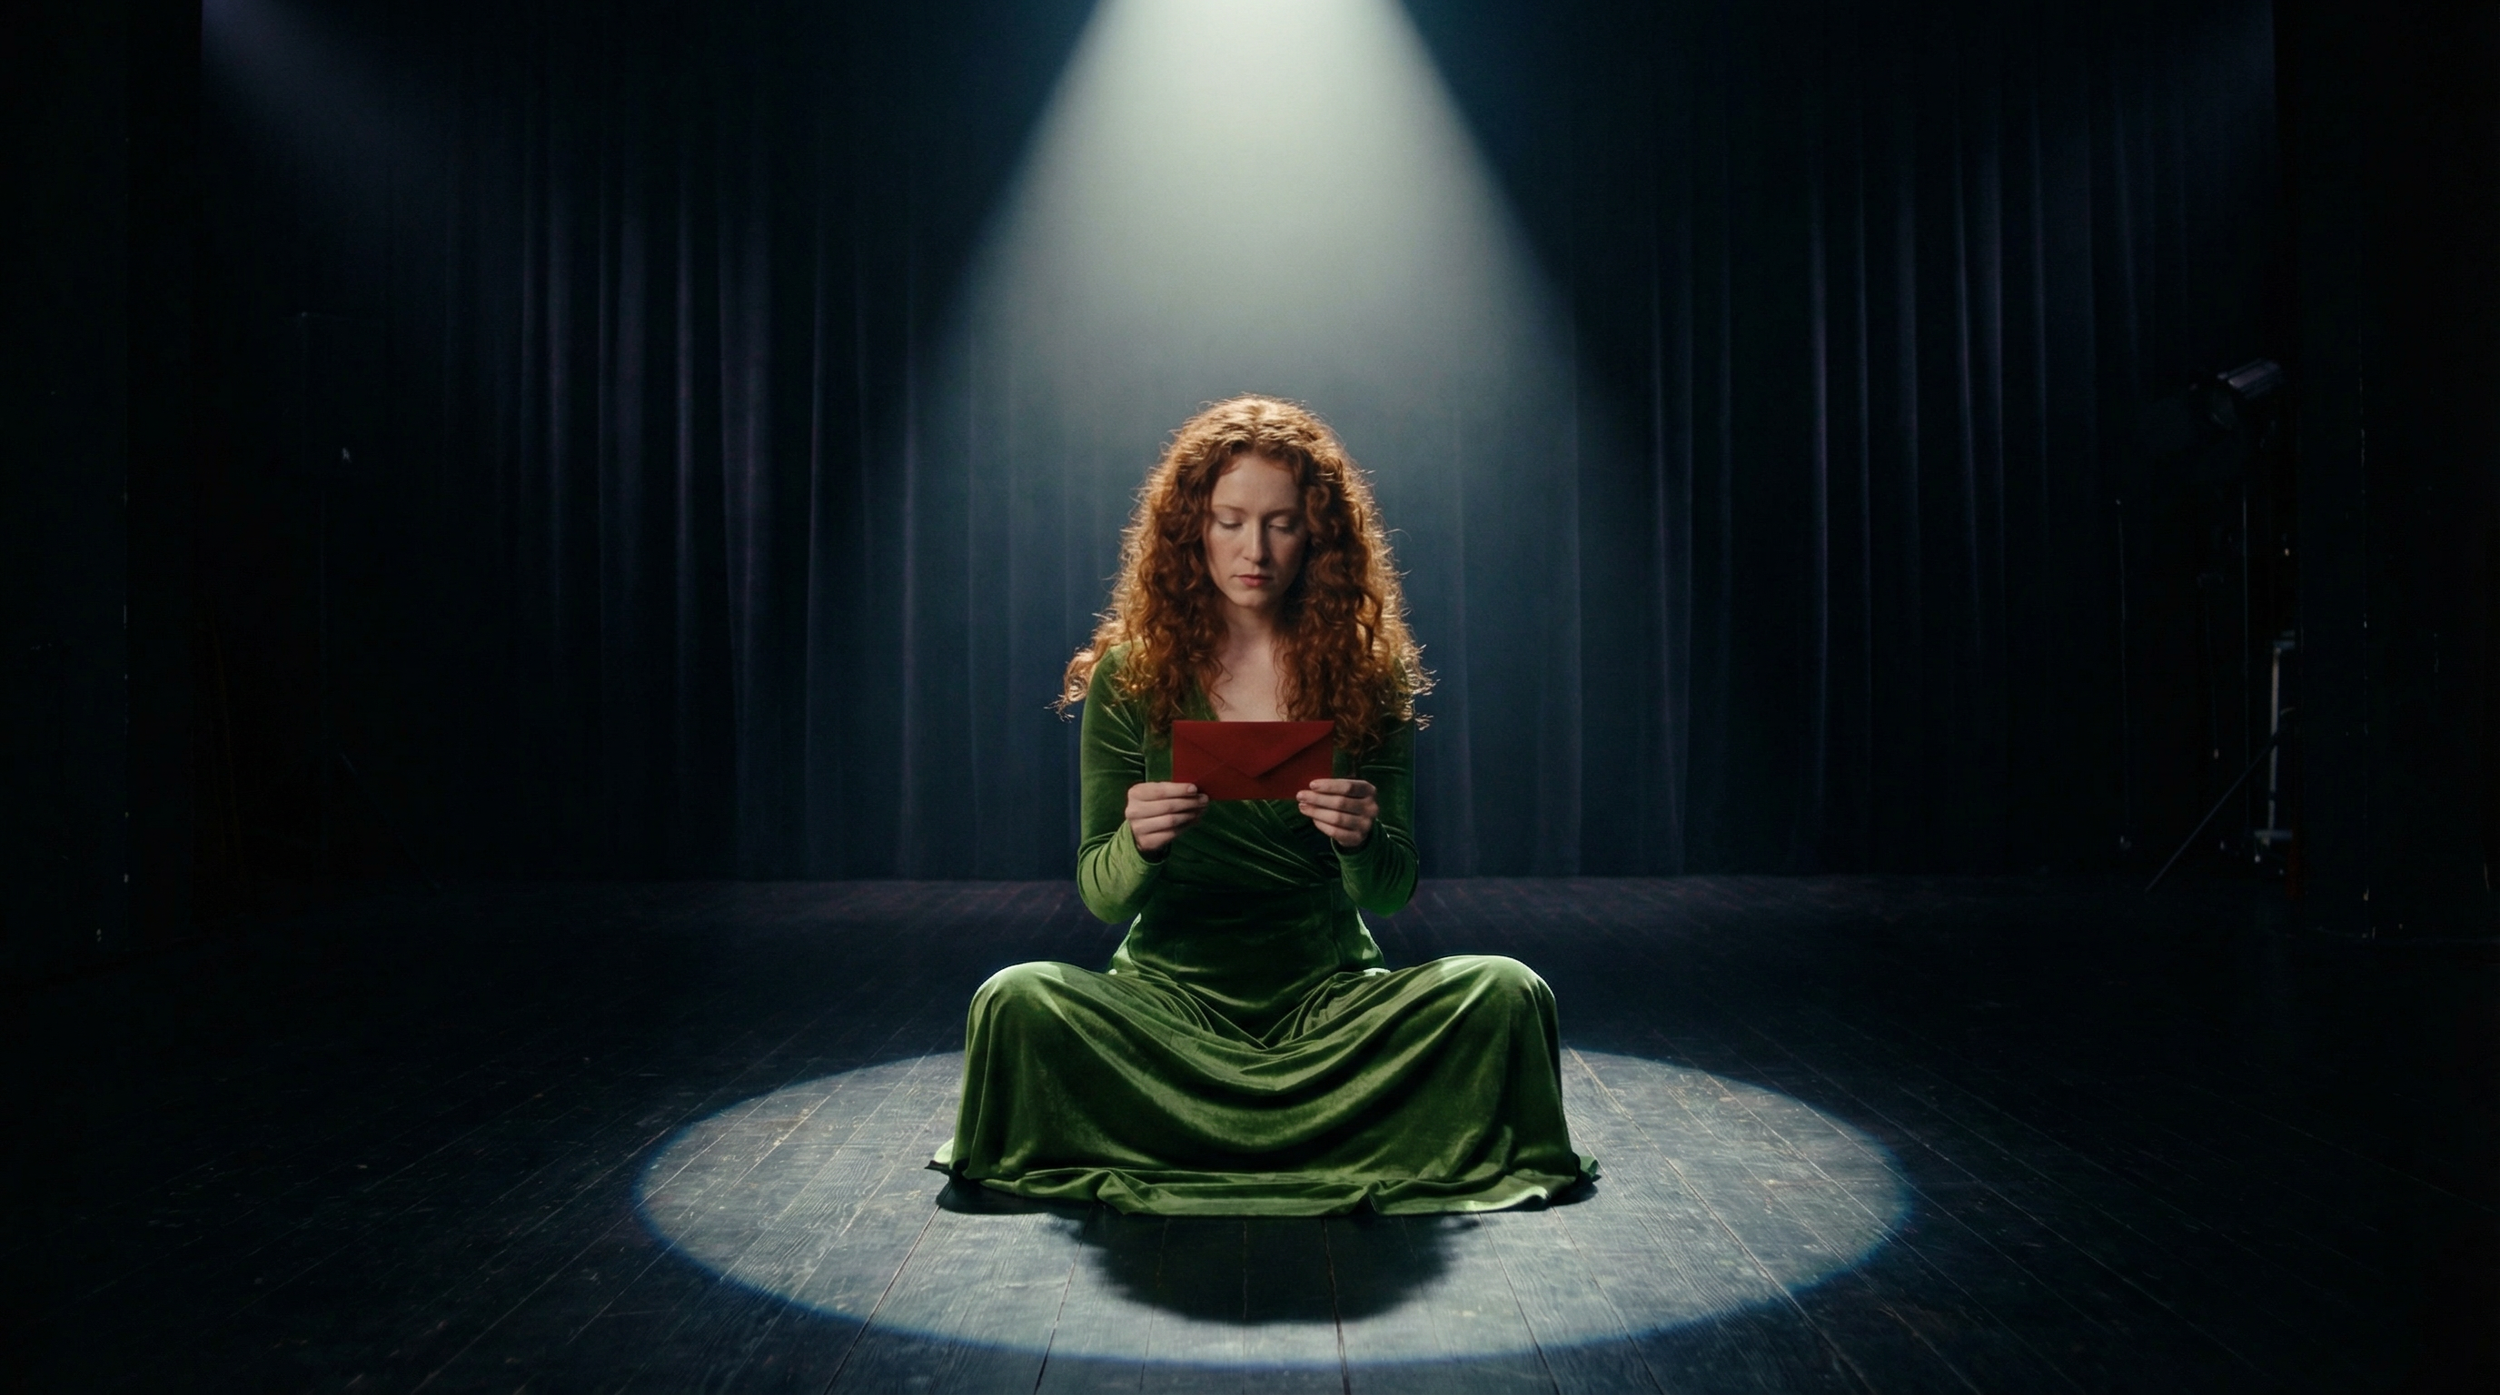
Live Action Image
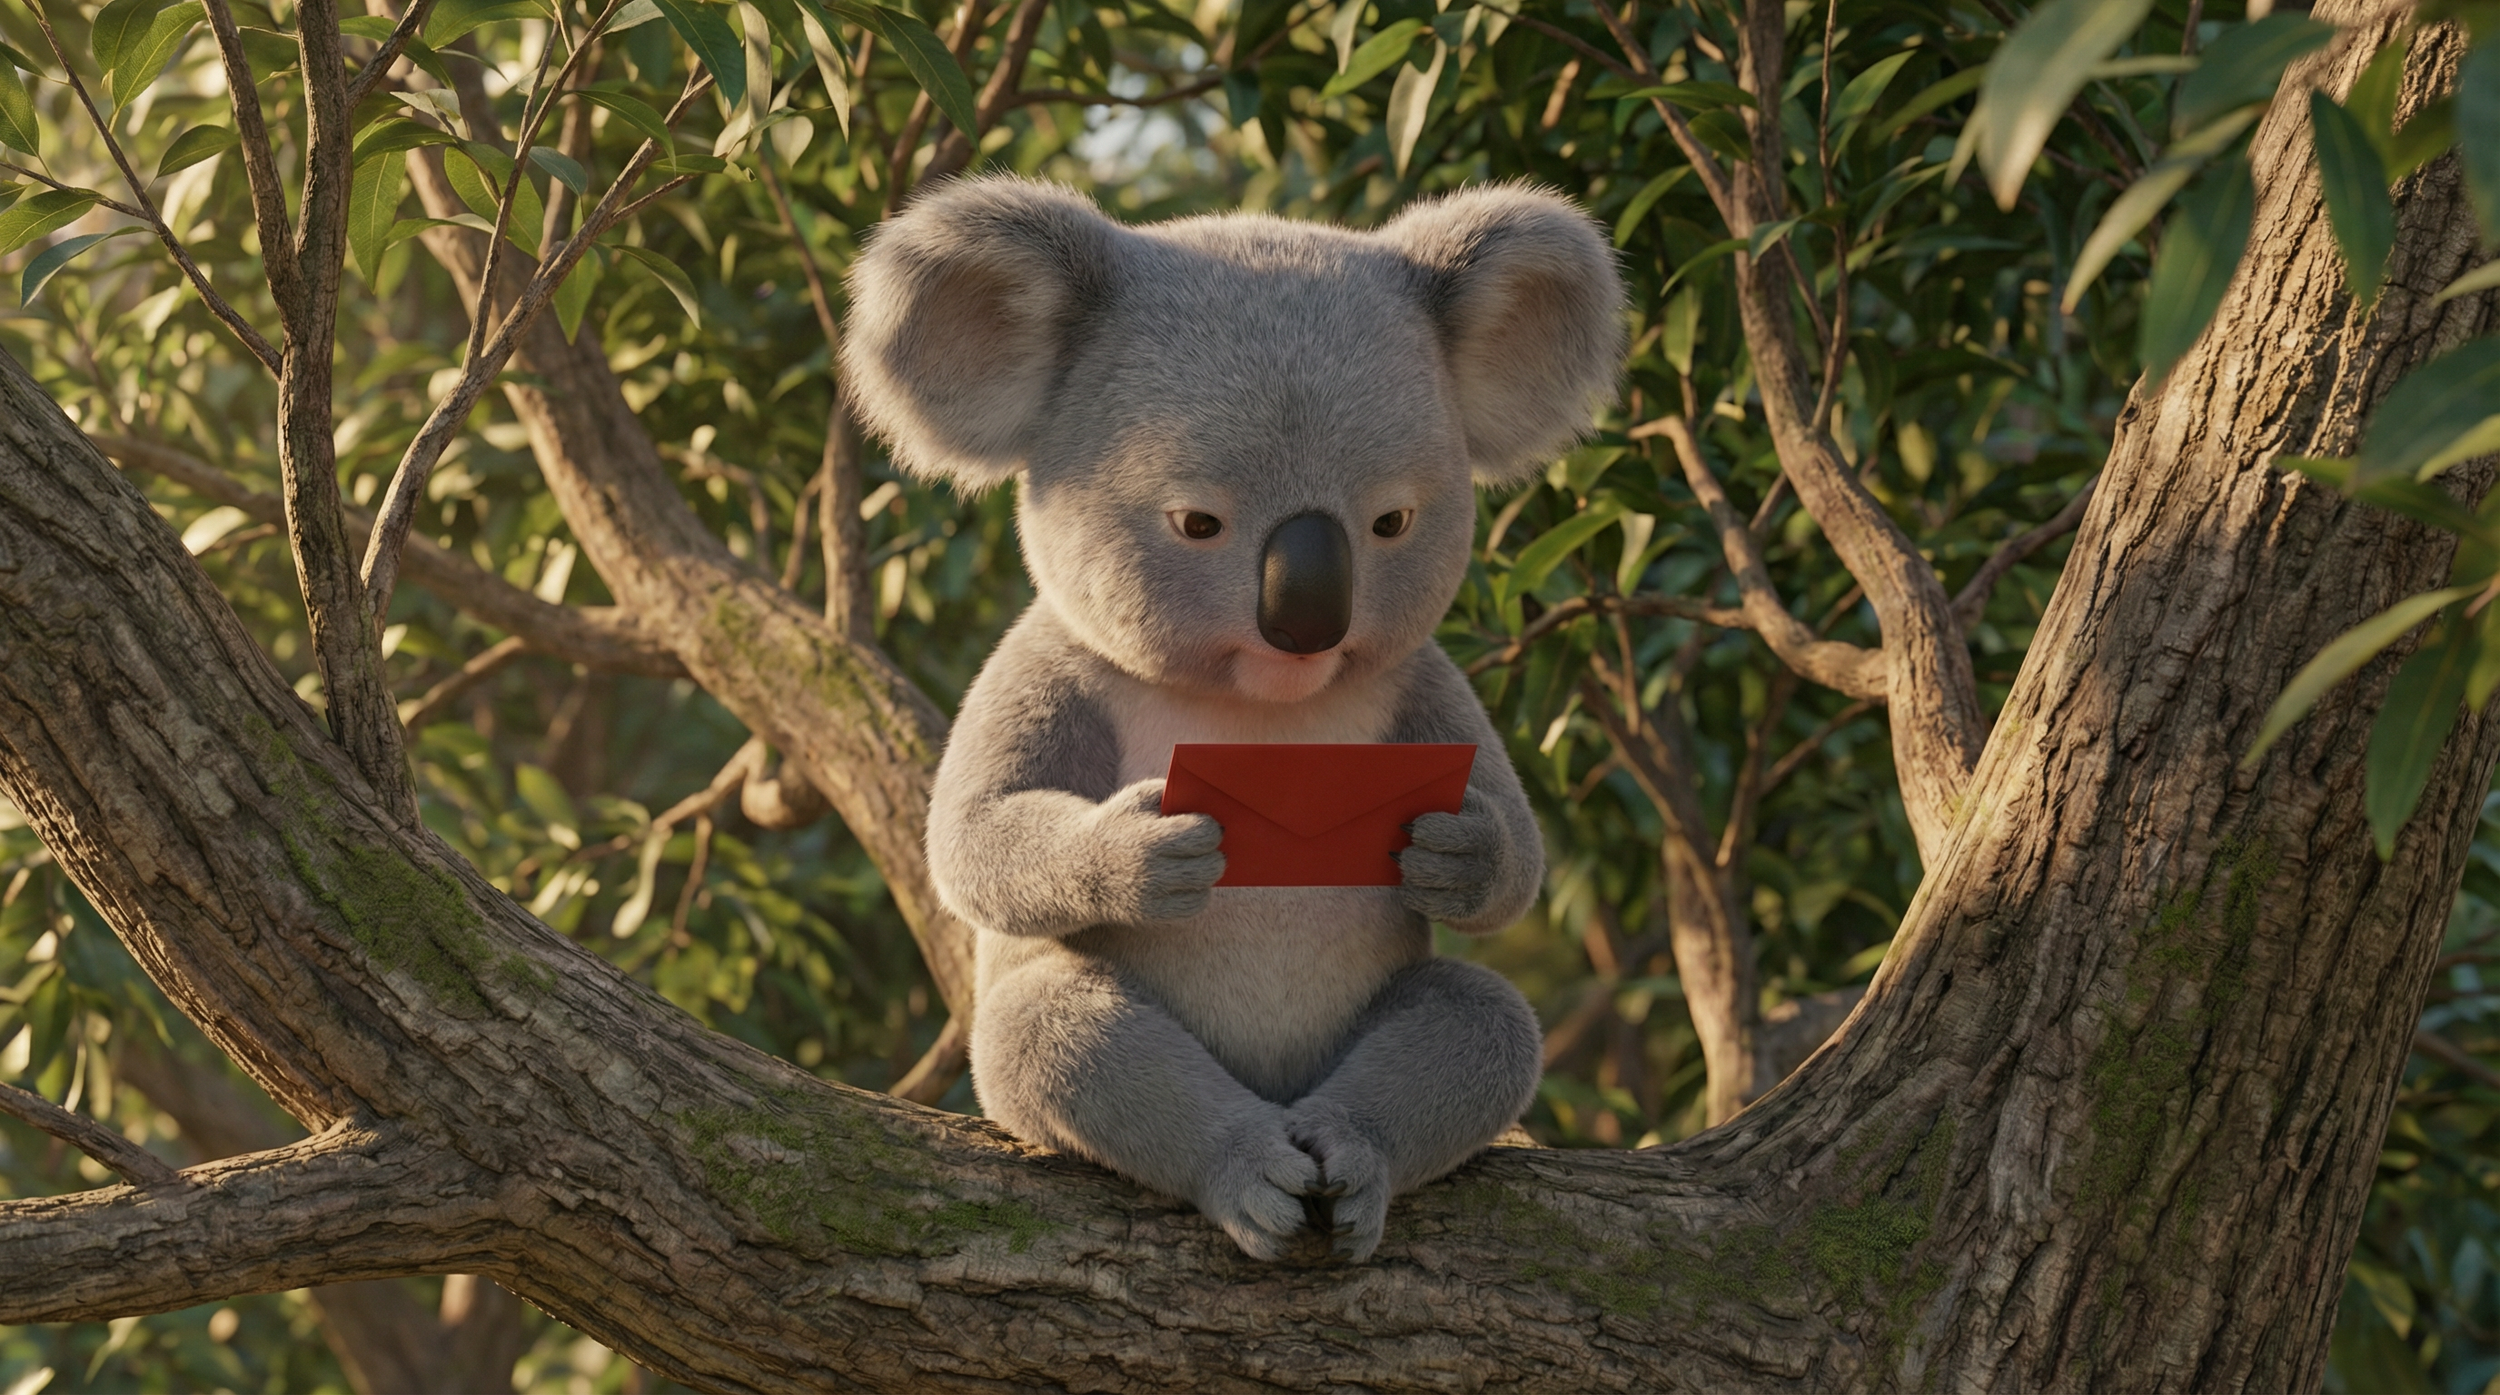
Animated Image
As you can see from the images above, I took the first frame from the reference video, then I used Nano Banana to create a live action version that is significant;ly different from the original, and an animated version of a Koala.
Step 3: Upload to Kling
Next, you can head on over to Kling to drag and drop your assets for Generation. You can also use Kling Motion control in tools like Higgsfield, Freepik, or whever you prefer.
Step 4: Pick Your Orientation
In the screenshot below, you can see a bubble to select under each image. This tells Kling which reference you want it to use when Generating the characters orientation.
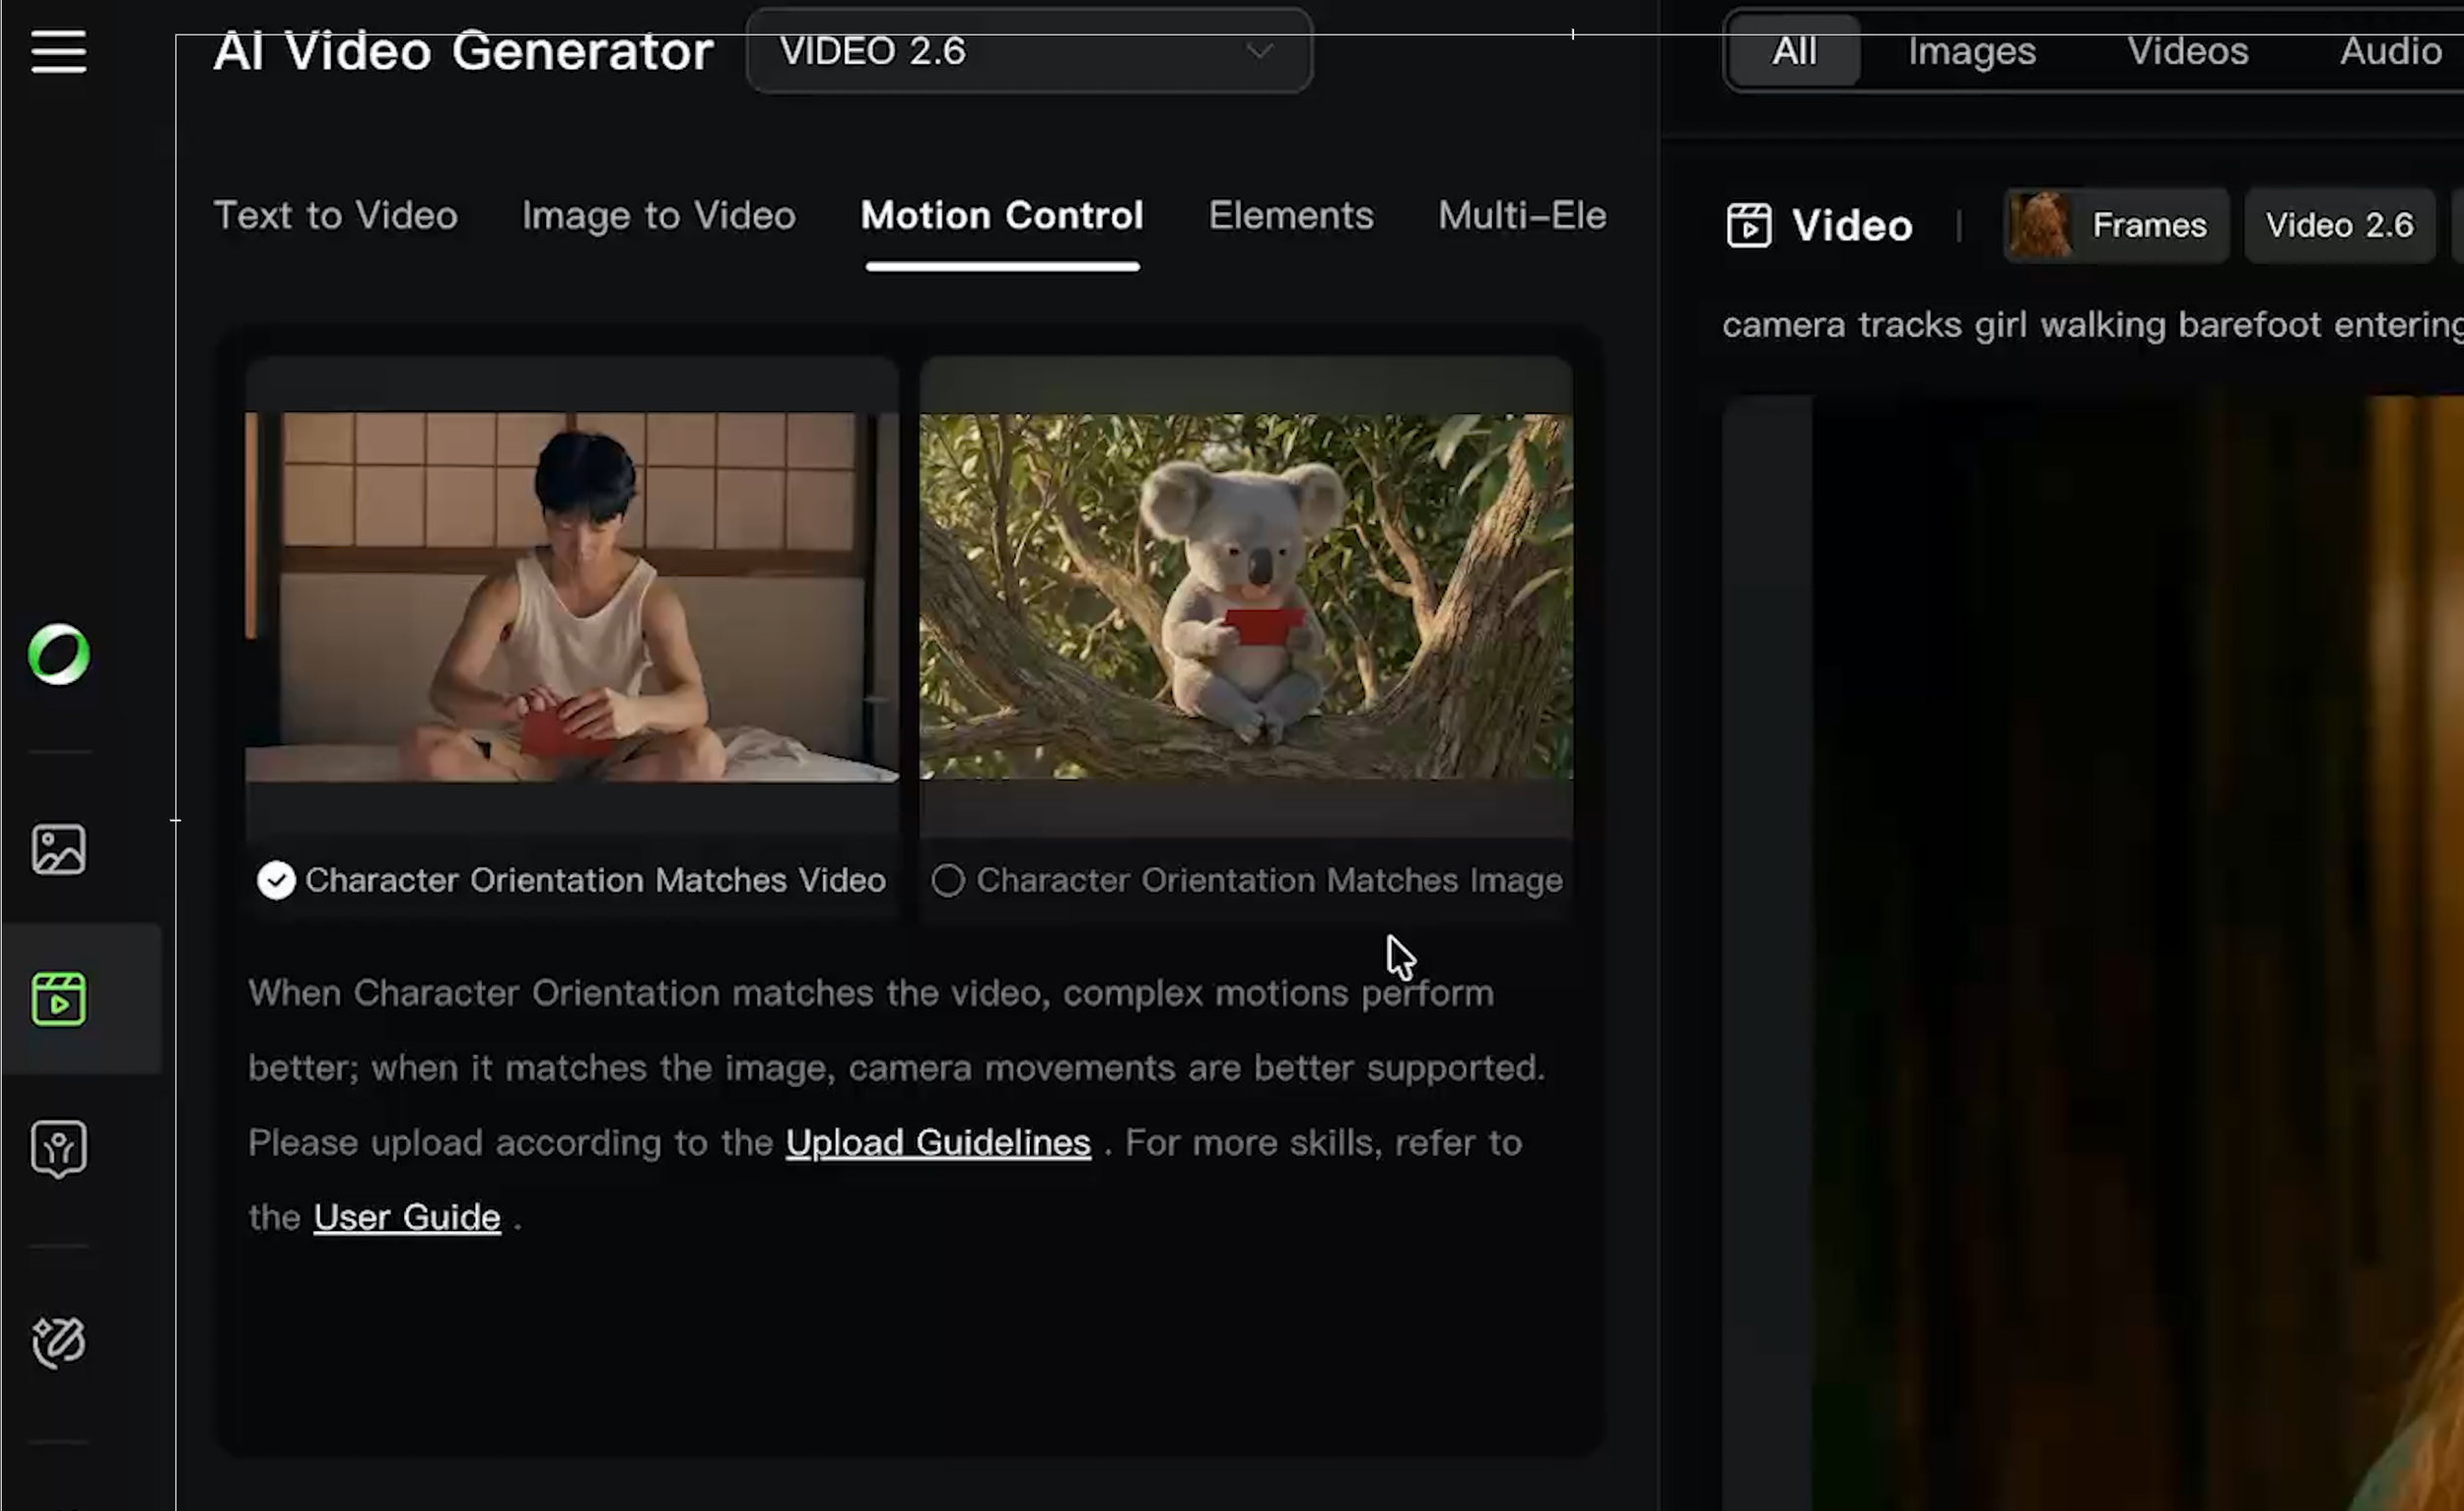
For instance, the live action man opening the envelope is straight on, facing the camera directly, while the Koala is slightly slanted to the right.
If you wanted the generation to be straight on, then you would select the bubble under the live action man. If you wanted it slightly slanted, you would select the bubble under the Koala.
Step 5: Download or Reprompt
Don't expect a one-click masterpiece. You’ll likely need five or six attempts to get it perfect, and then you'll want to run it through an upscaler like Topaz or Astra.
Is Kling Motion Control Ready for Professional Projects?
Kling 2.6 Motion Control is a massive step toward true AI-driven performance capture. It isn’t a magic button, at least not yet. A Better workflow might be utilizing a tool like HeyGen to ensure the Lip sync is the best possible. When Lip Sync Isn;t necessary, Kling Motion Control seem to be the best tool available.
We are still a while away from being able to use this in a professional pipeline, but the progress that has been made among motion control tools like this in the last 6 months shows so much potential for the future!
Free Intro to AI Storytelling
If you really want to get started creating AI Videos and films, we would love for you to check out our free course, Intro to AI storytelling.
Fill out the form above to get access. Along with the course, you get access to our exclusive Discord with thousands of professionals, as well as live weekly workshops. We would love for you tojoin us! Best of luck on your next creative project. :)