How to Do Product Photography Using AI | Pro Results
In this article and video tutorial, I’ll share how to do professional Product Photography using AI.
Traditional product photography is a grind. It’s expensive, it’s logistically draining, and it’s time-consuming. Sometimes, that high-touch approach is exactly what a campaign needs.
But other times you need a specific product shot for an ad, a landing page, or a creative test, and you need it yesterday.
That is where a virtual product photography workflow becomes your secret weapon. You can produce high-resolution, photorealistic assets without ever stepping onto a physical set.
Here’s the list of tools we’ll be using for this workflow:
High-quality reference photos of your product.
An AI 3D modeling tool (we’ll use Meshy).
A virtual 3D environment tool.
An AI image generator.
Photoshop for final polishing.
Let’s get into it.
Product Photography using AI | Video Tutorial
In this tutorial, we’re breaking down the exact workflow to create professional, advertising-style product imagery using AI.
Create Photorealistic Product Photography With AI
Below is a breakdown of the steps you need to know for Product Photography using AI.
Step 1: Gather High-Resolution References
The AI is only as good as the data you feed it. You need multiple angles of your product so the AI can understand the shape, label, and proportions.
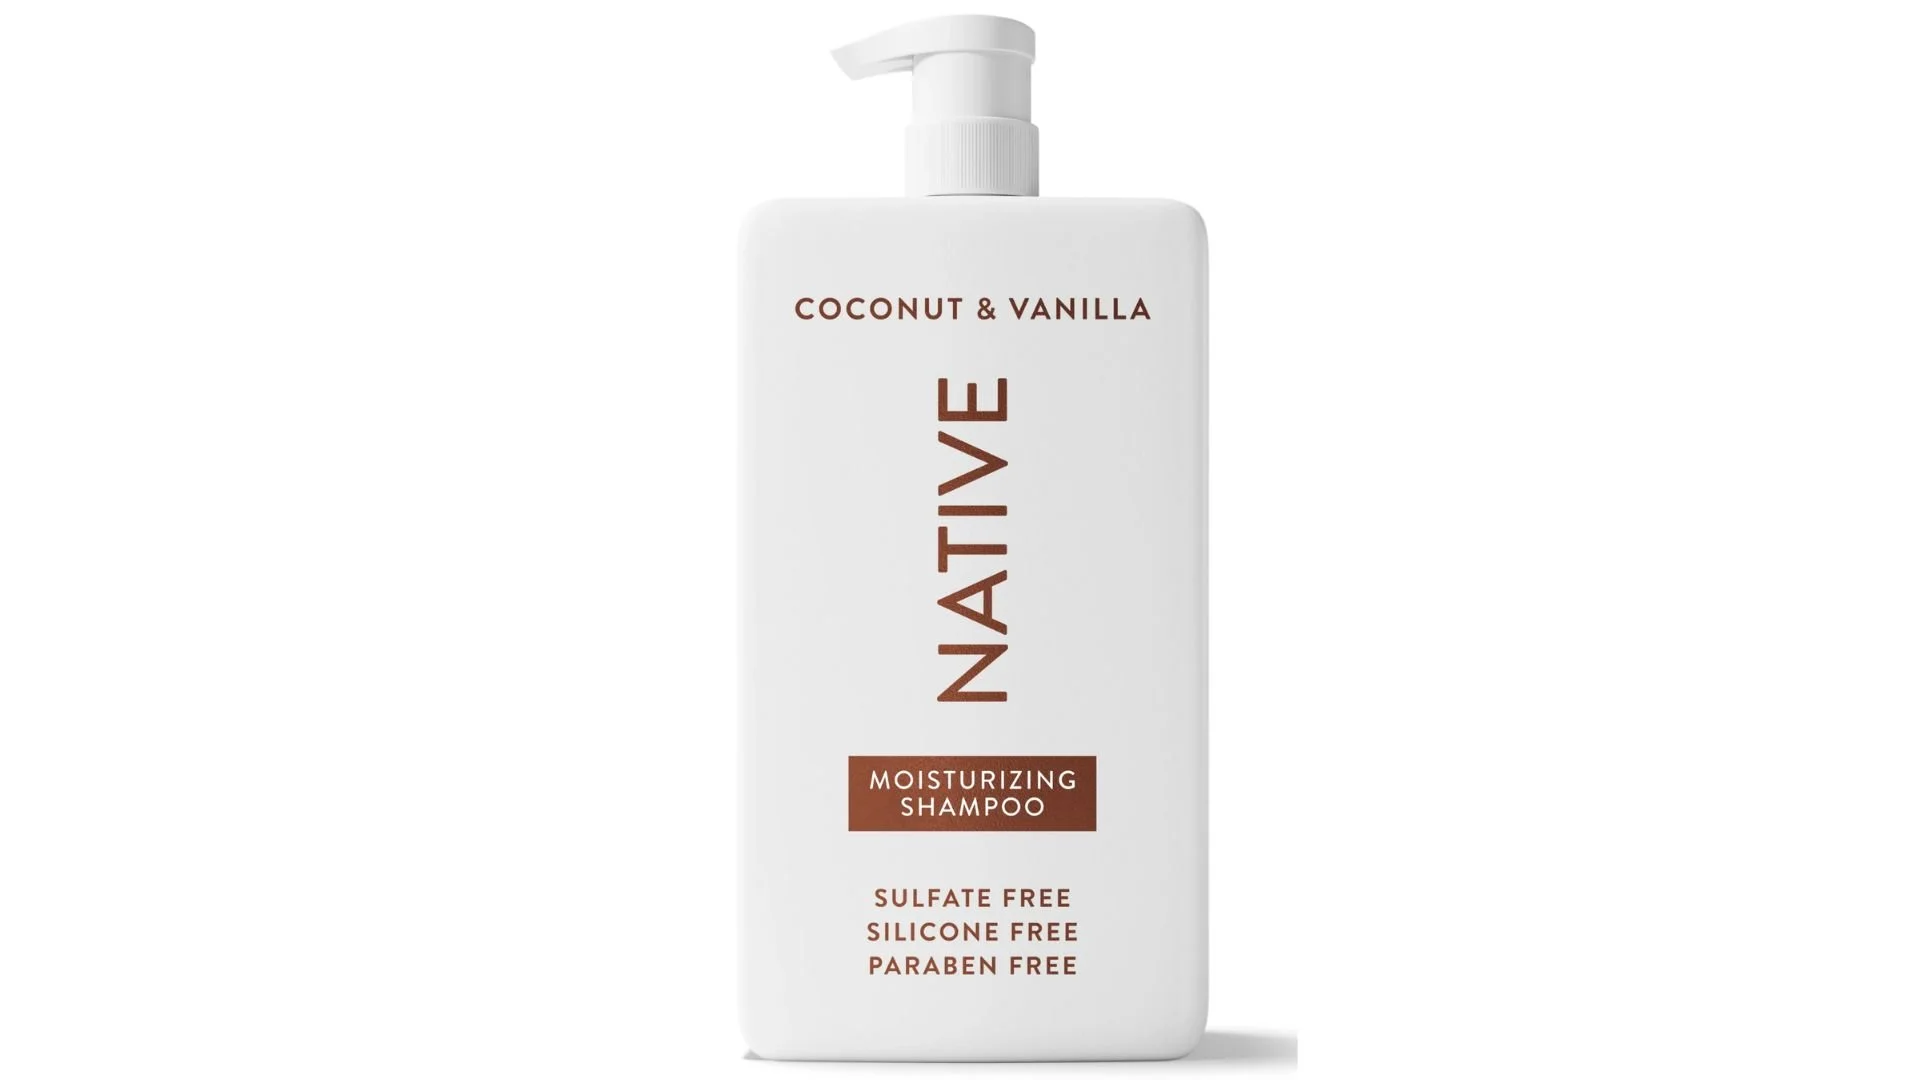
Product Reference
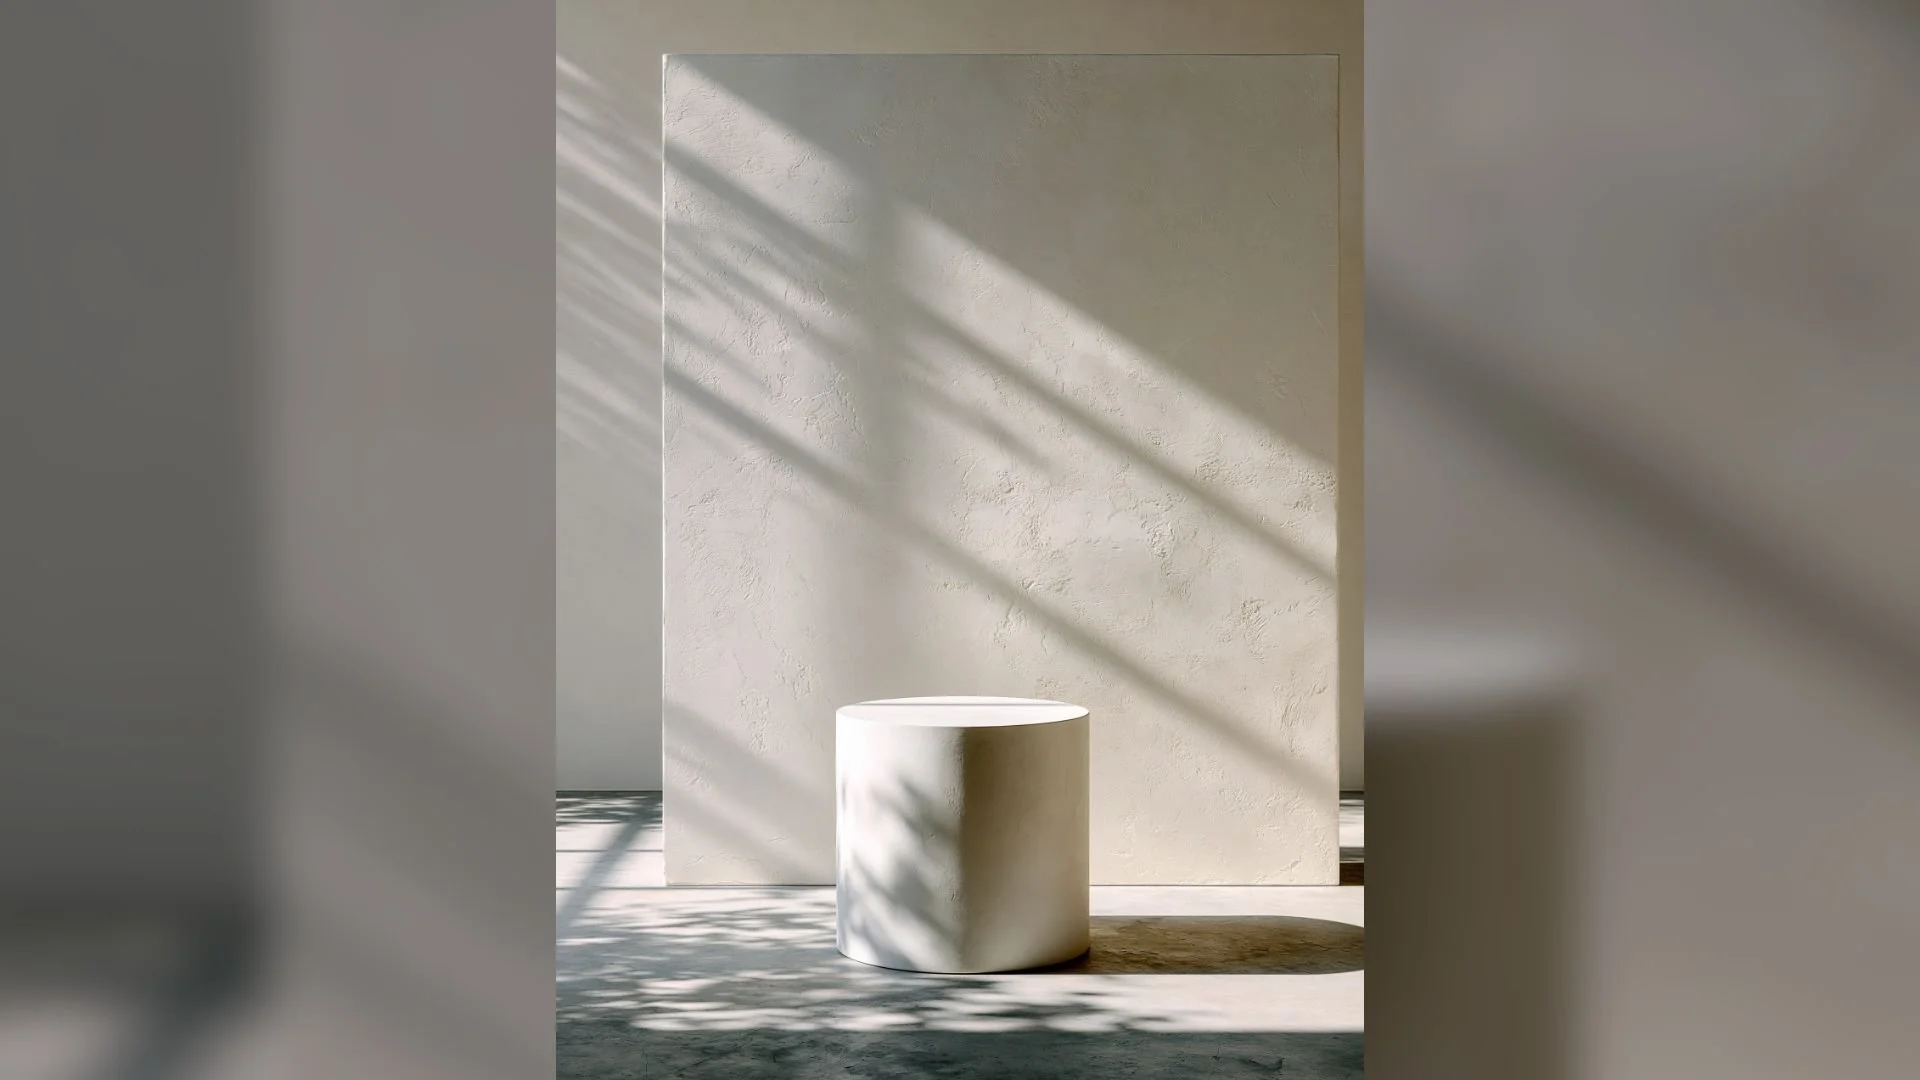
Environment Reference
Check these sources:
Your own dedicated product photography.
Client media kits or official brand assets.
High-resolution product listing photos.
Having one good image works in a pinch, but a full set of angles will significantly improve your 3D model generation.
Step 2: Create a 3D Model
Forget spending weeks learning Blender or Maya. AI has streamlined the 3D process.
Head over to Meshy and use their image-to-3D workflow. Upload your reference, select your model version, and hit generate.
Within a few minutes, you’ll have a usable 3D asset. It doesn't need to be perfect—we just need a solid 3D base to drop into our scene.
Step 3: Download the Model
Once you have the model, it’s time to skin it. Use the texture option in Meshy and upload your high-resolution product image as the reference.
Click Render, and the AI will apply your product’s colors, branding, and details to the 3D model.
Once satisfied, download the model in GLB format. This is your golden ticket for the virtual photo shoot.
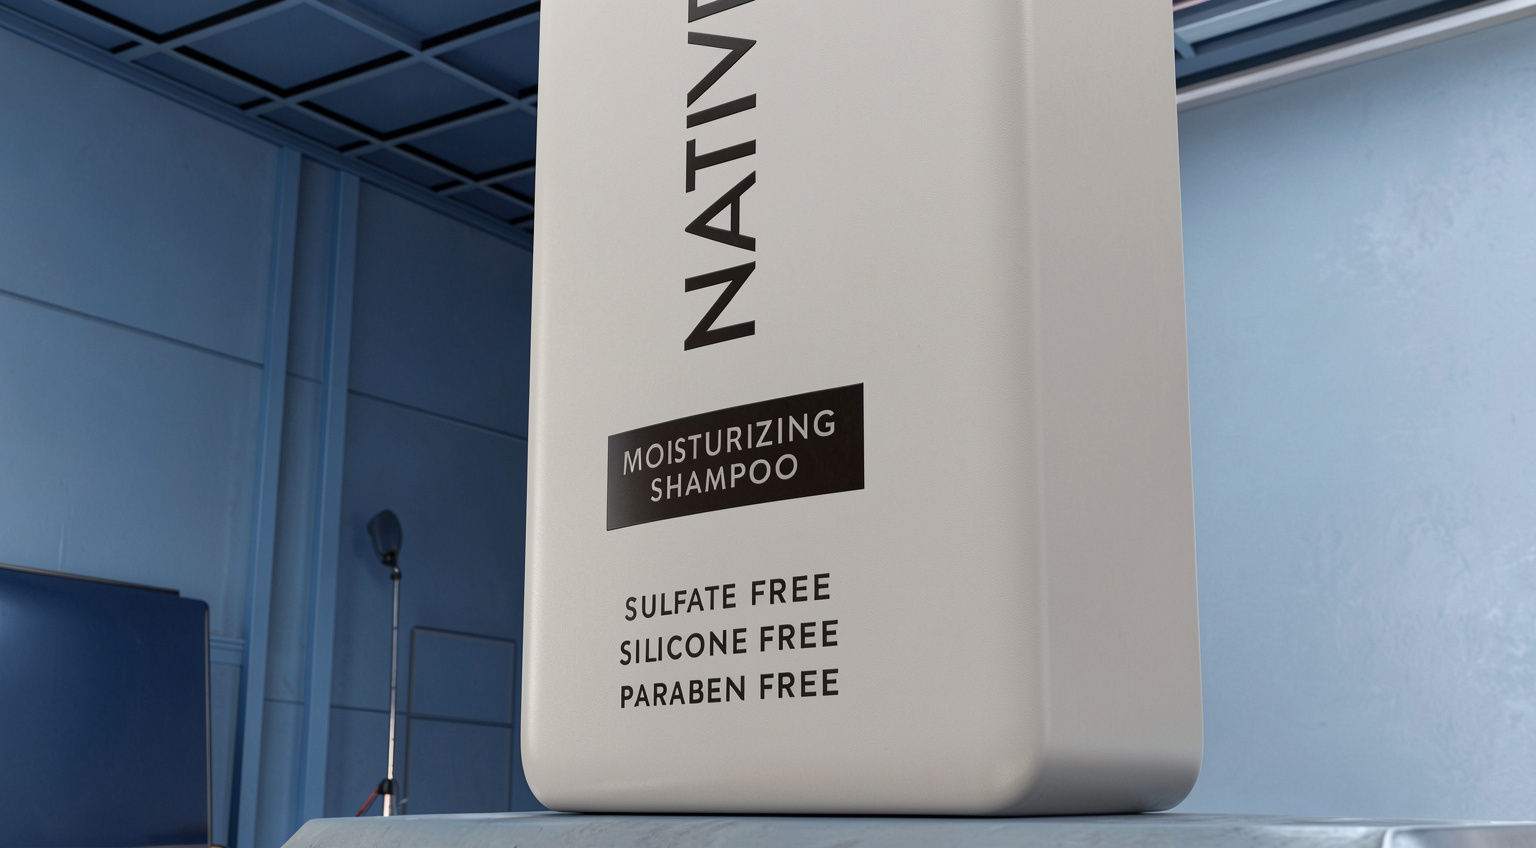
Step 4: The Virtual 3D Scene
Now, open your virtual 3D environment tool (we’re using Magnific’s). You aren’t looking for a final background here. Think of this as your virtual studio.
Choose a simple setup that allows you to control camera angles, lens perspective, and product placement.
Upload your GLB file as the subject and generate the 3D scene.
Step 5: Position and "Shoot"
This is the fun part. Move the product, rotate it, and set your composition.

Switch into "camera mode" and treat it like a real studio session. You can adjust:
Lens choice and F-stop.
Framing and composition.
Camera height.
Capture your shots. Again, don't worry about lighting or realism here. You are capturing compositional references that will act as the blueprint for the final AI generation.
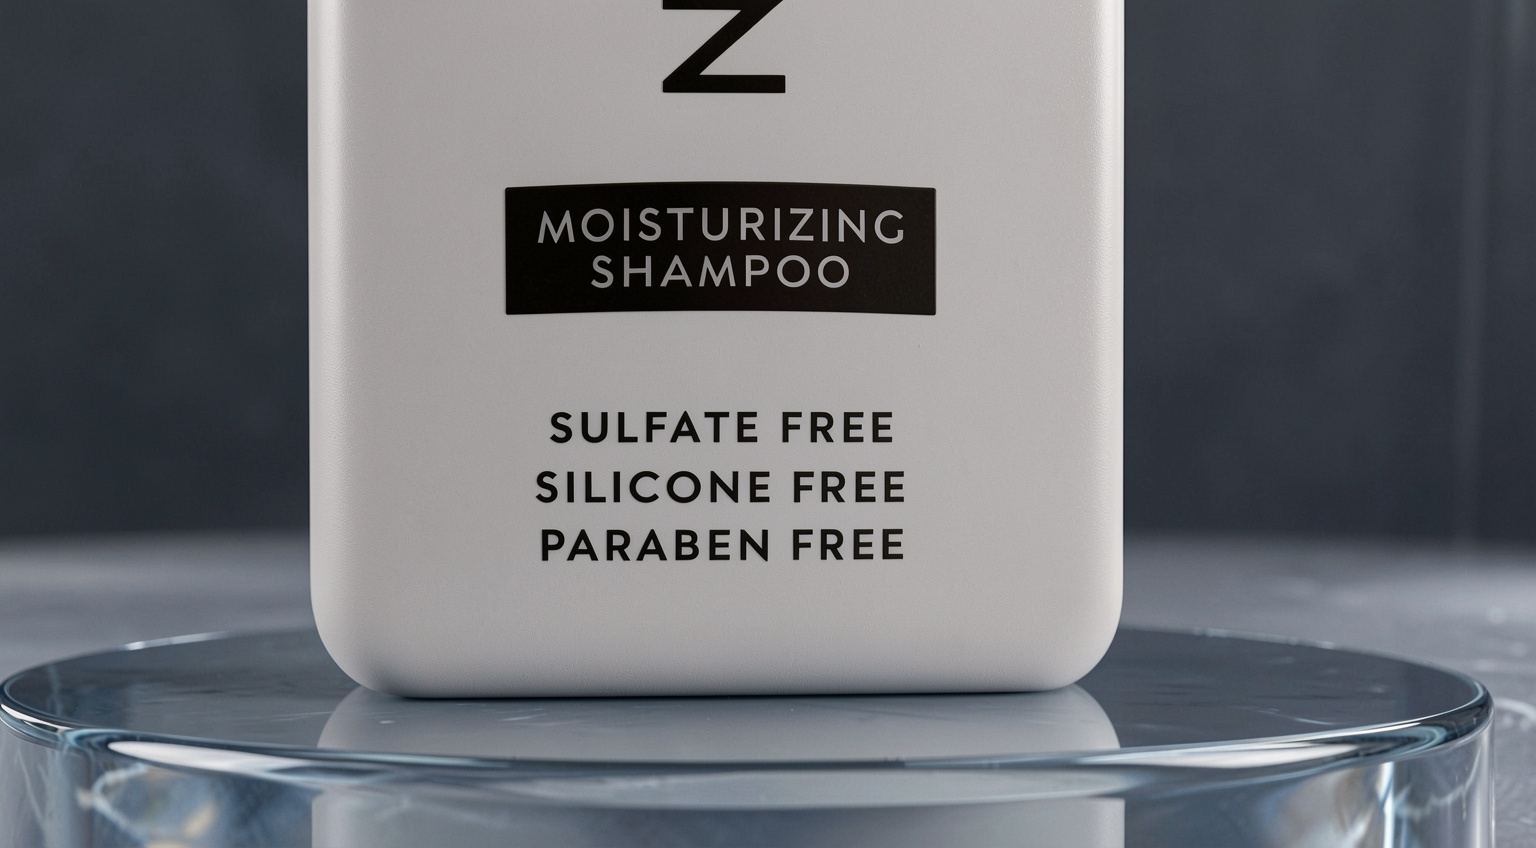
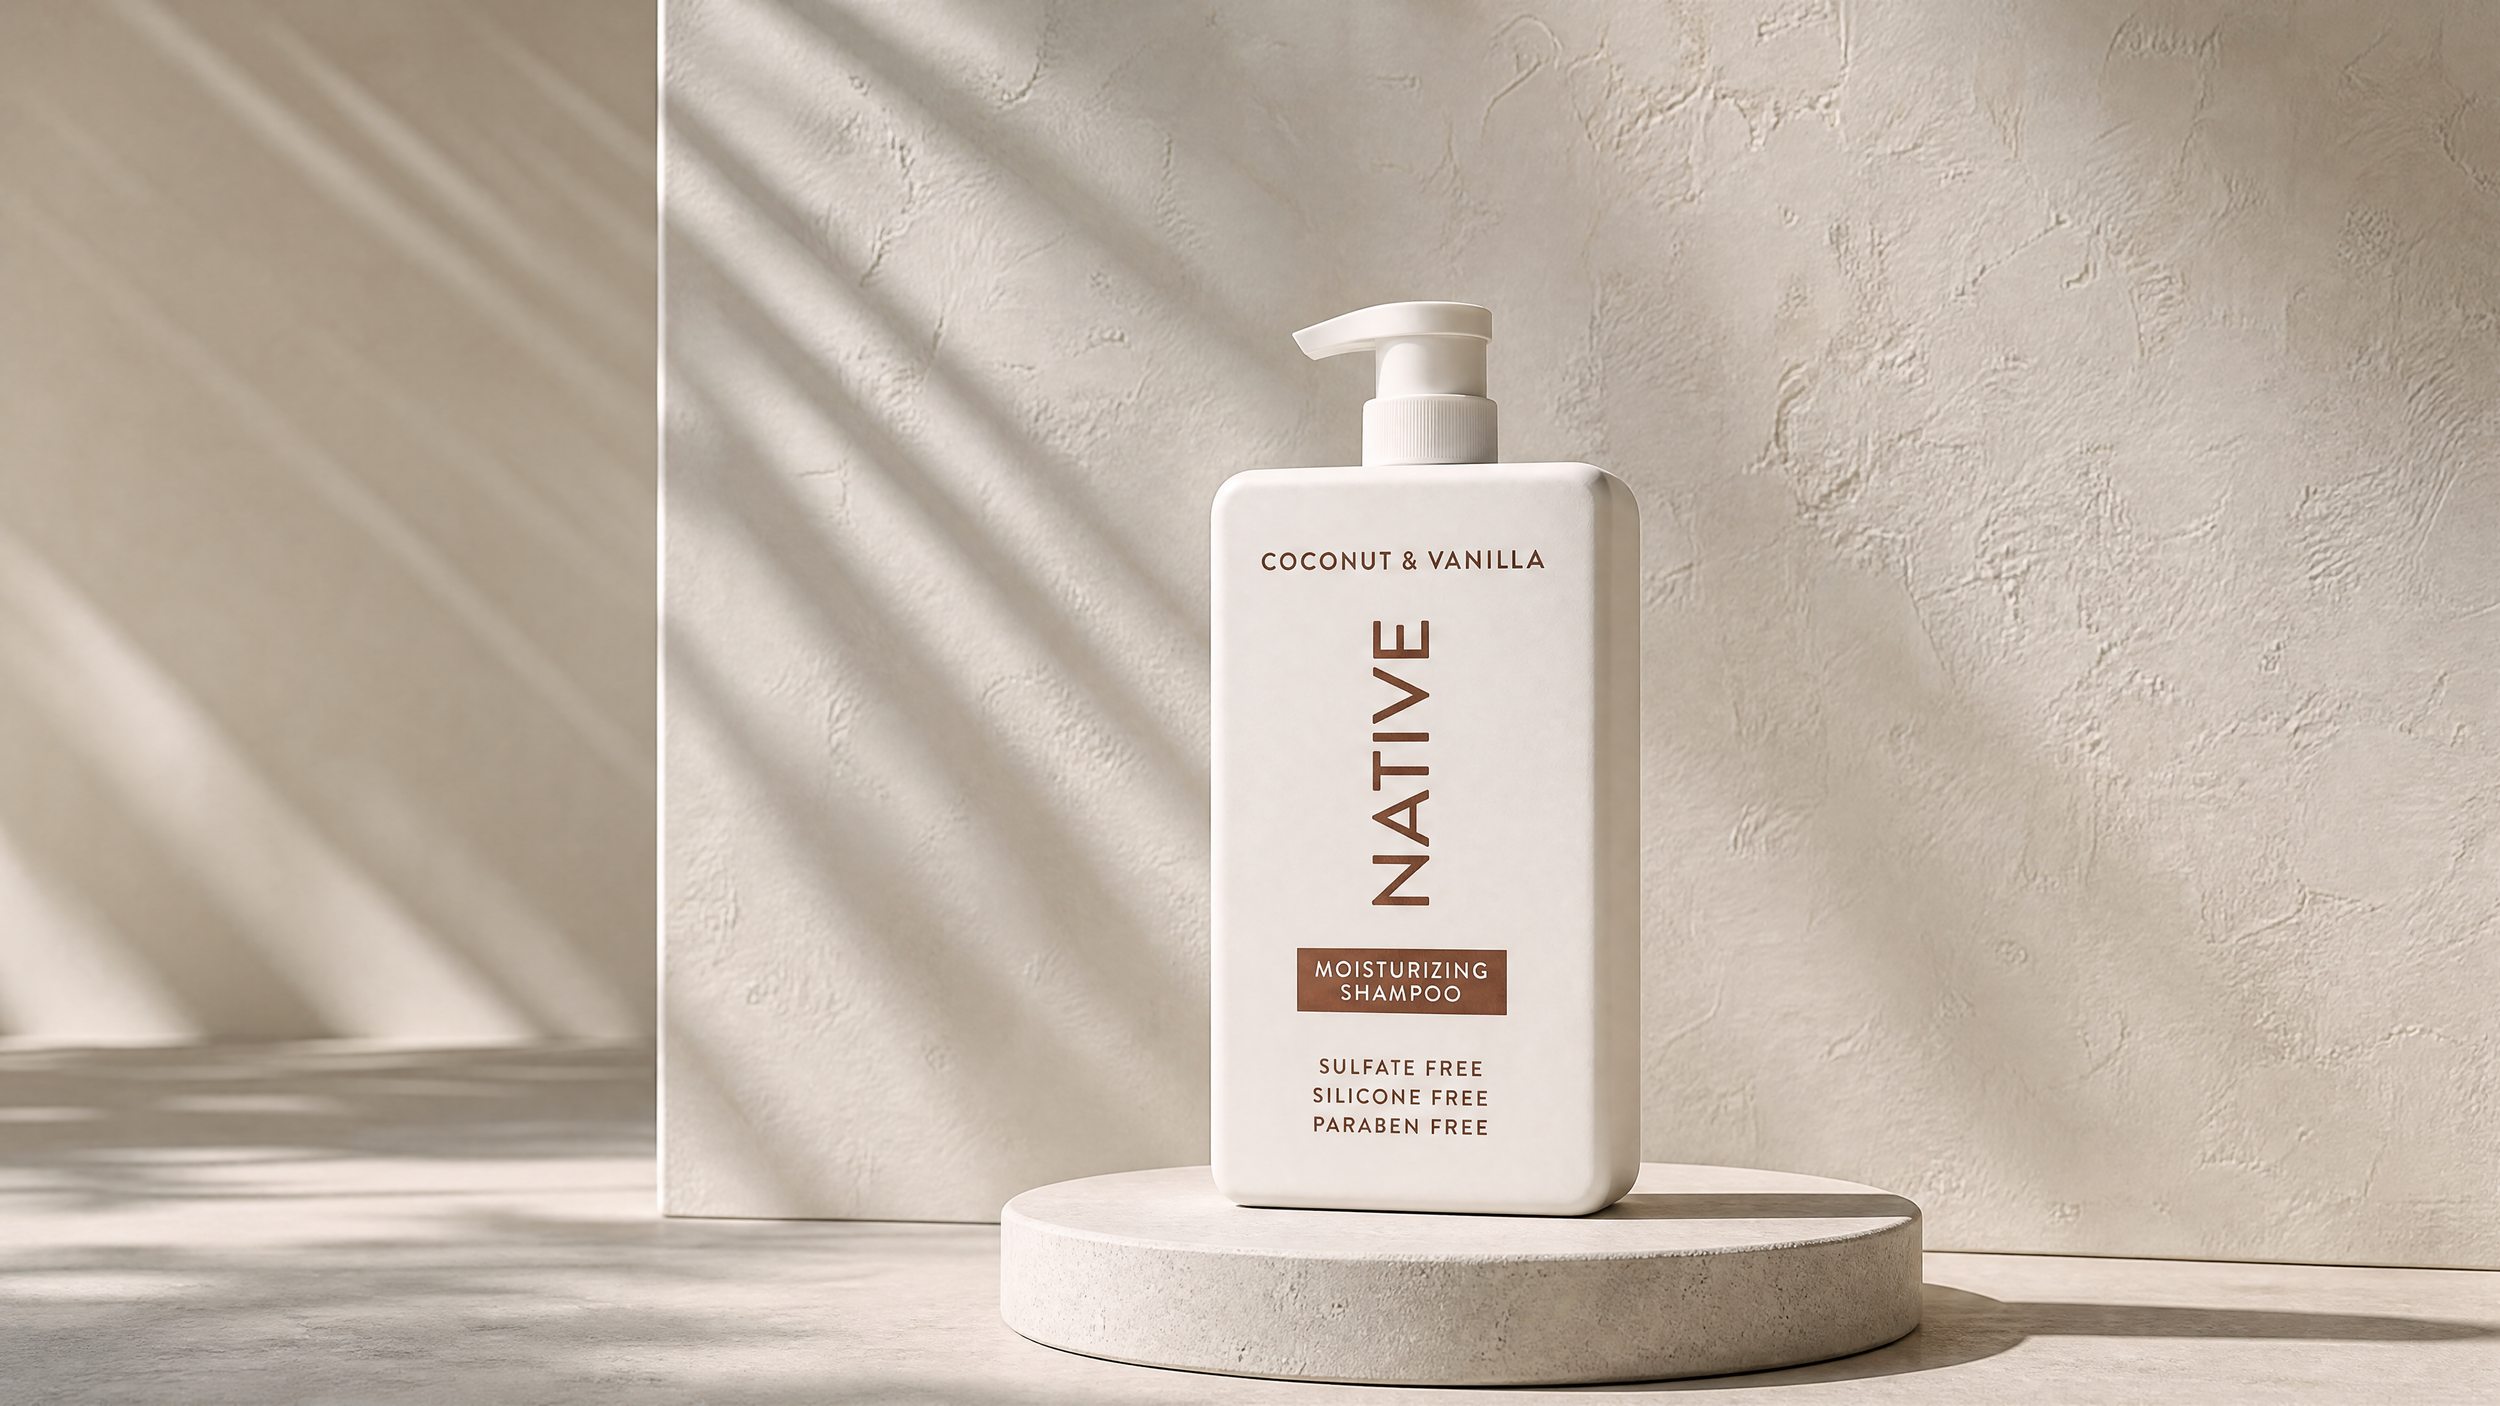
Step 6: Generate the Realistic Final
Now we bridge the gap between "3D model" and "Photorealism."


Open your AI image generator and upload three things:
The virtual camera shot (for composition).
The high-res product photo (for detail accuracy).
An environment/lighting reference (for the "look and feel").
Write a clear prompt. Tell the AI: Replace the low-quality model with the high-res product reference, preserve the camera angle, and blend it into the environment reference with professional studio lighting and natural shadows.
Generate a few variations, iterate, and grab the best one.
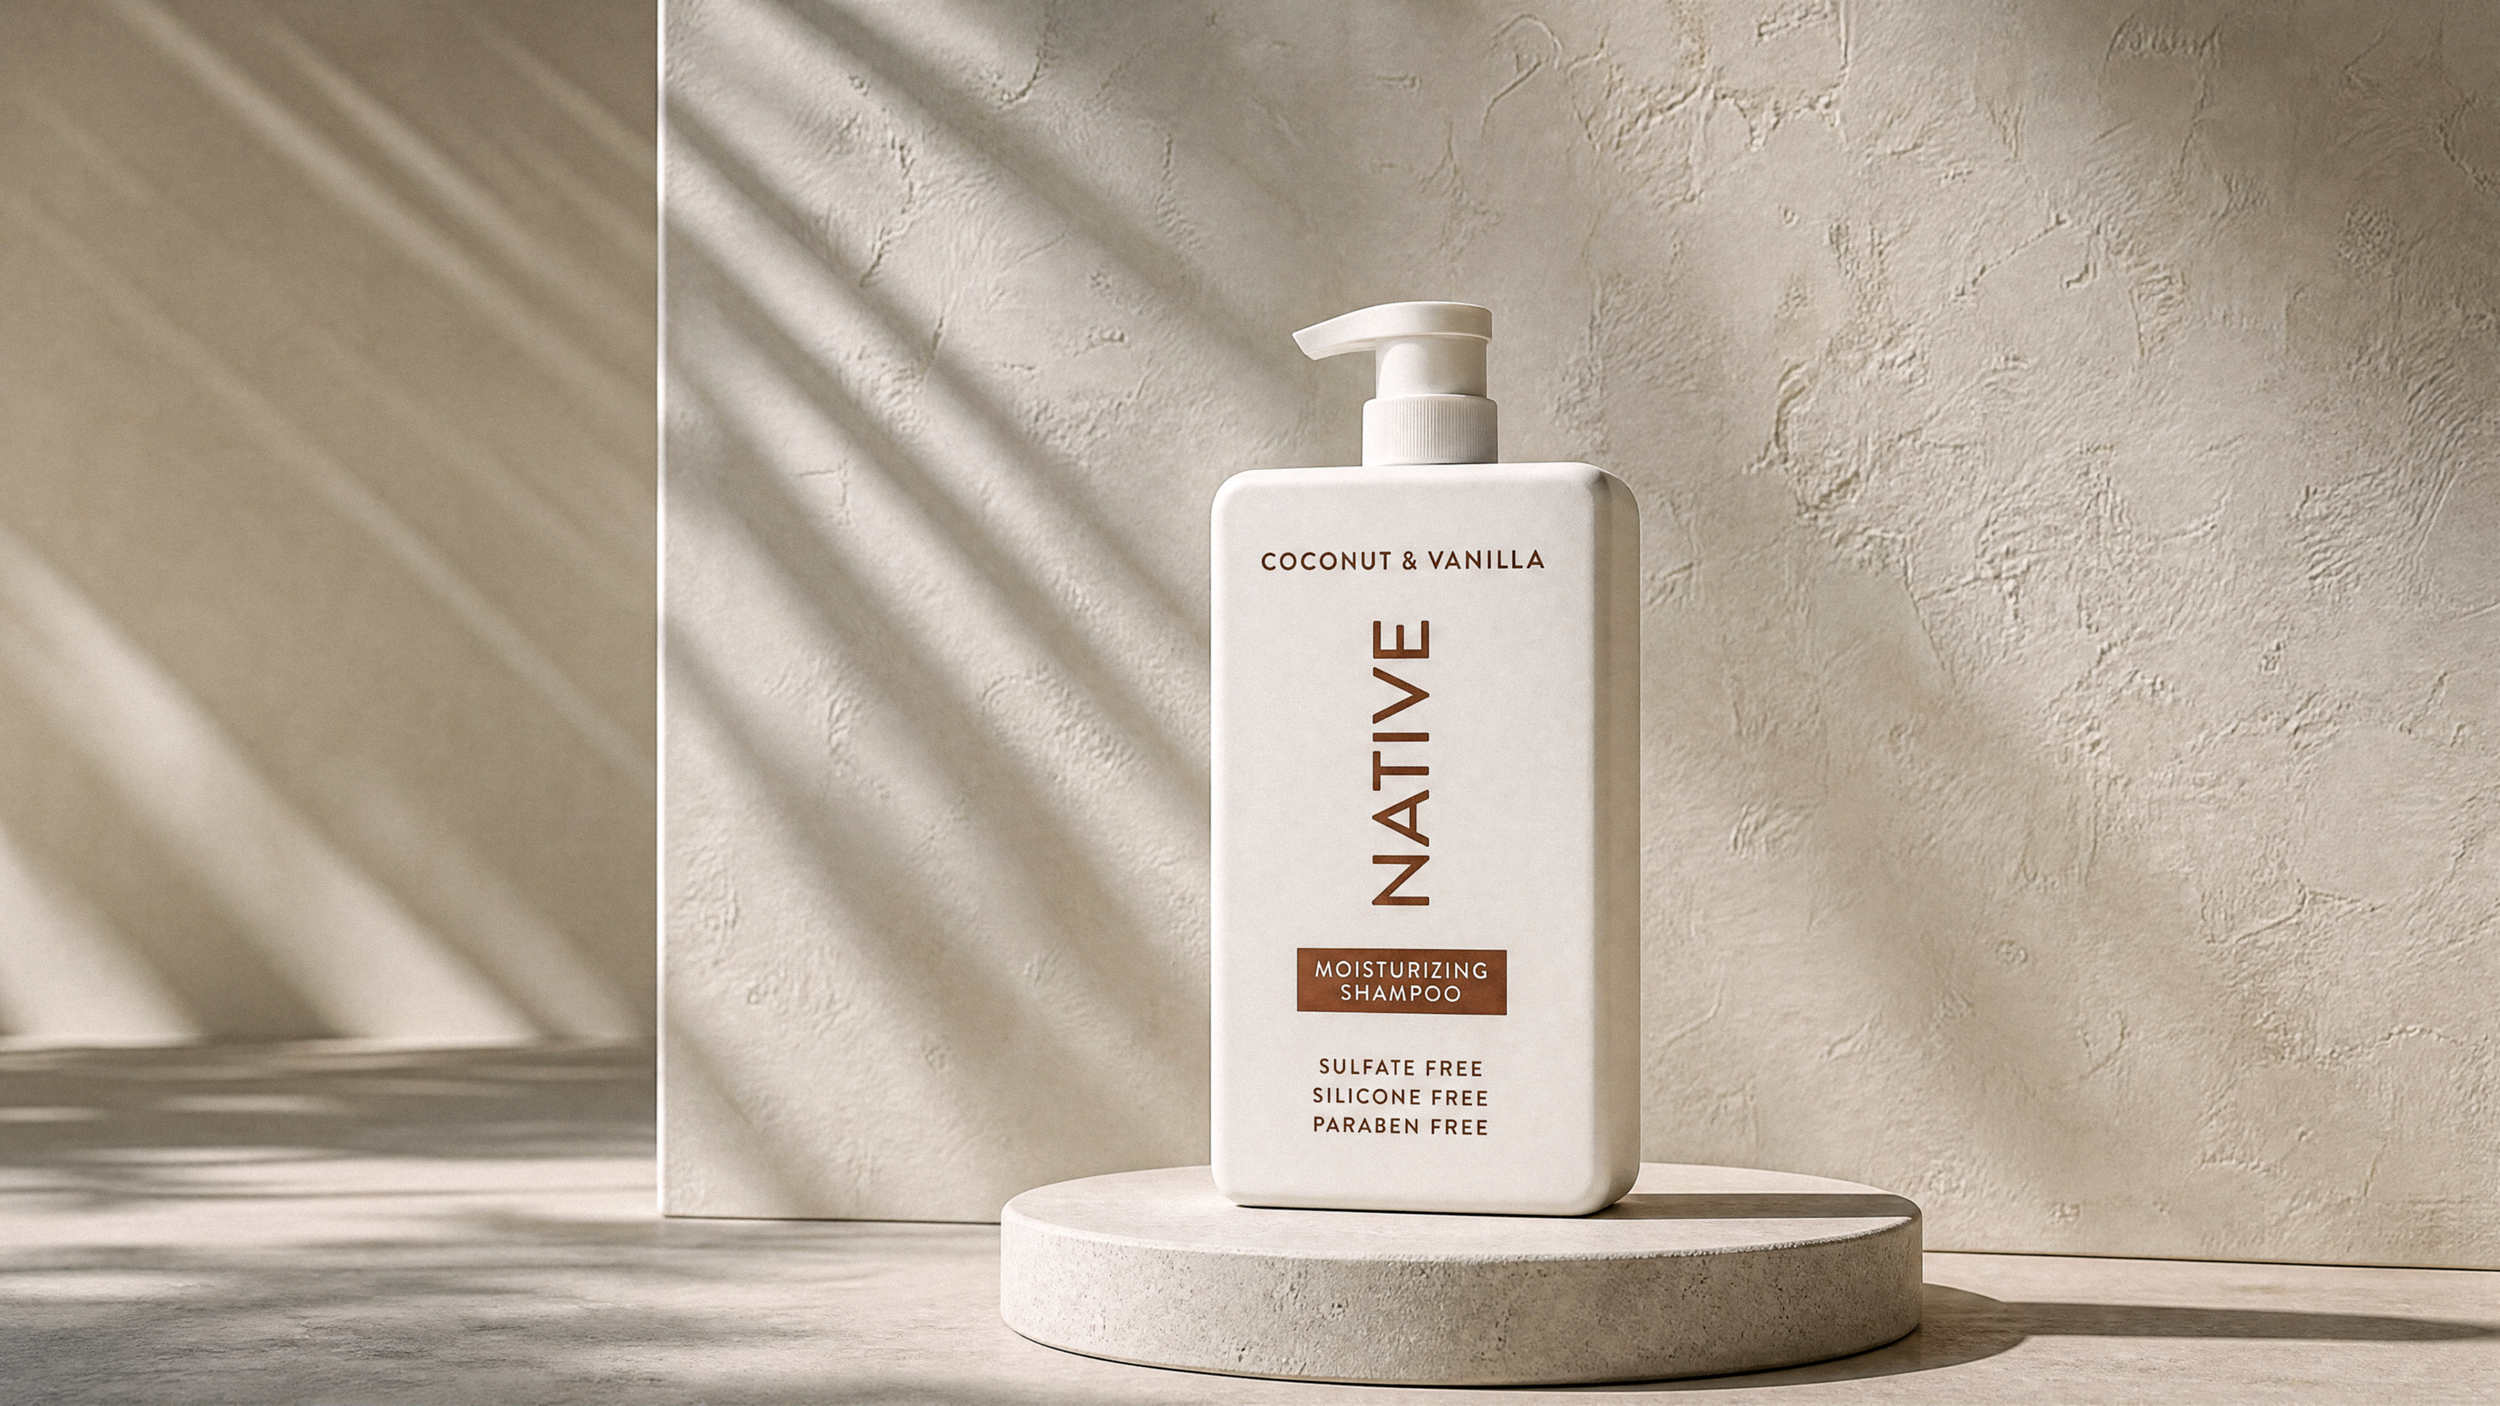
Step 7: The Photoshop Polish
AI-generated images often suffer from being "too perfect" or slightly flat. Here is how we ground it:
Before Polish
After Polish
Camera Raw Filter: Convert your layer to a Smart Object first. Then, go to Filter > Camera Raw Filter.
Micro-Adjustments: Increase contrast, lift the shadows, and lower the highlights to kill that "stock photo" shine.
Texture & Clarity: Dial these back slightly to remove any "AI crispness."
Gaussian Blur: Apply a very light blur (around 2.6 radius) to mimic real lens behavior.
Grain: Add subtle camera grain. It’s the difference between a synthetic render and a photograph.
Join Our Free Community of AI Creatives
Creating is so much harder in a silo. That’s one of the reasons we created Curious Refuge.
If you are looking for a welcoming community of creatives where you can learn workflows, ask questions, and get feedback, we would love to have you join.
You can join for free now by filling out the form above.
We would love to see you there!