
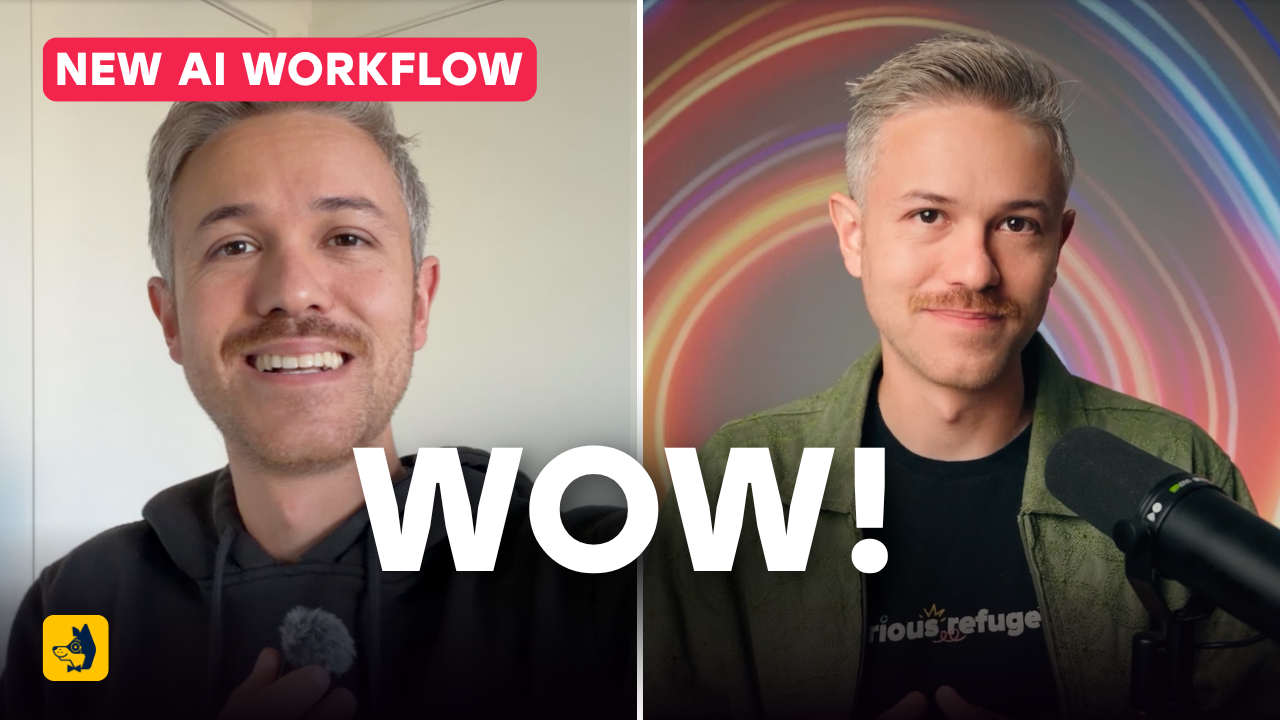
In this article and video tutorial, we’ll show you how to create a realistic AI clone.
Our team has been testing a workflow that lets you record audio from wherever you are and create a video that looks like you filmed it in your usual setup.
All you need is your audio, a short reference clip, and an AI video tool that can combine the two.
We're calling it Studio Anywhere.
We tested the workflow using Seedance 2.5, compared it with other avatar tools, and explored whether you could skip recording altogether and generate the performance from a script.
Let's get into it!
How to Create a Realistic AI Clone Video Tutorial
Watch the full tutorial below to see how to create a Realistic AI Clone.
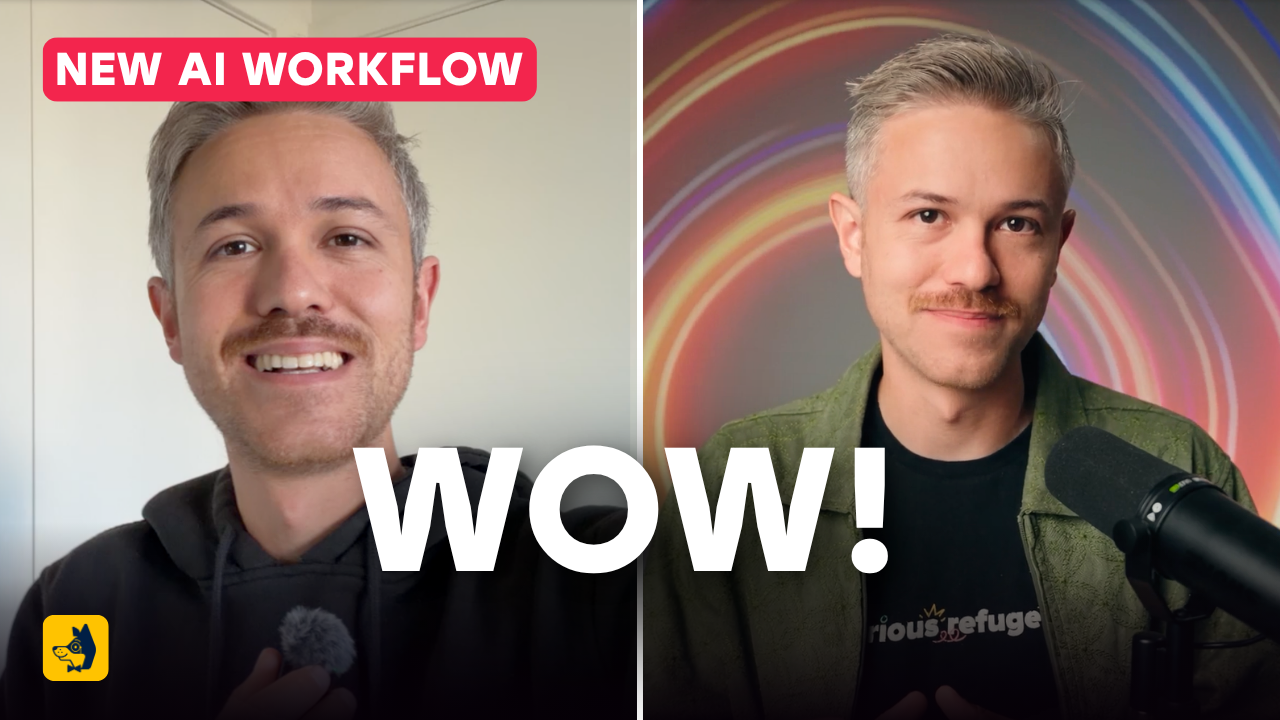
How to Create a Realistic AI Clone | Step-by-Step
Below is our full breakdown of the workflow step-by-step, what worked in our tests, and where the results still fell short.
1. Record Your Audio
Record what you want to say using your phone or microphone. For our test, I recorded an announcement while walking outside my house. You could also record anywhere with a quiet space.
Then bring the recording into Adobe Podcast to clean it up.
The improvement was pretty dramatic, but we could still hear a slightly metallic quality from the AI processing. Start with the best recording you can. A decent microphone and a quiet space will give you a stronger result.
2. Export the Audio with Black Video
This next step is a little weird, but it's important for the workflow we tested. Bring your enhanced recording into a video editor and export it as a video with a black screen.
Audio with Black Video
We used Adobe Premiere, but you can use another editor that lets you export black video with your audio underneath it.
There's nothing to film here. You're simply packaging your recording as a video file so you can bring it into the generation workflow alongside your visual reference.
3. Choose Your Reference Footage
Next, choose a short clip of yourself speaking on camera. We used roughly six seconds of Caleb talking in the studio.
Video reference gives the model more to work with than a still image.
Reference Footage
Everyone moves a little differently, from the way their mouth moves to their expressions and gestures. Those details help make the generated performance feel familiar.
For a repeatable production workflow, we recommend recording reference footage in your intended setup with a range of expressions and emotions. That gives you more options to work with later.
Step 4: Generate in Seedance 2.5
Upload your audio, video and studio reference to Seedance 2.5. We used Magnific for this test. Prompt the model to use the audio from the black video and the appearance, movement, and environment from your reference.
In our test, the two inputs had a combined 30-second limit, so longer recordings needed to be split into shorter clips.
Generated Footage
The result was pretty wild.
Everyone we showed at Promise Studios thought it was real. Still, check the mouth, teeth, and expressions closely to make sure the whole performance feels natural.
How Did the Other Avatar Tools Compare?
We also tested HeyGen and a custom-trained avatar workflow using the same audio recording. Here are the three outputs side by side.
Seedance 2.5
Seedance 2.5 gave us the most convincing result in this comparison. The HeyGen version was close, but it still landed in the uncanny valley.
The third workflow involved training a LoRA, a custom model adaptation, on our studio footage. That took more technical setup, and the skin texture and nonverbal communication still felt off.
HeyGen
LoRa Trained
We also saw very different costs for these particular generations: about $16 for Seedance 2.5 at 1080p, $0.05 for HeyGen, and $24 for the third workflow through fal.ai. Those are the costs reported for our examples, rather than a general pricing comparison.
The cheapest result wasn't the one we'd choose to publish. For this use case, the deciding factor was whether the performance looked believable.
Can You Generate the Entire Video from a Script?
Once the audio workflow worked, we wanted to see how far we could take it. Could we provide reference footage, type what we should say, and let the model generate the voice and performance?
We tested that approach across three video models, including Seedance 2.5.
Script Test 1 using Seedance 2.5
Script Test 2 using Wan 3
Script Test 3 using MiniMax H3
The visuals were sometimes convincing, but the delivery wasn't there yet. The pauses felt unusual, the cadence wasn't quite right, and some performances sounded flat. One alternative came closer, but we still didn't feel it cleared the uncanny valley.
For this workflow, recording your own audio made a real difference. It preserved the timing and personality that the fully generated versions struggled to recreate.
What We Learned from Studio Anywhere
Combining real audio with short video reference footage gave us the strongest results. Seedance 2.5 produced our most convincing studio performance, while the other avatar tests still had distracting details.
Good reference footage matters, longer recordings require multiple generations, and costs can add up. You'll also need to review each result carefully.
But the potential is pretty exciting. Once you've captured your reference, you can record audio from anywhere and create content that fits your usual setup. You supply the ideas and performance. AI brings it back into the studio.
Learn AI Filmmaking
We’re always testing new AI filmmaking workflows. Join our community to keep learning with us!
Fill out the form above, and you can get access to our community, as well as our free AI training.
We would love to see you in the community, but of course no pressure at all!
